- Установка новой (дополнительной) версии PHP на XAMPP
- Шаг 1.
- Шаг 2.
- Шаг 3.
- Шаг 4.
- Категории
- Свежие записи
- PHP Tutorial – How to Setup PHP and XAMPP for Your Project
- What is PHP?
- Advantages of PHP
- PHP is Simple to Use
- PHP is Flexible
- PHP Helps You Collect Data from Forms
- PHP Has Good Security
- How to Install and Setup PHP in your Project
- What is XAMPP?
- Why Do You Need XAMPP?
- How to Run PHP with XAMPP
- Conclusion
- How to run PHP and link to MySQL using XAMPP
- Installing PHP:
- Installing XAMPP
- Run PHP Files using XAMPP
- Linking PHP to Database
Установка новой (дополнительной) версии PHP на XAMPP
Сборка XAMPP поставляется с одной версией PHP. Иногда требуется обновить версию PHP или добавить вторую, при этом не обновляя и не переустанавливая весь XAMPP.
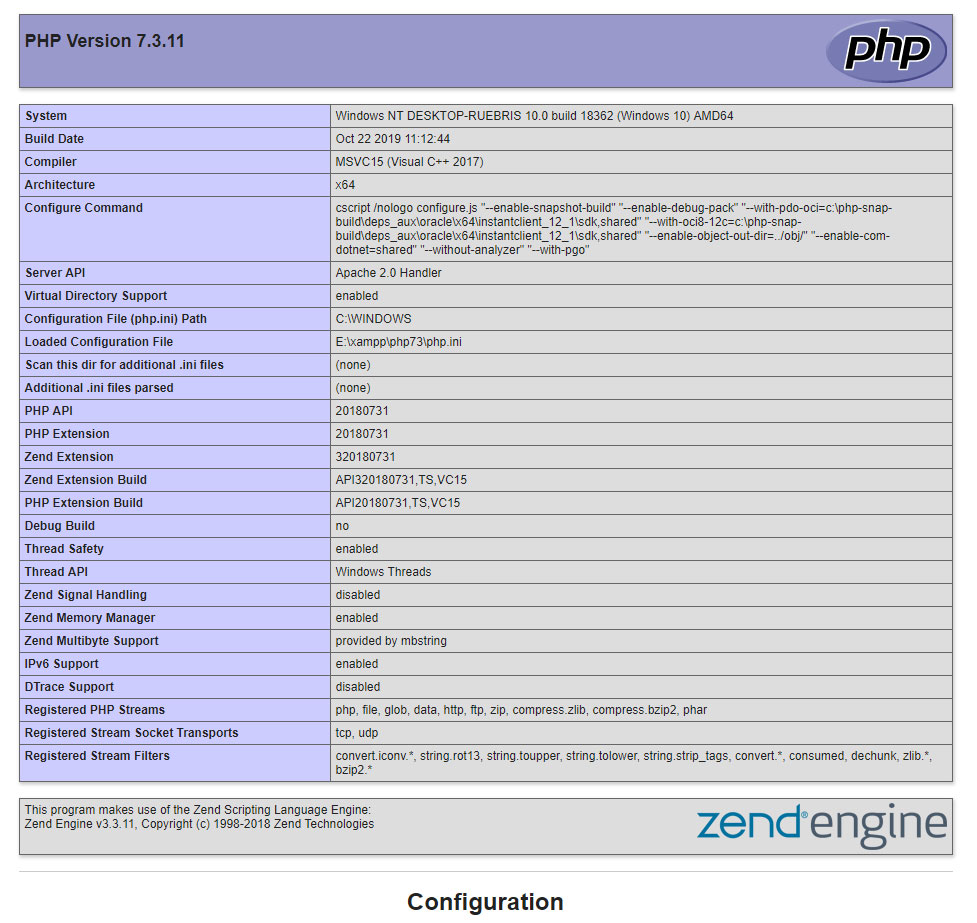
ОС Windows. Установленный у меня XAMPP имеет версию PHP 7.1, я хочу добавить версию PHP 7.3.
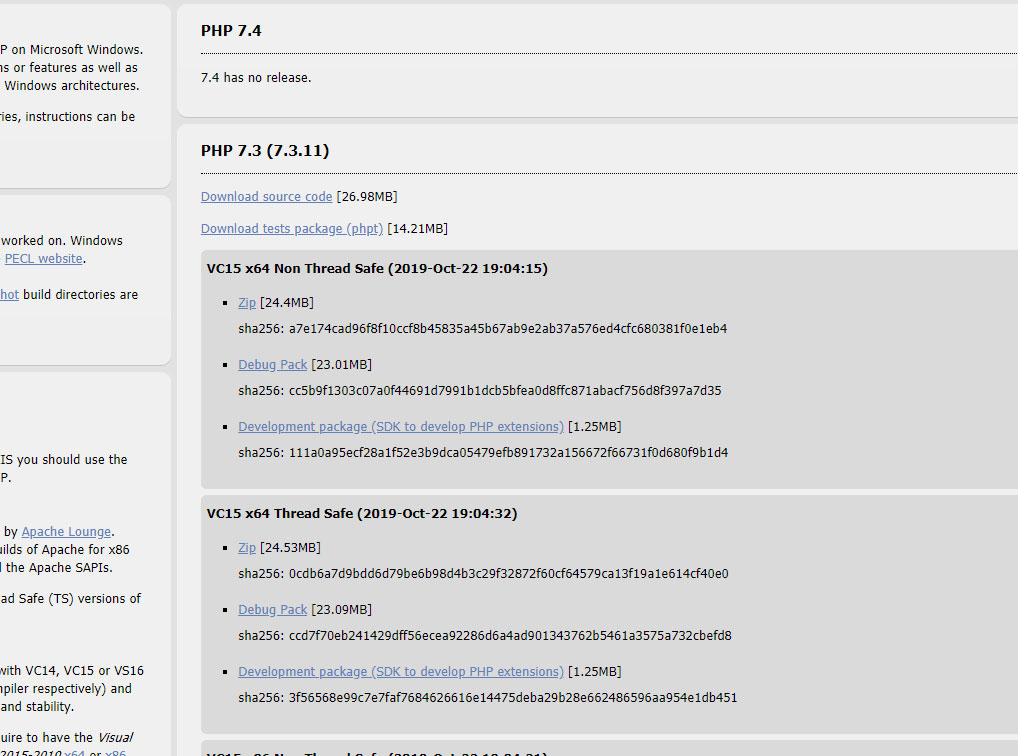
Шаг 1.
Идем на сайт https://windows.php.net/download и скачиваем PHP 7.3 VC15 x64 Thread Safe.
Шаг 2.
В папке XAMPP создаем подпапку, например, php73 и распаковываем туда скаченный архив.

Шаг 3.
Заходим в папку php73 и переименовываем файл php.ini-development в php.ini , далее в этом файле необходимо указать необходимые вам настройки для php. Можно просто скопировать все настройки из php.ini, который поставлялся вместе с XAMPP (он находится в папке php).
Главное за забудьте раскомметрировать строку extension_dir = «ext» и указать правильный путь, в моем случае это extension_dir=»E:\xampp\php73\ext»
Не забудьте в секции Dynamic Extensions раскомментировать строки для подключения нужных вам модулей PHP.
Шаг 4.
Далее идем в папку apache\conf\extra . Здесь делаем копию файла httpd-xampp.conf и сохраняем его например под именем httpd-xampp71.conf (для удобства, поскольку изначальная версия PHP была 7.1). Теперь, если нам понадобится вернуться на старую версию PHP мы сможем воспользоваться этим файлом.
Теперь открываем оригинальный файл httpd-xampp.conf и везде в путях меняем директорию php на php73.
# # PHP-Module setup # LoadFile "E:/xampp/php73/php7ts.dll" LoadFile "E:/xampp/php73/libpq.dll" LoadModule php7_module "E:/xampp/php73/php7apache2_4.dll" . И так далее во всем файле.
Далее сохраняем файл и перезагружаем Apache, все должно работать.
Категории
Свежие записи
PHP Tutorial – How to Setup PHP and XAMPP for Your Project

Okoro Emmanuel Nzube
Hello and welcome to this tutorial, everyone. Today, we’ll look at how you can set up and use PHP in a project.
But before we get started, we’ll need to understand what PHP is all about.
What is PHP?
PHP is an abbreviation or acronym for «Hypertext Preprocessor.» It’s a web-based open source server-side scripting language that’s integrated in your HTML files.
You use it to make webpages that are both responsive and interactive with the database.
Advantages of PHP
PHP has many benefits, and here are a few of them:
PHP is Simple to Use
You don’t need to study extensively to learn and use PHP because its syntax is sensible and well-organized. The command functions are also easy to work with because they help you understand exactly what they do.
PHP is Flexible
Flexibility is a major benefit that every scripting language should have, and PHP is no exception. Even after a project has been launched, a PHP developer has the ability to make changes to the project.
PHP Helps You Collect Data from Forms
You can use PHP to collect data from a form that has been created with HTML (like Name, E-mail, Phone Number, or Password). Many websites use this particular function of PHP.
PHP Has Good Security
PHP does not outsource the data or information collected from forms. This is part of the reason why most most website and social media apps make use of it because it has a secure database system.
How to Install and Setup PHP in your Project
To get started with PHP, you’ll need three things: a code editor for writing your code, an installed version of PHP, and XAMPP.
We’ll be using Visual Studio code in this example, and I’ll teach you how to install a version of PHP and XAMPP on your PC.
Go to the PHP website and click on download in the navigation bar. The current version should be at the top.
Click on «Windows downloads,» and when it opens, scroll down a little and you should see a section that has «VS16 x64 Thread Safe (2022-May-11 09:29:42).» The section contains a «zip» file below it – click on it and wait for your download to finish.


When the download is complete, go to your computer’s downloads folder and look for a PHP zip file. Right-click it and select extract file. It’s important to save the file to your local drive.

Open the Local Disk and open the extracted PHP folder. Click once on the bar that shows the current directory then copy the name of the directory, which should be in this format: C:\php-8.1.6.

In your windows bar, search for “Edit the systems environment property”. Click on the “environment variables” button, click on “Path”, and then click on the edit button below. It opens a space where you can create a new variable.
So click on the new button and then paste the name of the directory you copied earlier (which should be “C:\php-8.1.6”) and click ok for all of them.

To test if PHP is now installed in your computer, search for the command prompt in Windows by using the search keyword cmd . Open it then type php —version and click enter. You should see something similar to this:
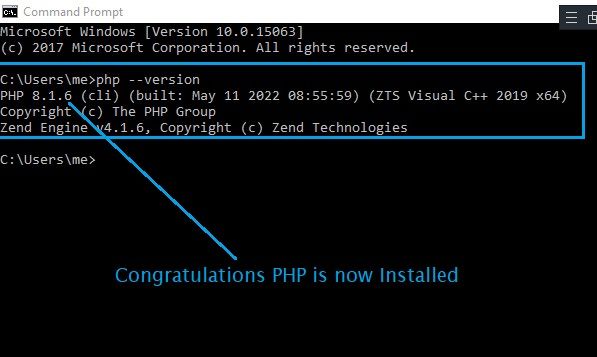
The current version of PHP is installed on our PC as seen in the image above. The next step is to get XAMPP.
What is XAMPP?
The acronym XAMPP stands for cross-platform, Apache, MySQL, PHP, and Perl. XAMPP is a free and open source web server that allows you to develop, test, and build websites on a local server.
Unlike PHP, XAMPP installation is quite simple and uncomplicated. Search for «XAMPP Download» in your browser or go to their website. You should see the current version of XAMPP for Windows, Linux, and OSX when it opens.
Because I’m using a Windows computer, I simply need to click on the one for Windows, and the download should begin.

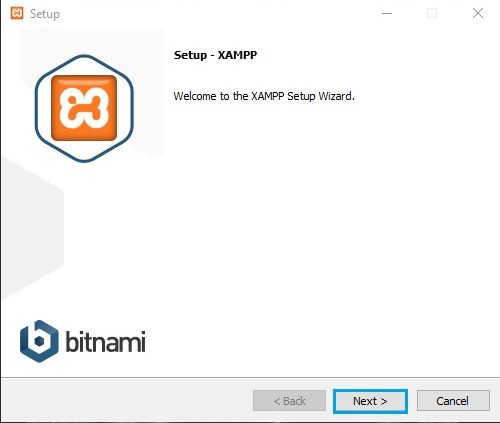
When its done downloading, go to your downloads, right click on the setup file and select “run as administrator”.
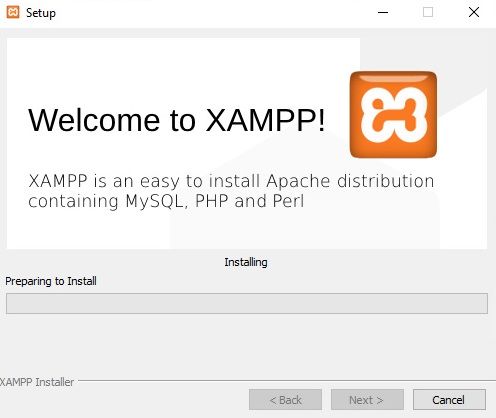
This will take you to the Setup-xampp wizard:
Click next, and you’ll be able to select the components you want:

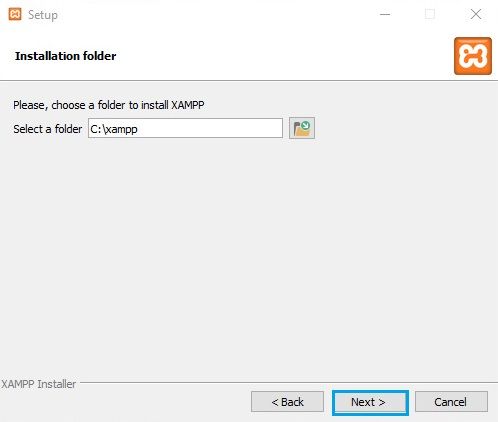
Then you’ll come to the installation folder. You have to select a folder where you want to install XAMPP. I recommend creating a folder in your local disk to install XAMPP.
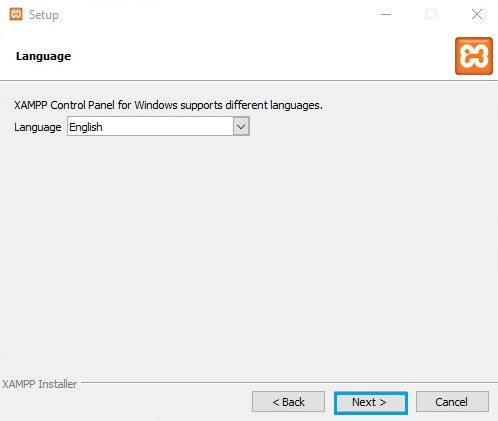
Then you’ll select the language. You can select either English or Deutsch (your choice):
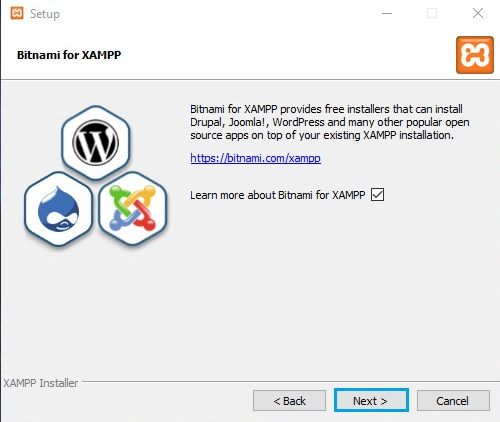
Now you’ll get Bitnami for XAMPP:
And you’re ready to install:

Be patient while the installation process completes. When it’s, done click ok.
Once the installation process is finished, you can now use XAMPP in you project.
Why Do You Need XAMPP?
To run PHP for the web, you will need to install a web server like Apache and a database like MySQL – and both are supported by XAMPP.
XAMPP is a local server that can run smoothly on our personal computer, and is accepted in both Windows and Linux. It also helps you test websites and see if they work before actually publishing them to a web server.
How to Run PHP with XAMPP
To run PHP with XAMPP you will have to go through some steps, and I will break it down so you can understand.
First, open the local storage folder, go to the “xampp” folder and open it. You should see a folder named “htdocs”. Open it then create a new folder in it. In my case I named the folder I created “Demo” (so give your folder the name of your choice).

Next, open your VS code, click on open folder, then go to the location where you saved the folder you created (which in my case I named “Demo”). Create a file with the extension .php – in my case I named mine test.php . The extension .php tells the code editor that we are working on a PHP code/project.

The echo keyword tells the browser to display My Name is Derek while the tells the web browser to format the text to be bold/bigger. Then save it.
After writing the code, open the XAMPP control panel, and start the Apache module by clicking on start under the action section.

Then go to your web browser and in the search bar type localhost/Demo/test.php , then enter. Your web browser should be display this:

If your code was displayed on the web browser, congratulations! You’re up and running.
Conclusion
Thank you very much for following along with this tutorial. I hope you got some value out of this lesson and I hope you’ll try using PHP and XAMPP.
Stay tuned for my next tutorial.
How to run PHP and link to MySQL using XAMPP
I spent 12 hours on the day of my presentation trying to figure this out so if you ask me what was the inspiration behind writing this post, it’s to save someone from this plight.
Installing PHP:
Go to https://www.php.net/downloads.php
I downloaded 7.2, on clicking on the link a zip folder gets downloaded, extract the files inside a folder PHP7 in the C drive. If you use VSCode, change php.validate.executablePath = «C://PHP7//php.exe» in settings.json
Install the Code Runner Extension and run the file from terminal itself.
Installing XAMPP
Go to https://www.apachefriends.org/download.html
and download the latest version of XAMPP, installation process begins, press Finish when it is done. Open XAMPP Control Panel
Press Start for Apache and MySQL modules.
The panel appears like:  Go to your browser and type localhost
If the following screen appears , you have installed XAMPP successfully 
Run PHP Files using XAMPP
Go to C Drive -> xampp -> htdocs -> create a folder and store your php files there. Inside your browser go to localhost/your folder name/path to your php file and you will be able to see your output on the webpage.
Linking PHP to Database
$host = «127.0.0.1»;
$username = «root»;
$pass = «foobar»;
$conn = mysqli_connect($host, $username, $pass, «speed_age»);
if(!$conn)
echo ‘could not connect’.mysqli_error();
> The next error I encountered was root@localhost not connected using password if you do too go to XAMPP Control Panel -> Config button for Apache Module -> phpMyAdmin -> Section under Authentication type and info Change this line as $cfg[‘Servers’][$i][‘password’] = ‘your password’; I have used foobar so I changed it to $cfg[‘Servers’][$i][‘password’] = ‘foobar’; If you get the no database detected error go to Admin in MySQL Module -> Databases -> Create Database -> Give the name as you used in your code , I used speed_age in mine. For creating tables and manipulate data in rows use GUI or go to SQL tab right to Databases and run query. Thank you for reading , this is my first post let me know what you think 🙂