- Tutorial: Add custom CSS to your site
- Prerequisites
- Add custom CSS to your site
- Custom CSS Snippets
- Where do I add this Custom CSS?
- How to Easily Add Custom CSS to Your WordPress Site
- Why Add Custom CSS in WordPress?
- Method 1: Adding Custom CSS Using Theme Customizer
- Method 2: Adding Custom CSS Using the WPCode Plugin
- Method 3: Adding Additional CSS with Full Site Editor (FSE)
- Using a Custom CSS plugin vs Adding CSS in Theme
Tutorial: Add custom CSS to your site
The Styling workspace allows you to edit some of the theme features of your site, such as fonts and colors; however, you may apply your own custom CSS themes.
You can create your own theme by defining a custom CSS file and uploading it to your site.
In this tutorial, you’ll learn how to:
Prerequisites
- A Power Pages subscription or trial. Get a Power Pages trial here.
- A Power Pages site created. Create a Power Pages site.
- A custom theme file created using your favorite CSS editor.
Any custom theme you create must be compatible with Bootstrap v3.
Add custom CSS to your site
The following video shows you how to apply custom CSS code to your site.
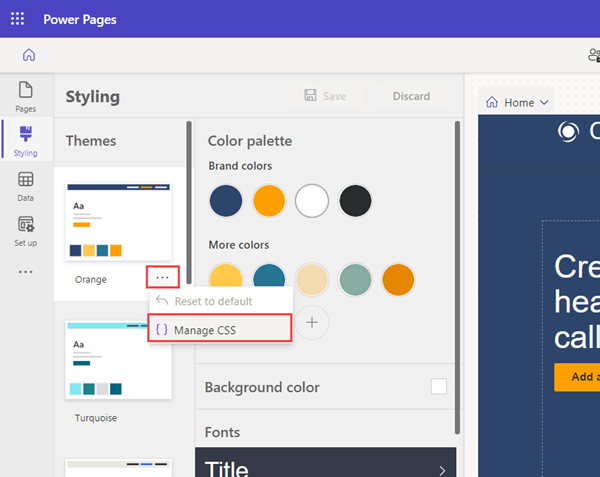
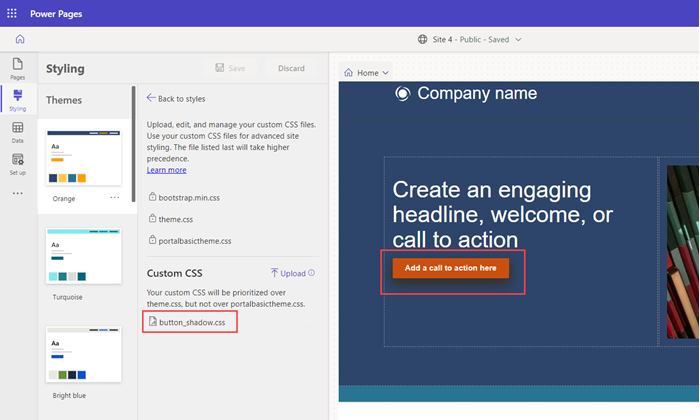
In this example, we’ll add some custom CSS files that will allow us to add shadow effects to buttons on our website. You can use your own custom CSS file or use the sample provided.
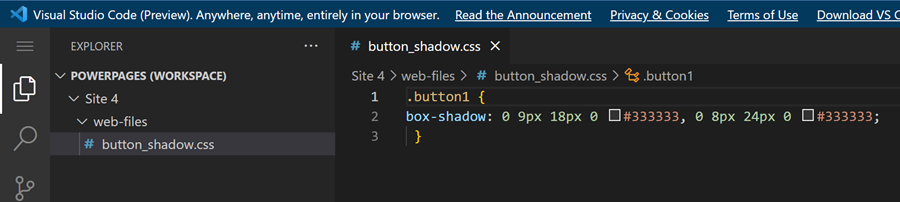
- To create a sample, in your favorite CSS editor, create the button_shadow.css custom theme file and save.
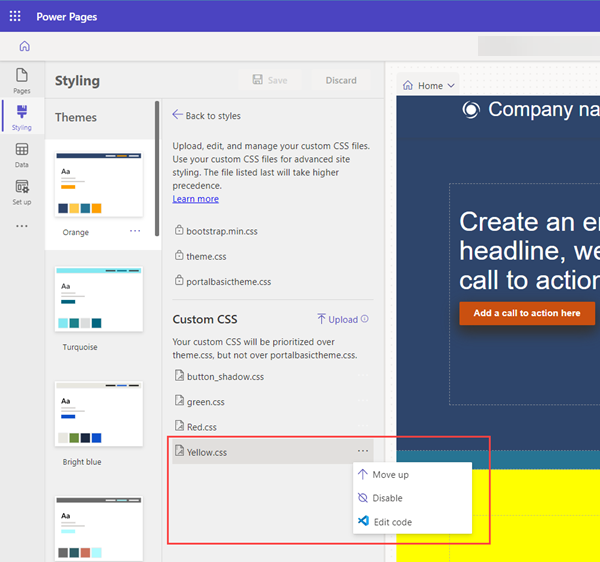
To completely remove the custom theme delete the web file record in the Portal Management app.
Custom CSS Snippets
Custom CSS is a method to add custom code that will override the default styling, colors, or spacing in a specific area of the platform. Using Custom CSS gives you a very high level of customization over the platform that can be very specific to your needs.
Where do I add this Custom CSS?
There are several places you can add Custom CSS, but in this article, we’ll focus on the «general» Custom CSS that will take effect throughout your portal. (and your Custom Login page and Forms which have separate Custom CSS.)
For general CSS, navigate to Flyout Menu > Platform Branding.
CLICK HERE to learn about Platform Branding

In the Advanced section toggle the Enable Advanced Custom CSS button to ON.

For the Custom Login Page, navigate to Flyout Menu > Custom URL & Login (once your Custom Login has been set up).
CLICK HERE to learn about Custom Login

In the Custom CSS section, toggle the Add custom CSS button to ON.

Use this area to enter your Custom CSS code.
Or, you can copy and paste the snippets below (if specified as Custom Login).
For Form CSS, navigate to Forms and click the three dots to reveal the Link /Embed section for the

Click to ‘Add custom CSS’ and then use the area below to ad your CSS code.
Or, you can copy and paste the snippets below.
How to Easily Add Custom CSS to Your WordPress Site
Last updated on March 23rd, 2023 by Editorial Staff | Reader Disclosure Disclosure: Our content is reader-supported. This means if you click on some of our links, then we may earn a commission. See how WPBeginner is funded, why it matters, and how you can support us.
Do you want to add Custom CSS to change the look and feel of your site?.
Adding custom CSS helps you change the layout and appearance of your website, which is not possible through default options. Using FTP is too confusing for most beginners, but there are other ways to add custom CSS.
In this article, we will show you how to easily add custom CSS to your WordPress site without editing any theme files.
Why Add Custom CSS in WordPress?
CSS is short for Cascading Style Sheets and is a language that helps you style your WordPress website. CSS and HTML go together as CSS is used to style different HTML elements like color, size, layout, and display.
Adding custom CSS helps customize the design and appearance of your site, which isn’t possible through the default options. It gives you more control, and you can easily make changes to your WordPress theme with a few lines of code.
For example, let’s say you want to change the background color of each individual post instead of using the same color throughout the website. By adding a custom CSS code, you can personalize the background of a specific post or page.
Similarly, you can change the style and appearance of product categories on your eCommerce store using additional CSS.
That said, let’s take a look at different ways you can add custom CSS to your WordPress website. You can click the link below to jump ahead to any section you’re interested in:
Method 1: Adding Custom CSS Using Theme Customizer
Since WordPress 4.7, users can now add custom CSS directly from the WordPress admin area. This is super-easy, and you will be able to see your changes with a live preview instantly.
First, you need to head over to the Appearance » Customize page from your WordPress dashboard.
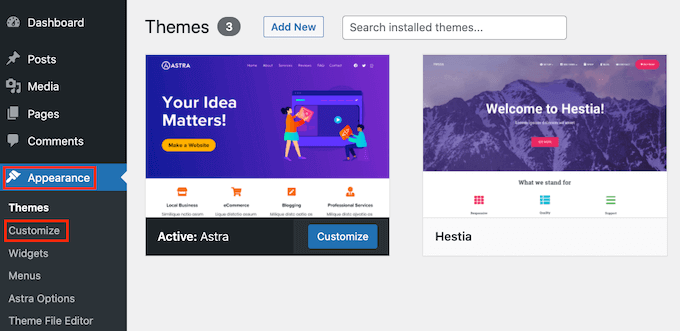
This will launch the WordPress theme customizer interface.
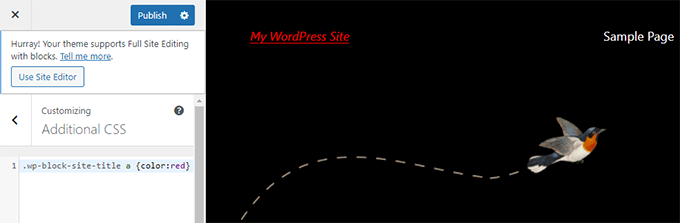
You will see your site’s live preview with a bunch of options on the left pane. Click on the ‘Additional CSS’ tab from the left panel.
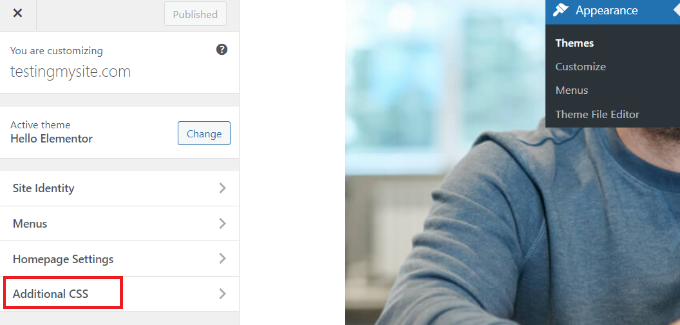
The tab will slide to show you a simple box where you can add your custom CSS. As soon as you add a valid CSS rule, you will be able to see it applied on your website’s live preview pane.
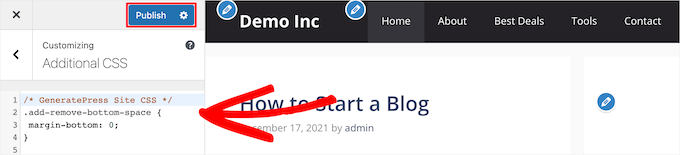
You can continue adding custom CSS code until you are satisfied with how it looks on your site.
Don’t forget to click on the ‘Publish’ button on the top when you are finished.
Note: Any custom CSS that you add using theme customizer is only available with that particular theme. If you would like to use it with other themes, then you will need to copy and paste it to your new theme using the same method.
Method 2: Adding Custom CSS Using the WPCode Plugin
The first method only allows you to save custom CSS for the currently active theme. If you change the theme, then you may need to copy and paste your custom CSS to the new theme.
If you want your custom CSS to be applied regardless of which WordPress theme you are using, then this method is for you.
WPCode is the best custom code snippets plugin on the market, with over 1 million users. It makes it easy to add custom code in WordPress and comes with features like a built-in code snippets library, conditional logic, conversion pixels, and more.
The first thing you need to do is install and activate the free WPCode plugin. If you need help, then please see our guide on how to install a WordPress plugin.
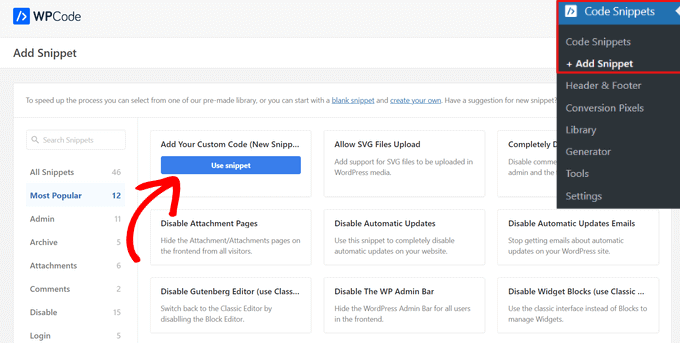
Upon activation, simply go to Code Snippets » + Add New from the WordPress admin dashboard.
Then, hover over the ‘Add Your Custom Code (New Snippet)’ option in the code snippets library, and click the ‘Use snippet’ button.
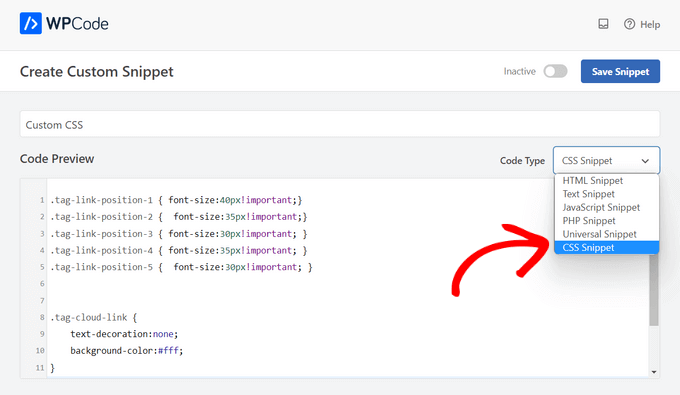
Next, at the top of the page, add a title for your custom CSS snippet. This can be anything that helps you identify the code.
After that, write down or paste your custom CSS into the ‘Code Preview’ box and set the ‘Code Type’ by choosing the ‘CSS Snippet’ option from the dropdown menu.
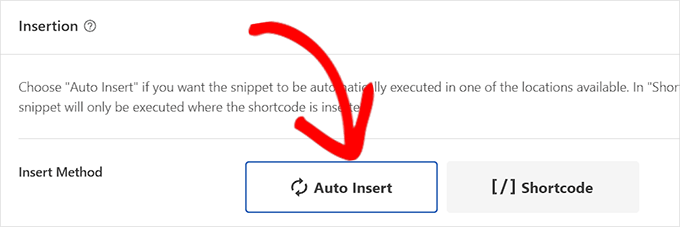
Then, scroll down to the ‘Insertion’ section and select the ‘Auto-Insert’ method if you want to execute the code across your entire WordPress site.
If you only want to execute the code on certain pages or posts, you can choose the ‘Shortcode’ method.
Now, you need to go back to the top of the page and toggle the switch to ‘Active’ and then, click on the ‘Save Snippet’ button.

You can now view your WordPress website to see the custom CSS in action.
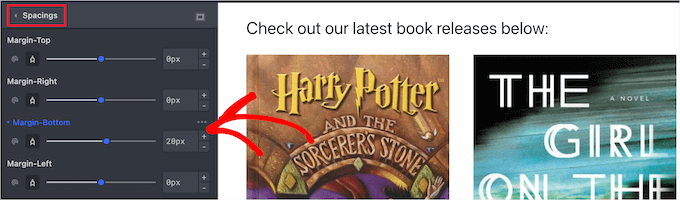
Method 3: Adding Additional CSS with Full Site Editor (FSE)
Another way you can add custom CSS in WordPress is by using the Full Site Editor (FSE). With FSE, you can edit the layout and design of the entire website using the WordPress block editor, just like when editing a blog post or page.
Do note that the full site editor is only available for selected themes. For more details, you can see our article on the best WordPress full site editing themes.
Using a plugin to add CSS is a bit easier. That said, if you prefer to not use a plugin, then we’ll show you how to access the customizer even when it’s no longer available in your admin menu.
All you need to do is log in to your WordPress admin.
Then, simply copy and paste the URL below into your browser, and replace ‘example.com’ with your own website’s domain name.
https://example.com/wp-admin/customize.php
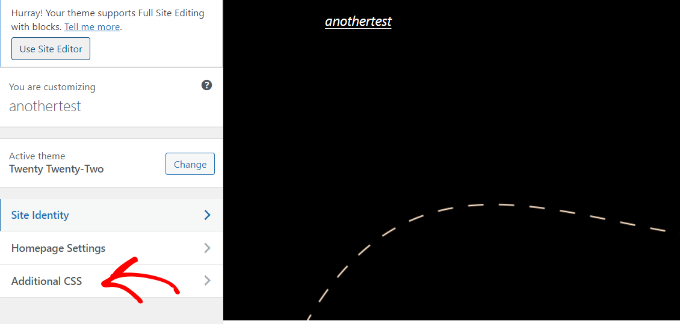
This will bring you to a limited version of the theme customizer. In the menu on the left, you should see the option for adding custom CSS at the bottom.
Simply click the ‘Additional CSS’ tab.
Now go ahead and enter your CSS code under the Additional CSS area.
After adding the code, simply click the ‘Publish’ button.
Using a Custom CSS plugin vs Adding CSS in Theme
All methods described above are recommended for beginners. Advanced users can also add custom CSS directly to their themes.
However, adding custom CSS snippets into your parent theme is not recommended. Your CSS changes will be lost if you accidentally update the theme without saving your custom changes.
The best approach is to use a child theme instead. However, many beginners don’t want to create a child theme. Apart from adding custom CSS, often beginners really don’t know how they will be using that child theme.
Using a custom CSS plugin allows you to store your custom CSS independently from your theme. This way, you can easily switch themes, and your custom CSS will still be there.
Another great way to add custom CSS to your WordPress site is by using the CSS Hero plugin. This wonderful plugin allows you to edit almost every CSS style on your WordPress site without writing a single line of code.
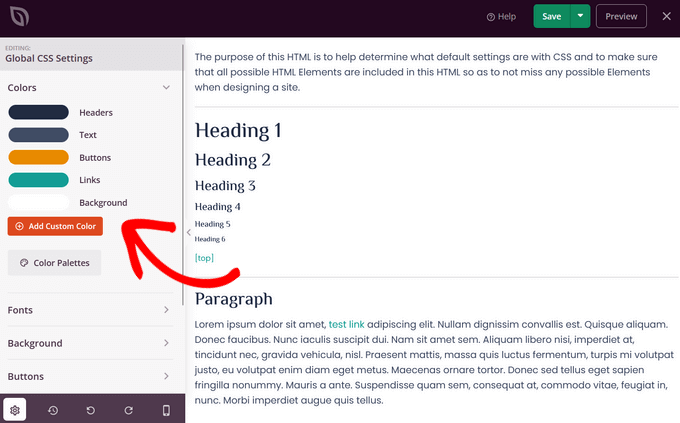
You can also add custom CSS with the SeedProd plugin. SeedProd is a drag and drop website builder that allows you to create custom WordPress themes and landing pages for your WordPress site. You can easily edit the global CSS settings, no code required.
We hope this article helped add custom CSS to your WordPress site. You may also want to see how our guide on how to choose the best web design software, and the best WordPress drag & drop page builder plugins.
If you liked this article, then please subscribe to our YouTube Channel for WordPress video tutorials. You can also find us on Twitter and Facebook.