- Установка Android SDK, Java JDK, Android Studio в Ubuntu
- Инструкции по теме:
- 4 thoughts on “ Установка Android SDK, Java JDK, Android Studio в Ubuntu ”
- Добавить комментарий Отменить ответ
- How to Install Android Studio on Ubuntu (Step by Step Guide)
- Installing Java for Android Studio:
- Installing Android Studio From The Ubuntu Software Center
- Installing Android Studio From The Official Website
- Add to Desktop
Установка Android SDK, Java JDK, Android Studio в Ubuntu
В центре приложений Ubuntu предлагается воспользоваться OpenJDK Java 7 Runtime (JRE), это не подойдёт для работы Android Studio (для Eclipse кстати тоже), нам нужно именно Java JDK, тот самый от компании Oracle.
Возможная ошибка в случае несоответствия пакета Java:
«tool.jar is not in Android Studio classpath. Please ensure JAVA_HOME points to JDK rather than JRE»
Устанавливаем Oracle Java JDK, для этого нужно добавить новый репозиторий в систему:
sudo apt-get install python-software-properties sudo add-apt-repository ppa:webupd8team/java sudo apt-get update
Теперь выбираем нужную версию (если нет конкретных предпочтений, то можно утсановить самую свежую, например Java JDK 8).
Oracle JDK 6
sudo apt-get install oracle-java6-installer
Oracle JDK 7
sudo apt-get install oracle-java7-installer
Oracle JDK 8 (для примера используем эту версию)
sudo apt-get install oracle-java8-installer
Соглашаемся на установку дополнительных пакетов и проверяем установку:
В результате должно получится нечто подобное:
java version «1.8.0_20»
Java(TM) SE Runtime Environment (build 1.8.0_20-b26)
Java HotSpot(TM) 64-Bit Server VM (build 25.20-b23, mixed mode)
Так же можно проверить версию компилятора:
Если нужно использовать в системе определённую версию Java JDK, то ниже описано как это настроить Дополнительные опции установки Java JDK.
Есть хорошая подборка по установке Java в Ubuntu на английском языке How To Install Java on Ubuntu with Apt-Get
Установка Android SDK
Установка достаточно простая, для начала нужно скачать пакет для Linux с официального сайта Get the Android SDK
Нам нужен пакет Linux 32 & 64-bit в разделе SDK Tools Only.
После скачивания распаковываем содержимое в папку /opt. Должно получится /opt/android-sdk-linux
Открыть SDK Manager очень просто, нужно запустить файл /opt/android-sdk-linux/tools/android через консоль или nautilus. В открывшемся окне устанавливаем нужную версию Android API и желательно установить все сервисы Google Play*.
Установка Android Studio
Скачиваем пакет для Linux с официального сайта Getting Started with Android Studio
После скачивания распаковываем содержимое в папку /opt. Должно получится /opt/android-studio
Теперь нужно запустить файл /opt/android-studio/bin/studio.sh через консоль или nautilus. Удобнее всего создать иконку запуска (ярлык) Android Studio на рабочем столе, например так:
touch AndroidStudio.desktop nano AndroidStudio.desktop
с таким содержимым (пути указать в соответсвии со своей установкой):
[Desktop Entry]
Encoding=UTF-8
Terminal=0
Exec=/opt/android-studio/bin/studio.sh
Icon=/opt/android-studio/bin/idea.png
Type=Application
Categories=Development;
StartupNotify=true
Name=AndroidStudio
GenericName=AndroidStudio
файл должен быть исполняемый:
chmod +x AndroidStudio.desktop
После запуска откроется окно выбора проекта, создание нового или клонирование удалённого репозитория. Последний пункт очень распространённый и нужно помнить — чтобы клонировать удалённый git-репозиторий, для начала следует установить Git:
Дополнительные опции установки Java JDK
Просмотр текущих альтернатив Java:
sudo update-alternatives --display java
Ручное указание JAVA_HOME:
Редактируем /etc/environment и добавляем нужный путь JAVA_HOME=/usr/lib/jvm/java-8-oracle
Выбор пакета Java по-умолчанию:
sudo update-alternatives --config java
После выполнения на экране отобразится примерно такое:
Есть 2 варианта для альтернативы java (предоставляет /usr/bin/java). Выбор Путь Приор Состояние --------------------------------------------------------------------------------- * 0 /usr/lib/jvm/java-8-oracle/jre/bin/java 1071 автоматический режим 1 /usr/lib/jvm/java-6-openjdk-amd64/jre/bin/java 1061 ручной режим 2 /usr/lib/jvm/java-8-oracle/jre/bin/java 1071 ручной режим Нажмите enter, чтобы сохранить текущий выбор[*], или введите выбранное число: 0
Инструкции по теме:
4 thoughts on “ Установка Android SDK, Java JDK, Android Studio в Ubuntu ”
есть такая замечательная штука, как java-package (в ubuntu тоже есть) — позволяет паковать православный java от oracle в deb пакет, в итоге получаешь самый свежий jdk из всех возможных
make-jpkg ./jdk-8u5-linux-x64.tar.gz Creating temporary directory: /tmp/make-jpkg.nxk32qfU62 Loading plugins: /usr/share/java-package/common.sh /usr/share/java-package/javase.sh /usr/share/java-package/jdk-doc.sh /usr/share/java-package/jdk.sh /usr/share/java-package/jre.sh /usr/share/java-package/oracle-jdk-doc.sh /usr/share/java-package/oracle-jdk.sh /usr/share/java-package/oracle-jre.sh Detected Debian build architecture: amd64 Detected Debian GNU type: x86_64-linux-gnu Detected product: Java(TM) Development Kit (JDK) Standard Edition, Version 8 Update 5 Oracle(TM) Is this correct [Y/n]:
The Debian package has been created in the current directory. You can install the package as root with: dpkg -i oracle-java8-jdk_8u5_amd64.deb
а смысл щас в 8 версии?если у гугла своя машина которая поддерживает 6 версию языка.Насчет новой вм гугла хз,но это факт только версии андройда 5+
Не могу установить. Она просто не распаковывается м не копируется содержимое ахива в /opt. При запуски .sh долго думает и ничего не происходит((.
Добавить комментарий Отменить ответ
Для отправки комментария вам необходимо авторизоваться.
How to Install Android Studio on Ubuntu (Step by Step Guide)

To run Android Studio smoothly on your machine, you will need:
-
- 4 GB of Disk Space
-
- 8 GB of Memory
-
- Screen resolution of 1200 x 800 or higher
- 64 bit OS architecture capable of running 32-bit type applications
Installing Java for Android Studio:
Before you install the Android Studio IDE, you need to make sure your Ubuntu installation is armed and ready with the recommended Java development kit for Android Studio – Oracle JDK.
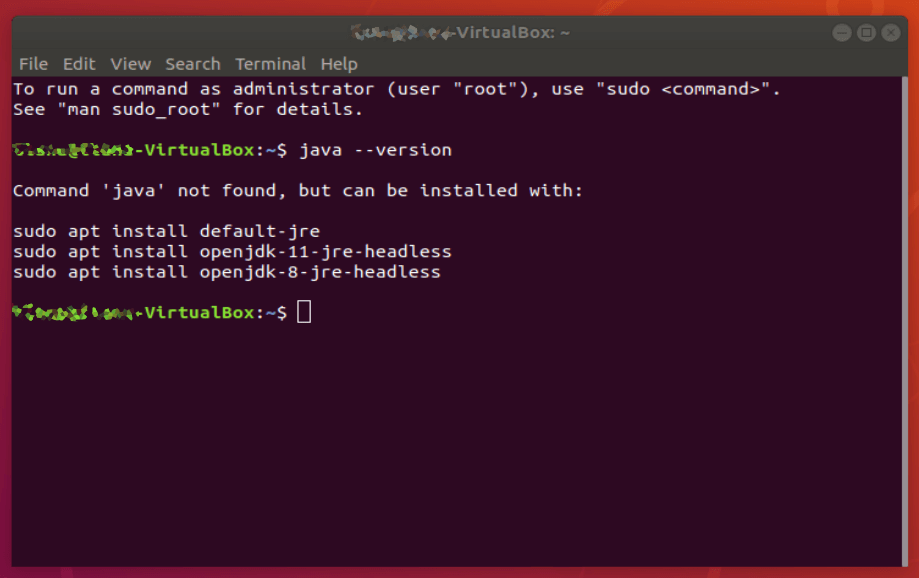
To check the version of Java currently running on your machine, use the terminal to run the following command:If you don’t have Java installed, the output should be something like:
Command ‘java’ not found, but can be installed with: sudo apt install default-jre sudo apt install openjdk-11-jre-headless sudo apt install openjdk-8-jre-headless

This is Ubuntu giving you hints on how to set up one of the default Java engines on your machine. Since Android Studio can be finicky about its Java, we’re going to ignore these options and install the Oracle JDK with the following commands:
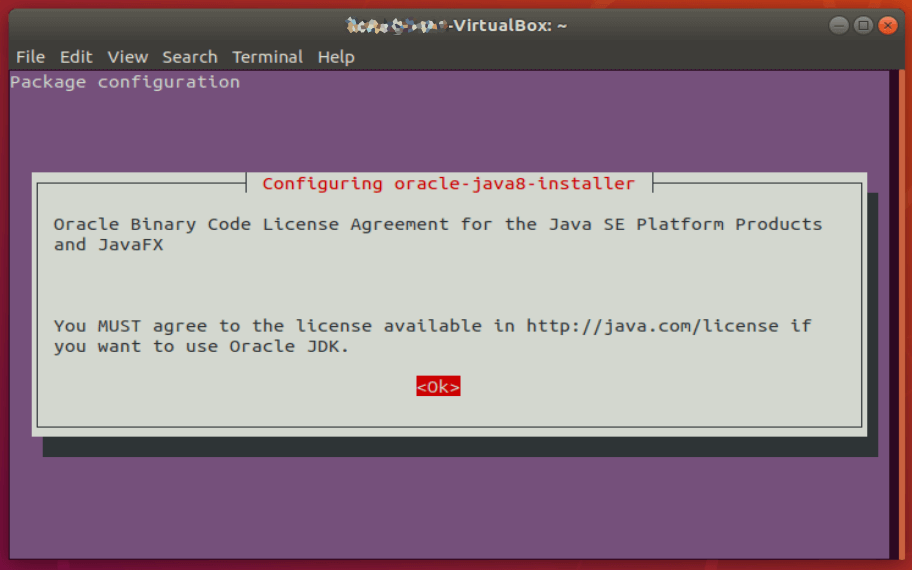
sudo add-apt-repository ppa:webupd8team/java sudo apt-get update sudo apt-get install oracle-java8-installer

The download may take some time, so depending on your internet speed, this might be a good time to get some Java (or other caffeinated beverage) of your own. Once the download and installation are done, make sure to set the Oracle Java as the default:
sudo apt-get install oracle-java8-set-defaultNext, verify the installation by typing:
The result you should get is something like:
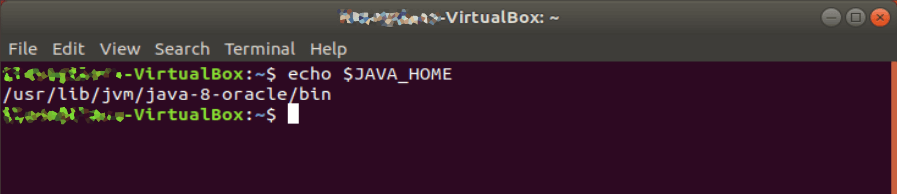
Make sure to note the path of your Java installation. If you followed the instructions above, it will be /usr/lib/jvm/java-8-oracle/bin .
Finally, you will need to set the JAVA_HOME environment variable in Ubuntu to the location of your JDK installation. To do that, you will need to edit the .bashrc file. Switch to root by typing:To edit the bash file, enter:

At the very end of the file, after the last fi, add the following lines:
JAVA_HOME=/usr/lib/jvm/java-8-oracle/bin export JAVA_HOME PATH=$PATH:$JAVA_HOME export PATH

Save the bash file, restart the terminal, and type echo $JAVA_HOME to make sure the path is properly set.
Installing Android Studio From The Ubuntu Software Center
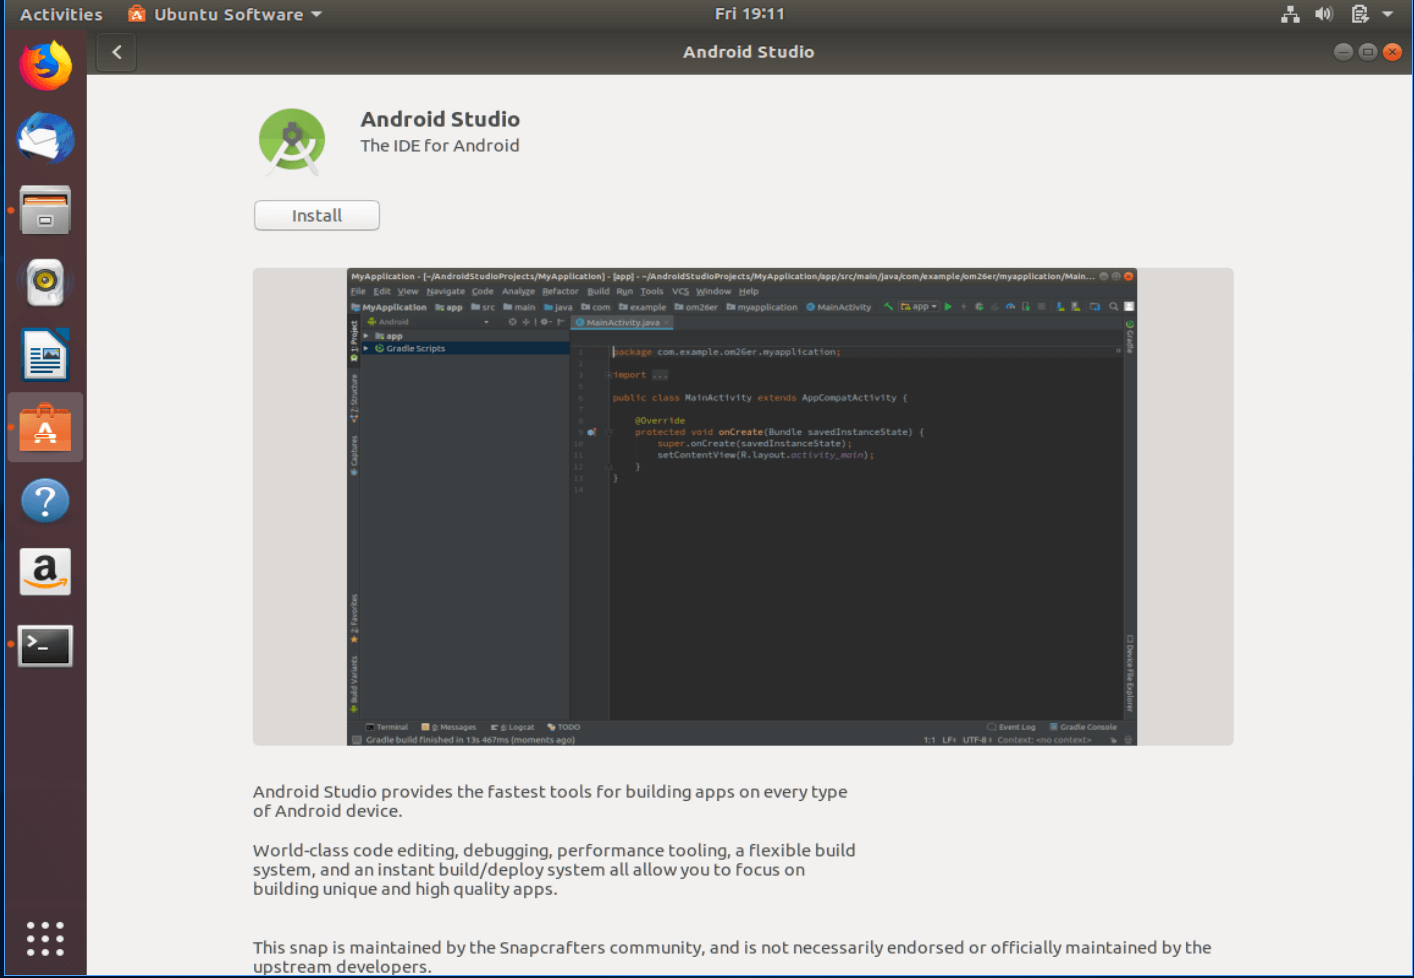
Linux is traditionally used in CLI (command line interface) mode (or terminal), but Ubuntu is working hard to make Linux accessible even to those of us raised on Windows and Mac and unused to typing commands. Part of that effort was including popular software packages and apps in the Ubuntu version of the app store – the Software Center – in the form of Snap packages. The installation process is really as easy as it gets.

Locate the Ubuntu Software Center icon in your taskbar and use the search functionality to find Android Studio. Click install and let it download and run initial setup.
Once done, click Launch to run the Setup Wizard and proceed to download additional components and packages to complete the installation. Note that this too may take some time (depending on the speed of your connection and components you chose to install) so go ahead and grab another cup of coffee.
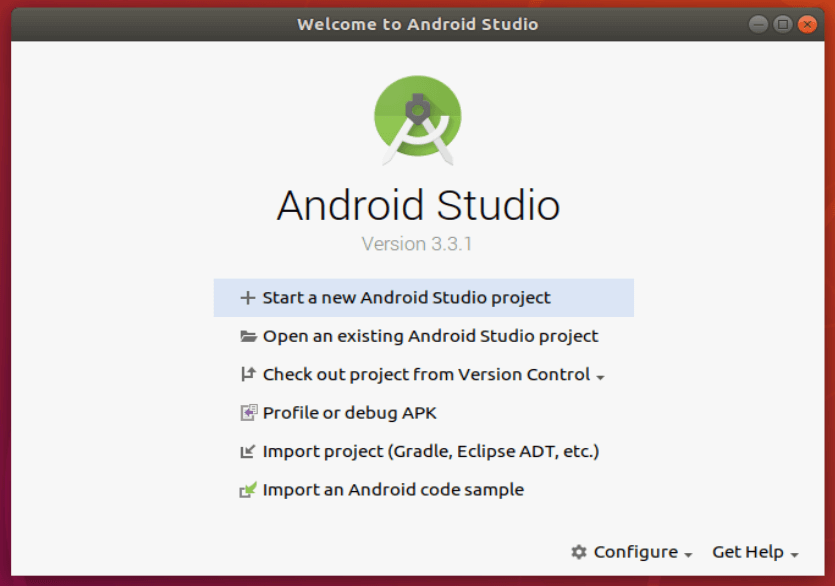
Upon completion, you will be able to start using Android Studio with a new or existing project.
Installing Android Studio From The Official Website

If you prefer the official download over the community-maintained Snap, you can download and install Android Studio manually and according to the instructions released by Google.
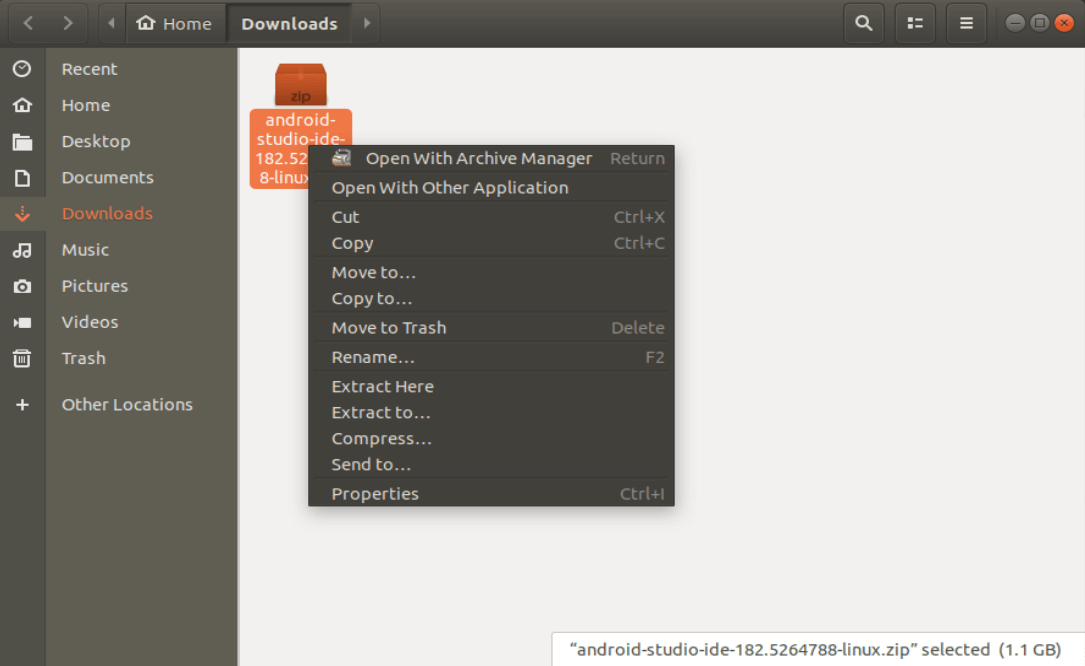
Start by downloading the Linux package of Android Studio from the Google website. Yup, it’s time to get some coffee while the 1 GB file downloads.
Right click the zip file in the file browser and choose “Extract Here”. You can move the file out of the Downloads folder later, if you wish.
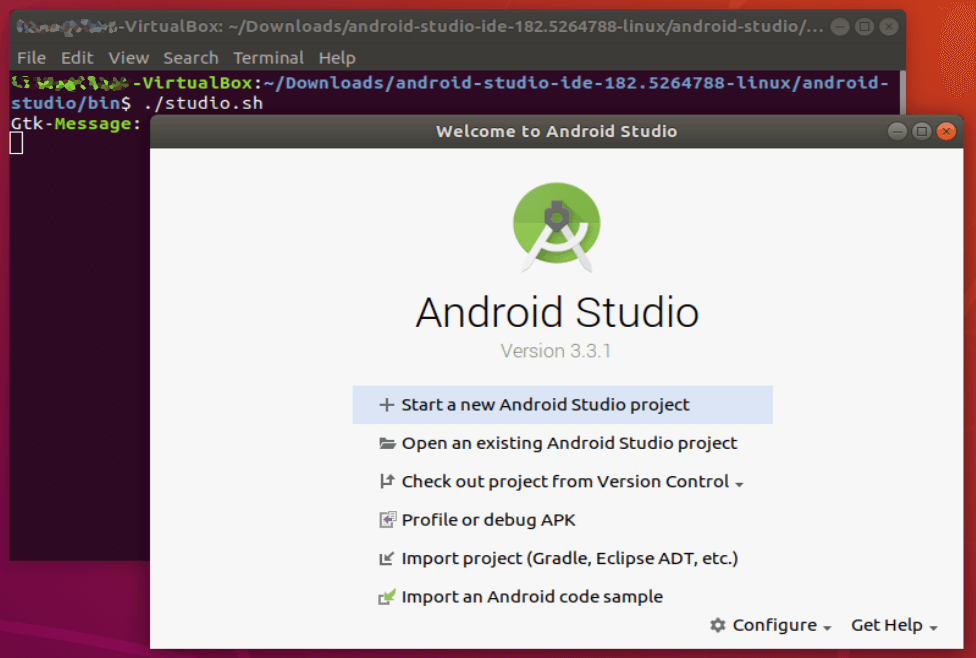
Navigate to the android-studio/bin/ directory, and open a terminal by right clicking and choosing “Open in Terminal”.
In the terminal, execute studio.sh by entering:
If you have previous Android Studio settings you’d like to import, select them now. If not, proceed with new setting and click OK.
The Setup Wizard will launch, and proceed to download additional components and packages to complete the installation. Note that this too may take some time (depending on the speed of your connection and components you chose to install) so go ahead and grab another cup of coffee.
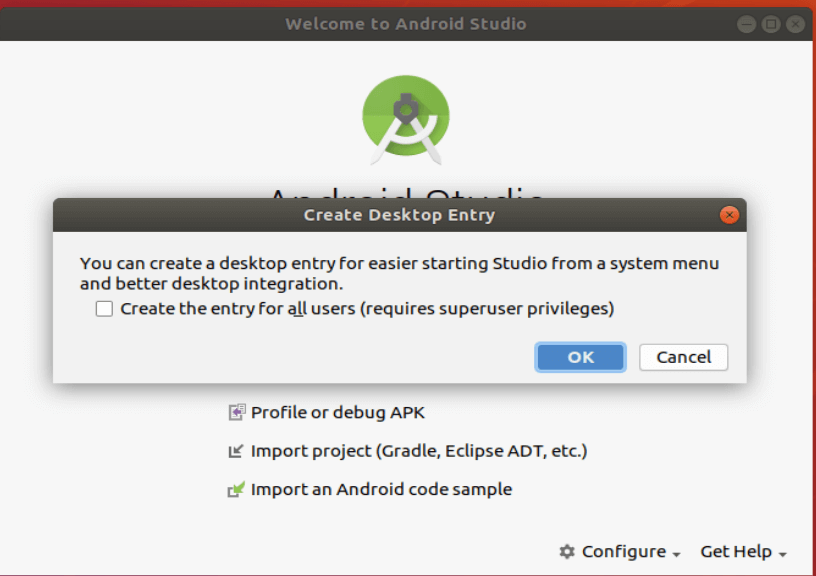
Once all the components you selected finish downloading, the app will launch and you can start working on your code.Add to Desktop

To make sure you can access the app quickly and without the terminal, choose “Configure” on the bottom right and “Create Desktop Entry”.
Caffeinated enough from the download and installation process? Good! Now get coding.
The following article is brought to you by Tabnine — an AI-powered tool that uses generative models to improve software development

When to use and when not to use Confluence.
The rise of generative AI: how it’s transforming industries and unlocks new op.
8 best podcasts for managing dev teams.
The 8 biggest software engineering challenges your team faces.
Why you should integrate AI into your dev processes, sooner rather than later.
More from Android Studio
16 Key Tools and Resources For Android Development
4 Best Android Libraries for Lazy Image Loading
Kotlin Multiplatform: The Secret to Kotlin’s Rising Popularity
Top 17 Plugins for Android Studio

There are hundreds of plugins out-there for Android Studio and the number grows daily. This…

Kotlin is quickly becoming one of the most popular programming languages. Most programming bloggers now…

Android development is one of the most popular fields of software development. Currently, 75.16% of…