- Eyes Tracking with mediapipe
- The Code Base
- How to Extract Eyes from frame/Image
- A simple way of creating a mask.
- Writing Eyes on the mask
- Cropping Custom shape
- Finding Max and Min Values for Eyes
- Cropping Eyes
- Eyes Extractor Function
- Position Estimator
- Here is the complete code for the Eyes position estimator
- The Pixel Counter
- Complete Funciton Code:
- Saved searches
- Use saved searches to filter your results more quickly
- stepacool/Eye-Tracker
- Name already in use
- Sign In Required
- Launching GitHub Desktop
- Launching GitHub Desktop
- Launching Xcode
- Launching Visual Studio Code
- Latest commit
- Git stats
- Files
- README.md
Eyes Tracking with mediapipe
How to estimate where the eyes are looking at, with mediapipe and OpenCV python.
This is the continuation of the last post, on eyes blink detector and counter,
The Code Base
The entire source code will be available on the Github repository Eyes Position Estimator mediapipe , Here you will find source code for the different parts because I have created an entire video tutorial on each topic, from basic landmarks detection to the Eyes Position Estimator.
- Masking
- Cropping the Shape
- Cropping Custom Shape
- Denoise
- thresholding ( converting image to binary image)
- Counting Pixels, using Numpy
- Draw Custom Shape
How to Extract Eyes from frame/Image
Here we gonna crop out the eyes only from the frame, it would be true for any custom shape. First All we need to create an empty image(mask) that could be achieved using NumPy’s zeros function, it takes in, image size and bit-depth(memory size each pixel) that would be unsigned-int8 (uint8),
A simple way of creating a mask.
basically, you can create a colour or grayscale mask, you only need the dimension of (size of mask ), end the end mask nothing but image having black pixel.
here you can see we converting image to grayscale using Opencv function cvtColor basically you can convert BGR image to any type of RGB, BGRA, RGBA many more.
gray = cv.cvtColor(img, cv.COLOR_BGR2GRAY) 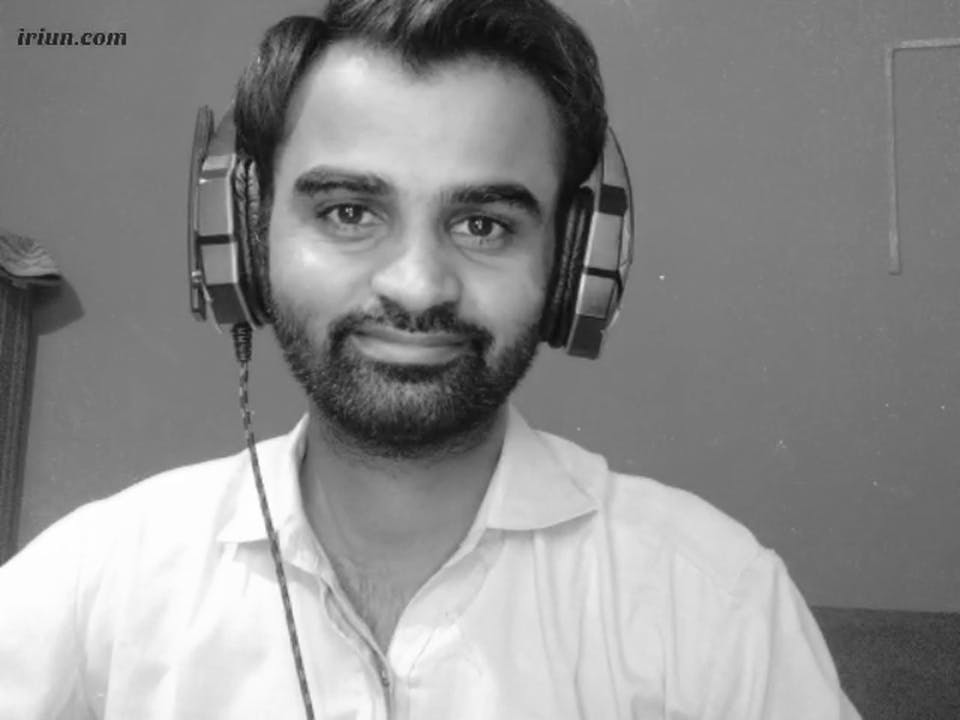
Gray Scale image as input we need the size of the image to create a mask, here find the size image, since the image is nothing but NumPy array in Opencv, so we can use shape attribute here, find the dimension of the image, the dimension of image include on another factor, which colour-channels since we are using Grayscale image, which has any other channel, no need here
creating a mask is simple just you have to call the zeros function from NumPy here
mask = np.zeros(dim, dtype=np.uint8) to extract any shape, first of all, you need to draw that particular shape on the mask, in white colour like here I did here, basically, here we are using OpenCV’s function fillPoly which draw a custom shape, just need NumPy array with type in32, the right_eye_coords is nothing but a list of Tuples, contain the coordinate eyes landmarks since our goal is to extract eyes here, so one can observe that drawing custom shapes for both eyes here, The list converts into NumPy array, we are drawing this on the mask.
cv.fillPoly(mask, [np.array(right_eye_coords, dtype=np.int32)], 255) cv.fillPoly(mask, [np.array(left_eye_coords, dtype=np.int32)], 255) 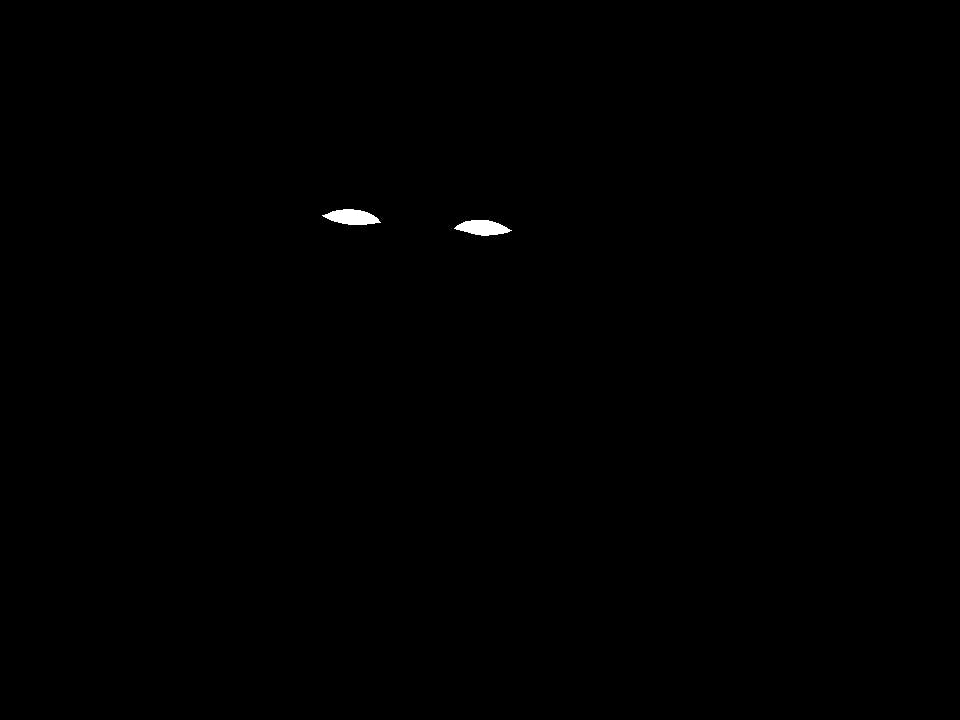
Draw Eyes landmarks shapes, with White Color
Writing Eyes on the mask
we draw the eyes shape as a white colour shape on the mask, so can right the grayscale image where the mask is white, there is function OpenCV, bitwase_and which will ignore all the black pixel, write the image where the pixels are white, so eyes will be written on the mask, from the grayscale image.
eyes = cv.bitwise_and(gray, gray, mask=mask) 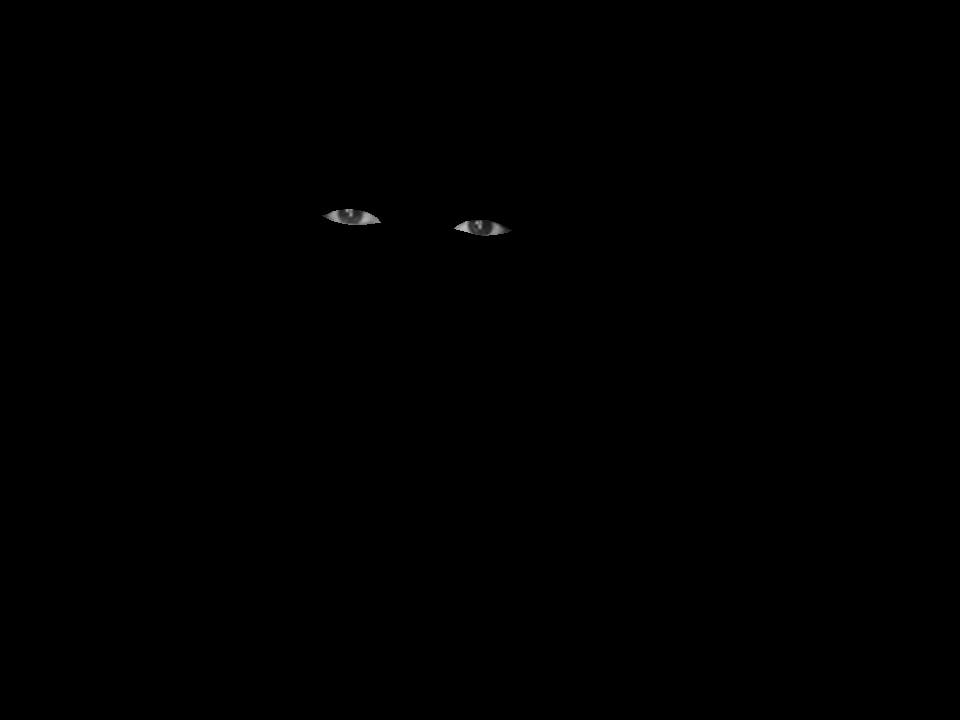
Eyes Draw on the mask
Cropping Custom shape
since we have no option to create Random shapes like eyes, we follow a simple approach that allows us to crop any shape. First of all, we need to find maximum-x, y and minimum-x,y, since we already have the coordinate of shape in the list of tuples, need to get the max and min Values, here we are using the lambda function to find min and max in the list of tuples,
Finding Max and Min Values for Eyes
#Right Eyes r_max_x = (max(right_eye_coords, key=lambda item: item[0]))[0] r_min_x = (min(right_eye_coords, key=lambda item: item[0]))[0] r_max_y = (max(right_eye_coords, key=lambda item : item[1]))[1] r_min_y = (min(right_eye_coords, key=lambda item: item[1]))[1] # For LEFT Eye l_max_x = (max(left_eye_coords, key=lambda item: item[0]))[0] l_min_x = (min(left_eye_coords, key=lambda item: item[0]))[0] l_max_y = (max(left_eye_coords, key=lambda item : item[1]))[1] l_min_y = (min(left_eye_coords, key=lambda item: item[1]))[1] Cropping Eyes
You need min_height, max_hieght, min_width and max_width
#Right Eye cropped_right = eyes[r_min_y: r_max_y, r_min_x: r_max_x] #Left Eye cropped_left = eyes[l_min_y: l_max_y, l_min_x: l_max_x] Right Eyes  Left Eyes
Eyes Extractor Function
This Function, Extract the eyes from the input image, It requires the coordinates of the left and right eyes, a list of Tuples, which is explained in, earlier blog post.
This function simply returns the cropped eyes left and right, as the image
def eyesExtractor(img, right_eye_coords, left_eye_coords): # converting a colour image to a scale image gray = cv.cvtColor(img, cv.COLOR_BGR2GRAY) # getting the dimension of image dim = gray.shape # creating mask from gray scale dim mask = np.zeros(dim, dtype=np.uint8) # drawing Eyes Shape on mask with white color cv.fillPoly(mask, [np.array(right_eye_coords, dtype=np.int32)], 255) cv.fillPoly(mask, [np.array(left_eye_coords, dtype=np.int32)], 255) # showing the mask # cv.imshow('mask', mask) # draw eyes image on mask, where white shape is eyes = cv.bitwise_and(gray, gray, mask=mask) # change black color to gray other than eys # cv.imshow('eyes draw', eyes) eyes[mask==0]=155 # getting minium and maximum x and y for right and left eyes # For Right Eye r_max_x = (max(right_eye_coords, key=lambda item: item[0]))[0] r_min_x = (min(right_eye_coords, key=lambda item: item[0]))[0] r_max_y = (max(right_eye_coords, key=lambda item : item[1]))[1] r_min_y = (min(right_eye_coords, key=lambda item: item[1]))[1] # For LEFT Eye l_max_x = (max(left_eye_coords, key=lambda item: item[0]))[0] l_min_x = (min(left_eye_coords, key=lambda item: item[0]))[0] l_max_y = (max(left_eye_coords, key=lambda item : item[1]))[1] l_min_y = (min(left_eye_coords, key=lambda item: item[1]))[1] # croping the eyes from mask cropped_right = eyes[r_min_y: r_max_y, r_min_x: r_max_x] cropped_left = eyes[l_min_y: l_max_y, l_min_x: l_max_x] # returning the cropped eyes return cropped_right, cropped_left Position Estimator
This function takes in cropped as input argument and returns position, alongside colour for foreground and background of the text.
here we find the width and height of eyes using the shape attribute, cause the image is NumPy array.
Removing any noise in the image, with Gaussian blur and median blur.
gaussain_blur = cv.GaussianBlur(cropped_eye, (9,9),0) median_blur = cv.medianBlur(gaussain_blur, 3) applying a threshold to denoised image, which converts grayscale image to binary image(having black(0) and white(255) pixels only), you can set min and max threshold values to, change in between values to a binary image, it is an OpenCV function that takes in the image(median_blur), min and max, thresholding values(130, 255), and type of thresholding (THRESH_BINARY)
ret, threshed_eye = cv.threshold(median_blur, 130, 255, cv.THRESH_BINARY) Dividing the eye into Three parts is identical to, we did cropping earlier, here we keep the height the same, just we are dividing the width into three parts.
piece = int(w/3) right_piece = threshed_eye[0:h, 0:piece] center_piece = threshed_eye[0:h, piece: piece+piece] left_piece = threshed_eye[0:h, piece +piece:w Now we are calling the pixel counter function which will return eyes position and a list of colours, for each position, which takes three parts of eyes, as an argument, we will create that function after this.
eye_position, color = pixelCounter(right_piece, center_piece, left_piece) Here is the complete code for the Eyes position estimator
def positionEstimator(cropped_eye): # getting height and width of eye h, w =cropped_eye.shape # remove the noise from images gaussain_blur = cv.GaussianBlur(cropped_eye, (9,9),0) median_blur = cv.medianBlur(gaussain_blur, 3) # applying thrsholding to convert ret, threshed_eye = cv.threshold(median_blur, 130, 255, cv.THRESH_BINARY) # create fixd part for eye with piece = int(w/3) # slicing the eyes into three parts right_piece = threshed_eye[0:h, 0:piece] center_piece = threshed_eye[0:h, piece: piece+piece] left_piece = threshed_eye[0:h, piece +piece:w] # calling pixel counter function eye_position, color = pixelCounter(right_piece, center_piece, left_piece) return eye_position, color The Pixel Counter
This function will count the black pixel for each part of the eyes(right, center, left), find us the maximum black pixel, on the base of that it will decide and return the position of eyes, alongside the colour list.
Counting Pixels. checking if any pixel in each part, then summing the up and storing into a variable, using NumPy’s function sum
right_part = np.sum(first_piece==0) center_part = np.sum(second_piece==0) left_part = np.sum(third_piece==0) create a list of pixel total pixels in each part,
eye_parts = [right_part, center_part, left_part] finding the index of maximum black pixel item of the list,
max_index = eye_parts.index(max(eye_parts)) based on each index, assigning position and color, using simple if and Elif logics
pos_eye =' ' if max_index==0: pos_eye="RIGHT" color=[utils.BLACK, utils.GREEN] elif max_index==1: pos_eye = 'CENTER' color = [utils.YELLOW, utils.PINK] elif max_index ==2: pos_eye = 'LEFT' color = [utils.GRAY, utils.YELLOW] else: pos_eye="Closed" color = [utils.GRAY, utils.YELLOW] Complete Funciton Code:
def pixelCounter(first_piece, second_piece, third_piece): # counting black pixel in each part right_part = np.sum(first_piece==0) center_part = np.sum(second_piece==0) left_part = np.sum(third_piece==0) # creating list of these values eye_parts = [right_part, center_part, left_part] # getting the index of max values in the list max_index = eye_parts.index(max(eye_parts)) pos_eye ='' if max_index==0: pos_eye="RIGHT" color=[utils.BLACK, utils.GREEN] elif max_index==1: pos_eye = 'CENTER' color = [utils.YELLOW, utils.PINK] elif max_index ==2: pos_eye = 'LEFT' color = [utils.GRAY, utils.YELLOW] else: pos_eye="Closed" color = [utils.GRAY, utils.YELLOW] return pos_eye, color these are the function that I have explained, if you need complete source code just go over to my Github repository Eyes Position Estimator mediapipe You can also find Video Tutorial on this project.
I am new to writing, blog post, help me improve writing, by providing feedback in comments, I would love to see, few suggestions. thank you so much, have a nice day
Saved searches
Use saved searches to filter your results more quickly
You signed in with another tab or window. Reload to refresh your session. You signed out in another tab or window. Reload to refresh your session. You switched accounts on another tab or window. Reload to refresh your session.
Eye tracking using OpenCV, Python.
stepacool/Eye-Tracker
This commit does not belong to any branch on this repository, and may belong to a fork outside of the repository.
Name already in use
A tag already exists with the provided branch name. Many Git commands accept both tag and branch names, so creating this branch may cause unexpected behavior. Are you sure you want to create this branch?
Sign In Required
Please sign in to use Codespaces.
Launching GitHub Desktop
If nothing happens, download GitHub Desktop and try again.
Launching GitHub Desktop
If nothing happens, download GitHub Desktop and try again.
Launching Xcode
If nothing happens, download Xcode and try again.
Launching Visual Studio Code
Your codespace will open once ready.
There was a problem preparing your codespace, please try again.
Latest commit
Git stats
Files
Failed to load latest commit information.
README.md
Modular, Extensible Eye-Tracking solution Youtube Video Demonstration

A very accurate eye-tracking software.
- Cross-platform
- Works with glasses
- Does not require high-end hardware, works well even with a 640*480 webcam
- Uses blob detection algorithm, but earlier versions used circle detection too.
- Highly extensible/flexible
- New image sources or capture sources can easily be added
$ python3 -m venv venv $ source venv/bin/activate $ pip install poetry $ poetry install $ cd project $ python main.py $ python3 -m venv venv $ venv\Scripts\activate.bat $ pip install poetry $ poetry install $ cd project $ python main.py - —frame-source allows you to specify the source of your frames. Currently available options are: camera , folder , file . Defaults to camera
camera means images will come from your device’s camera
folder means images will come one-by-one from your DEBUG_DUMP_LOCATION setting folder in settings.py with the interval of REFRESH_PERIOD
file means the image will be static, good for debugging or development. Path can be specified in the STATIC_FILE_PATH setting
- There are some Environment variables that can be specified to change the behaviour. Like DEBUG_DUMP to set whether a dump should be made when the program crashes