- CSS Tooltip
- Basic Tooltip
- Example
- Example Explained
- Positioning Tooltips
- Creating beautiful tooltips with only CSS
- Creating the tooltip
- Positioning tooltips
- Over 200k developers use LogRocket to create better digital experiences
- Adding arrows
- Animating the tooltip
- Conclusion
- Is your frontend hogging your users’ CPU?
- CSS Tooltip
- Basic Tooltip
- Example
- Example Explained
- Positioning Tooltips
CSS Tooltip
A tooltip is often used to specify extra information about something when the user moves the mouse pointer over an element:
Basic Tooltip
Create a tooltip that appears when the user moves the mouse over an element:
Example
/* Tooltip text */
.tooltip .tooltiptext visibility: hidden;
width: 120px;
background-color: black;
color: #fff;
text-align: center;
padding: 5px 0;
border-radius: 6px;
/* Position the tooltip text — see examples below! */
position: absolute;
z-index: 1;
>
/* Show the tooltip text when you mouse over the tooltip container */
.tooltip:hover .tooltiptext visibility: visible;
>
Example Explained
HTML: Use a container element (like ) and add the «tooltip» class to it. When the user mouse over this , it will show the tooltip text.
The tooltip text is placed inside an inline element (like ) with class=»tooltiptext» .
CSS: The tooltip class use position:relative , which is needed to position the tooltip text ( position:absolute ). Note: See examples below on how to position the tooltip.
The tooltiptext class holds the actual tooltip text. It is hidden by default, and will be visible on hover (see below). We have also added some basic styles to it: 120px width, black background color, white text color, centered text, and 5px top and bottom padding.
The CSS border-radius property is used to add rounded corners to the tooltip text.
The :hover selector is used to show the tooltip text when the user moves the mouse over the with class=»tooltip» .
Positioning Tooltips
In this example, the tooltip is placed to the right ( left:105% ) of the «hoverable» text (). Also note that top:-5px is used to place it in the middle of its container element. We use the number 5 because the tooltip text has a top and bottom padding of 5px. If you increase its padding, also increase the value of the top property to ensure that it stays in the middle (if this is something you want). The same applies if you want the tooltip placed to the left.
Creating beautiful tooltips with only CSS
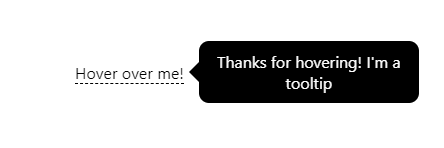
Have you seen those boxes with extra descriptions when you hover on a text?
Those are tooltips! Even thought it can seem intimidating to start creating your first tooltip, you actually only need to know basic CSS.
This article will show you how to create beautiful tooltips with only CSS.
First, let’s start with a element with tooltip class and add an anchor text.
Creating the tooltip
I promised only to use CSS — no additional HTML elements.
How can we create the tooltip in that way? If your guess was :before or :after pseudo elements, you are correct.
Where do you define the tooltip text? One might say to define directly in the content property of the pseudo elements.
However, it will make things more difficult to handle.
For example, if you need to add several tooltips, you’ll always need to add more CSS rules and define content. So, here we are going to use HTML custom data attributes to define the text.
Let’s add tooltip text as the data-text attribute to our tooltip span. (You can use whatever name prefixed by data- . Moreover, you can even drop the prefix in some cases.)
Now, we can add CSS rules to style the container:
Finally, we are going to create the tooltip text, which is positioned on the right side:
content: attr(data-text) is the magic here. This takes the data-text attribute of the parent element and uses it as the content.
Tooltip text is positioned absolute , and it is relative to the .tooltip element.
Final rule: showing the tooltip text when hovering:
You just created your first tooltip! Next, let’s see how we can improve on this.
Positioning tooltips
In the above example, we positioned the tooltip on the right. But what if we want to put the tooltip in a different place? We can use additional classes to define other positions.

Over 200k developers use LogRocket to create better digital experiences
![]()
Learn more →
You can use the same method to create classes for bottom and top positions. Additionally, you’ll need to reset the top value and override the transform value accordingly.
Adding arrows
Usually, CSS tooltips has arrows pointing towards the anchor text.
Thankfully, we have another pseudo element that can be used to make arrows.
Here’s the code for an arrow on a right-aligned tooltip:
.tooltip:after < content: ""; position:absolute; /* position tooltip correctly */ left:100%; margin-left:-5px; /* vertically center */ top:50%; transform:translateY(-50%); /* the arrow */ border:10px solid #000; border-color: transparent black transparent transparent; display:none; >.tooltip:hover:before, .tooltip:hover:after
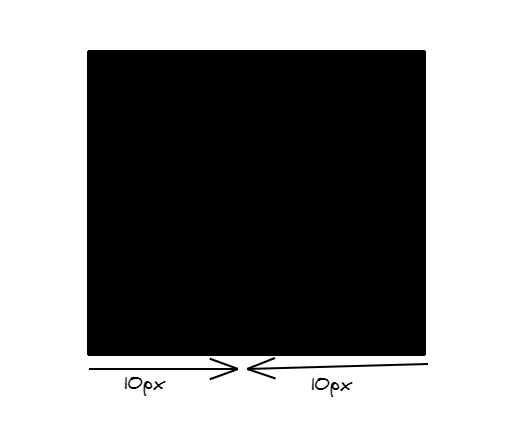
The trick here is to set a border. border: 10px solid #000; creates a border with 10px width.
Since we haven’t defined the width and height for .tooltip:after , width and height is equal to two times the border width:
What if we set the border color of each side to different colors?
border-color: blue black red green;

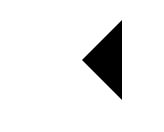
Guess what? Setting all colors to transparent except one side makes the arrow we need.
border-color: transparent black transparent transparent;
Why do we use margin-left:-5px ?
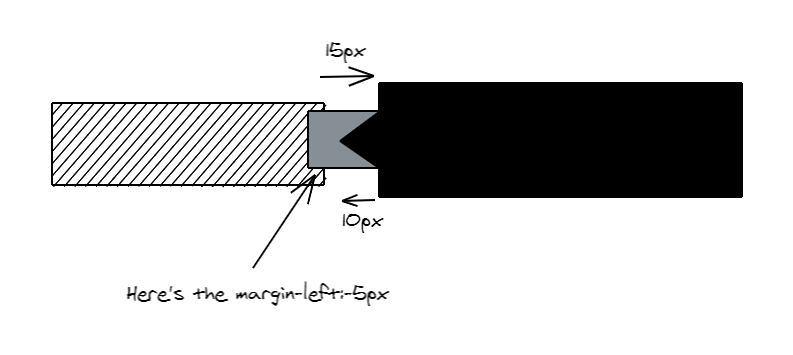
When we set a border width to 10px , the total width become 20px . We use margin-left to position the arrow correctly (note that we used margin-left:15px in the tooltip).
How do we get rid of this annoying margin? Easy!
Set the border width to half of the tooltip’s left margin ( 7.5px in our case). I intentionally made it 10px to show you how to deal with the above situation. Now you’re familiar with both.
Creating arrows for other positions (left, top, and bottom) is done in the same way. Positioning them requires the same approach we used in .tooltip.left:before .
Animating the tooltip
A common animation to use for tooltips is the fade-in.
You can also use other animations like zoom-in or bounce, but I personally think they are too much for a tooltip.
Let’s see how to add fade-in animation to our CSS tooltip.
The best method would be to use opacity and transition . There are several advantages of using these instead of CSS animations.
First off, they’re easy to implement. Secondly, you won’t have to worry about fade-out animation — opacity and transition does that for us.
Instead of setting display:none on the tooltip by default, we are going to use opacity:0 . We’re going to set the transition time we need:
opacity:0 makes the tooltip transparent. Additionally, transition: .3s opacity tells the CSS engine to make a transition effect for 0.3 seconds when the opacity changes.
When you hover over the tooltip, opacity is set to 1 (fully visible). The browser will automatically create both fade-in and fade-out animations for you because we have already set an opacity transition.
You can add the same animation to the tooltip arrow:
.tooltip:after < opacity:0; transition:.3s; >.tooltip:hover:after
Conclusion
In this article, we created a tooltip with only CSS (without extra HTML elements).
We used :before as the tooltip text and :after as the arrow. Now you understand that writing nested HTML elements below for simple tooltips isn’t necessary.
Hover over me Some tooltip text However, our approach has one downside: what if we need to add a link to the tooltip text?
Positioning, adding arrows, and animating those HTML tags is similar to what we did in this article. The only changes are:
- .tooltip:before becomes .tooltip-text
- tooltip:after becomes .tooltip-text:before or .tooltip-text:after .
In conclusion, we mainly used pseudo elements and content:attr() to create CSS tooltips. To add arrows, we used a trick with border . To animate it, we used opacity and transition .
The final result was a CSS-only tooltip.
Is your frontend hogging your users’ CPU?
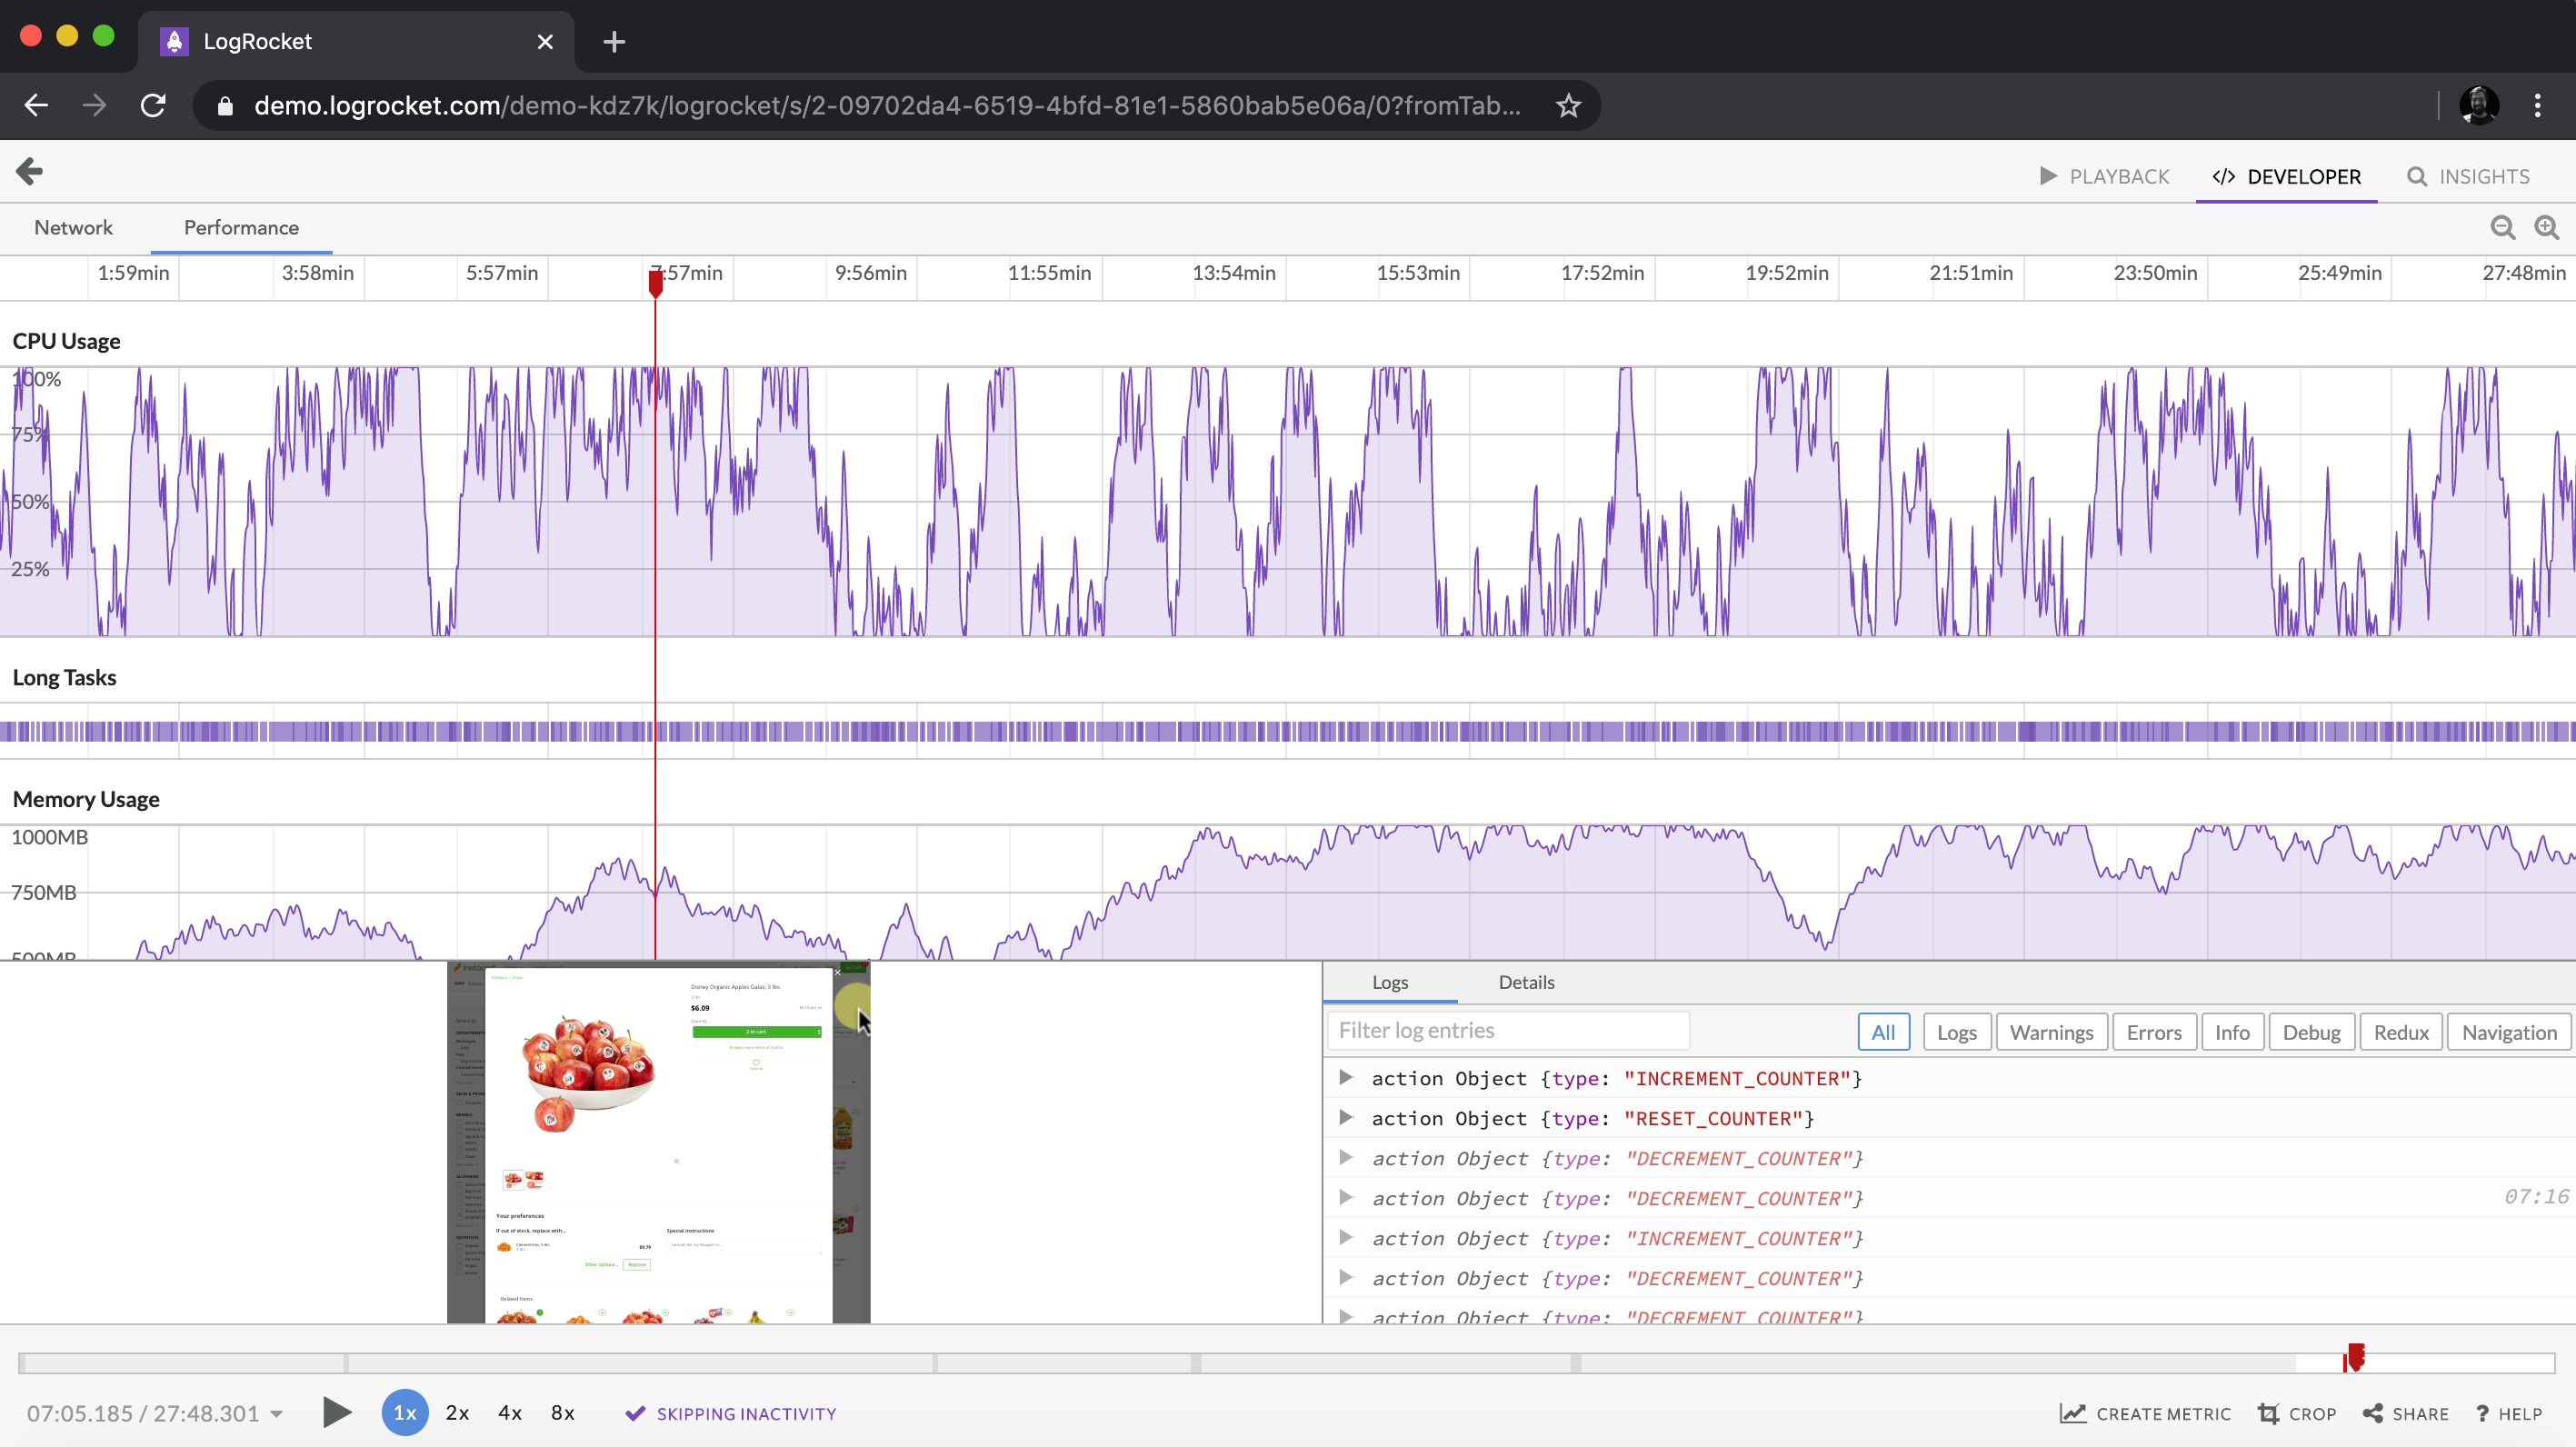
As web frontends get increasingly complex, resource-greedy features demand more and more from the browser. If you’re interested in monitoring and tracking client-side CPU usage, memory usage, and more for all of your users in production, try LogRocket.https://logrocket.com/signup/
LogRocket is like a DVR for web and mobile apps, recording everything that happens in your web app, mobile app, or website. Instead of guessing why problems happen, you can aggregate and report on key frontend performance metrics, replay user sessions along with application state, log network requests, and automatically surface all errors.
Modernize how you debug web and mobile apps — Start monitoring for free.
CSS Tooltip
A tooltip is often used to specify extra information about something when the user moves the mouse pointer over an element:
Basic Tooltip
Create a tooltip that appears when the user moves the mouse over an element:
Example
/* Tooltip text */
.tooltip .tooltiptext visibility: hidden;
width: 120px;
background-color: black;
color: #fff;
text-align: center;
padding: 5px 0;
border-radius: 6px;
/* Position the tooltip text — see examples below! */
position: absolute;
z-index: 1;
>
/* Show the tooltip text when you mouse over the tooltip container */
.tooltip:hover .tooltiptext visibility: visible;
>
Example Explained
HTML: Use a container element (like ) and add the «tooltip» class to it. When the user mouse over this , it will show the tooltip text.
The tooltip text is placed inside an inline element (like ) with class=»tooltiptext» .
CSS: The tooltip class use position:relative , which is needed to position the tooltip text ( position:absolute ). Note: See examples below on how to position the tooltip.
The tooltiptext class holds the actual tooltip text. It is hidden by default, and will be visible on hover (see below). We have also added some basic styles to it: 120px width, black background color, white text color, centered text, and 5px top and bottom padding.
The CSS border-radius property is used to add rounded corners to the tooltip text.
The :hover selector is used to show the tooltip text when the user moves the mouse over the with class=»tooltip» .
Positioning Tooltips
In this example, the tooltip is placed to the right ( left:105% ) of the «hoverable» text (). Also note that top:-5px is used to place it in the middle of its container element. We use the number 5 because the tooltip text has a top and bottom padding of 5px. If you increase its padding, also increase the value of the top property to ensure that it stays in the middle (if this is something you want). The same applies if you want the tooltip placed to the left.