- Styling the Submit Button
- An Example Styled Submit Button
- Implementing the Example Styled Submit Button
- Going Live with the Styled Submit Button
- Customizing the Submit Button
- Changing the Submit Button Text
- Styling the Submit Button
- Customizing Hover Styles
- Customizing Focus Styles
- Example CSS
- How to Style Input and Submit Buttons
- Example of styling the input and submit buttons:
- Result
- Example of styling a submit button in a form:
Styling the Submit Button
Although most are similar, each browser generates its own default submit button style. When the button is clicked, the style changes to provide a visual indication that the button is in the down position.
The form submit button can be custom styled with CSS. JavaScript can be used to change the style when the button is clicked to signify the down position.
To implement (working example and code further below):
- Create two CSS classes, one to style the submit button when it is up (unclicked) and one when it is down (clicked).
- Create a form submit button with an id value. Its class name is the button up style.
- Copy the JavaScript from the text box further below, edit if needed, and paste it into the page with the button and CSS style.
An Example Styled Submit Button
Here is an example. The border color and style, and the button text color and letter spacing, change when clicked to the down position.
Implementing the Example Styled Submit Button
Here are the CSS classes for the example button. The up position class is named «button_up» and the down position class is named «button_down».
The JavaScript (further below) will use the class names to change the button’s style when it is clicked.
The border color for the button_up class is blue. For the button_down class it is red. The text color differences are blue and red. The background color differences are white and pale gray.
The button_down class has a letter-spacing class that the button_up class does not. The letter-spacing style is 3 pixels. It expands the button text with 3 pixels between each letter when the button is clicked.
The button_up class has a cursor style that the button_down class does not. The cursor style is the pointer icon, the same as expected when hovering over web page links. If the button is so styled that it is not recognized as a button, the cursor pointer icon can let the site user know it is clickable.
Your buttons may, of course, have whatever style desired for your implementation.
Here is the code for the example submit button form field.
The example button is type=»button» to work as a demonstration. Change type=»button» to type=»submit» for use with a regular form.
The button id value is «button_to_style», which the JavaScript (further below) will use to change the button’s style.
The class is specified as «button_up» to display the button’s up position style when the page first loads.
The onmousedown and onmouseup attributes call corresponding JavaScript functions. The JavaScript functions change the button’s style accordingly.
function ButtonIsDown() < document.getElementById("button_to_style").className = "button_down"; >function ButtonIsUp() The «button_to_style» in both places is the same as the submit button’s id value. «button_down» and «button_up» are the corresponding class names.
Whenever the submit button’s id or the class names change, the JavaScript needs to be updated accordingly.
Going Live with the Styled Submit Button
When the style is the way you want it, you are ready to go live.
For a regular form submission, the button is type=»submit». The button will work just like a regular form button.
Was this article helpful to you?
(anonymous form)
Customizing the Submit Button
Would you like to customize the submit button to better fit your site’s design or personality? Your form’s submit button can play an important role in submission rates.
This guide will cover how to customize the text and style of your form’s submit button.
Changing the Submit Button Text
To change the ‘Submit’ text of your form’s button, open the form builder to Settings » General. Here, you’ll see two fields for setting the text in the submit button:
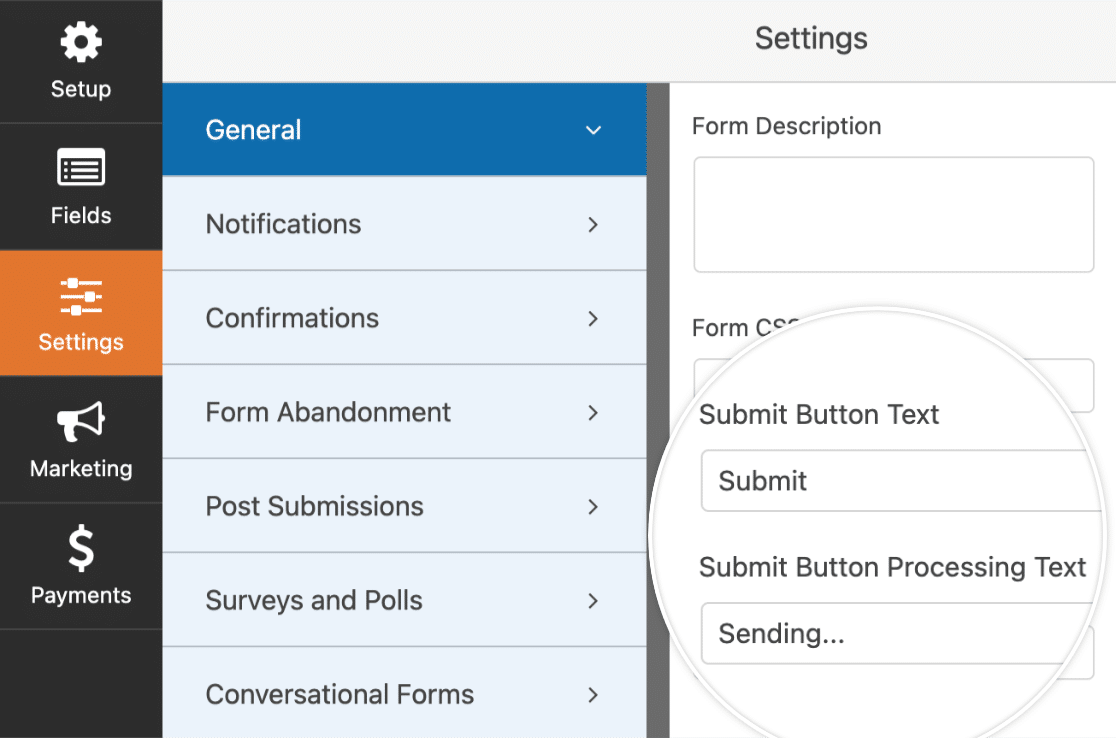
- Submit Button Text: The text shown when this button hasn’t been clicked yet
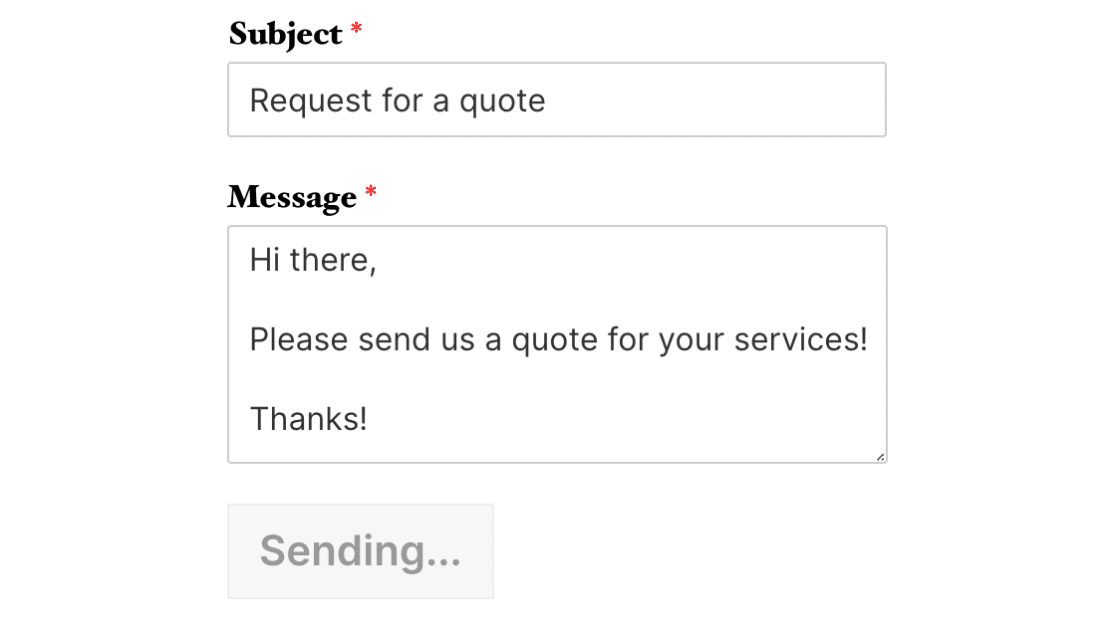
- Submit Button Processing Text: The text shown after the user clicks this button, but before the confirmation is shown to the user
You can go ahead and change the text of the submit button according to your preference. Once you’re satisfied with the changes, go ahead and save the form.
Styling the Submit Button
CSS provides incredible flexibility to customize the submit button, as well as any other aspect of your form.
If you’re new to CSS or would like a refresher, the best place to start is with our introductory guide to CSS.
Note: If you’d prefer to style your form without writing code, check out our form styling tutorial to learn how to customize your form in the block editor.
Here’s the default CSS for a WPForms submit button, as well as comments to note what each line of CSS does:
.wpforms-form input[type=submit], .wpforms-form button[type=submit] < background-color: #eee; /* Grey background */ border: 1px solid #ddd; /* Dark grey border */ color: #333; /* Black text color */ font-size: 1em; /* Size of text */ padding: 10px 15px; /* Distance between text and border */ >
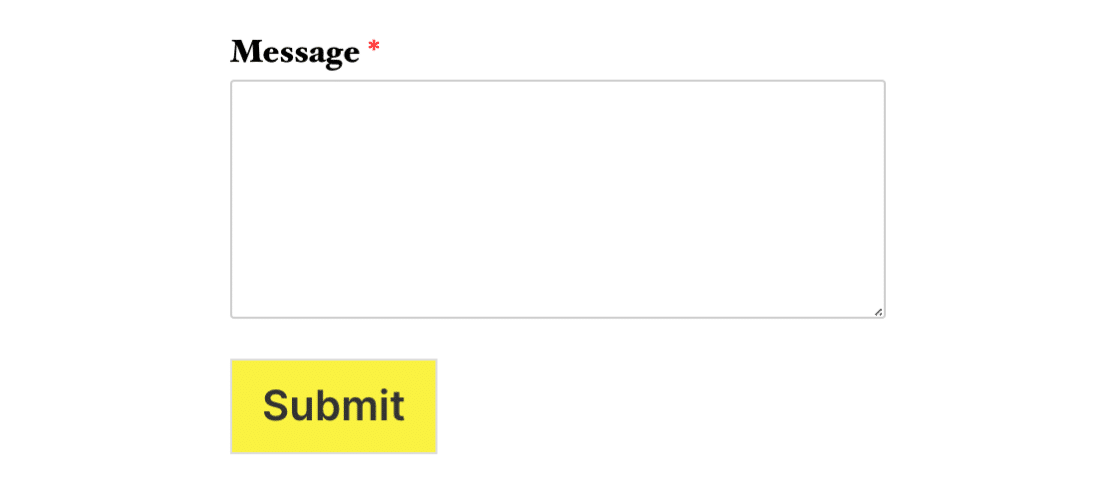
You can change any of these values to style the button differently. As an example, let’s start by giving our button a yellow background.
The first step is to find the hex code for the color we want – htmlcolorcodes.com or Adobe Color CC are handy free tools for this.
Once we have the hex code for the shade of yellow we want, we can create our CSS:
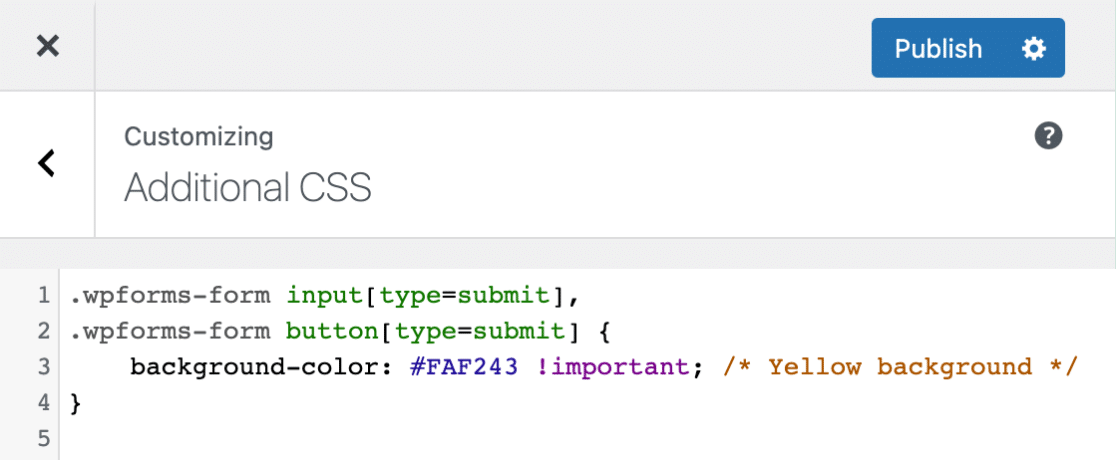
.wpforms-form input[type=submit], .wpforms-form button[type=submit] < background-color: #FAF243 !important; /* Yellow background */ >
Note: When adding CSS to your site, it might be necessary to include !important before the semicolon to make sure your custom styles are applied successfully. Check out our guide on troubleshooting CSS for more details.
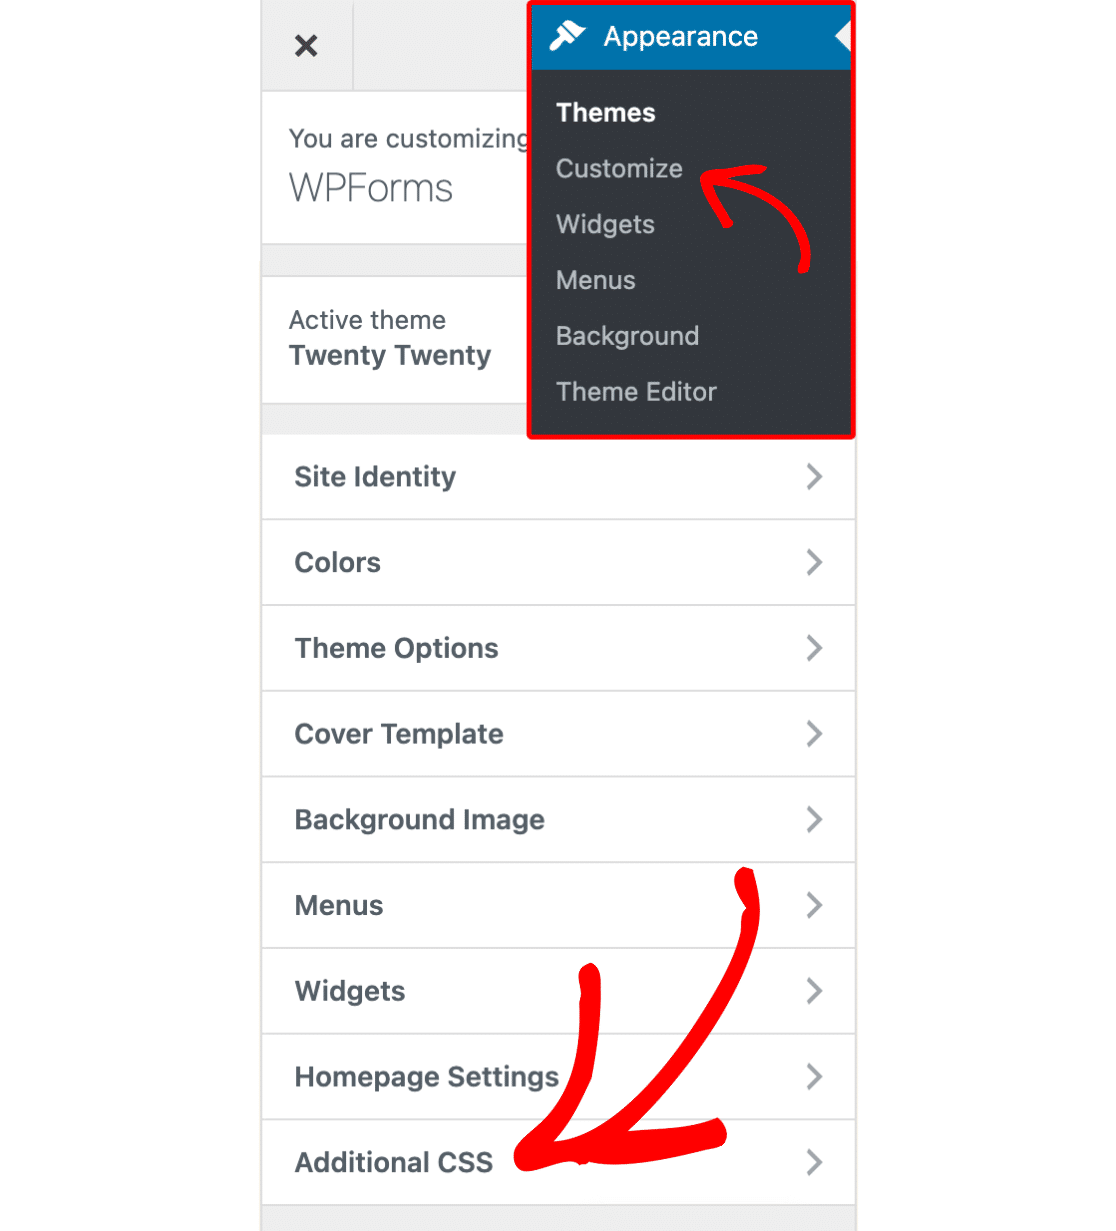
Next, we need to add this CSS to our site. The simplest way to do this is by using the WordPress CSS Editor. To open this, go to Appearance » Customize and select Additional CSS.
Once you’ve opened the Additional CSS section, you can paste in your new CSS, click the Save & Publish button, and you’re all set!
Below is what our button will look like now, with this CSS applied:
Is your new CSS not showing up on your site? Check out our tutorial on troubleshooting this issue.
Customizing Hover Styles
CSS allows you to apply completely different styles when a cursor hovers over a button. This change in style helps user experience because it lets the user know that this object is clickable.
Below is the default CSS in WPForms when a button is hovered over. As noted in the comments, the background color becomes a little darker and the border color becomes a little lighter:
.wpforms-form input[type=submit]:hover, .wpforms-form input[type=submit]:active, .wpforms-form button[type=submit]:hover, .wpforms-form button[type=submit]:active, .wpforms-form .wpforms-page-button:hover, .wpforms-form .wpforms-page-button:active < background-color: #ddd; /* Darker grey background */ border: 1px solid #ccc; /* Lighter grey border */ >
You might notice that this is a lot less CSS than we saw for the button when it’s not hovered over. This is because CSS will apply all of the earlier CSS to your hovered button unless told otherwise.
If you leave the default styles, for example, the text color will remain black when the button is hovered over. This is because the button’s text color would normally be black, and we haven’t told it to change upon hover.
As with the previous custom CSS example, you can change any of these values to style the button’s hover styles differently. For our example, we’ll give the button a darker yellow background when hovered over.
.wpforms-form input[type=submit]:hover, .wpforms-form input[type=submit]:active, .wpforms-form button[type=submit]:hover, .wpforms-form button[type=submit]:active, .wpforms-form .wpforms-page-button:hover, .wpforms-form .wpforms-page-button:active < background-color: #e5da00 !important; /* Darker yellow background */ >
Here’s what the button will look like with the CSS applied:
Customizing Focus Styles
Just as you can set a hover style for your button with CSS, you can also set a focus style. The focus style is applied when the button is the focal point of any in-page events. For example, if you use the tab key to navigate the page.
Using a focus style improves user experience, especially useful for users who rely on keyboard navigation to browse the web.
Here is the default CSS in WPForms when a button is in focus:
.wpforms-form input[type=submit]:focus, .wpforms-form button[type=submit]:focus, .wpforms-form .wpforms-page-button:focus
In this case, the background-color is a slightly darker shade than the default, and the border is also subtly changed. This lets the user know that the button is now in focus and will receive any relevant keypresses.
For this example, we’re going to use a color other than yellow, to make the focus style distinct from the hover style.
.wpforms-form input[type=submit]:focus, .wpforms-form button[type=submit]:focus, .wpforms-form .wpforms-page-button:focus
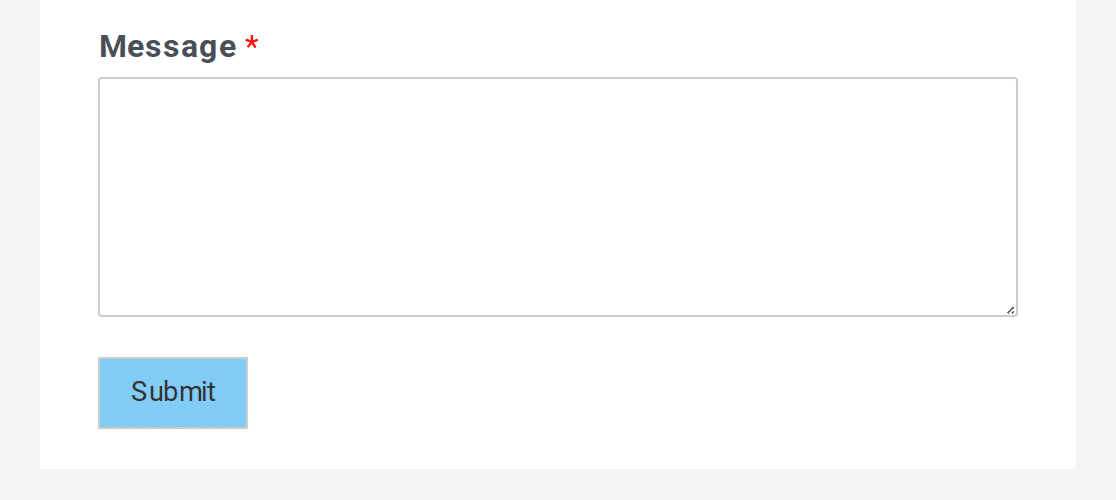
With this custom CSS applied, here’s what the button will look like when in focus:
Example CSS
Now that we’ve covered the basics, let’s go through a complete example of custom CSS for a submit button.
Note: The code below will change the submit button for all the forms on your site that were created with WPForms. If you want to style the submit button only on a single form, you’ll need to find the unique ID for that form. For more details, see our complete guide to styling contact forms with CSS.
Here’s the CSS we’ll add for this example, which includes style changes for both hovering, and focusing:
/* New button styles */ .wpforms-form input[type=submit], .wpforms-form button[type=submit] < padding: 15px !important; /* Increase distance between text and border */ width: 100% !important; /* Make the button full-width */ font-size: 1.5em !important; /* Increase text size */ background-color: #af0000 !important; /* Red background */ color: #fff !important; /* White text */ border: 8px double #860b0b !important; /* Dark red, double-line border */ >/* New button hover styles */ .wpforms-form input[type=submit]:hover, .wpforms-form input[type=submit]:active, .wpforms-form button[type=submit]:hover, .wpforms-form button[type=submit]:active, .wpforms-form .wpforms-page-button:hover, .wpforms-form .wpforms-page-button:active < background-color: #860b0b !important; /* Dark red background */ border: 8px double #af0000 !important; /* Red, double-line border */ >/* New button focus styles */ .wpforms-form input[type=submit]:focus, .wpforms-form button[type=submit]:focus, .wpforms-form .wpforms-page-button:focus < background-color: red !important; /* Dark red background */ border: 8px double #860b0b !important; /* Red, double-line border */ >
Below is what our button will look like now, with this CSS applied:


And when focused. Remember, the only changes are the background and border colors:

That’s it! You can now customize your submit button using custom CSS.
Want more examples? Check out our tutorial with even more submit button CSS that you can copy and paste right into your site.
How to Style Input and Submit Buttons
In the example below, we have elements with type=»button» and type=»submit» , which we style with CSS properties. To style them, we use the background-color and color properties, set the border and text-decoration properties to «none». Then, we add padding and margin, after which we specify the cursor as «pointer».
Example of styling the input and submit buttons:
html> html> head> title>Title of the document title> style> input[type=button], input[type=submit] < background-color: #62529c; border: none; color: #fff; padding: 15px 30px; text-decoration: none; margin: 4px 2px; cursor: pointer; > style> head> body> p>Styled input buttons. p> input type="button" value="Button"> input type="submit" value="Submit"> body> html>Result
Example of styling a submit button in a form:
html> html> head> title>Title of the document title> style> div < margin-bottom: 10px; > input[type=text] < padding: 5px; border: 2px solid #cccccc; -webkit-border-radius: 5px; border-radius: 5px; > input[type=text]:focus < border-color: #33333; > input[type=submit] < padding: 5px 15px; background: #99e0b2; border: 0 none; cursor: pointer; -webkit-border-radius: 5px; border-radius: 5px; > style> head> body> h2>Form example h2> form action="/form/submit" method="POST"> div> label for="surname">Surname label> input type="text" name="surname" id="surname" placeholder="surname" /> div> div> label for="lastname">Last name label> input type="text" name="lastname" id="lastname" placeholder="lastname" /> div> div> label for="email">Email label> input type="email" name="email" id="email" placeholder="email" /> div> input type="submit" value="Submit" /> form> body> html>