For example, the HTML heading elements ( through ) are block-level elements that automatically place their content onto a new line and push any content that follows onto a new line. Each of these six heading elements represent a different heading size.
Let’s study how this works in practice. At the bottom of your index.html file, try pasting in the highlighted code snippet:
strong>My strong textstrong> br> em>My emphasized textem> h1>Heading 1h1> h2>Heading 2h2> h3>Heading 3h3> h4>Heading 4h4> h5>Heading 5h5> h6>Heading 6h6> Save your file and reload it in the browser. You should receive something like this:

Let’s now inspect the block-level heading elements to study how they differ from the inline-level text elements above. Open up the Firefox Web Developer Inspector and hover over each of the elements to inspect their occupied space as indicated by the blue highlighting. You should be able to confirm that the occupied horizontal space of each of the inline-level elements is determined by its text content, while the occupied horizontal space of each of the block-level elements stretches across the entire web page:
Block-level elements will always push inline-level elements down to the next line, even if you write those HTML elements on the same line of the HTML document. To confirm this for yourself, try writing a block-level element and an inline-level element on the same line of your index.html file. Erase the existing content from your file and add the following code snippet:
strong>My strong textstrong>h1>My headingh1>em>My emphasized texta> Can you guess how this HTML code will render in the browser? Save your file and reload it in the browser. You should receive something like this:

Notice that the heading element has started on a new line and pushed the subsequent text element to a new line even though the elements were written on the same line in the HTML document.
You should now have an understanding of how inline-level and block-level elements are positioned and how they affect the position of nearby elements. Remembering their distinct behaviors can be useful when arranging HTML elements in the future.
We’ll continue learning about new inline and block elements in the tutorials ahead.
- How To Nest HTML Elements
- Nesting Best Practices
- How To Use HTML Attributes
- Using the Style Attribute
- This text is 40 pixels and green.
- 10 Famous HTML-only Website Examples
- 1. First HTML Website(The WWW project)
- 2. Berkshire Hathaway Inc.
- 3. X.COM
- 4. The mother**website.com
- 5. Toad.com
- 6. Fluffbucket
- 7.ACME Laboratories
- 8. Txti
- 9. Simplified Web Design
- 10. Personal Blog
- Next Steps
- About
- Recent Posts
- Create Responsive Website Just using HTML and CSS (No JavaScript)
- How To Make a Responsive Website Just using HTML and CSS (No JavaScript)
// Tutorial //
How To Nest HTML Elements
This tutorial will teach you how to nest HTML elements in order to apply multiple HTML tags to a single piece of content.
HTML elements can be nested, meaning that one element can be placed inside another element. Nesting allows you to apply multiple HTML tags to a single piece of content. For example, try pasting the following code snippet inside your index.html file:
strong>My bold text and em>my bold and emphasized textem>strong> Save your file and reload it in the browser. (For instructions on creating an index.html file, please see our tutorial here or for loading the file in your browser, see our tutorial here.) You should receive something like this:
My bold text and my bold and emphasized text
Nesting Best Practices
Note that it is recommended to always close nested tags in the reverse order that they were opened.
For example, in the example below, the tag closes first as it was the last tag to open. The tag closes last as it was the first to open.
This sentence contains HTML elements that are strong>em>nested according to best practicesem>strong>. As a counter example, the following HTML code contains tags that are not nested according to best practices, as the tag closes before the tag:
This sentence contains HTML elements that are strong>em>not nested according to best practicesstrong>em>. While not technically necessary for rendering your HTML in the browser, nesting your tags in the proper order can help improve the readability of your HTML code for you or other developers.
// Tutorial //
How To Use HTML Attributes
HTML attributes can be used to change the color, size, and other features of HTML elements. For example, you can use an attribute to change the color or size of a font for a text element or the width and height for an image element. In this tutorial, we’ll learn how to use HTML attributes to set values for the size and color properties of HTML text elements.
An HTML attribute is placed in the opening tag like this:
element attribute="property:value;"> One common attribute is style , which allows you to add style properties to an HTML element. While it’s more common to use a separate stylesheet to determine the style of an HTML document, we will use the style attribute in our HTML document for this tutorial.
Using the Style Attribute
We can change multiple properties of an element with the style attribute. Clear your “index.html” file and paste the code below into your browser. (If you have not been following the tutorial series, you can review instructions for setting up an index.html file in our tutorial Setting Up Your HTML Project.
h1 style="font-size:40px;color:green;">This text is 40 pixels and green.h1> Before we load the file in our browser, let’s review each of the parts of this HTML element:
- h1 is the name of the tag. It refers to the largest-sized Heading element.
- style is the attribute. This attribute can take a variety of different properties.
- font-size is the first property we’re setting for the style attribute.
- 40px; is the value for the property font-size , which sets the text content of the element to 40 pixels.
- color is the second property we’re setting for the style attribute.
- green is the value for the property color , which sets the text content color to green
Note that the properties and values are contained by quotation marks, and that each property:value pair ends with a semicolon ; .
Save the file and reload it in your browser. (For instructions on loading the file in your browser, see our tutorial here.) You should receive something like this:
This text is 40 pixels and green.
10 Famous HTML-only Website Examples
When you are starting to learn Web development, you hear about all these languages and frameworks you have to learn. Let me tell you, you don’t need all of them.
Infact, you can create something useful with just one of the languages namely: HTML.
This list of websites contains created using HTML and they still pass on their message.
So, If you have something to share with the world please create and share it.
These website focused first on content and they pass their message despite the lack of sophisticated styling.
Here are 7 website that are built with only HTML to inspire you as you begin your journey of creating HTML websites.
1. First HTML Website(The WWW project)
The first website that was ever created was made with HTML only. Tim Bernes Lee published the first web page in 1991.
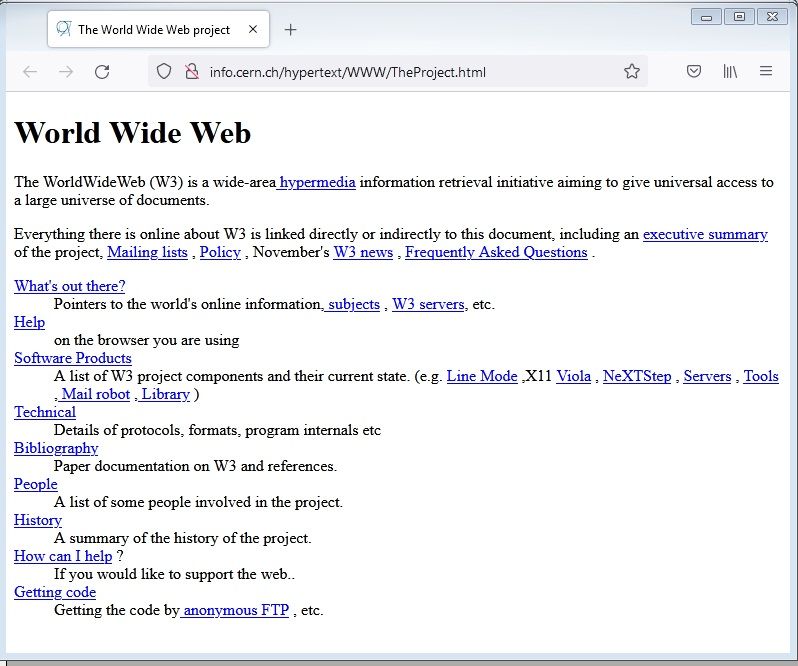
You can browse the first website and see how it works.
The main domain holding the website is: http://info.cern.ch/
First website URL: http://info.cern.ch/hypertext/WWW/TheProject.html
2. Berkshire Hathaway Inc.
Berkshire Hathaway Inc., led by Warren Buffett, showcases the elegance of simplicity with its HTML-only website.
Access essential information about the company, its subsidiaries, and investments without distractions. The site’s lightweight structure ensures fast loading and seamless browsing. Berkshire Hathaway Inc. proves that HTML can deliver impactful content while maintaining usability and accessibility.
3. X.COM
X.COM was a Financial company owned by Elon Musk that later became Paypal after a series of acquisition and mergers.
The company later formed Paypal. Now, the remaining website is written in HTML only. The only character contained on the website is an X.
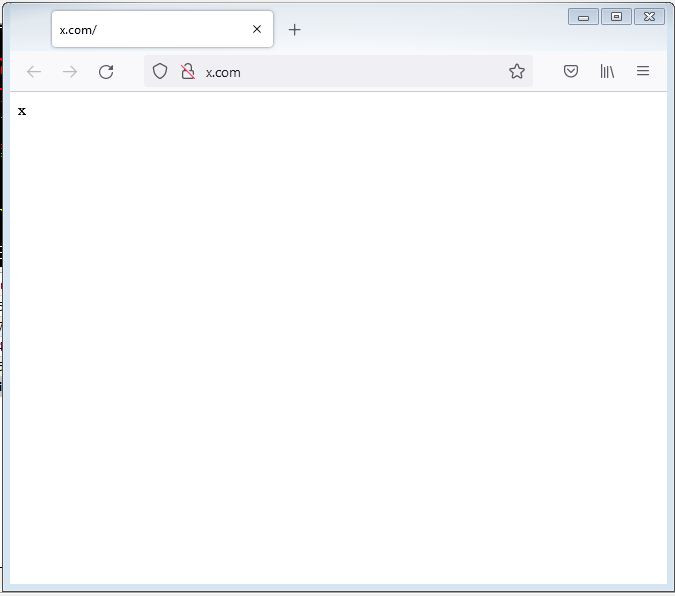
It still gets an estimate of 281,000 page views per month and has an Alexa ranking of 150,985.
4. The mother**website.com
Its a fairly know website in the developer world. In fact there are other websites created in response to this website message.
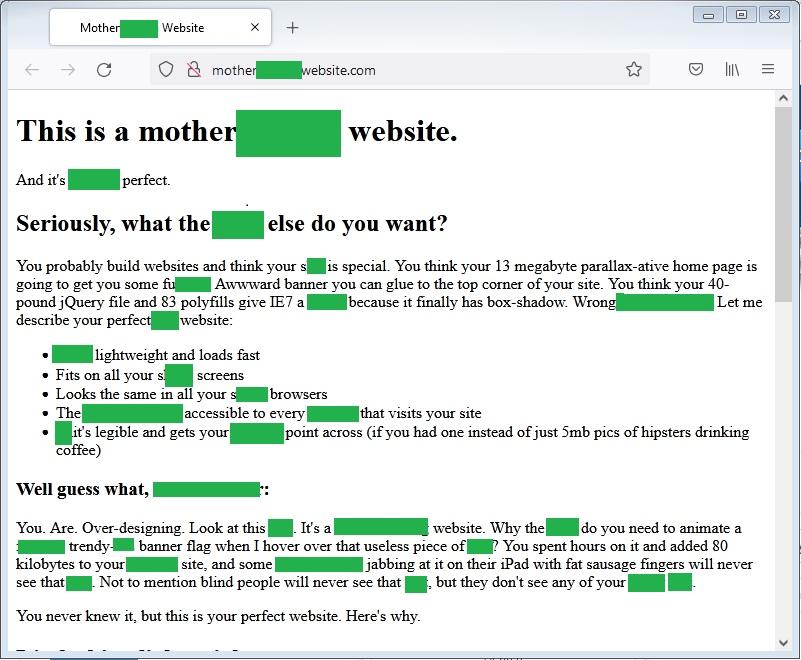
It’s language is a bit rough on the edges but hey it’s passes its message.
It gets about 1600 visitors per day.
Website URL: http://motherfuckingwebsite.com/
5. Toad.com
Toad.com is a classic HTML-only website with a charming retro aesthetic. Embracing simplicity, it takes visitors on a nostalgic journey to the early days of the internet. Explore various sections and enjoy the pure essence of HTML design. It’s a refreshing reminder that simplicity can be captivating in a world of complex web technologies.
This website uses just a little bit of CSS to align the website to the middle.
Toad.com has an 94 estimated daily unique visitors and 188 Daily Pageviews.
Website URL: http://www.toad.com/
6. Fluffbucket
This website uses tables to achieve this layout. This was a practice used some years ago when CSS did not have good enough layout feature.
Currently, it is considered a bad practice to use table for layouts.
Website URL: http://www.fluffbucket.co.uk/howto/htmlonlypg.htm
7.ACME Laboratories
ACME Laboratories is an old website created in 1994. You can expect to read about Graphics, Unix, Networks and Humour.
The website has some little css to give the background some color and to align some images.
8. Txti
Txti is a free website service that allows anyone to publish simple fast loading web pages.
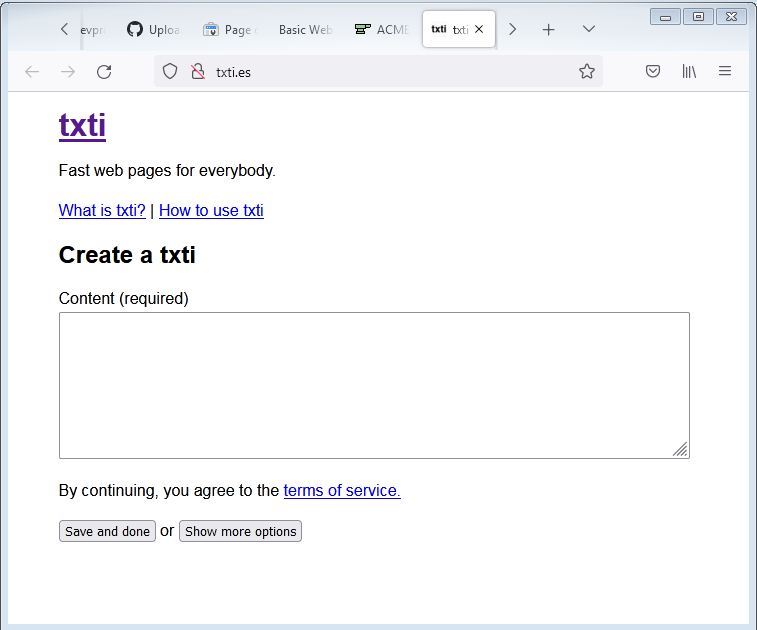
It has some little CSS that allows for the website content to be centered.
9. Simplified Web Design
This is a simplified walkthrough of how to create a website that helps you focus on the important component first: your content.
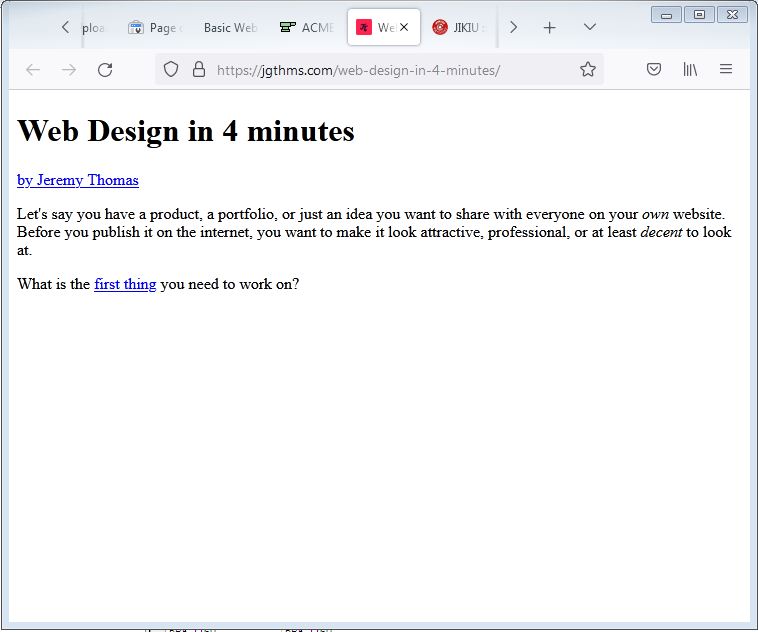
Its starts out as a HTML website that ends up getting some CSS styling that make it appear better than before.
It a bit simplified which makes it a good resource for beginners.
10. Personal Blog
The website has minimal styling. The website currently has 3 well written blog posts. I stumbled on this website when I was searching information about creating a serverless authentication website.
Next Steps
With the examples above, you can see that it is possible to create websites with just HTML.
Take the next step and start learning HTML at the comfort of your own home.

Hi there! I am Avic Ndugu.
I have published 100+ blog posts on HTML, CSS, Javascript, React and other related topics. When I am not writing, I enjoy reading, hiking and listening to podcasts.
Front End Developer Newsletter
Receive a monthly Frontend Web Development newsletter.
Never any spam, easily unsubscribe any time.
Start understanding the whole web development field now
Stop all the confusion and start understanding how all the pieces of web development fit together.
Never any spam, easily unsubscribe any time.
About
If you are just starting out you can test the waters by attempting the project-based HTML tutorial for beginners that I made just for you.
Okay, you got me there, I made it because it was fun and I enjoy helping you on your learning journey as well.
You can also use the HTML and CSS projects list as a source of projects to build as you learn HTML, CSS and JavaScript.
Recent Posts
Create Responsive Website Just using HTML and CSS (No JavaScript)
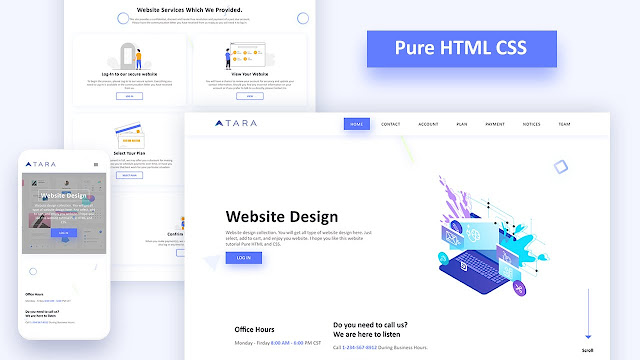
Learn how to make a responsive website just using HTML and CSS without using JavaScript. Easy way to create a responsive website only using HTML and CSS. You will easily make this responsive Website by following my video tutorial, which I have given below.
How To Make a Responsive Website Just using HTML and CSS (No JavaScript)
In this tutorial, You will learn how to make a responsive website only using HTML and CSS. You will easily create this website by watching my video tutorial, which I have given above. In the tutorial, First, I show the design, which I will make this tutorial. I make the website structure and design this structure using a CSS stylesheet. I use the checkbox to make navigation responsive, which anyone clicks on this nav button show menu. I hope you like this tutorial. If you have any questions or problems, contact me.
Basic HTML Code
This is the basic HTML which is important for all HTML files. I import Poppins in this HTML file using Styling from google because most people do not have Poppins font on their devices.