- Settings ⚙️
- Syncing Your Settings & Extensions
- Shut up & Let Me Replicate Your Settings
- Customizing the Settings According to Your Need
- How to Python in VS Code 🦄
- Navigation
- Setting up Python workspace in Visual Studio Code (vscode)
- 1. Installing language-specific compiler/interpreter
- 2. Installing a package manager
- 3. Setting up Virtual Environment
- 4. Setting up the code editor
- Bonus 🔥
Settings ⚙️
All your settings and preferences are kept in settings.json file. You can directly manipulate that file to set your preference locally or globally. Locally the settings file can be found in .vscode/settings.json folder in your current project location. To see the global settings.json , head over to $HOME/.config/Code/User/settings.json and open it in VS Code. If you haven’t changed any of the default settings, the file should be empty or almost empty.
Syncing Your Settings & Extensions
You don’t want to set up VS Code from scratch every time you change your machine or do a fresh installation of your OS. In such scenarios, Settings Sync comes to rescue. You can set it up once, sync your settings and restore the settings with a few click. This will restore all of your settings, extensions, themes and other preferences. To do so,
- Search and install Settings Sync from the extension panel
- Login with your github credentials
- Press ctrl+Shift+P to open the command prompt and select Sync: Update/Upload Settings option to upload your settings and save to a github gist
- If you are restoring the settings to a freshly installed VS Code, just select Sync:Download Settings and you should see your VS Code getting restored
Shut up & Let Me Replicate Your Settings
If you don’t want to go through the hassle of manually installing all these extensions and like my settings. You can replicate my settings with the help of Settings Sync too. To do so:
- Go to the settings panel and search setting sync
- Find Sync:Gist option and replace it with eec019bccd9c49388eaf9eeaf08c19ec (This is the gist id of my settings)
- Then go to command prompt and select Sync:Download Settings option
- It will take some time to restore all the settings and you should see a setup similar to the following screenshots:


P.S.: This settings is a modified version of Kenneth Reitz’s VS Code settings. Special thanks to him open sourcing that on twitter.
Customizing the Settings According to Your Need
After you’ve synced the above settings, you can easily change the themes, font sizes according to your liking. However, if you want to sync the settings via Settings Sync , you have to change back the github gist id and replace that with your own id. To do so:
- Go go to https://gist.github.com and find the gist name cloudSettings
- Check you url bar which should show something like this:
git.github.com/username>/gist_id
Now you can customize the workspace with your heart’s content and sync accordingly.
A few Points to Note: If you have replicated my settings, you have to:
- Replace my github credentials with yours in the settings.json file
- Change and add your own Flake8 and Black path for them to work (See it here.)
How to Python in VS Code 🦄
Navigation
- Setting up VS Code on Your Machine 🐶
- Setting up Environments 🌲
- Running Python Scripts with Code Runner 🏃
- Linting & Formatting 🎀
- Shortcuts and Keymaps 💻
- Themes 🐙
- Fonts 🕹️
- Extensions 🤖
- Settings ⚙️
- Syncing Your Settings & Extensions
- Shut up & Let Me Replicate Your Settings
- Customizing the Settings According to Your Need
Setting up Python workspace in Visual Studio Code (vscode)
1. Installing language-specific compiler/interpreter
For python, you will have to install a python Operating system specific interpreter to be able to execute your code. Just visit this link and install the appropriate version of python in your machine. Also, make sure you have correctly installed it on your system by the following command:
$ python --version Python 3.7.22. Installing a package manager
pip is a very popular python package installer. It helps you to manage your python packages. You can visit this link to install pip . Again, just verify if you already have it installed on your system
3. Setting up Virtual Environment
Python applications will often use packages and modules that don’t come as part of the standard library (i.e. by the above step). Applications will sometimes need a specific version of a library. It means that there might be multiple applications with different versions of python and/or modules required to run the application. Having one global version being used by all application will not suffice the needs.
The solution for this problem is to create a virtual environment, a self-contained directory tree that contains a Python installation for a particular version of Python, plus a number of additional packages.
There are many python packages available for you to create virtual environment python such as virtualenv, pyenv, etc. I will be using virtualenv for this post.
# installing virtual environment $ pip install virtualenv $ virtualenv --version virtualenv 20.0.8Until now, we have been installing everything globally. From now on we will be creating a virtual environment that will restrict the installation to that specific environment (folder).
# creating a project folder $ mkdir python-demo # creating a virtual environment for this project $ virtualenv python-demo # this will create a virtual environment folder in the current folderOnce we have created a virtual environment, we need to make sure we install all other python packages for this project inside this project. This is done via activating virtual environment with the following command:
# for ubuntu $ source /bin/activate $ source python-demo/bin/activate # for windows $ \Scripts\activate $ python-demo\Scripts\activate # After this, your command prompt/terminal will change the path with the virtual environment name (python-demo) $ # to deactivate the virtual environment, just type the command deactivate (python-demo) $ deactivate $4. Setting up the code editor
Now, let’s move to set up a python environment in the vscode code editor. There are possibly 2 tasks a code editor should perform whenever you write code in it — Linting and Formatting the code. Vscode supports multiple linters and formatters to help you out in your workspace.
Before we create a workspace setting for our python environment, let’s install a linter and a formatter for python. I will be using autopep8 and pylint for the same. You can choose any other python package of your choice, just follow this link
# Make sure you have activated your virtual environment (python-demo) $ pip install autopep8 pylintI have created a settings.json for the python environment in vscode.
Follow this gif to update your vscode editor settings.json
Do not forget to replace your virtual environment path with
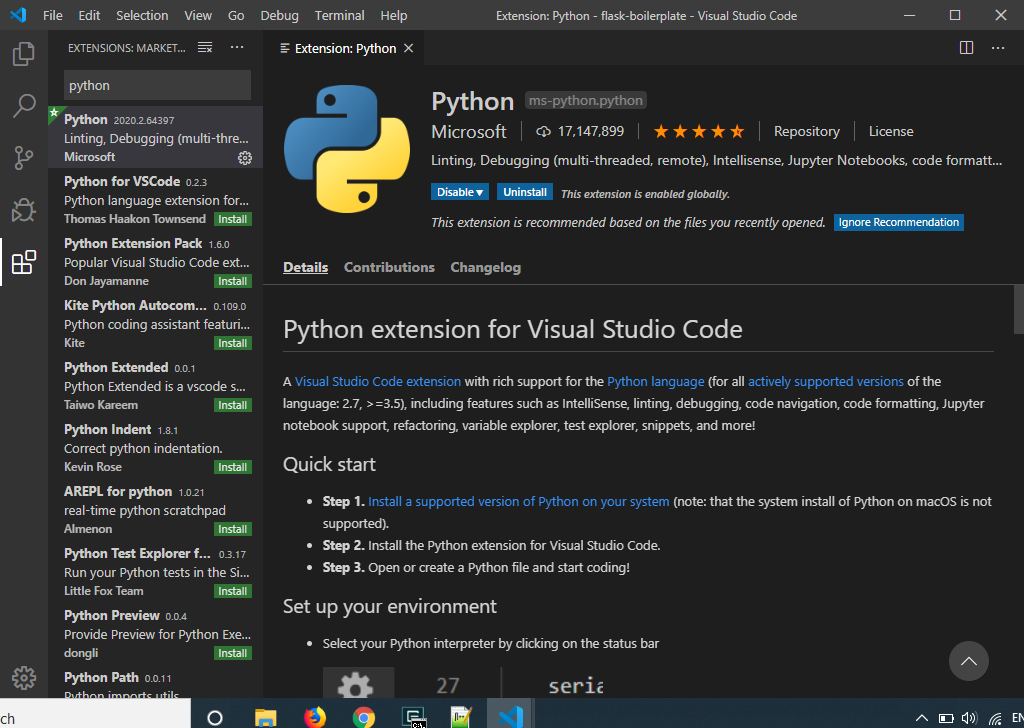
Lastly, install this vscode python extension to enable python support in vscode.

Bonus 🔥
You can also add debugger configuration in your vscode workspace by following this link.
If you find this helpful or have any suggestions, feel free to comment. Also, do not forget to hit ❤️ or 🦄 if you like my post.
See ya! until my next post 😋