4 Options to Place the Analytics Tracking Code in the HTML [MiniTool Tips]
Where should the Analytics tracking code be placed in the HTML (Hypertext Markup Language) of a webpage for data collection? Generally, there are four options. Not all choices are suitable for you and you should pick one according to your condition. Read more related articles provided by MiniTool team.
Where should the analytics tracking code be placed in the html of a webpage for data collection?
Right after the opening tag of your website
Right before the closing tag of your website
Right after the opening tag of your website
Right before the closing tag of your website
Next, let’s analyze that question in detail.
About the Question
“Where should the Analytics tracking code be placed in the HTML of a webpage for data collection?” You may encounter this question when you try to set up your website with Google Analytics (GA) system to let GA monitor your webpage behaviors.
To enable the Google Analytics system to get control of the performance of your website, you have to place the GA tracking code on your website. In detail, you need to put the Google Analytics code into the HTML file of your webpages. Then, GA can collect data information on your web and create a traffic report of your pages for you.
Then, in the HTML of a webpage, where should the Analytics tracking code be placed for data collection?
How to convert HTML to PDF? What are the free HTML to PDF converters? How to convert PDF to HTML? What is the best PDF to HTML converter?
About the Answers
For the above question, there are usually four answers just listed in the above content. Let’s take a look at the 4 answers one by one.
The first answer means that you should put the Google Analytics tracking ID at the beginning of the tag of your website, very after the “”. The tag is the very start part of an HTML file. Therefore, it means that you need to put the GA tracking code at the beginning of the HTML file.
The tag in an HTML file usually includes the meta info (title, keywords, description, and URL), publish info (publish date, modify date, author name, etc.), and some other script details of the webpage. Those contents can’t be displayed on a normal page view.
The second answer says that you need to put your GA tracking code at the end of the
tag; which is right before the closing tag.
The third answer for the question “Where should the Analytics tracking code be placed in the HTML of a webpage for data collection?” suggests you put the tracking code at the beginning of the tag, right after “” in the HTML.
The tag contains the main contents of a webpage and those contents are visible on normal page view.
The final answer tells that you are recommended to put your GA tracking code before the closing
tag, at the end of the body part.
The above three screenshots are taken from one the of webpages of minitool.com, a website where you can get professional and reliable backup software, partition program, data recovery tool, and some multimedia applications.
After comparing those 3 pictures, you can find that the Google Analytics tracking code locates very before the closing tag in the second image for the MiniTool website. Yet, for other websites, their GA tracking code maybe after the beginning of the
tag, after the beginning of the
tag, or before the closing of the
tag.
How to Sep up Google Analytics Tracking ID?
Moreover, which option should you choose to place your tracking ID? It depends on your situation.
For Static Website
If your website is a static one, you should put the global site tag, a Google Analytics property containing the Tracking ID, before the closing tag on every page you want to measure. Just copy and paste the HTML ID there.
For Dynamic Website
If yours is a dynamic website that generates HTML using a programming languages or interfaces like Python or PHP. To collect data, you should include the global site data in the source code for every page you want to control.
Way 1. Use a Common Include or Template
Copy your global site tag without editing and paste it into its include file.
Link the include file so that the snippet appears before the closing tag on each webpage you plan to monitor.
Way 2. Rely on Analyticstracking.php File
Copy your global site tag without editing and paste it into a file named “analyticstracking.php”.
Include the analyticstracking.php file on each PHP template page.
Add this code right after the opening tag for each template page: .
How to save a webpage as a PDF? If you want to know, then you should read this post carefully. You can know how to do that on different browsers.
For Web-Hosting Service
If you are using a web-hosting service that you do not control the page code, you are able to rely on plug-ins provided by Internet service providers (ISP) or hosting platforms to automatically install Google Analytics on your webpages.
After setting up your global site tag. You may wonder whether it is working or not. To do so, just visit your website and check the real-time reports in GA to verify that your tracking is working. You can also make use of Google Tag Assistant to do the task.
About The Author
Helen Graduated from university in 2014 and started working as a tech editor in the same year. Her articles focus on video creation, editing, and conversion. She also has a good knowledge of disk management and data backup & recovery. Through an in-depth exploration of computer technology, Helen has successfully helped thousands of users solve their annoying problems.
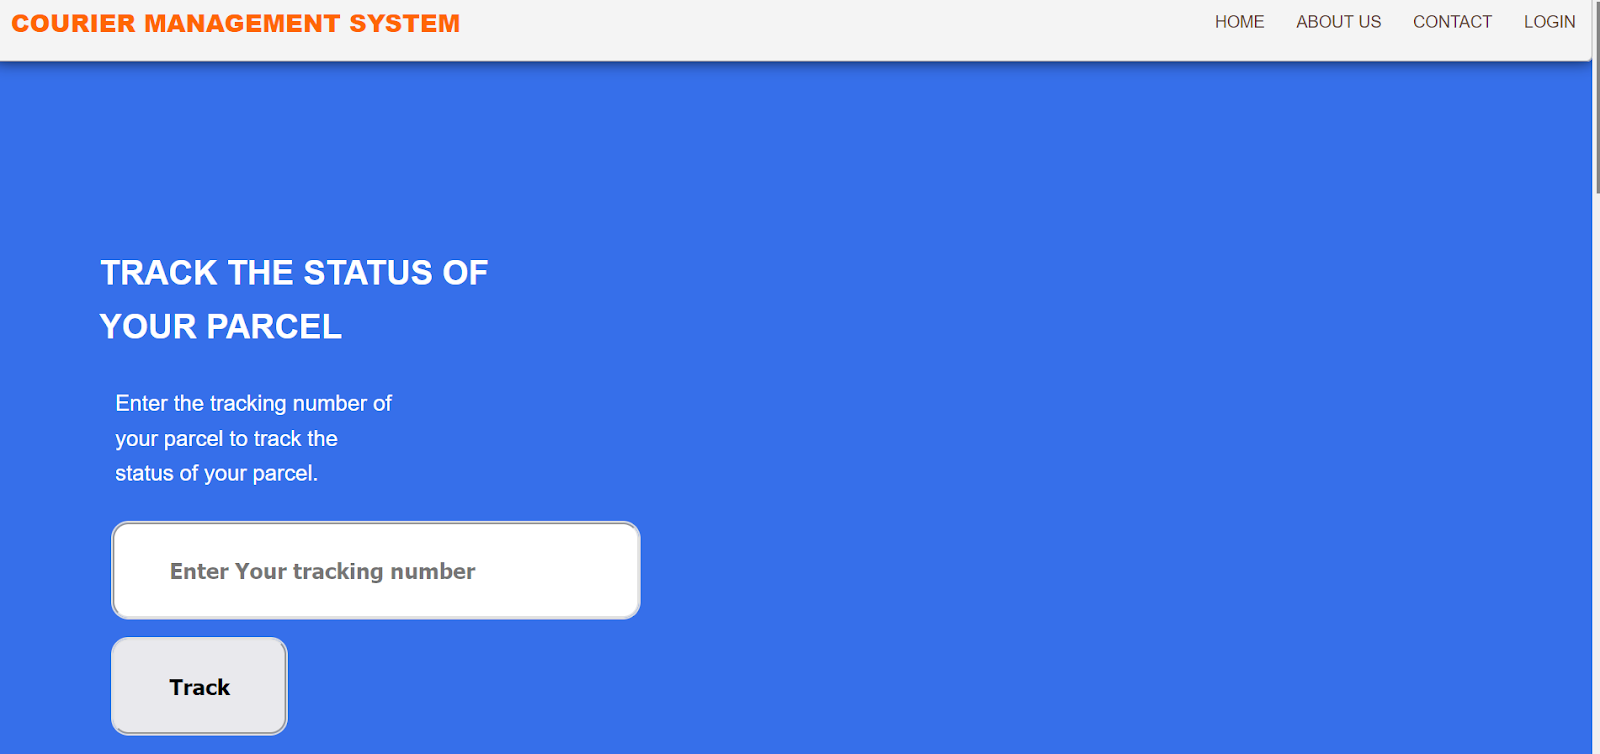
Today we will make a simple Courier Tracking System in HTML CSS and JS. This tutorial is important as it will teach you about the use of HTML CSS and JavaScript. We will also use SQL to save details within the browser itself. During the process, we will learn to use HTML dom manipulation, some CSS tricks, and the use of javascript with some SQL queries on top.
First, let’s see what we are going to develop in Courier Tracking System in HTML CSS and JS.
Requirements:
Code Editor (VS Code Preferred)
Chromium Browser (Chrome Preferred)
Basic Knowledge of HTML, CSS, Javascript, and MySQL
The basic features will include:
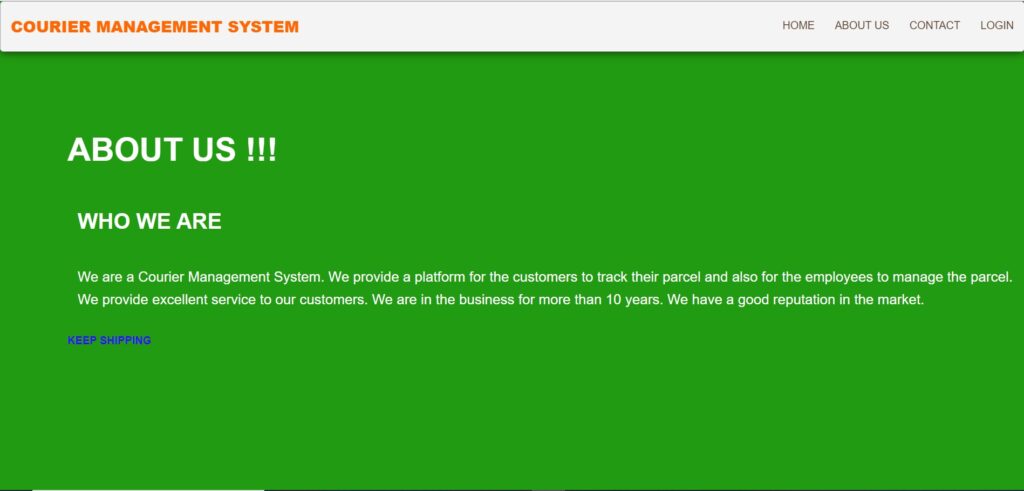
Good UI for all the pages
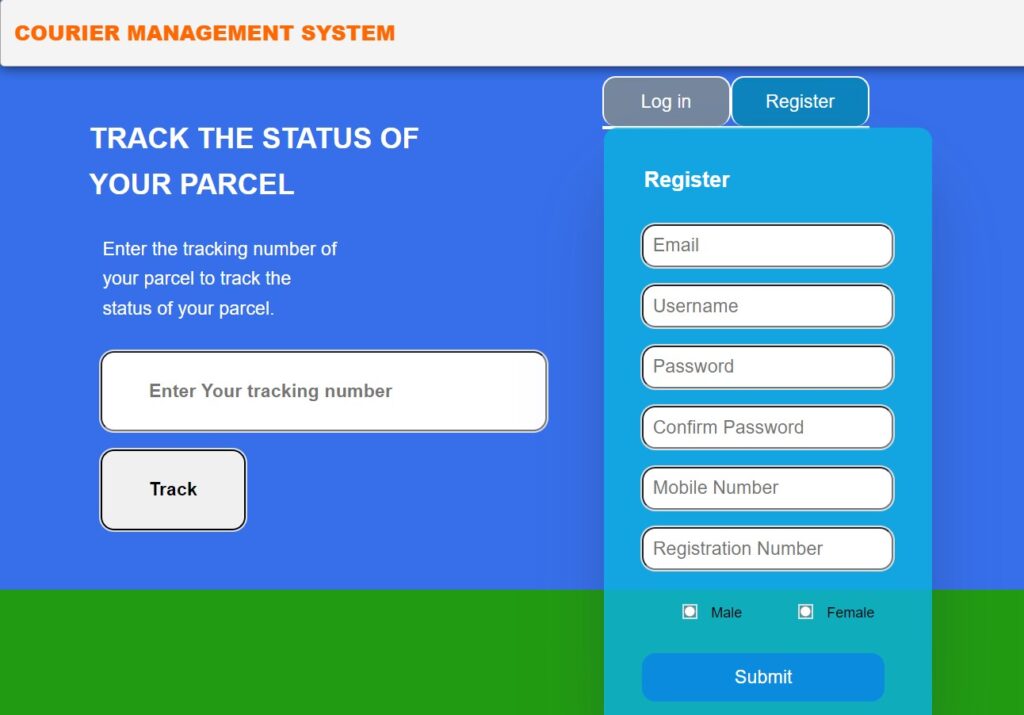
Sign up
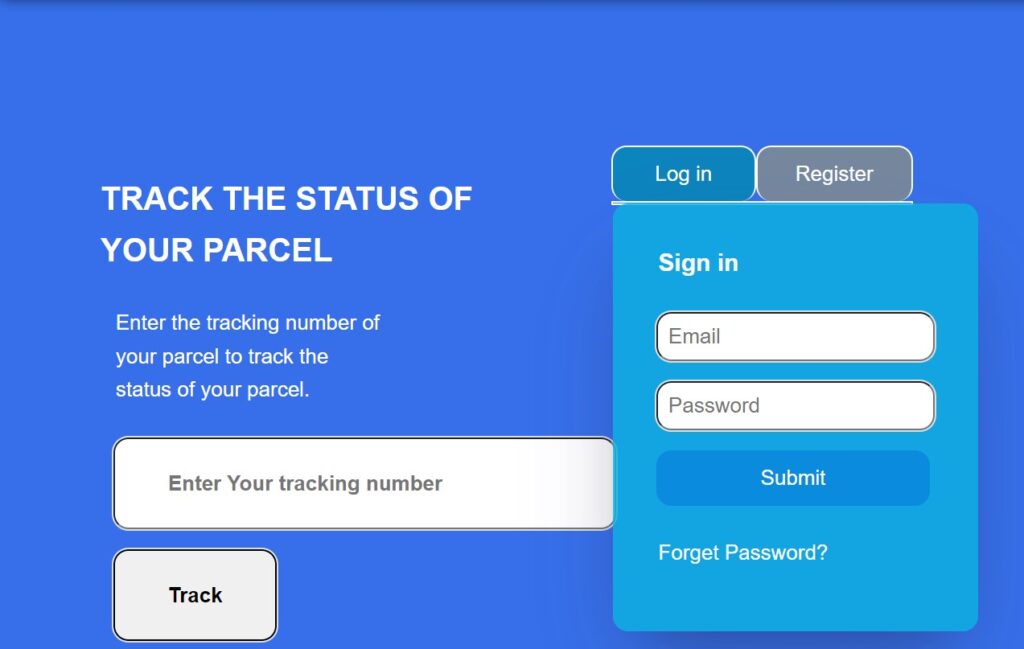
Login
Persisting Login state
Tracking Courier
Using SQL within the browser to save the user data
The folder structure of Courier Tracking System in HTML CSS and JS:
The folder will include 3 main files as shown in the image
We will be using HTML, CSS, and JavaScript for developing Courier Management System Project.
It will be the barebones structure file that will shape how our contents are on the website
The styles file includes the alignment, aesthetics, and the basic overall look of how our website looks
The javascript files include all the logic, including the login and logout features, the dom-manipulation tricks, and essential functionalities to show the status of the shipment.
You can get the complete source code for Courier Management System Project in JavaScript at the end of the tutorial and before output video.
Coding Courier Tracking System in HTML CSS and JS
For registering the User We do the following DB query:
db.transaction(function (tx) < tx.executeSql( "SELECT * FROM RegistgeredUsers WHERE AND pwd = ?", [email, password], function (tx, result) < if (result.rows.length >0) < tx.executeSql( "CREATE TABLE IF NOT EXISTS LoggedInUser (id unique, pwd)" ); tx.executeSql("INSERT INTO LoggedInUser (id, pwd) VALUES (?, ?)", [ email, password, ]); window.location = "courier.html"; >else < alert("Please Check your Email and Password"); >> ); >);
For Checking if the user is logged in:
db.transaction(function (tx) < tx.executeSql( "CREATE TABLE IF NOT EXISTS RegistgeredUsers (id unique, pwd)" ); tx.executeSql( "SELECT * FROM RegistgeredUsers WHERE [email], function (tx, result) < if (result.rows.length >0) < alert("Email already registered."); return; >else < tx.executeSql( `INSERT INTO RegistgeredUsers (id, pwd) VALUES ('$', '$')` ); alert("Account Created Successfully , Now Please try logging in"); > >, function (tx, error) < alert("Error occurred."); >); >); >
![[5 + 10] Best Free HTML to PDF / PDF to HTML Converters](https://www.minitool.com/images/uploads/news/2021/04/html-to-pdf/html-to-pdf-thumbnail.png)