- Установка IDLE Python в Ubuntu 20.04
- Установка IDLE Python в Ubuntu 20.04
- Создание первой программы в IDLE
- Выводы
- How to Install IDLE Python IDE on Ubuntu 20.04
- How to Install IDLE?
- Launch IDLE
- Your first Python program in IDLE
- How to Install IDLE Python IDE on Ubuntu 22.04?
- What is the IDLE IDE of Python?
- How to Install IDLE Python IDE on Ubuntu 22.04?
- How to Use IDLE Python IDE on Ubuntu 22.04?
- Write a Simple Code
- How to Remove IDLE Python IDE From Ubuntu 22.04?
- Conclusion
- How to Install IDLE Python on Ubuntu 22.04 LTS
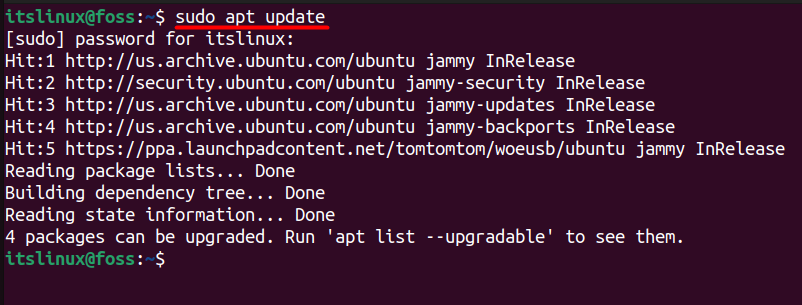
- Update Ubuntu
- Install IDLE Python IDE Editor
- Install IDLE Python 3.10
- Install IDLE Python 3.9
- Install IDLE Python 2.7
- How to Launch IDLE Python IDE Editor
- How to Update IDLE Python IDE Editor
- APT Update Method
- How to Remove (Uninstall) IDLE Python IDE Editor
- APT Remove Method IDLE Python 3.10
- APT Remove Method IDLE Python 3.9
- APT Remove Method IDLE Python 2.7
- Comments and Conclusion
Установка IDLE Python в Ubuntu 20.04
IDLE (расшифровывается как Integrated Development and Learning Environment — Интегрированная среда для разработки и обучения) — интегрированная среда разработки на языке Python. Официально — искажение от слова IDE, но на самом деле названа в честь Эрика Айдла (Eric Idle) из комедийной комик группы Монти Пайтон.
Преимущества IDLE заключается в подсветке синтаксиса, поддержке автозаполнения и встроенным отладчиком. Поставляется вместе с Python и может использоваться на многих платформах, среди которых Windows, Mac OS, Unix-подобные ОС. В данной статье будет рассмотрена установка данной IDE в операционной системе Ubuntu 20.04 и запуск первой программы.
Установка IDLE Python в Ubuntu 20.04
Для установки сначала необходимо обновить индекс пакетов при помощи команды:
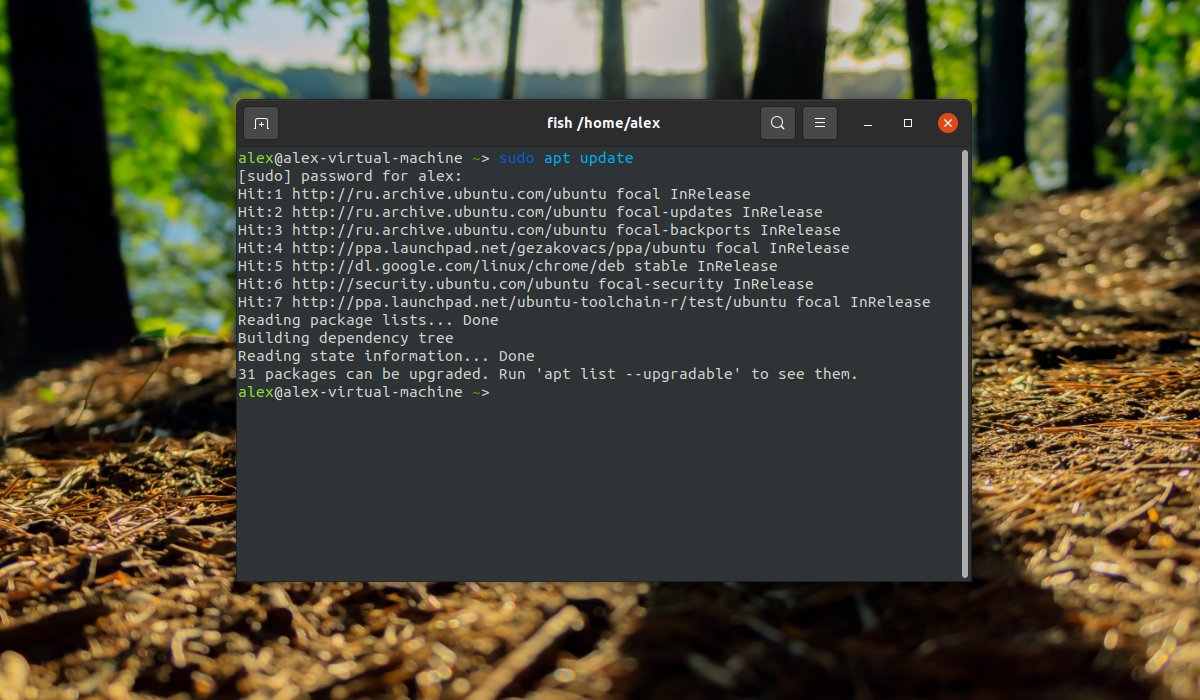
Так как интерпретатор языка программирования Python уже установлен в Ubuntu 20.04 по умолчанию, то можно сразу переходить к установке самой IDLE выполнив команду:
Для запуска IDLE можно воспользоваться 2 способами. Первый способ заключается в запуске из терминала для этого необходимо ввести команду:

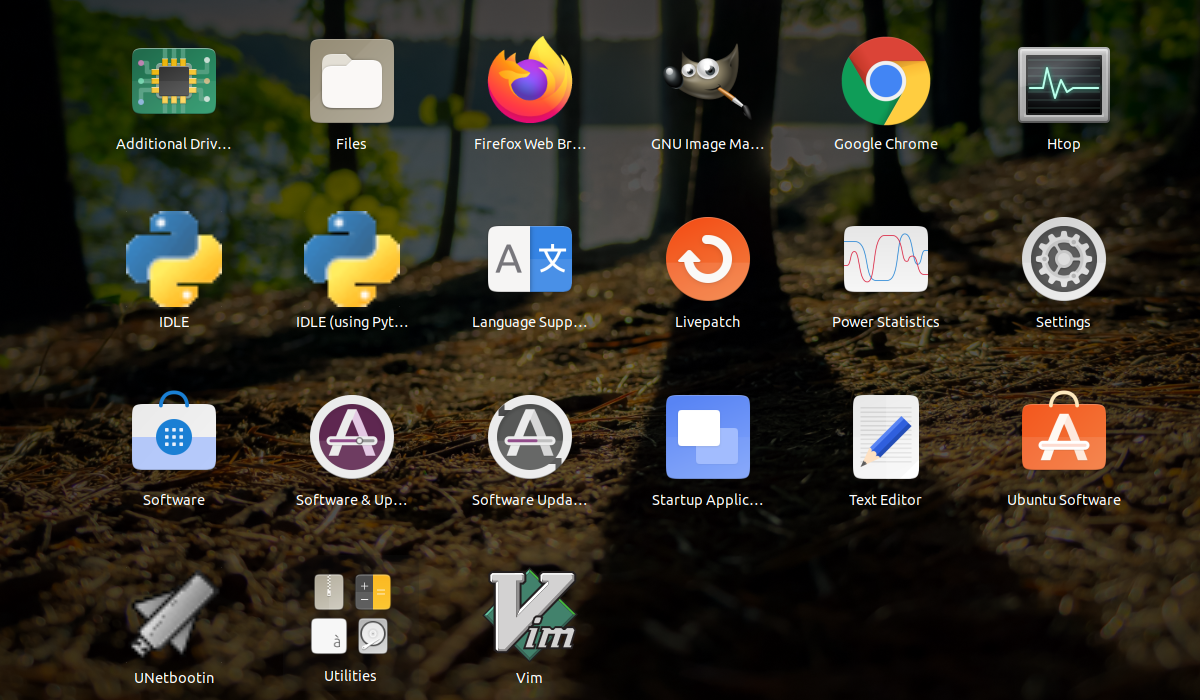
Второй способ — запуск при помощи ярлыка из меню с приложениями:
Создание первой программы в IDLE
Запустите IDLE любым из вышеперечисленных способ и в открывшемся окне интерпретатора введите следующий код:
print («Первая программа созданная в IDLE!»)
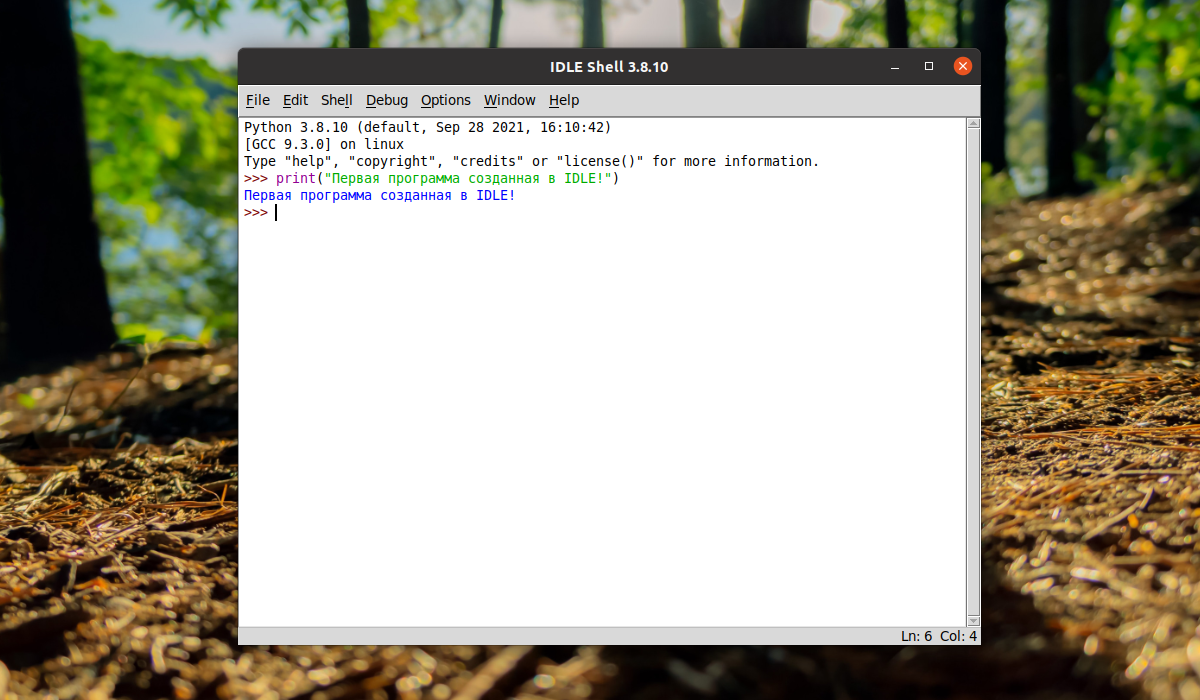
Нажмите на клавишу Enter и в терминале отобразится фраза — Первая программа созданная в IDLE!
Выводы
В этой небольшой статье была рассмотрена установка IDLE в Ubuntu 20.04, а также было показано написание первой программы, выводящее строку в терминал.
Обнаружили ошибку в тексте? Сообщите мне об этом. Выделите текст с ошибкой и нажмите Ctrl+Enter.
How to Install IDLE Python IDE on Ubuntu 20.04

IDLE stands for Integrated DeveLopment Environment. It is an IDE for Python, written in Python language itself and based on Tkinter with bindings to the Tk widget set. IDLE is most suitable for beginners as it is easy to use and not feature overloaded. Hence, it is very popular in educational environments.
IDLE is a cross-platform IDE solution that comes with a basic feature set that includes:
- Multi-window text editor with syntax highlighting, auto-completion, smart indent, and other features to make coding easy.
- Python shell with syntax highlighting.
- Integrated debugger with stepping, persistent breakpoints, and call stack visibility.
For more information on IDLE, visit the following official documentation:
In this article, we will be installing IDLE through the Ubuntu command line. The article also explains how to launch IDLE and use it to write and run a simple Python script.
We have run the commands and procedures mentioned in this article on a Ubuntu 18.04 or Ubuntu 20.04 system.
How to Install IDLE?
Python is installed by default on all the latest Ubuntu releases and it also usually comes with the IDLE application. However, if you have a minimal installation of Ubuntu that lacks any IDLE UI application, you can install it by following this method:
Open the Ubuntu command line, The Terminal, either through the system Dash or the Ctrl+Alt+T shortcut.
Then, you need to update your system’s repository index through the following command as sudo:
This way your system’s repository gets in-line with the Internet repositories and that helps you in installing the latest version of any available software.

You need to run this command as sudo because only an authorized user can add/remove, update, and configure software on Ubuntu. The system will ask you the password for sudo and then execute the rest of the command when you have provided a correct password.
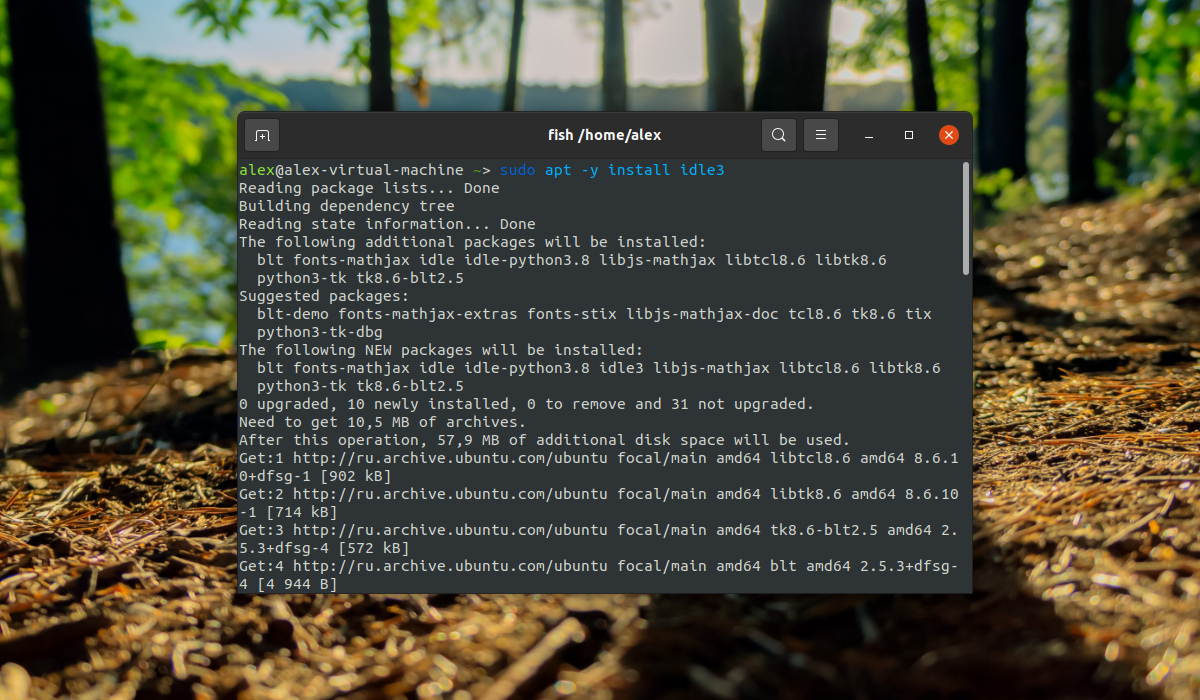
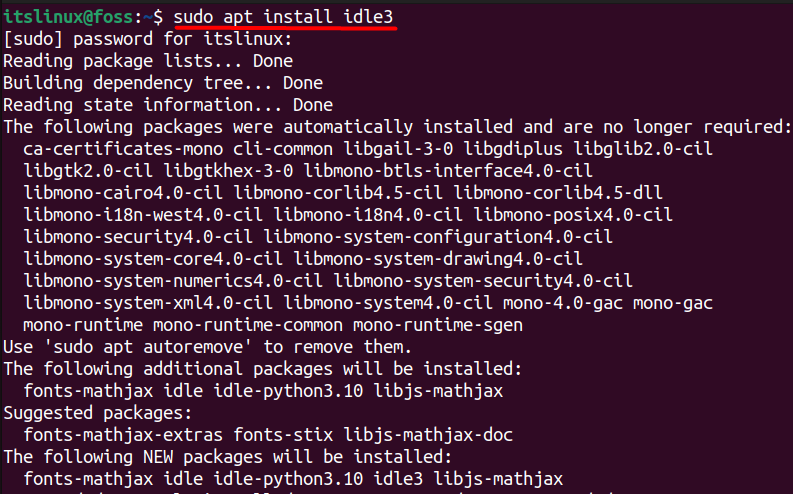
The next step is to run the following command in order to install IDLE3. This is the best-suited version when you have either Python 2 or Python 3 installed on your system.
$ sudo apt-get install idle3

The system might ask you for a Y/n input in order to make sure that you indeed want to install the software. Please enter Y and then hit Enter, after which IDLE3 will be installed on your system.
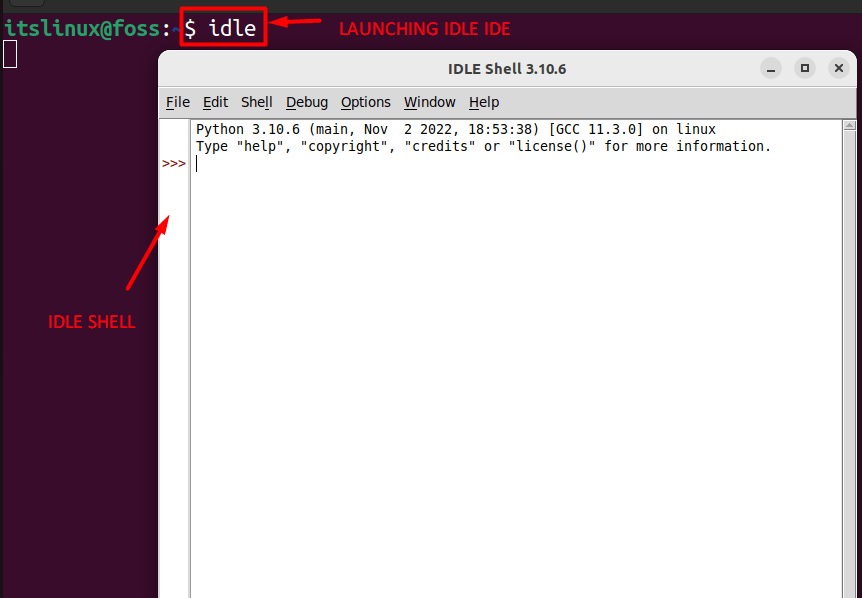
Launch IDLE
You can launch IDLE both through the command line or the Ubuntu UI.
Run the following command in the Terminal in order to launch IDLE.

Or else, enter keywords relevant to IDLE in your Ubuntu Dash search as follows:

This will list all the IDLE applications installed on your system. Click on any one of them to Launch the Python integrated development environment.
Your first Python program in IDLE
Open the IDLE application, which by default looks like this:

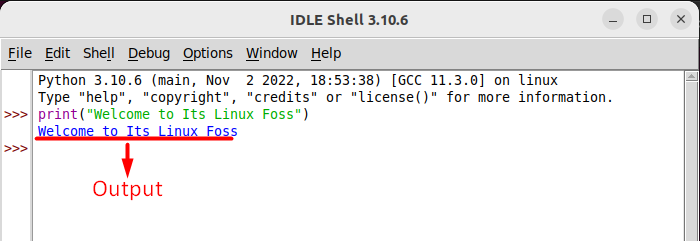
Your first line of code starts from where you see the three “greater than” or “>” symbols.
Place the cursor at this point and write or copy & paste the following line of code:
print("This is my first Python program :) :)") This is a simple print statement that can be used to print anything inside the parentheses “( )”, on the screen.
When you hit Enter, the output is displayed as follows:

You can even choose to save the program (through the Save/Save As option from the File menu) and access it later (through the Open option from the File menu or directly by clicking it from where you have saved it).
After reading this article, you can integrate the IDLE Python development environment into your Ubuntu system and make the best use of its UI-based simple and easy to use feature set.
How to Install IDLE Python IDE on Ubuntu 22.04?
IDLE is an Integrated Development Environment (IDE) for Python, a simple, easy-to-use program that allows users to write and run Python code. IDLE provides several useful features for working with Python, including a powerful editor, an interactive shell, and tools for debugging and profiling your code.
It is a great way to get started with Python, whether you are a beginner or an experienced programmer. If you are new to Python, you must use IDLE (Integrated Development and Learning Environment) IDE for Python. It is easy to use and does come with only the required features.
The content of this article is mentioned below:
- What is the IDLE IDE of Python?
- How to Install IDLE Python IDE on Ubuntu 22.04?
- How to Use IDLE Python IDE on Ubuntu 22.04?
- How to Remove IDLE Python IDE From Ubuntu 22.04?
What is the IDLE IDE of Python?
IDLE is included when you install Python on Windows or Mac, so it is cross-platform, and Linux users need to install it, which can be done using the package manager of the respective distribution.
It comes with a few basic functionalities on Linux that include:
- Code editor with syntax highlighting & correction, automatic indent, and much more.
- Smart debugger with stepping, breakpoints, and all the functionalities of a good IDE.
You can learn more about it by going through the official documentation.
How to Install IDLE Python IDE on Ubuntu 22.04?
Python IDLE IDE is available on the official repository of Ubuntu 22.04, and the following steps can be performed to install it on Ubuntu 22.04.
Step 1: Update the System Repositories
Before installing any package, it is recommended to update the system’s packages so that the newest
It’ll take a while to update the system repositories, depending on how long since the last update was installed.
Step 2: Install IDLE Python IDE
When the system repositories are updated, install the IDLE Python IDE using this command, and you’ll be asked to press “Y” to continue the process, as seen below.
After a few seconds, the installation process will be completed, and you have installed IDLE Python IDE on your system.
How to Use IDLE Python IDE on Ubuntu 22.04?
After installing the IDLE Python IDE, it is time to start coding a simple program. To do that, you’ll need to launch it first using this command:
it will open up the Python shell and show the version of Python being run.
Write a Simple Code
We’ll test it using a simple program to print output, as seen below.
After entering the code, when you hit the enter key, the output will be displayed right after the code’s ending, as seen in the output above.
How to Remove IDLE Python IDE From Ubuntu 22.04?
You can remove IDLE Python IDE on Ubuntu 22.04 by typing the following command below:
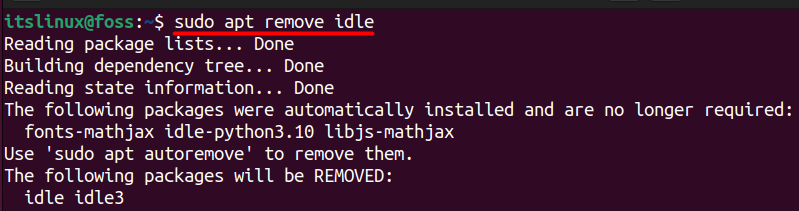
The installed version of IDLE IDE is removed from the system.
Conclusion
You can install Python IDLE IDE on Ubuntu 22.04 via terminal using the command “sudo apt install idle3”. The IDLE is quite easy to learn and implement, especially for users new to Python. Following this, the basic information and the installation method of IDLE are provided in this post.
How to Install IDLE Python on Ubuntu 22.04 LTS

IDLE is a free and fundamental Python development environment that beginners can use to practice their skills. It has been integrated with the default language. Hence, it is easy for new users and offers more features than some other IDEs on the market, such as being simple enough and not requiring lots of knowledge or patience to accomplish tasks within the workspace!
IDLE (Integrated DeveLopment Tool Environment) provides an easy way interactively preview code while allowing you to keep up-to-date visual references throughout each project.
In the following tutorial, you will learn how to install IDLE Python IDE Editor on Ubuntu 22.04 LTS Jammy Jellyfish. The tutorial will use the command line terminal with complete steps using both the standard APT repository and how to install different versions of IDLE.
Update Ubuntu
Before proceeding with the tutorial, it is good to ensure your system is up-to-date with all existing packages.
sudo apt update && sudo apt upgradeInstall IDLE Python IDE Editor
Installing IDLE Python is pretty straightforward. Depending on the version of Python you are working with on your Jammyfish system, run the following command.
sudo apt install idle-python
Now, install the IDLE version 3.10, or install 3.9 or 2.7 IDLE Python versions, which are also available.
Install IDLE Python 3.10
sudo apt install idle-python3.10 -yInstall IDLE Python 3.9
sudo apt install idle-python3.9 -yInstall IDLE Python 2.7
sudo apt install idle-python2.7 -yHow to Launch IDLE Python IDE Editor
Now that you have the software installed, launching can be done in a few ways.
In your terminal, use the following command.
If you would like to launch and use the terminal simultaneously, send it to the background to continue using the current terminal.
However, this isn’t practical for desktop users, and you would use the following path on your desktop to open with the approach as follows.
Activities > Show Applications > IDLE Python
Example in Show Applications:

Once open, you will arrive at the default landing start screen, where you can begin to use the IDE editor.

And that is it, and you have successfully installed IDLE IDE.
How to Update IDLE Python IDE Editor
Depending on the method of installation used, the following commands can be used to update the software and any system packages. Ideally, the terminal update command should be used even with auto-updates in your desktop GUI to ensure everything is updating correctly.
APT Update Method
sudo apt upgrade && sudo apt upgradeHow to Remove (Uninstall) IDLE Python IDE Editor
Use one of the following commands to suit the original installation method for users who no longer require the application.
APT Remove Method IDLE Python 3.10
sudo apt autoremove idle-python3.10 --purge -yAPT Remove Method IDLE Python 3.9
sudo apt autoremove idle-python3.9 --purge -yAPT Remove Method IDLE Python 2.7
sudo apt autoremove idle-python2.7 --purge -yThe above command will automatically remove any unused dependencies installed from IDLE Python and other leftovers from previous removals. This command should be run often to keep your system from getting too bloated.
Comments and Conclusion
In the tutorial, you have learned how to install IDLE Python IDE on Ubuntu 22.04 LTS Jammy Jellyfish.
IDLE has been proven as an excellent IDE for python development. It is straightforward and easy to use, popular among beginner developers. The features like syntax highlighting, code completion, debugging support, etc. make it a complete package for python development. Moreover, its integration with the default language also makes it more user-friendly.