- Introduction 🔗
- Image Representation 🔗
- Generating the Image 🔗
- Header 🔗
- Chunks 🔗
- The Image Header Chunk (IHDR) 🔗
- The Data Chunk (IDAT) 🔗
- PNG Output 🔗
- References 🔗
- Обработка и генерация изображений в Python. Библиотека Pillow
- Установка Pillow
- Начало работы с библиотекой
- Обрезка изображений
- Поворот изображений
- Конвертируем из JPG в PNG с помощью Pillow
- Изменение размера изображений
- Пишем текст на изображениях
- Генерация пустого изображения
- Вывод
Introduction 🔗
PNG is the most common lossless image format on the web. As I am fascinated by the most mundane building blocks of the web, I thought it would be interesting to go through a demonstration of how to generate a PNG image file from scratch in Python.
I will be covering only the very basics on how to produce some output, and as the format is simple, there is no need to use anything but the standard Python library.
Image Representation 🔗
Let’s figure out what we want to visualise in our PNG image. As this is not a painting class, we will only generate a simple checkerboard pattern and spend the rest of our time focusing on writing that to a PNG file.
First of all, we need to decide how we represent a pixel. A common way to do this is to store the pixel as a sequence of 3 values, one for each of the RGB (red, green, blue) components. Let’s define that as a Python type alias:
from typing import Tuple Pixel = Tuple[int, int, int]What pixels do we want to store? As we will be generating a checkerboard pattern, we only need black and white pixels. Let’s go ahead and define them as constants:
BLACK_PIXEL: Pixel = (0, 0, 0) WHITE_PIXEL: Pixel = (255, 255, 255)We are representing the intensity of each colour as a value in the range of 0-255, which thankfully fits in one byte (3 bytes per pixel).
Now that we have pixels, how do we represent the image? For simplicity’s sake, we will use a list of pixel lists, where each pixel list is a row in the image, and the number of pixel lists is the height of the image. We will make an assumption that all pixel lists have the same length (i.e. every row has the same width). Let’s define the image as another type alias:
from typing import List Image = List[List[Pixel]]Generating the Image 🔗
Now let’s write a simple function to generate our checkerboard pattern and return it as our image representation:
def generate_checkerboard_pattern(width: int, height: int) -> Image: out = [] for i in range(height): # Generate a single row of white/black pixels row = [] for j in range(width): if (i + j) % 2 == 0: row.append(WHITE_PIXEL) else: row.append(BLACK_PIXEL) out.append(row) return outNote: As the checkerboard pattern consists of just two colours, we don’t need all of the RGB values. We could’ve stored this as a greyscale image and saved some space, or as an indexed-colour image with a palette and saved even more space. However, as most images on the web have colours, we will keep it as a colour image and stick to the RGB values.
Now let’s work out how to write everything to a PNG file.
Header 🔗
A PNG file begins with a header. Let’s define it as a constant:
We will later write it out to our file.
Chunks 🔗
The header is followed by a number of chunks. A chunk is a named data block that consists of:
- a 4-byte length field
- a 4-byte chunk type field
- the data
- a 4-byte checksum
The length field holds the size of the data field, and the chunk type is a special name defined in the PNG spec that represents what kind of data this chunk holds. Next comes the actual data, and finally a checksum.
The checksum is computed from the chunk type and the data using the CRC algorithm. The length field is not included in the checksum.
We will implement a function that writes out a data chunk, but first let’s begin with a function that returns the checksum:
import zlib def get_checksum(chunk_type: bytes, data: bytes) -> int: checksum = zlib.crc32(chunk_type) checksum = zlib.crc32(data, checksum) return checksumFortunately we don’t need to implement the CRC algorithm ourselves, as Python conveniently exposes it via the crc32 function from the zlib library. We make two calls to crc32 in order to compute a running checksum on two inputs: the chunk type and the data.
We can now implement a function that can write any type of a PNG chunk to a file:
import struct from typing import BinaryIO def chunk(out: BinaryIO, chunk_type: bytes, data: bytes) -> None: out.write(struct.pack('>I', len(data))) out.write(chunk_type) out.write(data) checksum = get_checksum(chunk_type, data) out.write(struct.pack('>I', checksum))Note: The PNG format requires us to output integers as big endian, which is what we use struct.pack for. More specifically ‘>I’ indicates a 4-byte big endian unsigned integer.
The Image Header Chunk (IHDR) 🔗
The first mandatory chunk we need to write after the PNG header is IHDR (the image header). It has the following format:
- 4-byte width
- 4-byte height
- 1-byte bit depth
- 1-byte colour type
- 1-byte compression method
- 1-byte filter method
- 1-byte interlace method
For simplicity, we can ignore the compression method, filter method and interlace method, and set them to 0. As for the rest, let’s define a function that generates the data for this chunk.
def make_ihdr(width: int, height: int, bit_depth: int, color_type: int) -> bytes: return struct.pack('>2I5B', width, height, bit_depth, color_type, 0, 0, 0)Here we use struct.pack to pack the data into a byte string (namely as per the IHDR spec, we write 2 unsigned integers and 5 bytes).
The Data Chunk (IDAT) 🔗
After the image header comes the main data chunk. We’ll write a function that coverts our image format to something we can output as part of the chunk.
We are representing pixel data as a list of pixel lists, where each pixel itself is an RGB triple. We now need to encode this data into scanlines. A scanline is just a continuous row of bytes where every byte holds a colour value from our RGB triples. Every scanline begins with a filter type byte. We are not doing any fancy filtering here so we will use 0 as filter type.
The function to encode the data will then look like this:
def encode_data(img: Image) -> List[int]: ret = [] for row in img: ret.append(0) color_values = [ color_value for pixel in row for color_value in pixel ] ret.extend(color_values) return retNote: A more sophisticated implementation could perform different filtering for every scanline, based on the contents of the scanline. This is why every row starts with its own filter type.
The PNG format also requires us to compress the data using the zlib compression method. Here we will again use the Python standard zlib library. Let’s write a function for compression:
def compress_data(data: List[int]) -> bytes: data_bytes = bytearray(data) return zlib.compress(data_bytes)With these two functions we can generate the data field for the IDAT data chunk:
def make_idat(img: Image) -> bytes: encoded_data = encode_data(img) compressed_data = compress_data(encoded_data) return compressed_dataNote: PNG files can have multiple IDAT chunks, but for demonstration purposes we will only write one.
PNG Output 🔗
Let’s put all of this together and write a function to output the whole PNG image. We will start out by outputting the PNG header:
def dump_png(out: BinaryIO, img: Image) -> None: out.write(HEADER) # start by writing the headerNow let’s consolidate all we need for the Image Header IHDR chunk.
The width and the height are just the dimensions of the image. Bit depth refers to the number of bits used to represent each channel (not pixel). In our case, each value in an RGB triple is represented by 1 byte (0-255), so the bit depth will be 8. Colour type describes the colour model of the image. An image defined by RGB triples with no alpha channel has colour type 2.
assert len(img) > 0 # assume we were not given empty image data width = len(img[0]) height = len(img) bit_depth = 8 # bits per pixel color_type = 2 # pixel is RGB triple ihdr_data = make_ihdr(width, height, bit_depth, color_type) chunk(out, b'IHDR', ihdr_data) After IHDR comes the data IDAT chunk:
compressed_data = make_idat(img) chunk(out, b'IDAT', data=compressed_data) Finally, the PNG format requires us to output an IEND chunk that marks the end of the PNG image. This chunk does not hold any data:
Let’s write a function that actually opens a binary file and writes out the data:
def save_png(img: Image, filename: str) -> None: with open(filename, 'wb') as out: dump_png(out, img)To conclude the demonstration, let’s generate the checkerboard pattern and call the function above to save it to a file:
width = 100 height = 100 img = generate_checkerboard_pattern(width, height) save_png(img, 'out.png') 
References 🔗
Обработка и генерация изображений в Python. Библиотека Pillow

Нередко нам нужно изменить размер картинки, кропнуть ее, наложить текст и так далее. Все это можно автоматизировать с помощью Python и библиотеки Pillow.
Установка Pillow
Установка производится через pip3. Вводим в консоль:
Начало работы с библиотекой
Для начала нам нужно инициализировать библиотеку в нашем скрипте:
В папку со скриптом поместим произвольное изображение. Файл назовем test.jpg.
Теперь откроем изображение через метод в библиотеке:
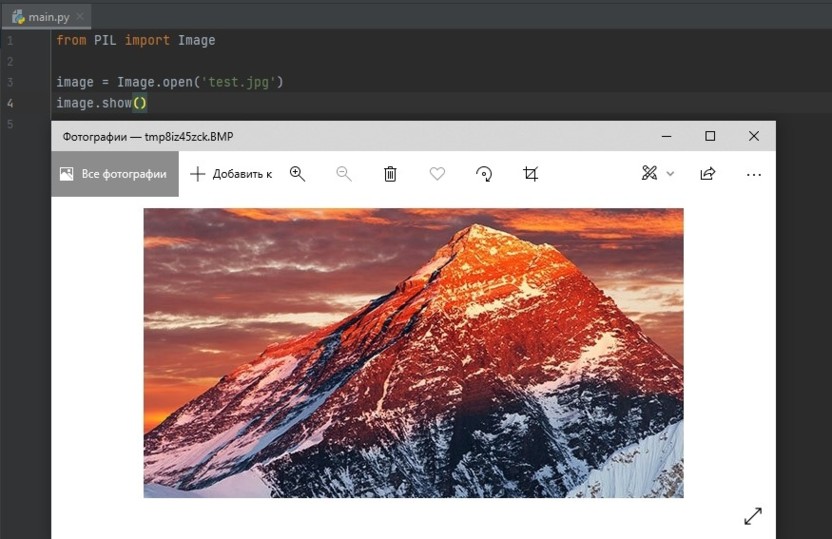
from PIL import Image img = Image.open('test.jpg') img.show() На экране у нас отобразилось изображение, которое мы добавили в папку:
Для просмотра основной информации об изображении с помощью Pillow используем следующие методы:
from PIL import Image img = Image.open('test.jpg') print(img.format) # Просмотр формата изображения. Выведет 'JPEG' print(img.mode) # Просмотр типа цветового пространства. Выведет 'RGB' print(img.size) # Просмотр размера изображения. Выведет (568, 305) print(img.filename) # Просмотр имени файла. Выведет 'test.jpg' r, g, b = img.split() histogram = img.histogram() print(histogram) # Просмотр значений RGB изображения. Выведет 1750, 255, 267, 237, 276, 299… Обрезка изображений
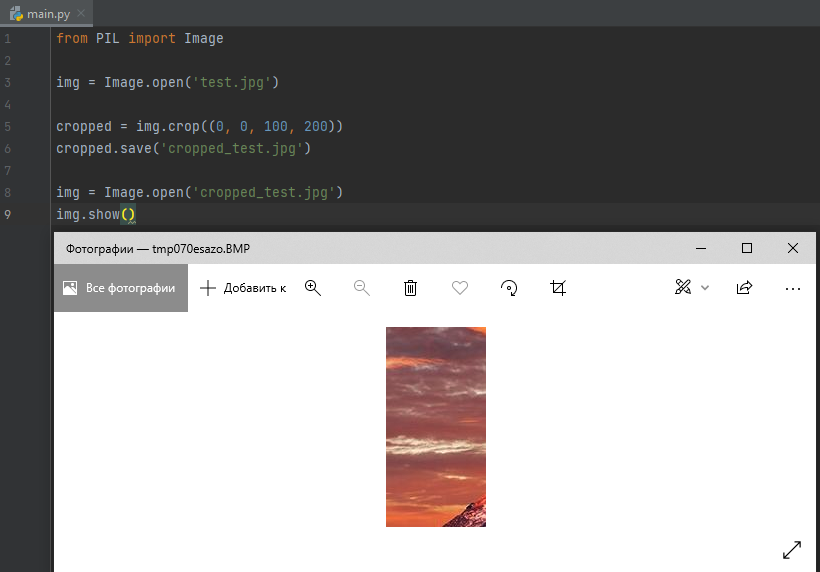
В Pillow есть методы для кропа (обрезки) изображений. Обрежем наше изображение с помощью метода crop(), передав в параметры координаты обрезки:
from PIL import Image img = Image.open('test.jpg') cropped = img.crop((0, 0, 100, 200)) cropped.save('cropped_test.jpg') img = Image.open('cropped_test.jpg') img.show() После выполнения данного кода, получим следующее изображение:
Поворот изображений
С помощью метода Image.rotate() мы можем поворачивать изображение как нам угодно. В скобках указываем количество градусов, на которое нужно повернуть изображение. Рассмотрим на примере:
from PIL import Image img = Image.open('test.jpg') rotated = img.rotate(180) rotated.save('rotated_test.jpg') img = Image.open('rotated_test.jpg') img.show() 
Конвертируем из JPG в PNG с помощью Pillow
Для конвертации нам понадобится открыть изображение и просто сохранить его в другом формате. Рассмотрим на примере:
from PIL import Image img = Image.open('test.jpg') img.save('test_png.png', 'png') Получаем такое же изображение, но в формате PNG.
Изменение размера изображений
Чтобы изменить размер изображения используем метод resize(). Рассмотрим это на примере:
from PIL import Image img = Image.open('test.jpg') img = img.resize((170, 100), Image.ANTIALIAS) img.save('test_text.jpg') img = Image.open('test_text.jpg') img.show() 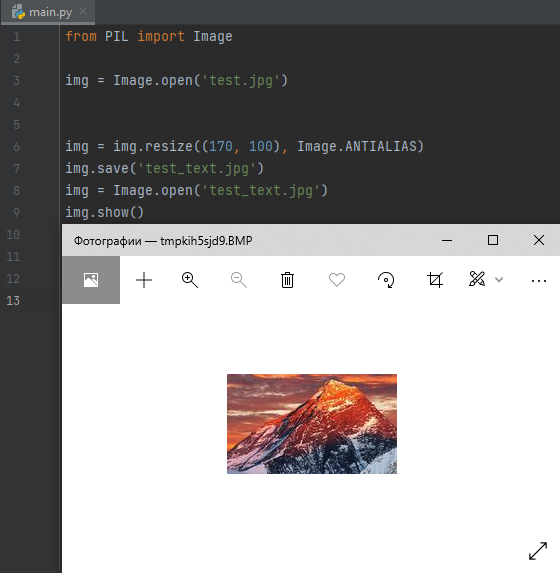
Пишем текст на изображениях
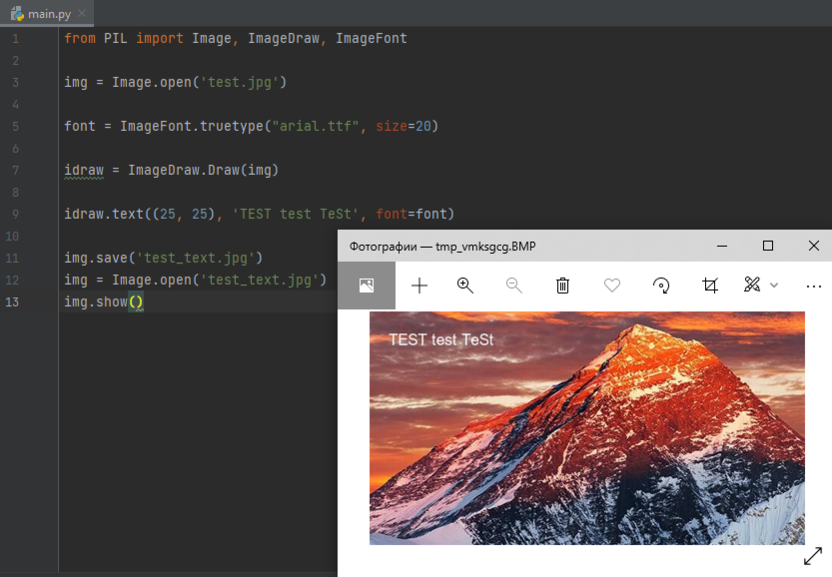
Для наложения текста на изображение в Pillow существует метод text(), но для начала нужно добавить шрифт. Рассмотрим на примере:
from PIL import Image, ImageDraw, ImageFont img = Image.open('test.jpg') font = ImageFont.truetype("arial.ttf", size=20) idraw = ImageDraw.Draw(img) idraw.text((25, 25), 'TEST test TeSt', font=font) img.save('test_text.jpg') img = Image.open('test_text.jpg') img.show() Получим изображение с текстом:
Генерация пустого изображения
Для создания пустого холста (изображения) используем метод Image.new(). Рассмотрим на примере:
from PIL import Image, ImageDraw, ImageFont img = Image.new('RGB', (200, 200), 'black') img.save('test1.jpg') img = Image.open('test1.jpg') img.show() 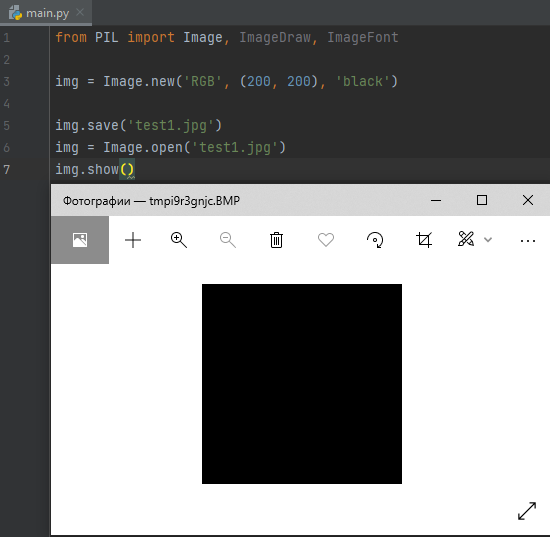
Теперь давайте нарисуем на этом квадрате белый прямоугольник:
from PIL import Image, ImageDraw, ImageFont img = Image.new('RGB', (200, 200), 'black') idraw = ImageDraw.Draw(img) idraw.rectangle((0, 0, 100, 100), fill='white') img.save('test1.jpg') img = Image.open('test1.jpg') img.show() 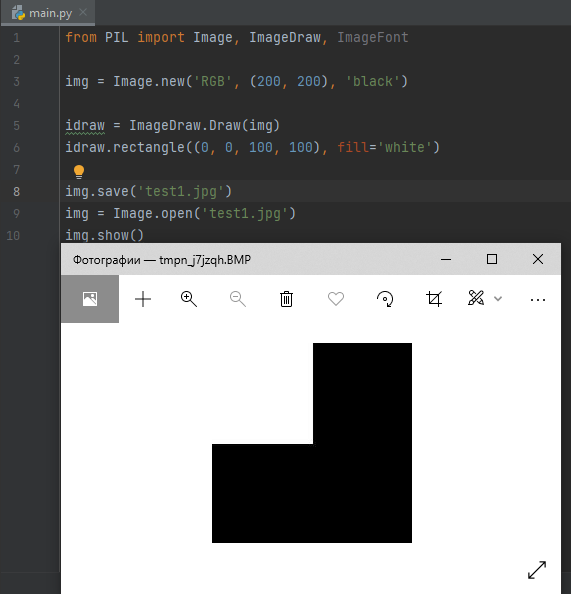
Вывод
Мы разобрали основные методы библиотеки Pillow в Python: научились писать текст на изображениях, изменять размер, поворачивать их и даже обрезать.
Надеюсь, статья была полезна для вас. Удачи!