- Используем Python Pillow для вставки текста и изображения в картинку
- Создание и открытие изображения
- Добавление текста к изображению
- Вставка изображения
- Определение высоты и ширины
- Write Text To Image In Python (Simple Examples)
- TLDR – QUICK SLIDES
- TABLE OF CONTENTS
- PYTHON WRITE TEXT ON IMAGE
- QUICK SETUP
- 1) SIMPLE WRITE TEXT
- 2) MORE TEXT OPTIONS
- 3) CENTER TEXT ON IMAGE
- DOWNLOAD & NOTES
- SUPPORT
- EXAMPLE CODE DOWNLOAD
- EXTRA BITS & LINKS
- LINKS & REFERENCES
- INFOGRAPHIC CHEAT SHEET
- THE END
- Leave a Comment Cancel Reply
- Search
- Breakthrough Javascript
- Socials
- About Me
- How to Add Text to an Image Using Python
- Step 1 — Install Pillow Library
- Step 2 — Import Libraries
- Step 3 — Select an Image File
- Step 4 — Choose font face and define the text
- Step 5 — Write Code to place text on the image
- Hi, I’m Nsikak Imoh.
Используем Python Pillow для вставки текста и изображения в картинку

Pillow это одна из самых популярных библиотек Python для работы с изображениями. Ранее эта библиотека называлась PIL и последний ее релиз был в 2009, после чего разработчики продолжили ее развитие под названием Pillow. В этой статье будет рассмотрен пример вставки текста и изображения в новую или существующую картинку.
Pillow устанавливается отдельно:
Создание и открытие изображения
Для открытия и создания изображения используется модуль Image. На следующем примере мы откроем существующее изображение:
from PIL import Image im = Image.open('d:/beach.jpeg') # Откроет изображение в новом окне im.show()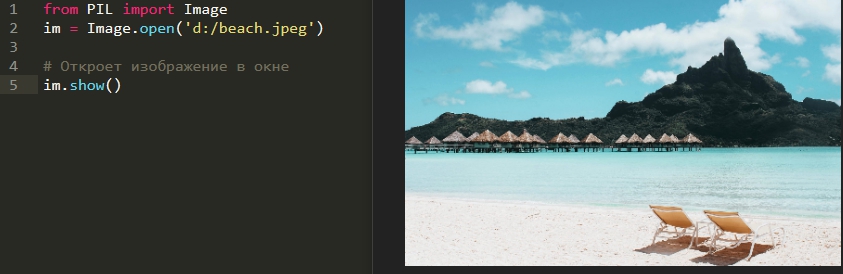
В следующем примере мы создадим изображение, где мы должны указать:
- Цветовую модель. Например RGB,RGBA,CMYK,HCL и т.д.;
- Размер изображения в кортеже;
- По умолчанию изображение создается с черным фоном. Для его изменения нужно заполнить атрибут color.
from PIL import Image im = Image.new('RGB', (200,200), color=('#FAACAC')) # Откроет изображение в новом окне im.show()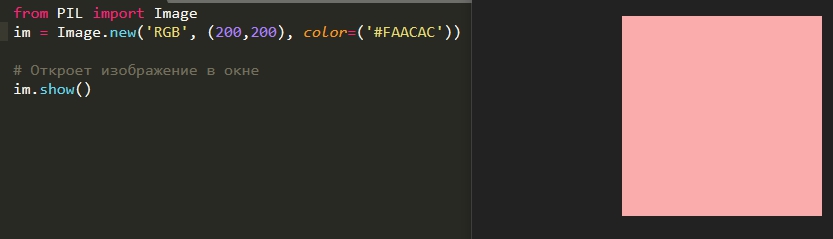
Сохранить изображение можно через save:
from PIL import Image im = Image.new('RGB', (200,200), color=('#FAACAC')) im.save('D:/new_pic.jpg')Модуль Python os — примеры создания и работы с папками и путями
Добавление текста к изображению
Для изменения изображение используется класс ImageDraw. В следующем примере мы создадим объект этого класса с текстом, где нужно указать:
from PIL import Image, ImageDraw im = Image.new('RGB', (200,200), color=('#FAACAC')) draw_text = ImageDraw.Draw(im) draw_text.text( (100,100), 'Test Text', fill=('#1C0606') ) im.show()
Если использовать кириллические символы, может появится ошибка:
- AttributeError: ‘ImageFont’ object has no attribute ‘getmask2’
- UnicodeEncodeError: ‘latin-1’ codec can’t encode characters
Для исправления ошибки вы можете использовать свой шрифт через класс ImageFont. Вы так же сможете указать размер шрифта:
from PIL import Image, ImageDraw, ImageFont im = Image.new('RGB', (200,200), color=('#FAACAC')) # Создаем объект со шрифтом font = ImageFont.truetype('D:/Roboto/Roboto-Black.ttf', size=18) draw_text = ImageDraw.Draw(im) draw_text.text( (100, 100), 'Текст 18px', # Добавляем шрифт к изображению font=font, fill='#1C0606') im.show()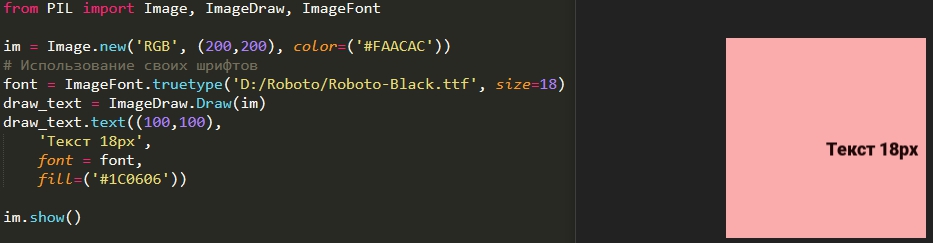
Вставка изображения
Для создания водяного знака, например, откройте второе изображение и используйте функцию paste. При этом первый параметр с watermark будет использовать всю область изображения, а второй установит прозрачность (альфа-канал):
from PIL import Image im = Image.open('d:/beach.jpeg') # Изображение для водяного знака watermark = Image.open('d:/logo.png') im.paste(watermark, (25,25), watermark) im.show()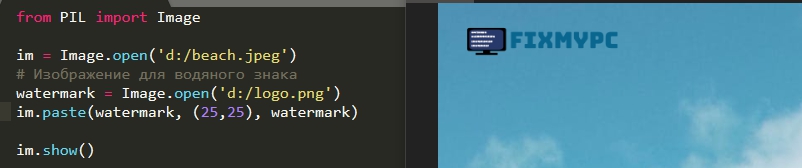
Определение высоты и ширины
Если вы планируете открывать множество изображений, разных размеров и добавлять текст, например в правый нижний угол вы можете вычислить это местоположение. Объекты Image содержат размеры:
# Ширина и высота im.size # Ширина im.width # Высота im.height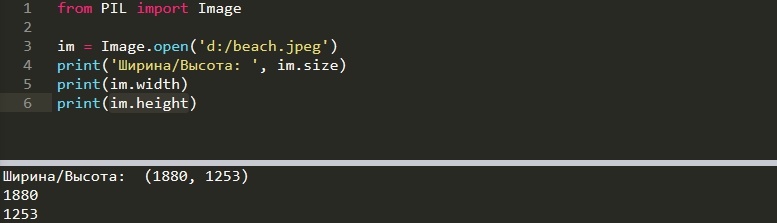
Если вы используете водяные знаки, то можно просто вычесть из основного изображения размеры водяного знака и получить корректное расположение в правом угле:
from PIL import Image im = Image.open('d:/beach.jpeg') watermark = Image.open('d:/logo.png') # Вычисляем расположение watermark position = (im.width - watermark.width, im.height - watermark.height) im.paste(watermark, position, watermark) im.show()Write Text To Image In Python (Simple Examples)
Welcome to a tutorial on how to write text on images in Python. Need to add some text to an image?
- from PIL import Image, ImageFont, ImageDraw
- img = Image.open(«IMG.JPG»)
- draw = ImageDraw.draw(img)
- font = ImageFont.truetype(«FONT.TTF», 18)
- pos = (0, 0)
- color = (255, 255, 255)
- draw.text(pos, «TEXT», fill=color, font=font)
- img.save(«SAVE.WEBP»)
That covers the quick basics, but read on if you need more examples!
TLDR – QUICK SLIDES

TABLE OF CONTENTS
PYTHON WRITE TEXT ON IMAGE
All right, let us now get into the examples of writing text onto images in Python.
QUICK SETUP
- Create a virtual environment virtualenv venv .
- Activate it – venv/Scripts/activate (Windows) venv/bin/activate (Linux/Mac)
- Install required libraries – pip install pillow
1) SIMPLE WRITE TEXT
# (A) IMPORT PILLOW from PIL import Image, ImageFont, ImageDraw # (B) SETTINGS sImg = "demo.png" # source image sSave = "demoA.webp" # save as sText = "FRIED RICE" # text to write sFont = "C:/Windows/Fonts/arial.ttf" # font file sSize = 32 # font size sColor = (255, 255, 255) # text color sPos = (10, 10) # write text at this position # (C) WRITE TEXT TO IMAGE + SAVE iOpen = Image.open(sImg) iDraw = ImageDraw.Draw(iOpen) iFont = ImageFont.truetype(sFont, sSize) iDraw.text(sPos, sText, fill=sColor, font=iFont) iOpen.save(sSave) 
- Open the image – iOpen = Image.open(SOURCE)
- Draw on the image – iDraw = ImageDraw.Draw(iOpen)
- Write text on the image – iDraw.text(POSITION, TEXT, fill=COLOR, font=FONT)
- Save it – iOpen.save(TARGET)
2) MORE TEXT OPTIONS
# (A) IMPORT PILLOW from PIL import Image, ImageFont, ImageDraw # (B) SETTINGS sImg = "demo.png" # source image sSave = "demoB.webp" # save as sText = "EGG\nFRIED RICE" # text to write sFont = "C:/Windows/Fonts/arial.ttf" # font file sSize = 32 # font size sColor = (0, 0, 255, 32) # text color with opacity (alpha) sPos = (10, 10) # write text at this position sSpace = 20 # line spacing sAlign = "center" # text align - left, right, center sStrokeW = 3 # stroke width sStrokeC = (255, 0, 0) # stroke color # (C) WRITE TEXT TO IMAGE + SAVE iOpen = Image.open(sImg).convert("RGBA") iDraw = ImageDraw.Draw(iOpen) iFont = ImageFont.truetype(sFont, sSize) iDraw.text(sPos, sText, fill=sColor, font=iFont, spacing=sSpace, align=sAlign, stroke_width=sStrokeW, stroke_fill=sStrokeC) iOpen.save(sSave) 
- For multi-line text:
- Just add a line break – sText = «EGG\nFRIED RICE» .
- In iDraw.text() – We can also specify align=»left|center|right» , and set the line spacing – spacing=N .
- Take note of sColor = (0, 0, 255, 32) , the last parameter being the alpha (opacity).
- It is necessary to convert into RGBA, or the opacity will not register – iOpen = Image.open(sImg).convert(«RGBA») .
- In iDraw.text() , we define stroke_width=N and stroke_fill=(RGBA) .
3) CENTER TEXT ON IMAGE
# (A) IMPORT PILLOW from PIL import Image, ImageFont, ImageDraw import math # (B) SETTINGS sImg = "demo.png" # source image sSave = "demoC.webp" # save as sText = "EGG\nFRIED RICE" # text to write sFont = "C:/Windows/Fonts/arial.ttf" # font file sSize = 32 # font size sColor = (255, 255, 255) # text color sStrokeW = 3 # stroke width sStrokeC = (0, 0, 0) # stroke color # (C) IMAGE DRAW + FONT iOpen = Image.open(sImg) iDraw = ImageDraw.Draw(iOpen) iFont = ImageFont.truetype(sFont, sSize) # (D) CALCULATE CENTER COORDINATES iw, ih = iOpen.size # image dimensions _, _, tw, th = iDraw.textbbox((0, 0), sText, font=iFont) # text dimensions x = math.floor((iw - tw) / 2) y = math.floor((ih - th) / 2) sPos = (x, y) # (E) WRITE TEXT TO IMAGE + SAVE iDraw.text(sPos, sText, fill=sColor, font=iFont, stroke_width=sStrokeW, stroke_fill=sStrokeC) iOpen.save(sSave)
Finally, centering the text on the image is sadly… Mathematical. Take note of (D), where we calculate the XY position of the text.
- Get the dimensions of the image – iw, ih = iOpen.size
- Get the dimensions of the text box – _, _, tw, th = iDraw.textbbox((0, 0), sText, font=iFont)
- Then in “plain English”:
- x = FLOOR((IMAGE WIDTH — TEXT WIDTH) ÷ 2)
- y = FLOOR((IMAGE HEIGHT — TEXT HEIGHT) ÷ 2)
DOWNLOAD & NOTES
Here is the download link to the example code, so you don’t have to copy-paste everything.
SUPPORT
600+ free tutorials & projects on Code Boxx and still growing. I insist on not turning Code Boxx into a «paid scripts and courses» business, so every little bit of support helps.
EXAMPLE CODE DOWNLOAD
Click here for the source code on GitHub gist, just click on “download zip” or do a git clone. I have released it under the MIT license, so feel free to build on top of it or use it in your own project.
EXTRA BITS & LINKS
That’s all for the tutorial, and here is a small section on some extras and links that may be useful to you.
LINKS & REFERENCES
INFOGRAPHIC CHEAT SHEET
THE END
Thank you for reading, and we have come to the end. I hope that it has helped you to better understand, and if you want to share anything with this guide, please feel free to comment below. Good luck and happy coding!
Leave a Comment Cancel Reply
Search
Breakthrough Javascript
Take pictures with the webcam, voice commands, video calls, GPS, NFC. Yes, all possible with Javascript — Check out Breakthrough Javascript!
Socials
About Me
W.S. Toh is a senior web developer and SEO practitioner with over 20 years of experience. Graduated from the University of London. When not secretly being an evil tech ninja, he enjoys photography and working on DIY projects.
Code Boxx participates in the eBay Partner Network, an affiliate program designed for sites to earn commission fees by linking to ebay.com. We also participate in affiliate programs with Bluehost, ShareASale, Clickbank, and other sites. We are compensated for referring traffic.
How to Add Text to an Image Using Python
In this tutorial, we will show you how to add text to an image using pillow in python.
Although you can decide to add text to an image without Pil library using an image editor, you will be saving some time doing this using a simple python code snippet.
Not only can you add text to images, but you can also do a number of things using the Pillow library.
You can also use this technique to create images with text on them. It’s easy to do and works great if you are looking to add some personalization to your site or blog.
Step 1 — Install Pillow Library
To install the library, you should open your command prompt or terminal window and navigate to the directory where you want to save the file.
Then, run the following commands:
pip install --upgrade pip pip install pillowStep 2 — Import Libraries
Next, You can now import this into your code. When working with large libraries like Pillow, it’s a good idea to practice importing the specific features you want to use instead of importing the entire library.
This will save memory and time when starting the program. For a simple project like this, you only need three functions: Image , ImageFont , and ImageDraw .
You can get all three in one line of code like this:
from PIL import Image, ImageFont, ImageDrawStep 3 — Select an Image File
Add the image to the same directory as your program. Create a variable and locate it using the Image.open function.
test_image = Image.open("test_image.jpg")Alternatively, you can generate a simple image with a plain background using the commands below:
img = Image.new('RGB', (60, 30), color = (255, 0, 0)) img.save('test_image.png')The above command will create a red background image and store it as test_image.png.
Step 4 — Choose font face and define the text
font_style = ImageFont.truetype('/Library/Fonts/Arial.ttf', 200) text = "This is an example of text on Image"Step 5 — Write Code to place text on the image
After choosing the image, font, and defining the text to place on the image, it’s time to add the text to the image.
The first thing is to convert our image into an editable format:
image_edited = ImageDraw.Draw(test_image)Next, we render the text on the image:
image_edited.text((15,15), text, font=font_style, fill=(255, 255, 0))There you go, run the program, and adjust the coordinates to get your desired text position.
In conclusion, it may seem like a small task, but adding text to an image can be useful for creating banners, social media posts, or even greeting cards quickly without resulting to using image editors.
Hi, I’m Nsikak Imoh.
Senior Backend (API) Engineer, researcher and writer. I research and write about software engineering, mathematics, computer science, technology, and business. Learn more about me here.