Programming buttons in python
Одним из наиболее используемых компонентов в графических программах является кнопка. В tkinter кнопки представлены классом Button . Основные параметры виджета Button:
- command : функция, которая вызывается при нажатии на кнопку
- compund : устанавливает расположение картинки и текста относительно друг друга
- cursor : курсор указателя мыши при наведении на метку
- image : ссылка на изображение, которое отображается на метке
- pading : отступы от границ вилжета до его текста
- state : состояние кнопки
- text : устанавливает текст метки
- textvariable : устанавливает привязку к элементу StringVar
- underline : указывает на номер символа в тексте кнопки, который подчеркивается. По умолчанию значение -1, то есть никакой символ не подчеркивается
- width : ширина виджета
Добавим в окно обычную кнопку из пакета ttk:
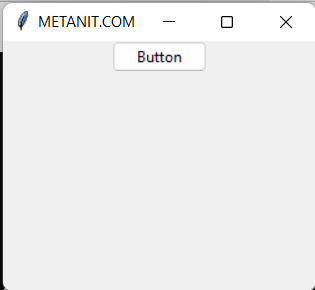
from tkinter import * from tkinter import ttk root = Tk() root.title("METANIT.COM") root.geometry("250x200") # стандартная кнопка btn = ttk.Button(text="Button") btn.pack() root.mainloop() Для создания кнопки используется конструктор Button() . В этом конструкторе с помощью параметра text можно установить текст кнопки.
Чтобы разместить виджет в контейнере (главном окне), у него вызывается метод pack() . На ОС Windows мы получим следующую кнопку:
Конструктор Button определяет различные параметры, которые позволяют настроить поведение и внешний вид кнопки. Однако конкретный набор параметров зависит от того, используем ли мы кнопки из пакета tkinter или из пакета tkinter.ttk.
Обработка нажатия на кнопку
Для обработки нажатия на кнопку необходимо установить в конструкторе параметр command , присвоив ему ссылку на функцию, которая будет срабатывать при нажатии:
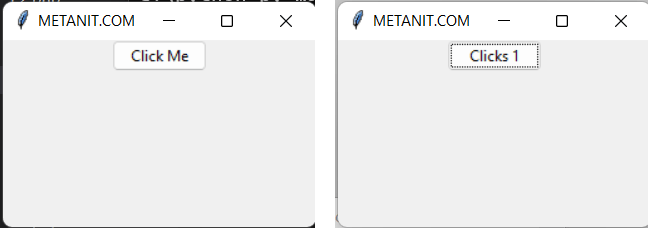
from tkinter import * from tkinter import ttk clicks = 0 def click_button(): global clicks clicks += 1 # изменяем текст на кнопке btn["text"] = f"Clicks " root = Tk() root.title("METANIT.COM") root.geometry("250x150") btn = ttk.Button(text="Click Me", command=click_button) btn.pack() root.mainloop() Здесь в качестве обработчика нажатия устанавливается функция click_button. В этой функции изменяется глобальная переменная clicks, которая хранит число кликов. Кроме того, изменяем текст кнопки, чтобы визуально было видно сколько нажатий произведено. Таким образом, при каждом нажатии кнопки будет срабатывать функция click_button, и количество кликов будет увеличиваться:
Отключение кнопки
Для ttk-кнопки мы можем установить отключенное состояние с помощью метода state() , передав ему значение «disabled». С такой кнопкой пользователь не сможет взаимодействовать:
from tkinter import * from tkinter import ttk root = Tk() root.title("METANIT.COM") root.geometry("250x200") btn = ttk.Button(text="Click Me", state=["disabled"]) btn.pack() root.mainloop() При этом в метод state мы можем передать набор состояний, поэтому значение «disabled» передается внутри списка.
Tkinter Button
Summary: in this tutorial, you’ll learn about the Tkinter Button widget and how to use it to create various kinds of buttons.
Introduction to Tkinter button widget
Button widgets represent a clickable item in the applications. Typically, you use a text or an image to display the action that will be performed when clicked.
Buttons can display text in a single font. However, the text can span multiple lines. On top of that, you can make one of the characters underline to mark a keyboard shortcut.
To invoke a function or a method of a class automatically when the button is clicked, you assign its command option to the function or method. This is called the command binding in Tkinter.
To create a button, you use the ttk.Button constructor as follows:
button = ttk.Button(container, **option)Code language: Python (python)A button has many options. However, the typical ones are like this:
button = ttk.Button(container, text, command)Code language: Python (python)- The container is the parent component on which you place the button.
- The text is the label of the button.
- The command specifies a callback function that will be called automatically when the button clicked.
Command callback
The command option associates the button’s action with a function or a method of a class. When you click or press the button, it’ll automatically invoke a callback function.
To assign a callback to the command option, you can use a lambda expression:
def callback(): # do something ttk.Button( root, text="Demo Button", command=callback )Code language: Python (python)If the function contains one expression, you use a lamba expression:
ttk.Button( root, text="Demo Button", command=lambda_expression )Code language: Python (python)Button states
The default state of a button is normal . In the normal state, the button will respond to the mouse events and keyboard presses by invoking the callback function assigned to its command option.
The button can also have the disabled state. In the disabled state, a button is greyed out and doesn’t respond to the mouse events and keyboard presses.
To control the state of a button, you use the state() method:
# set the disabled flag button.state(['disabled']) # remove the disabled flag button.state(['!disabled'])Code language: Python (python)Tkinter button examples
Let’s take some examples of using button widgets.
1) Simple Tkinter button example
The following program shows how to display an Exit button. When you click it, the program is terminated.
import tkinter as tk from tkinter import ttk # root window root = tk.Tk() root.geometry('300x200') root.resizable(False, False) root.title('Button Demo') # exit button exit_button = ttk.Button( root, text='Exit', command=lambda: root.quit() ) exit_button.pack( ipadx=5, ipady=5, expand=True ) root.mainloop()Code language: Python (python)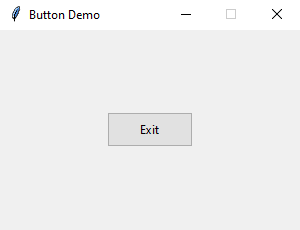
The following creates the Exit button:
exit_button = ttk.Button( root, text='Exit', command=lambda: root.quit() )Code language: Python (python)The command of the button is assigned to a lambda expression that closes the root window.
2) Tkinter image button example
The following program shows how to display an image button. To practice this example, you need to download the following image first:

Just right-click and save it into a folder that is accessible from the following program e.g., assets folder:
import tkinter as tk from tkinter import ttk from tkinter.messagebox import showinfo # root window root = tk.Tk() root.geometry('300x200') root.resizable(False, False) root.title('Image Button Demo') # download button def download_clicked(): showinfo( title='Information', message='Download button clicked!' ) download_icon = tk.PhotoImage(file='./assets/download.png') download_button = ttk.Button( root, image=download_icon, command=download_clicked ) download_button.pack( ipadx=5, ipady=5, expand=True ) root.mainloop()Code language: Python (python)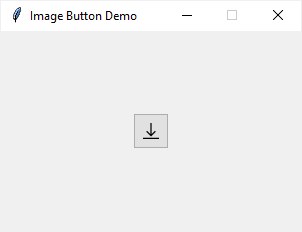
- First, create a new instance of the tk.PhotoImage class that references the image file ‘./assets/download.png’ .
- Second, create the ttk.Button whose image option is assigned to the image.
- Third, assign a function to the command option. When you click the button, it’ll call the download_clicked function that displays a message box.
3) Displaying an image button
To display both text and image on a button, you need to use the compound option. If you don’t, the button will display the text only, not the image.
The following shows how to display both text and image on a button:
import tkinter as tk from tkinter import ttk from tkinter.messagebox import showinfo # root window root = tk.Tk() root.geometry('300x200') root.resizable(False, False) root.title('Image Button Demo') # download button handler def download_clicked(): showinfo( title='Information', message='Download button clicked!' ) download_icon = tk.PhotoImage(file='./assets/download.png') download_button = ttk.Button( root, image=download_icon, text='Download', compound=tk.LEFT, command=download_clicked ) download_button.pack( ipadx=5, ipady=5, expand=True ) root.mainloop() Code language: Python (python)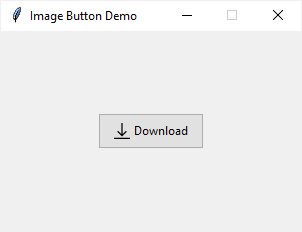
Summary
- Use the ttk.Button() class to create a button.
- Assign a lambda expression or a function to the command option to respond to the button click event.
- Assign the tk.PhotoImage() to the image property to display an image on the button.
- Use the compound option if you want to display both text and image on a button.