- How to draw shapes in matplotlib with Python
- Drawing different types of shapes
- Draw line shape in matplotlib – Python
- Rectangle shape in matplotlib – Python
- Square shape in matplotlib – Python
- Circle shape in matplotlib – Python
- Triangle shape in matplotlib – Python
- matplotlib.pyplot.plot#
- How to Add Shapes to a Figure in Matplotlib?
- How to Add Shapes to a Figure in Matplotlib?
- What are Matplotlib Patches?
- How to Draw Different Shapes in Matplotlib?
- Triangle
- Line
- Rectangle
- Square
- Drawing Shapes with a Mouse on Cartesian Plots
- Adding Shapes to Subplots
- Adding the Same Shapes to Multiple Subplots
- Add Animations Using matplotlib.animations()
- Additional Examples
- Conclusion
How to draw shapes in matplotlib with Python
In this article, we are going to learn how to draw different types of basic shapes like Lines, Rectangle, Square, Circle, Triangle in matplotlib using Python. For this, we need some basic concepts of two popular modules in the field of plotting figure i.e. Numpy and Matplotlib. In this article during drawing different types of shapes, we use the concept of “plt.gca()” which returns the current axes instances on the current figure.
Drawing different types of shapes
Here, we are going to draw 5 basic shapes. Let’s start with Line:-
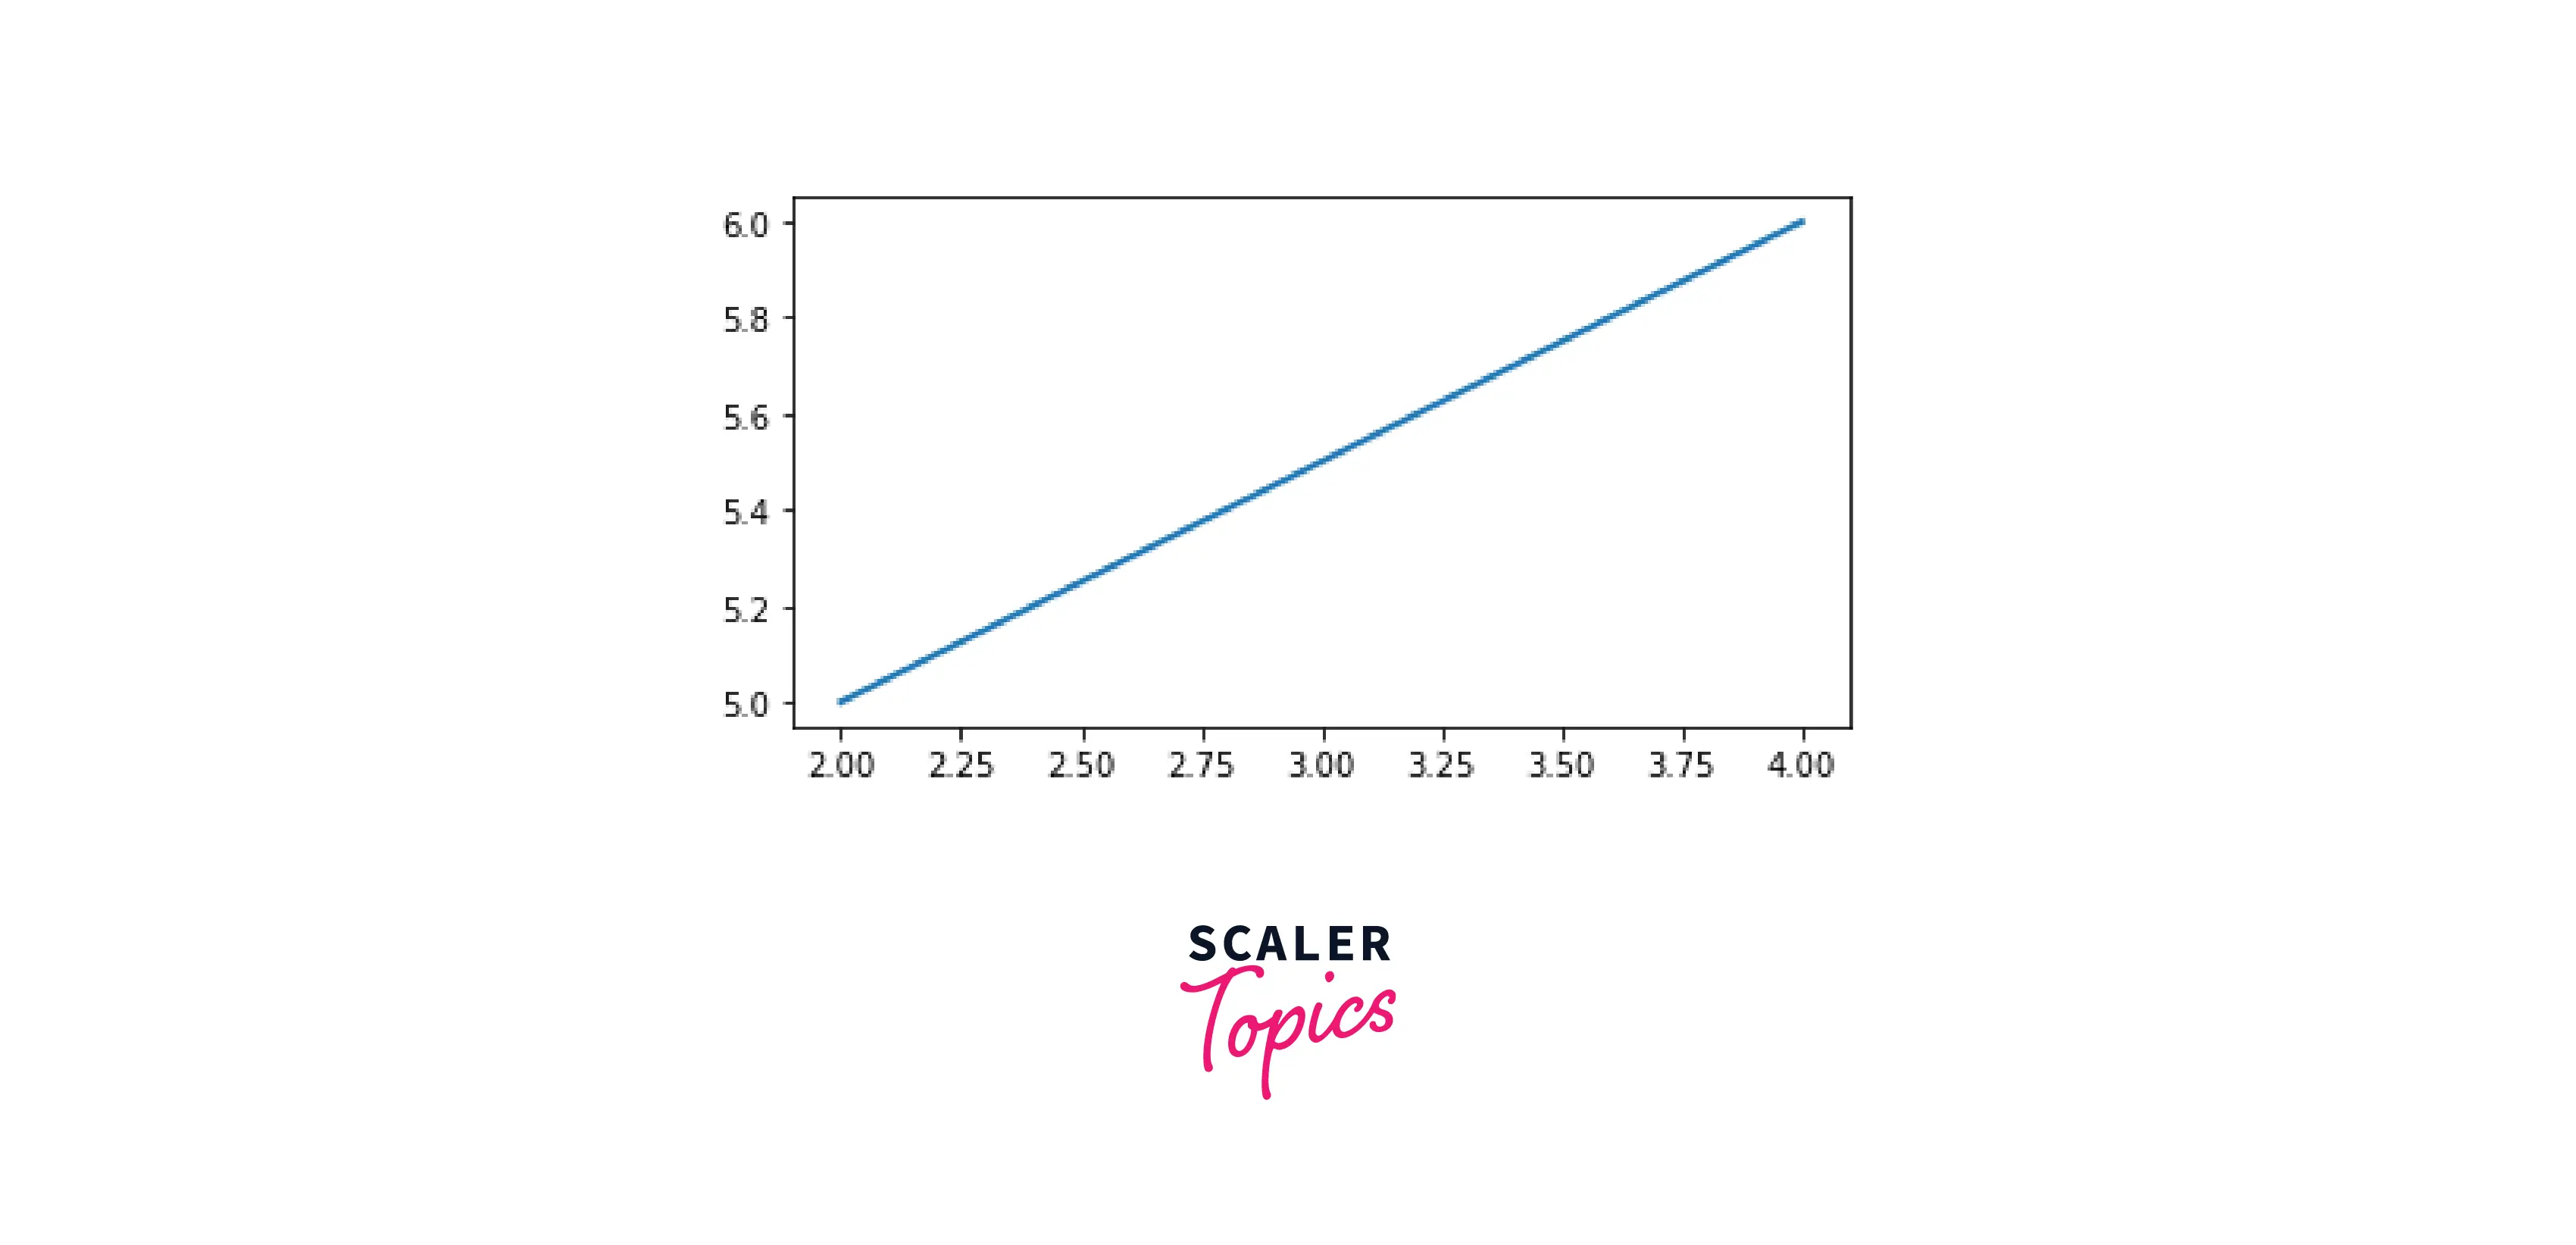
Draw line shape in matplotlib – Python
import matplotlib.pyplot as plt plt.axes() line = plt.Line2D((2, 8), (6, 7), lw=1.5) plt.gca().add_line(line) plt.axis('scaled') plt.show() 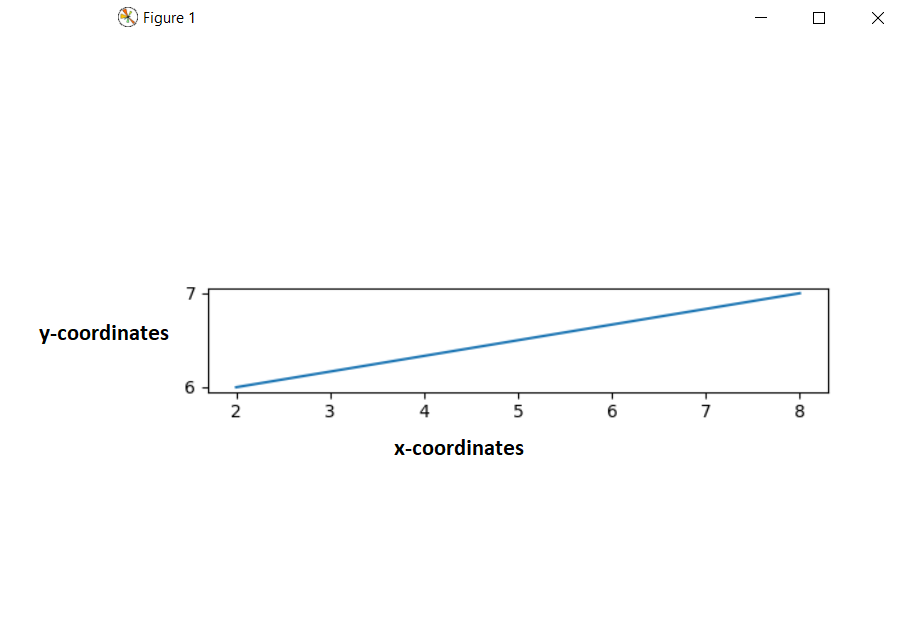
Here, we first imported the matplotlib module by writing “import matplotlib.pyplot as plt“. Then we created an object named “plt.axes()“. And then we created another object for line named as “plt.Line2D()“(A line is a Line2D instance), this object takes 3 arguments, first two are tuples which indicating the position of both the ends of the line and the third arguments indicates the width of the line. Then we used the concept of gca which return the current axis instances on the current figure.
Now, we move to the next shape named as Rectangle.
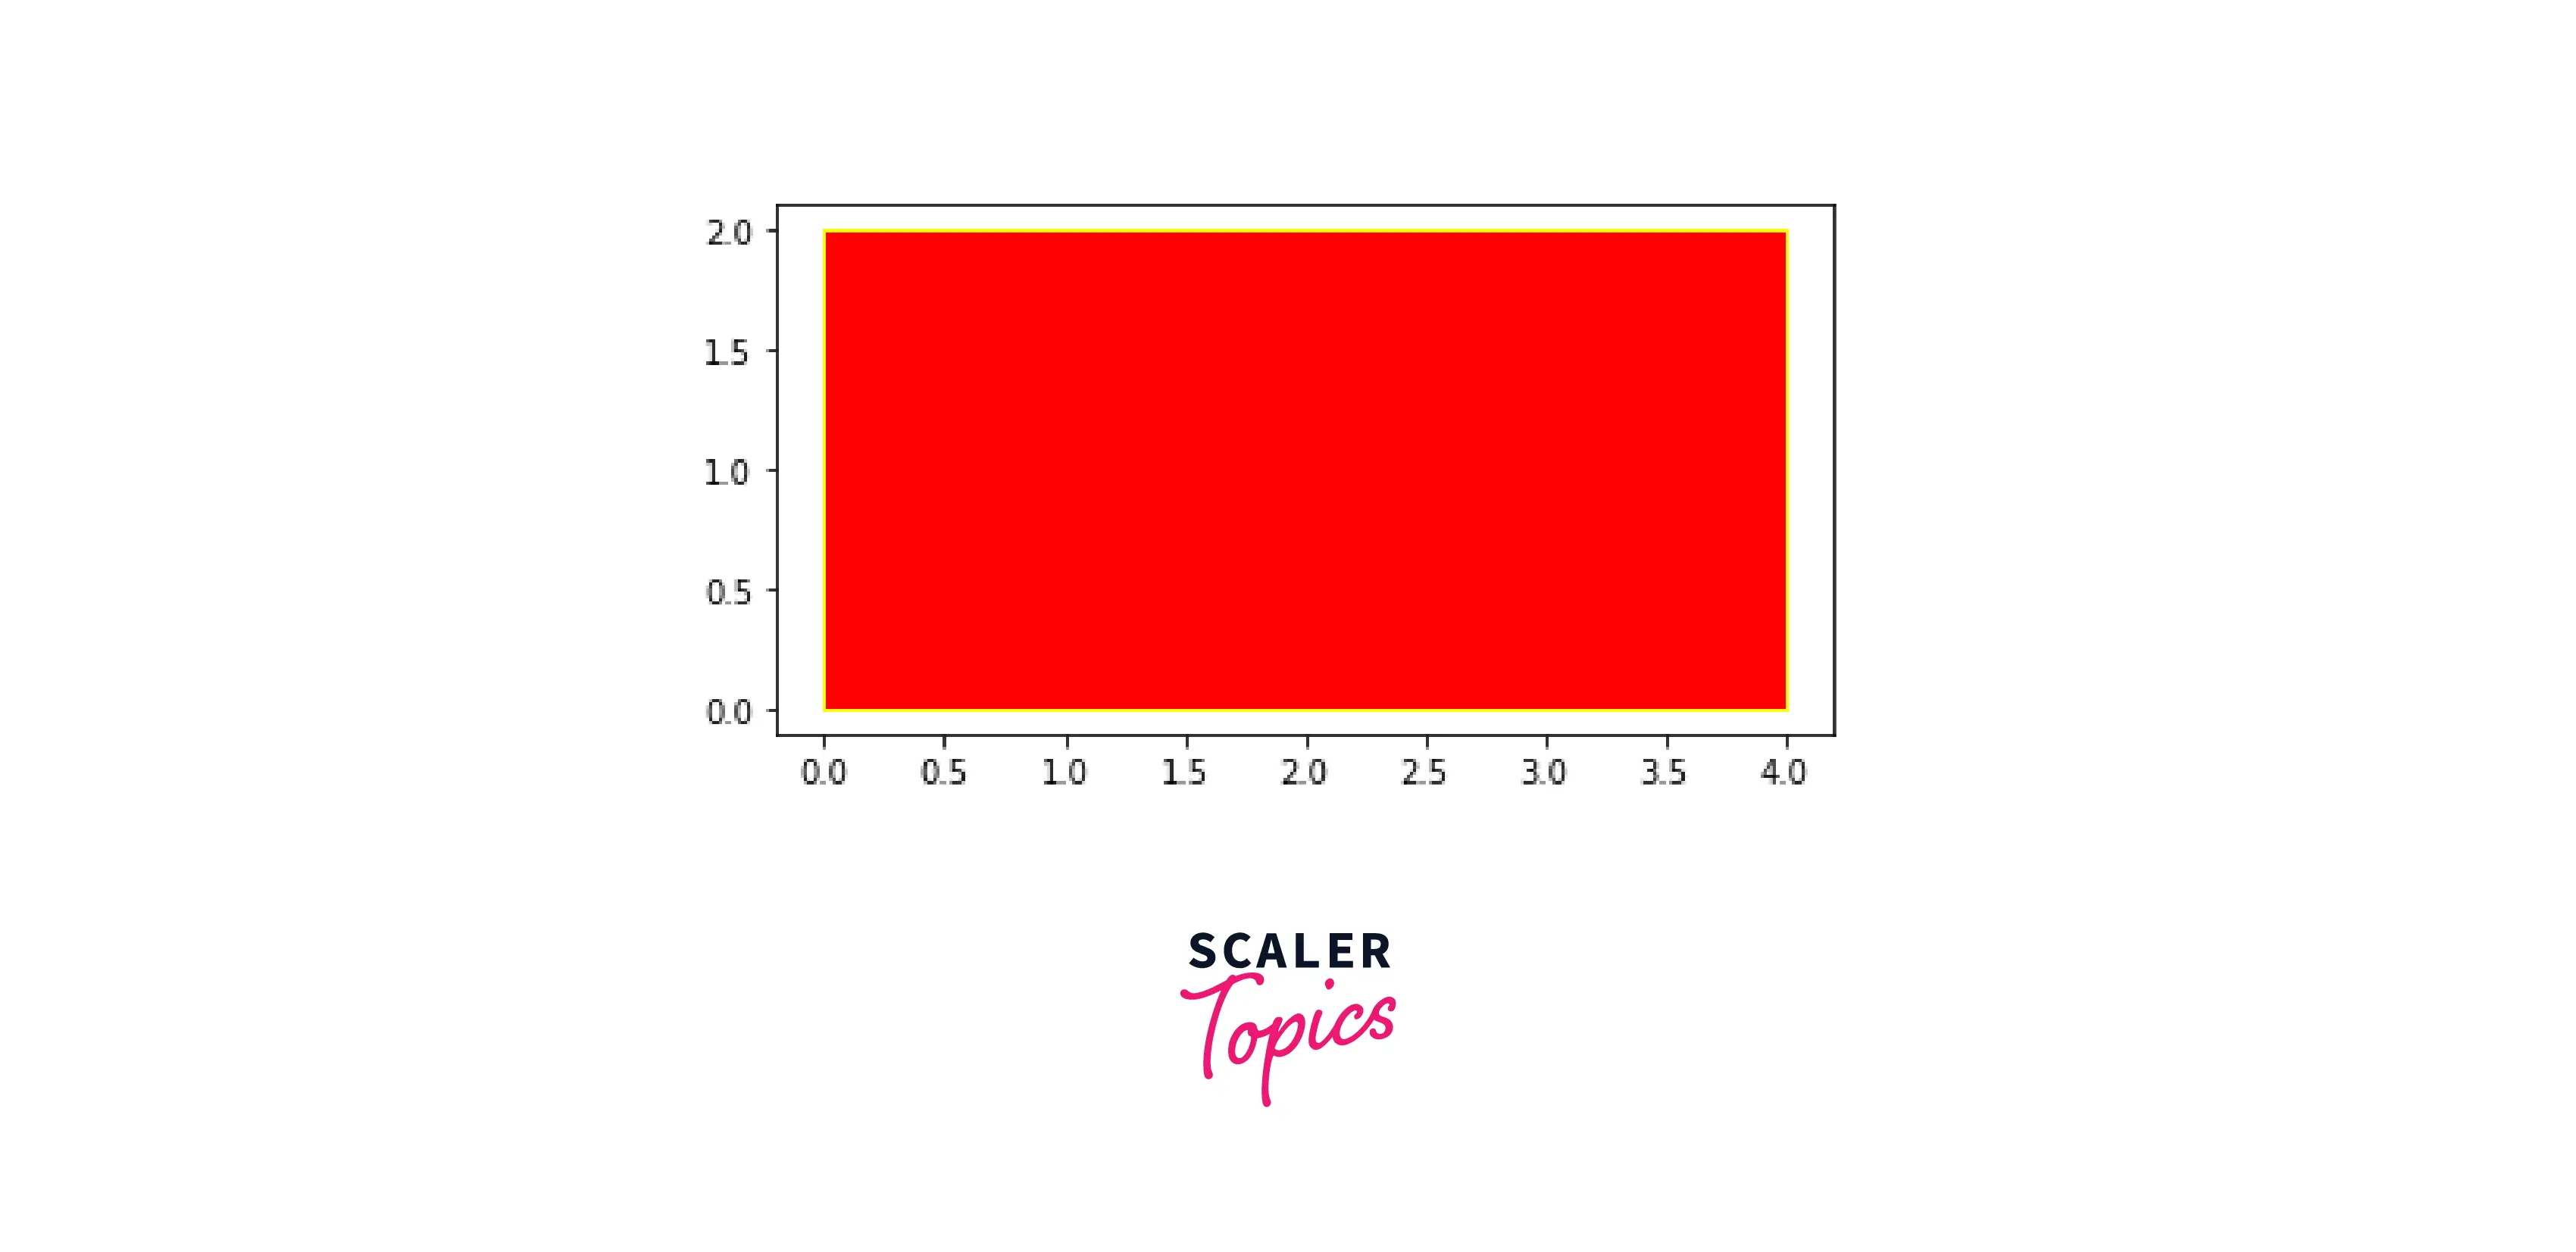
Rectangle shape in matplotlib – Python
import matplotlib.pyplot as plt plt.axes() rectangle = plt.Rectangle((0,0), 50, 20, fc='blue',ec="red") plt.gca().add_patch(rectangle) plt.axis('scaled') plt.show() 
Here, we created another object named as “plt.rectangle()” which takes mainly 3 arguments, first one indicates the position of left-bottom corner of rectangle, and the next two arguments indicates the width and height of the rectangle. The “fc” attribute is used to denote the face color of the rectangle and the “ec” attribute denotes the edge color of the rectangle. If we take the height and width of the rectangle same, then it will get converted into a square.
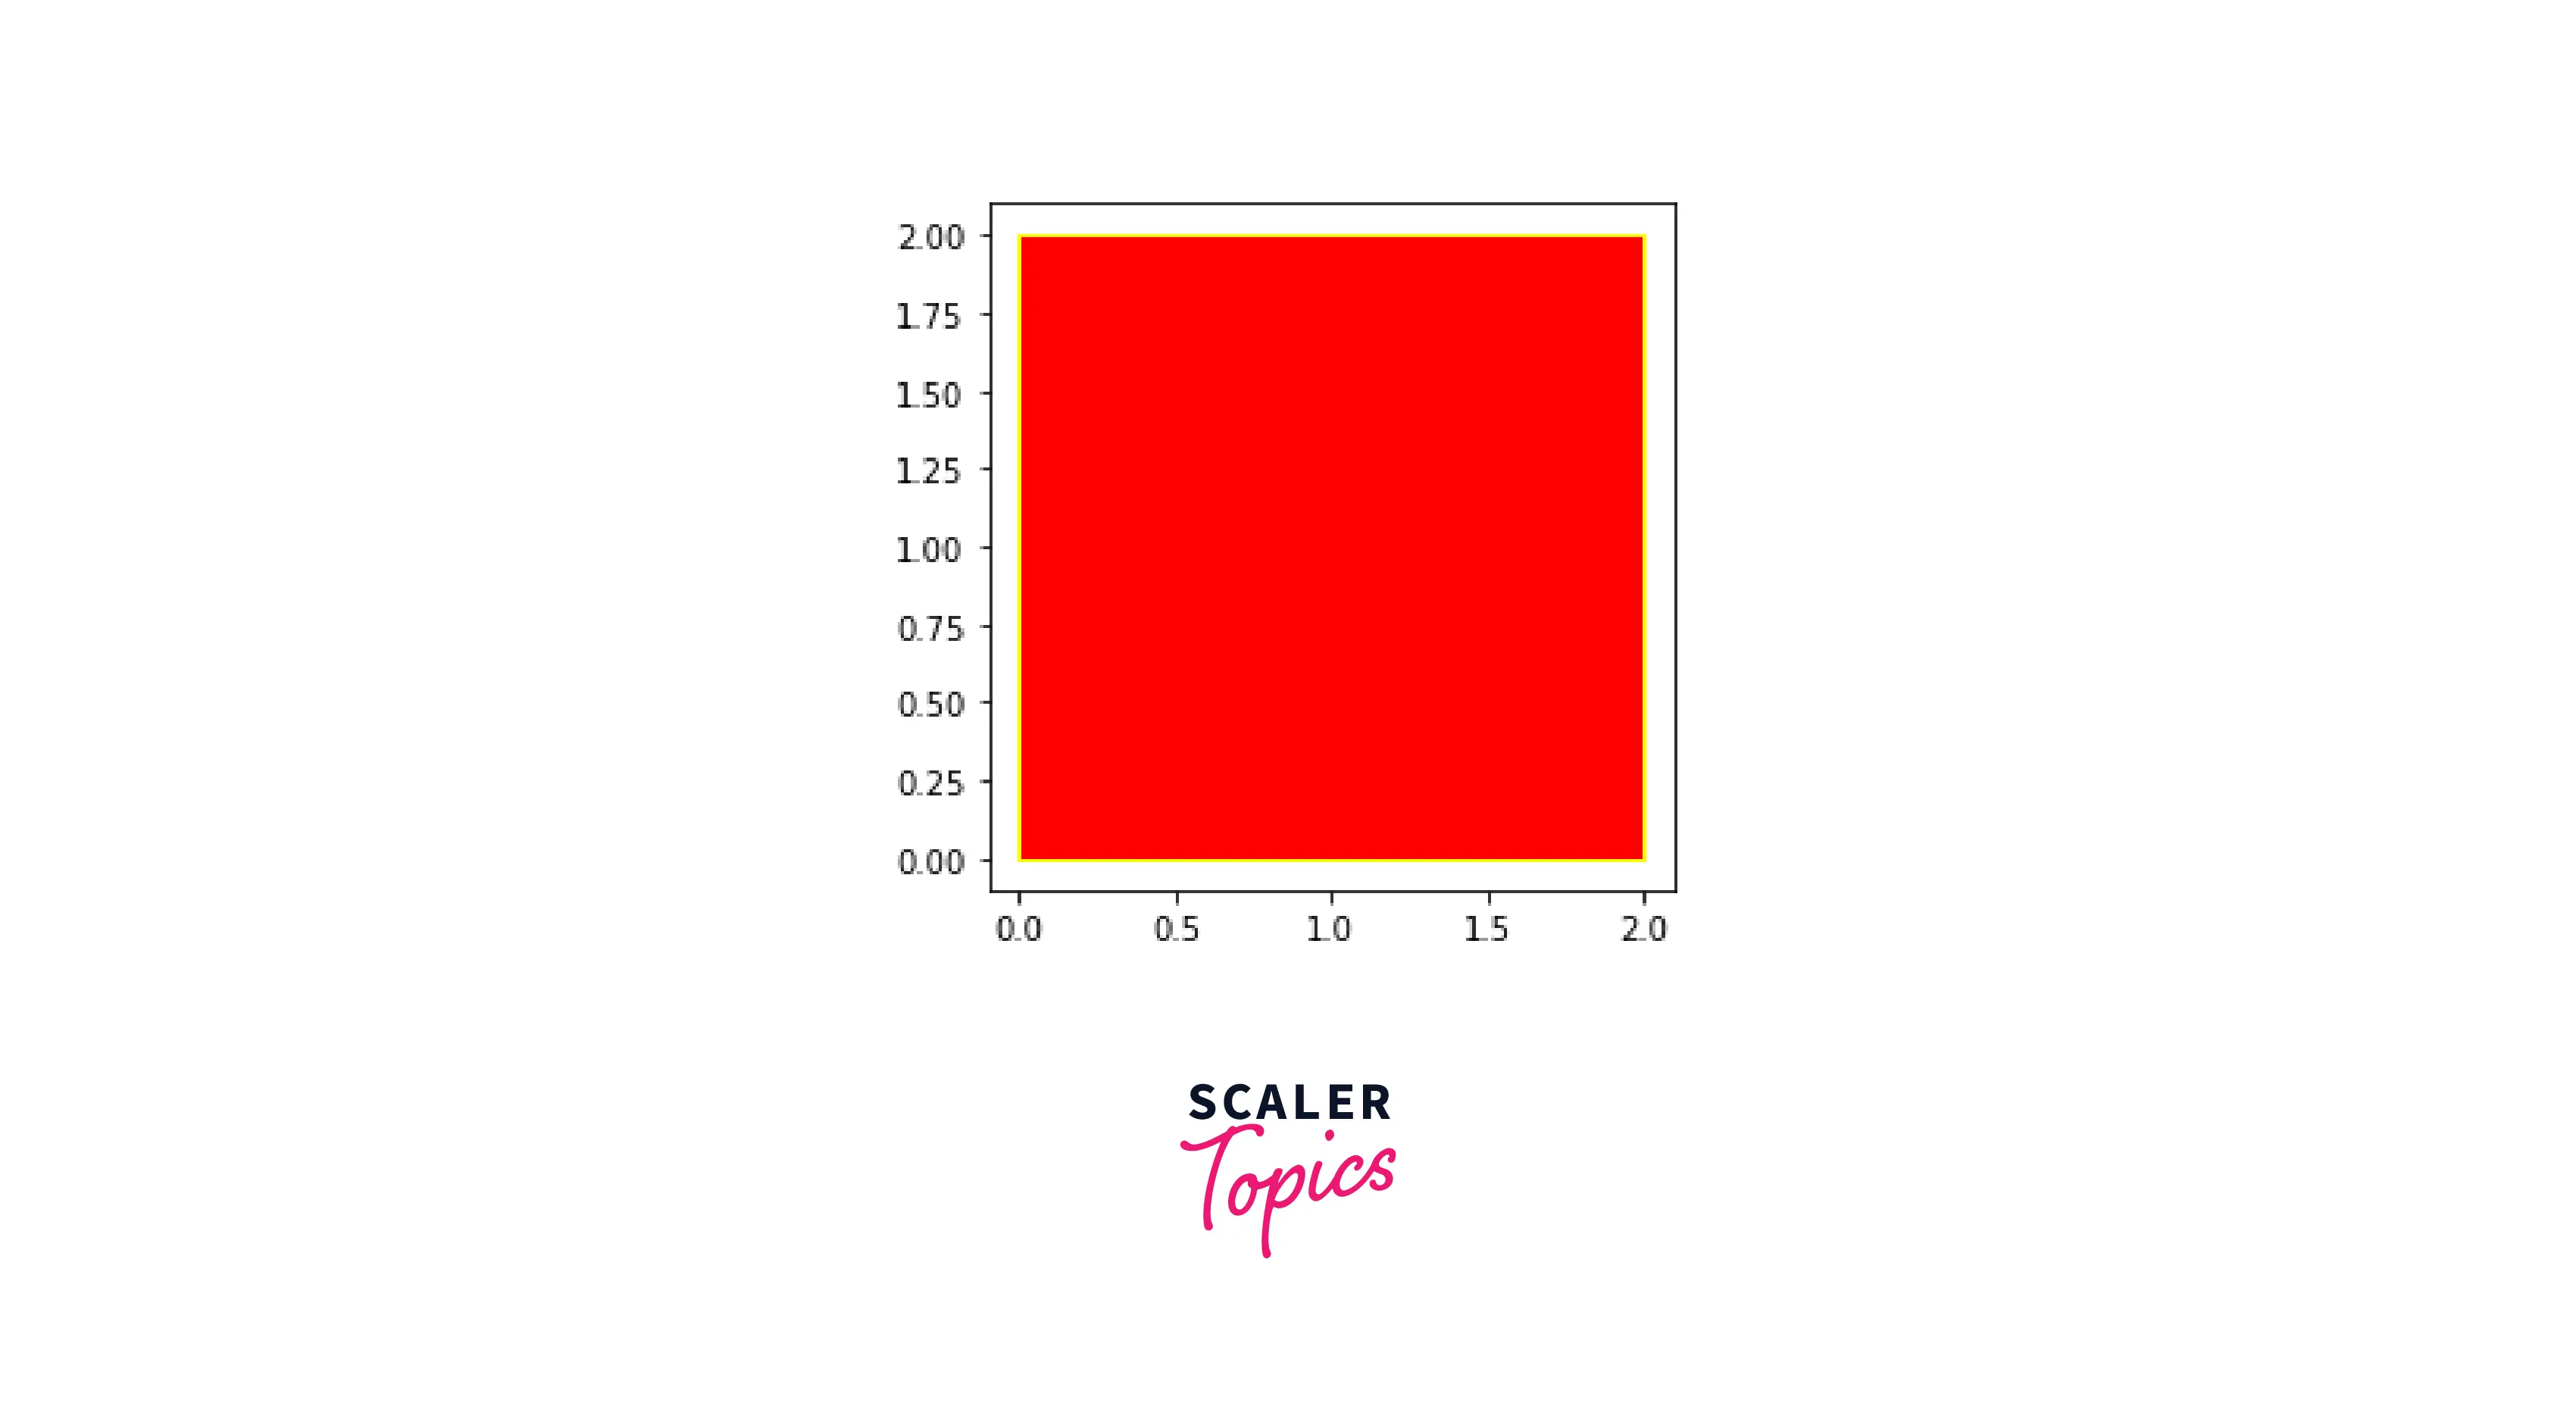
Square shape in matplotlib – Python
import matplotlib.pyplot as plt plt.axes() rectangle = plt.Rectangle((0,0), 20, 20, fc='blue',ec="red") plt.gca().add_patch(rectangle) plt.axis('scaled') plt.show() 
Here the only thing we changed is that we took the height and width data same, which then converted into a square from a rectangle.
Circle shape in matplotlib – Python
import matplotlib.pyplot as plt plt.axes() circle = plt.Circle((0,0),1.5, fc='blue',ec="red") plt.gca().add_patch(circle) plt.axis('scaled') plt.show() 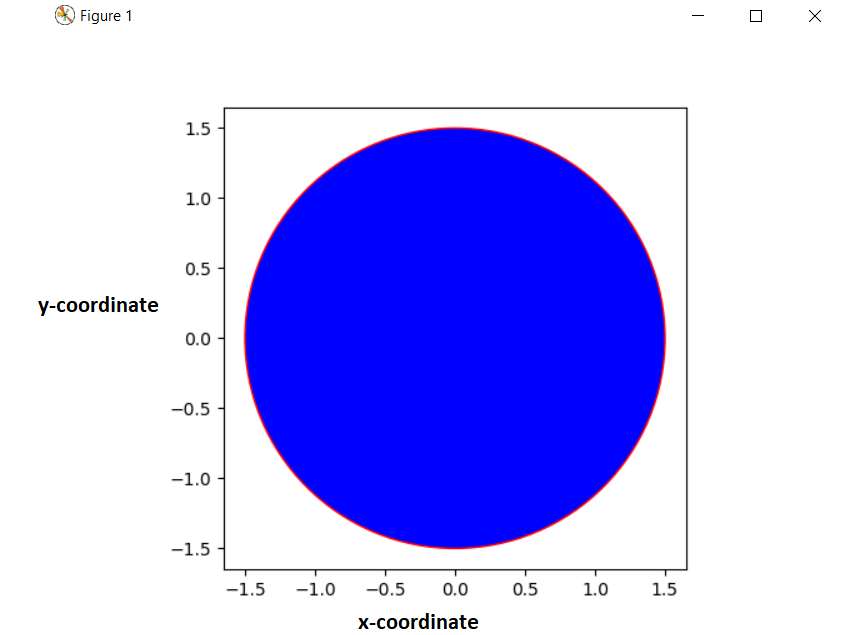
Here, we created another object named as “plt.Circle()” which takes mainly 2 arguments, first one indicates the position of the center of the circle, and the next arguments indicate the radius of the circle. The “fc” attribute is used to denote the face color of the circle and the “ec” attribute denotes the edge color of the circle.
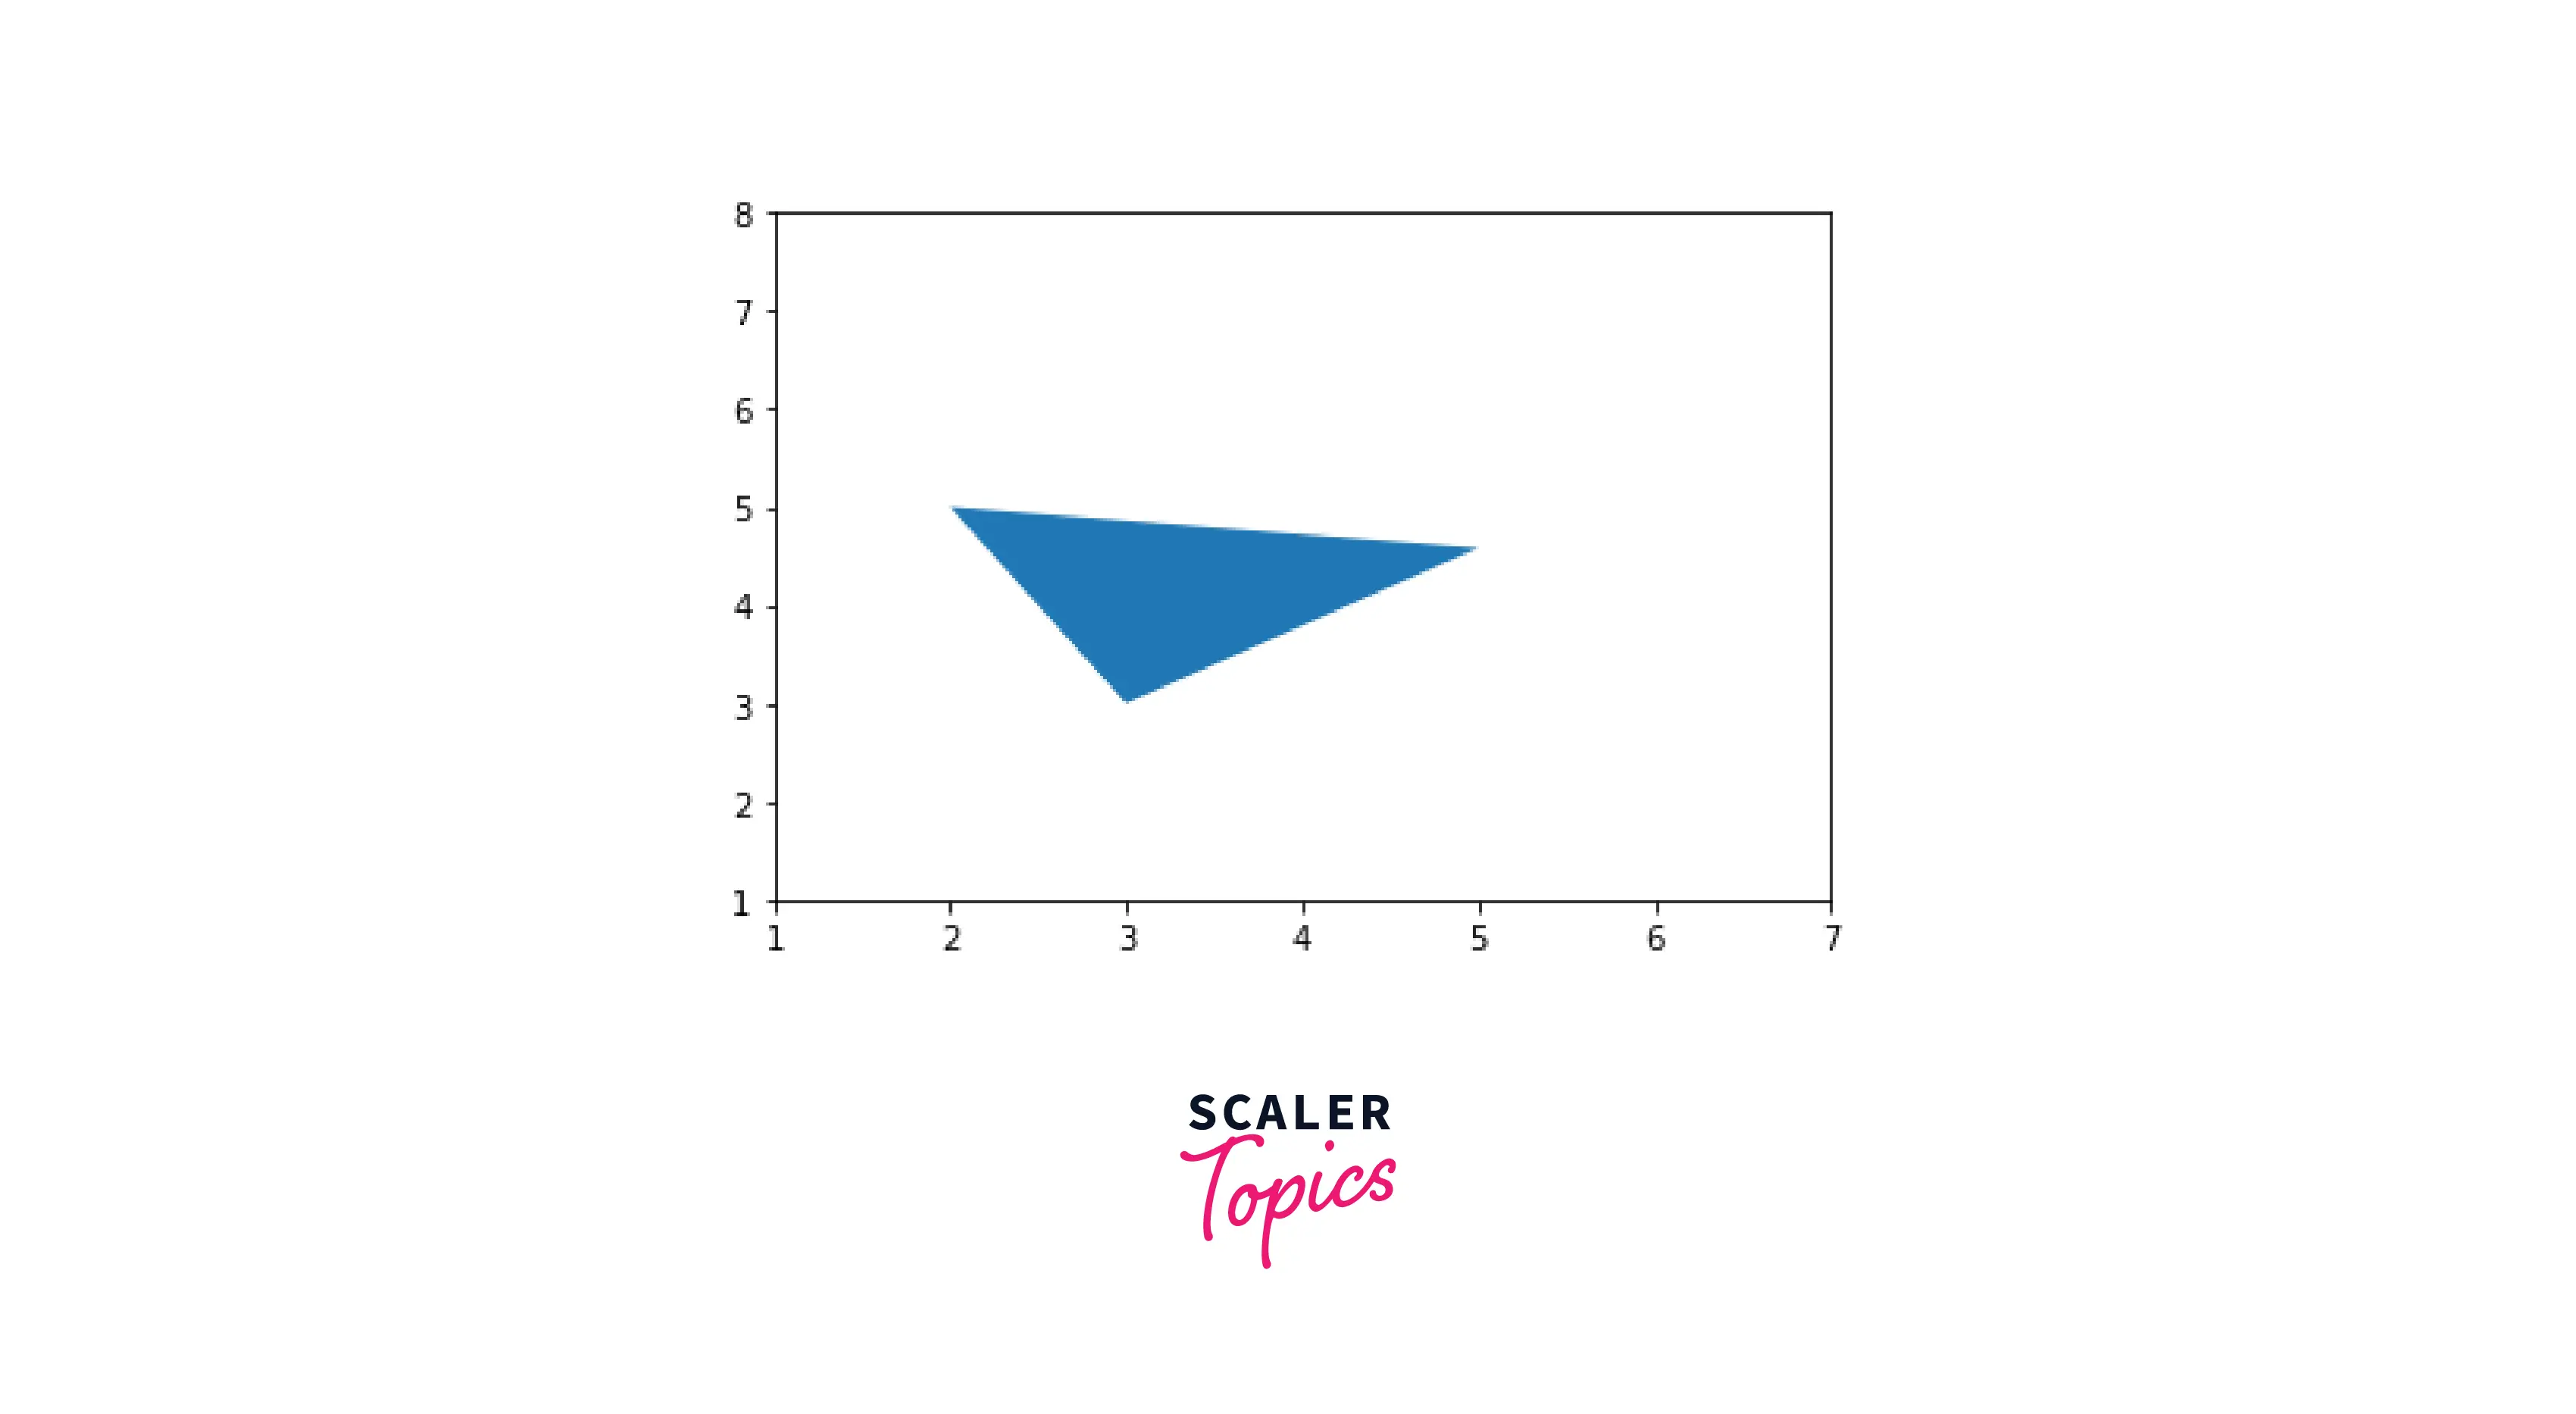
Triangle shape in matplotlib – Python
import numpy as np import matplotlib.pyplot as plt from matplotlib.patches import Polygon pts = np.array([[2,2], [6,5], [3,np.sqrt(5**2 - 2**2)]]) p = Polygon(pts, closed=False) ax = plt.gca() ax.add_patch(p) ax.set_xlim(1,7) ax.set_ylim(1,8) plt.show()
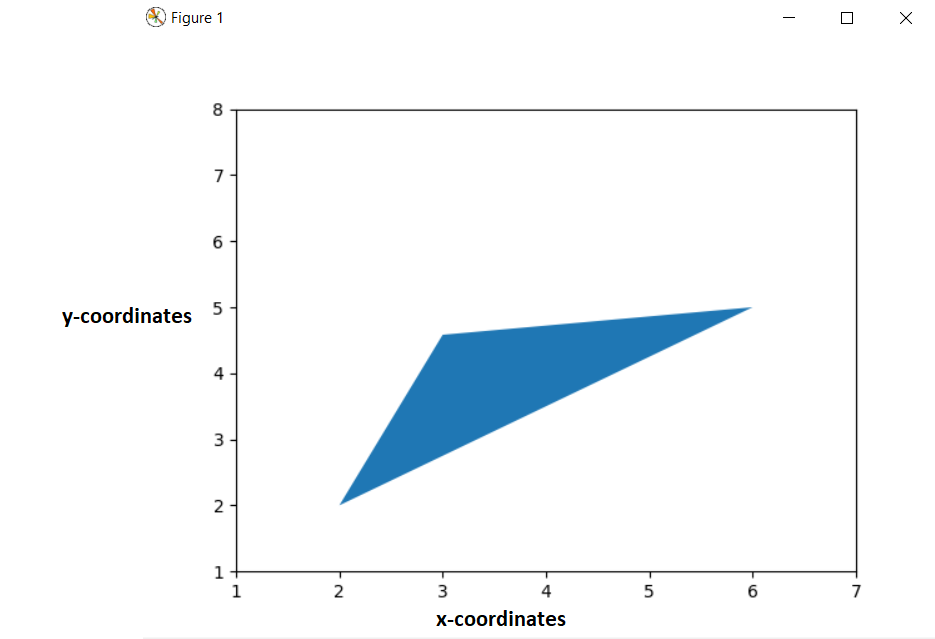
Here, we first imported two modules named as matplotlib and numpy, and then we imported polygon from “matplotlib.patches“. Then we created a numpy array and stored it in a variable named as “pts”, then we passed this numpy array in Polygon module. We also setted the x-coordinates and y-coordinates limit.
You can also read these articles:-
matplotlib.pyplot.plot#
The coordinates of the points or line nodes are given by x, y.
The optional parameter fmt is a convenient way for defining basic formatting like color, marker and linestyle. It’s a shortcut string notation described in the Notes section below.
>>> plot(x, y) # plot x and y using default line style and color >>> plot(x, y, 'bo') # plot x and y using blue circle markers >>> plot(y) # plot y using x as index array 0..N-1 >>> plot(y, 'r+') # ditto, but with red plusses
You can use Line2D properties as keyword arguments for more control on the appearance. Line properties and fmt can be mixed. The following two calls yield identical results:
>>> plot(x, y, 'go--', linewidth=2, markersize=12) >>> plot(x, y, color='green', marker='o', linestyle='dashed', . linewidth=2, markersize=12)
When conflicting with fmt, keyword arguments take precedence.
Plotting labelled data
There’s a convenient way for plotting objects with labelled data (i.e. data that can be accessed by index obj[‘y’] ). Instead of giving the data in x and y, you can provide the object in the data parameter and just give the labels for x and y:
>>> plot('xlabel', 'ylabel', data=obj)
All indexable objects are supported. This could e.g. be a dict , a pandas.DataFrame or a structured numpy array.
Plotting multiple sets of data
There are various ways to plot multiple sets of data.
- The most straight forward way is just to call plot multiple times. Example:
>>> plot(x1, y1, 'bo') >>> plot(x2, y2, 'go')
>>> x = [1, 2, 3] >>> y = np.array([[1, 2], [3, 4], [5, 6]]) >>> plot(x, y)
>>> for col in range(y.shape[1]): . plot(x, y[:, col])
By default, each line is assigned a different style specified by a ‘style cycle’. The fmt and line property parameters are only necessary if you want explicit deviations from these defaults. Alternatively, you can also change the style cycle using rcParams[«axes.prop_cycle»] (default: cycler(‘color’, [‘#1f77b4’, ‘#ff7f0e’, ‘#2ca02c’, ‘#d62728’, ‘#9467bd’, ‘#8c564b’, ‘#e377c2’, ‘#7f7f7f’, ‘#bcbd22’, ‘#17becf’]) ).
Parameters : x, y array-like or scalar
The horizontal / vertical coordinates of the data points. x values are optional and default to range(len(y)) .
Commonly, these parameters are 1D arrays.
They can also be scalars, or two-dimensional (in that case, the columns represent separate data sets).
These arguments cannot be passed as keywords.
fmt str, optional
A format string, e.g. ‘ro’ for red circles. See the Notes section for a full description of the format strings.
Format strings are just an abbreviation for quickly setting basic line properties. All of these and more can also be controlled by keyword arguments.
This argument cannot be passed as keyword.
data indexable object, optional
An object with labelled data. If given, provide the label names to plot in x and y.
Technically there’s a slight ambiguity in calls where the second label is a valid fmt. plot(‘n’, ‘o’, data=obj) could be plt(x, y) or plt(y, fmt) . In such cases, the former interpretation is chosen, but a warning is issued. You may suppress the warning by adding an empty format string plot(‘n’, ‘o’, », data=obj) .
A list of lines representing the plotted data.
Other Parameters : scalex, scaley bool, default: True
These parameters determine if the view limits are adapted to the data limits. The values are passed on to autoscale_view .
**kwargs Line2D properties, optional
kwargs are used to specify properties like a line label (for auto legends), linewidth, antialiasing, marker face color. Example:
>>> plot([1, 2, 3], [1, 2, 3], 'go-', label='line 1', linewidth=2) >>> plot([1, 2, 3], [1, 4, 9], 'rs', label='line 2')
If you specify multiple lines with one plot call, the kwargs apply to all those lines. In case the label object is iterable, each element is used as labels for each set of data.
Here is a list of available Line2D properties:
a filter function, which takes a (m, n, 3) float array and a dpi value, and returns a (m, n, 3) array and two offsets from the bottom left corner of the image
How to Add Shapes to a Figure in Matplotlib?
Characters that cannot be drawn in a plot are symbolically represented by shapes in a plot or a map. For example, suppose we want to show a water canal in a plot. We can do this by using a label or creating a shape representing the water canal.
The latter method will be more helpful, as the amount of space left would be much compared to the former. This article will cover various shapes we can create in matplotlib and ways to manipulate them in our plots and subplots.
How to Add Shapes to a Figure in Matplotlib?
In matplotlib, there are various ways of adding shapes to a figure. This article will go through the method we call different shape functions in matplotlib. To simplify this, let’s take an example.
Suppose we make a circle inside a plot in matplotlib. The logic to solve this would be to use the plot. Circle function, and after filling it with the required parameters, voila there’s our circle!
Where: xy: coordinates radius: radius of the circle
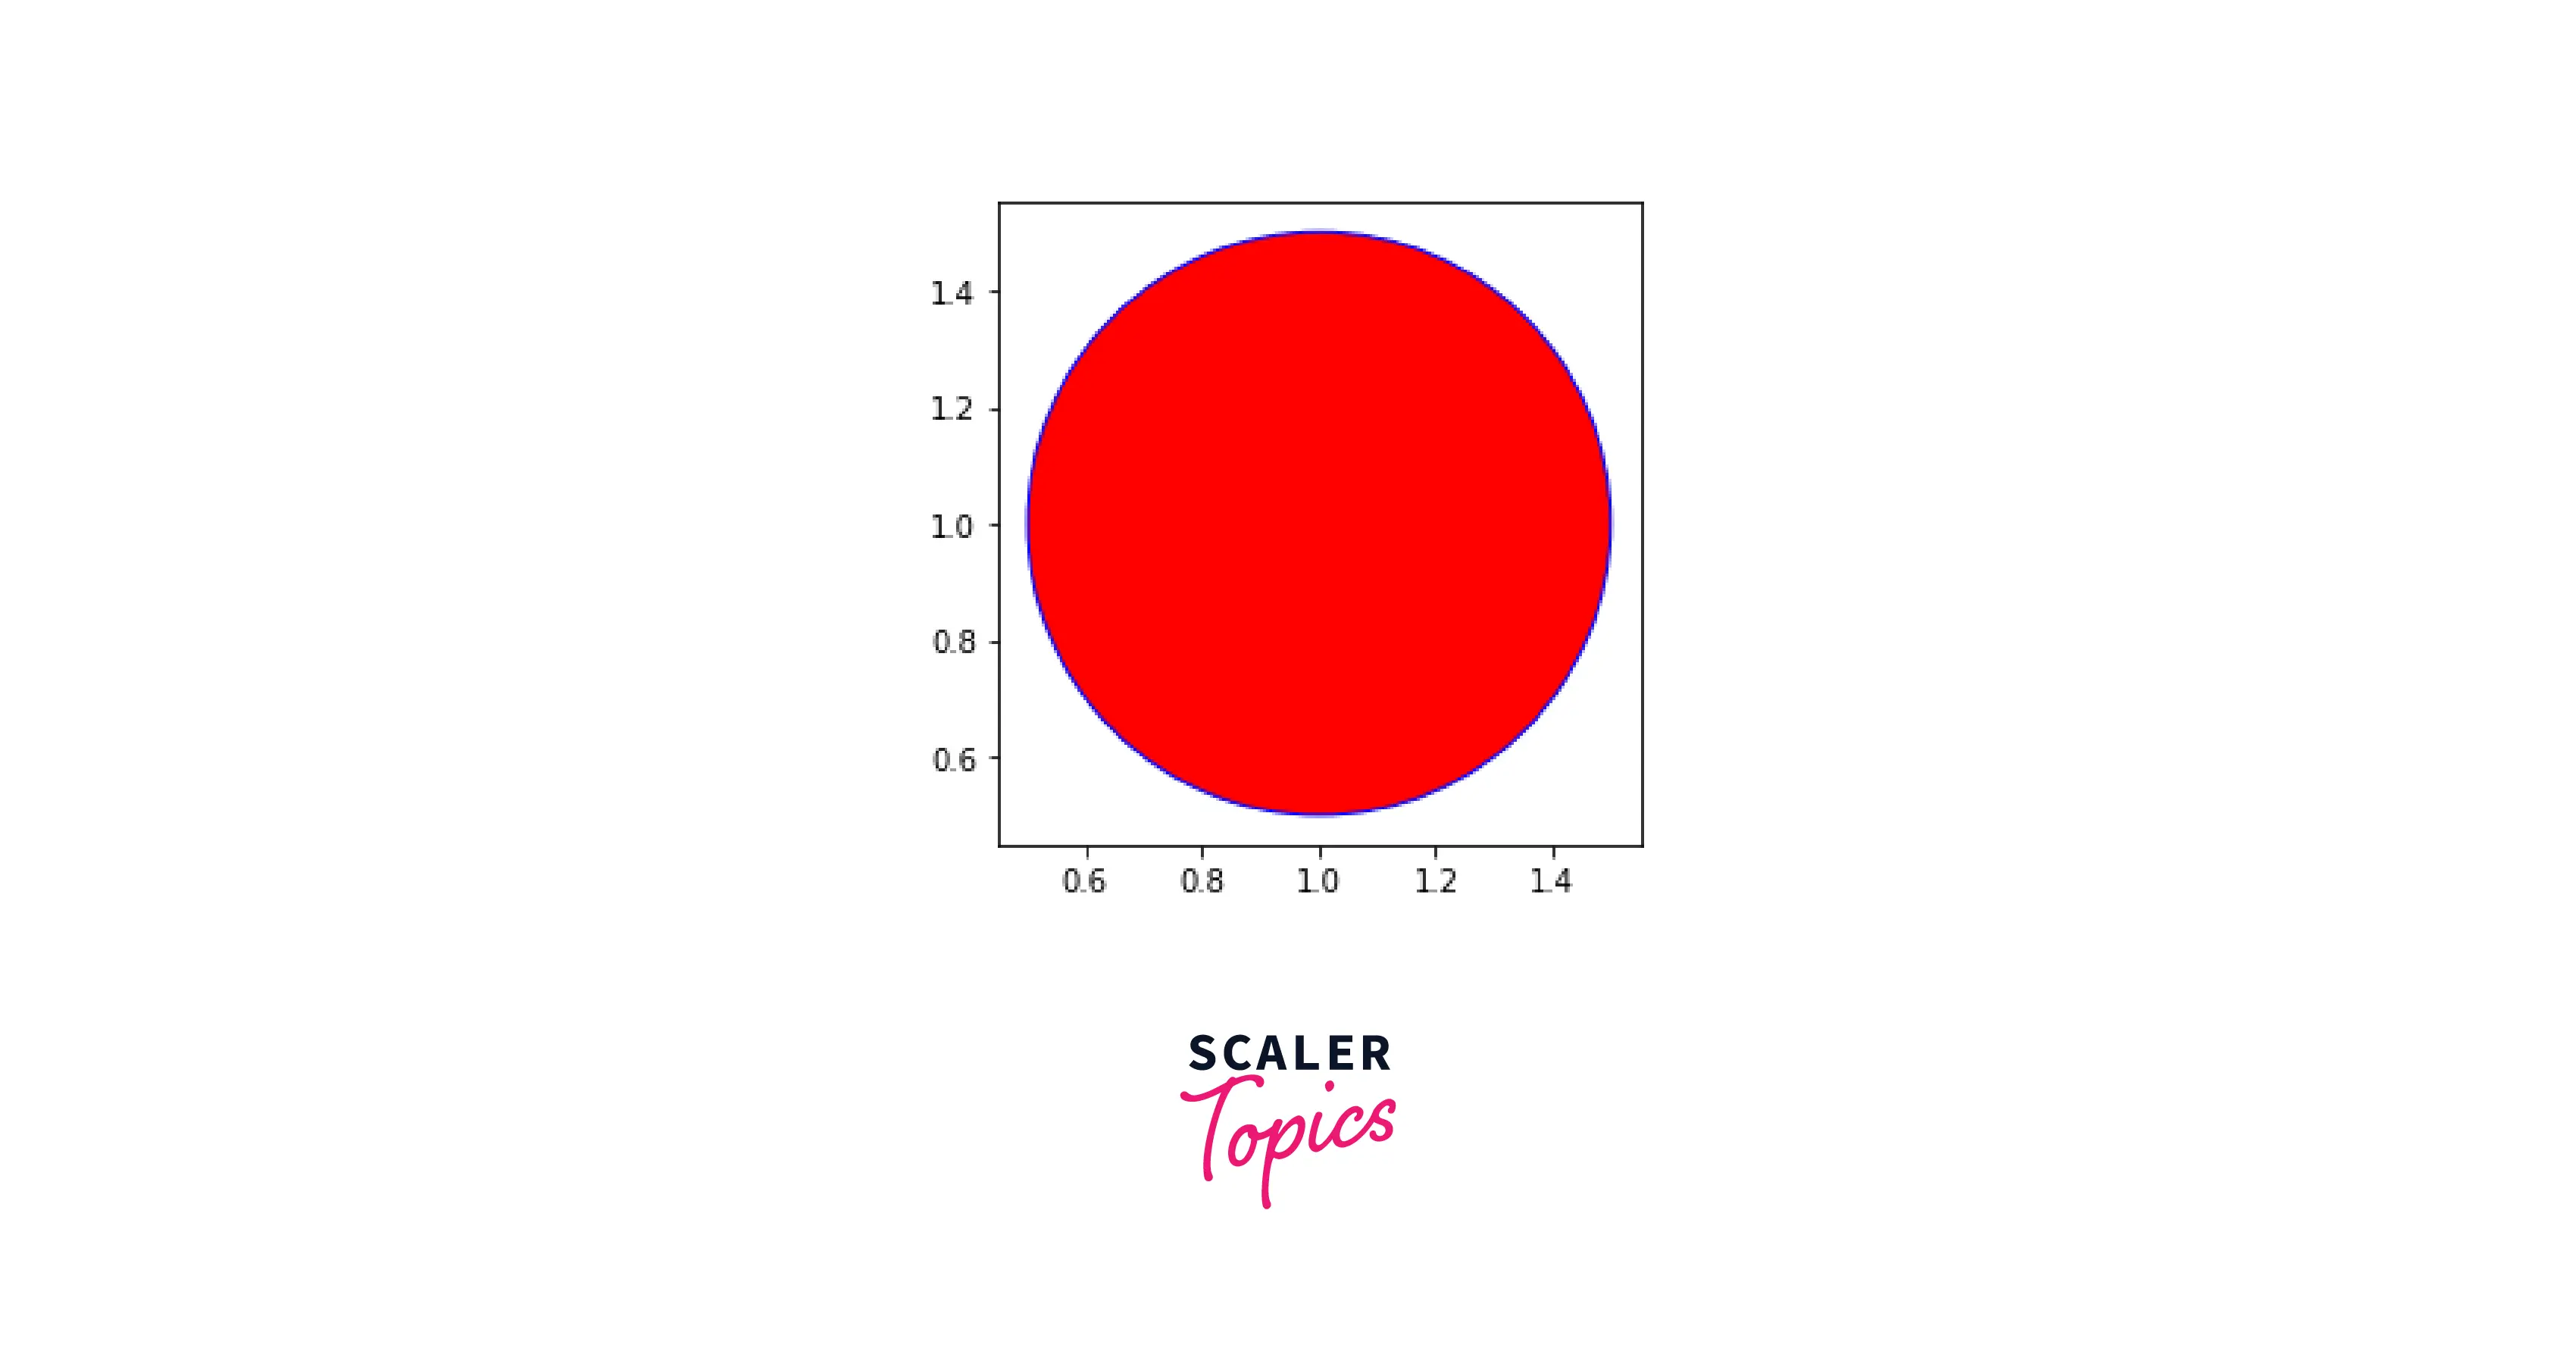
Output:
Further in this article, we will see more shapes that can be created using matplotlib.
What are Matplotlib Patches?

Patches in matplotlib is a class that encapsulates many different shapes and informative symbols like arrows, boxes, bulleted lists, etc. Here’s what the hierarchy of patches looks like: As we can see, a lot of shapes are derived from patches. Later in this article, every shape we draw in a plot will be derived and called from the patches class.
How to Draw Different Shapes in Matplotlib?
As we saw how to draw a circle earlier, we will now understand how to create a triangle in a plot using matplotlib.
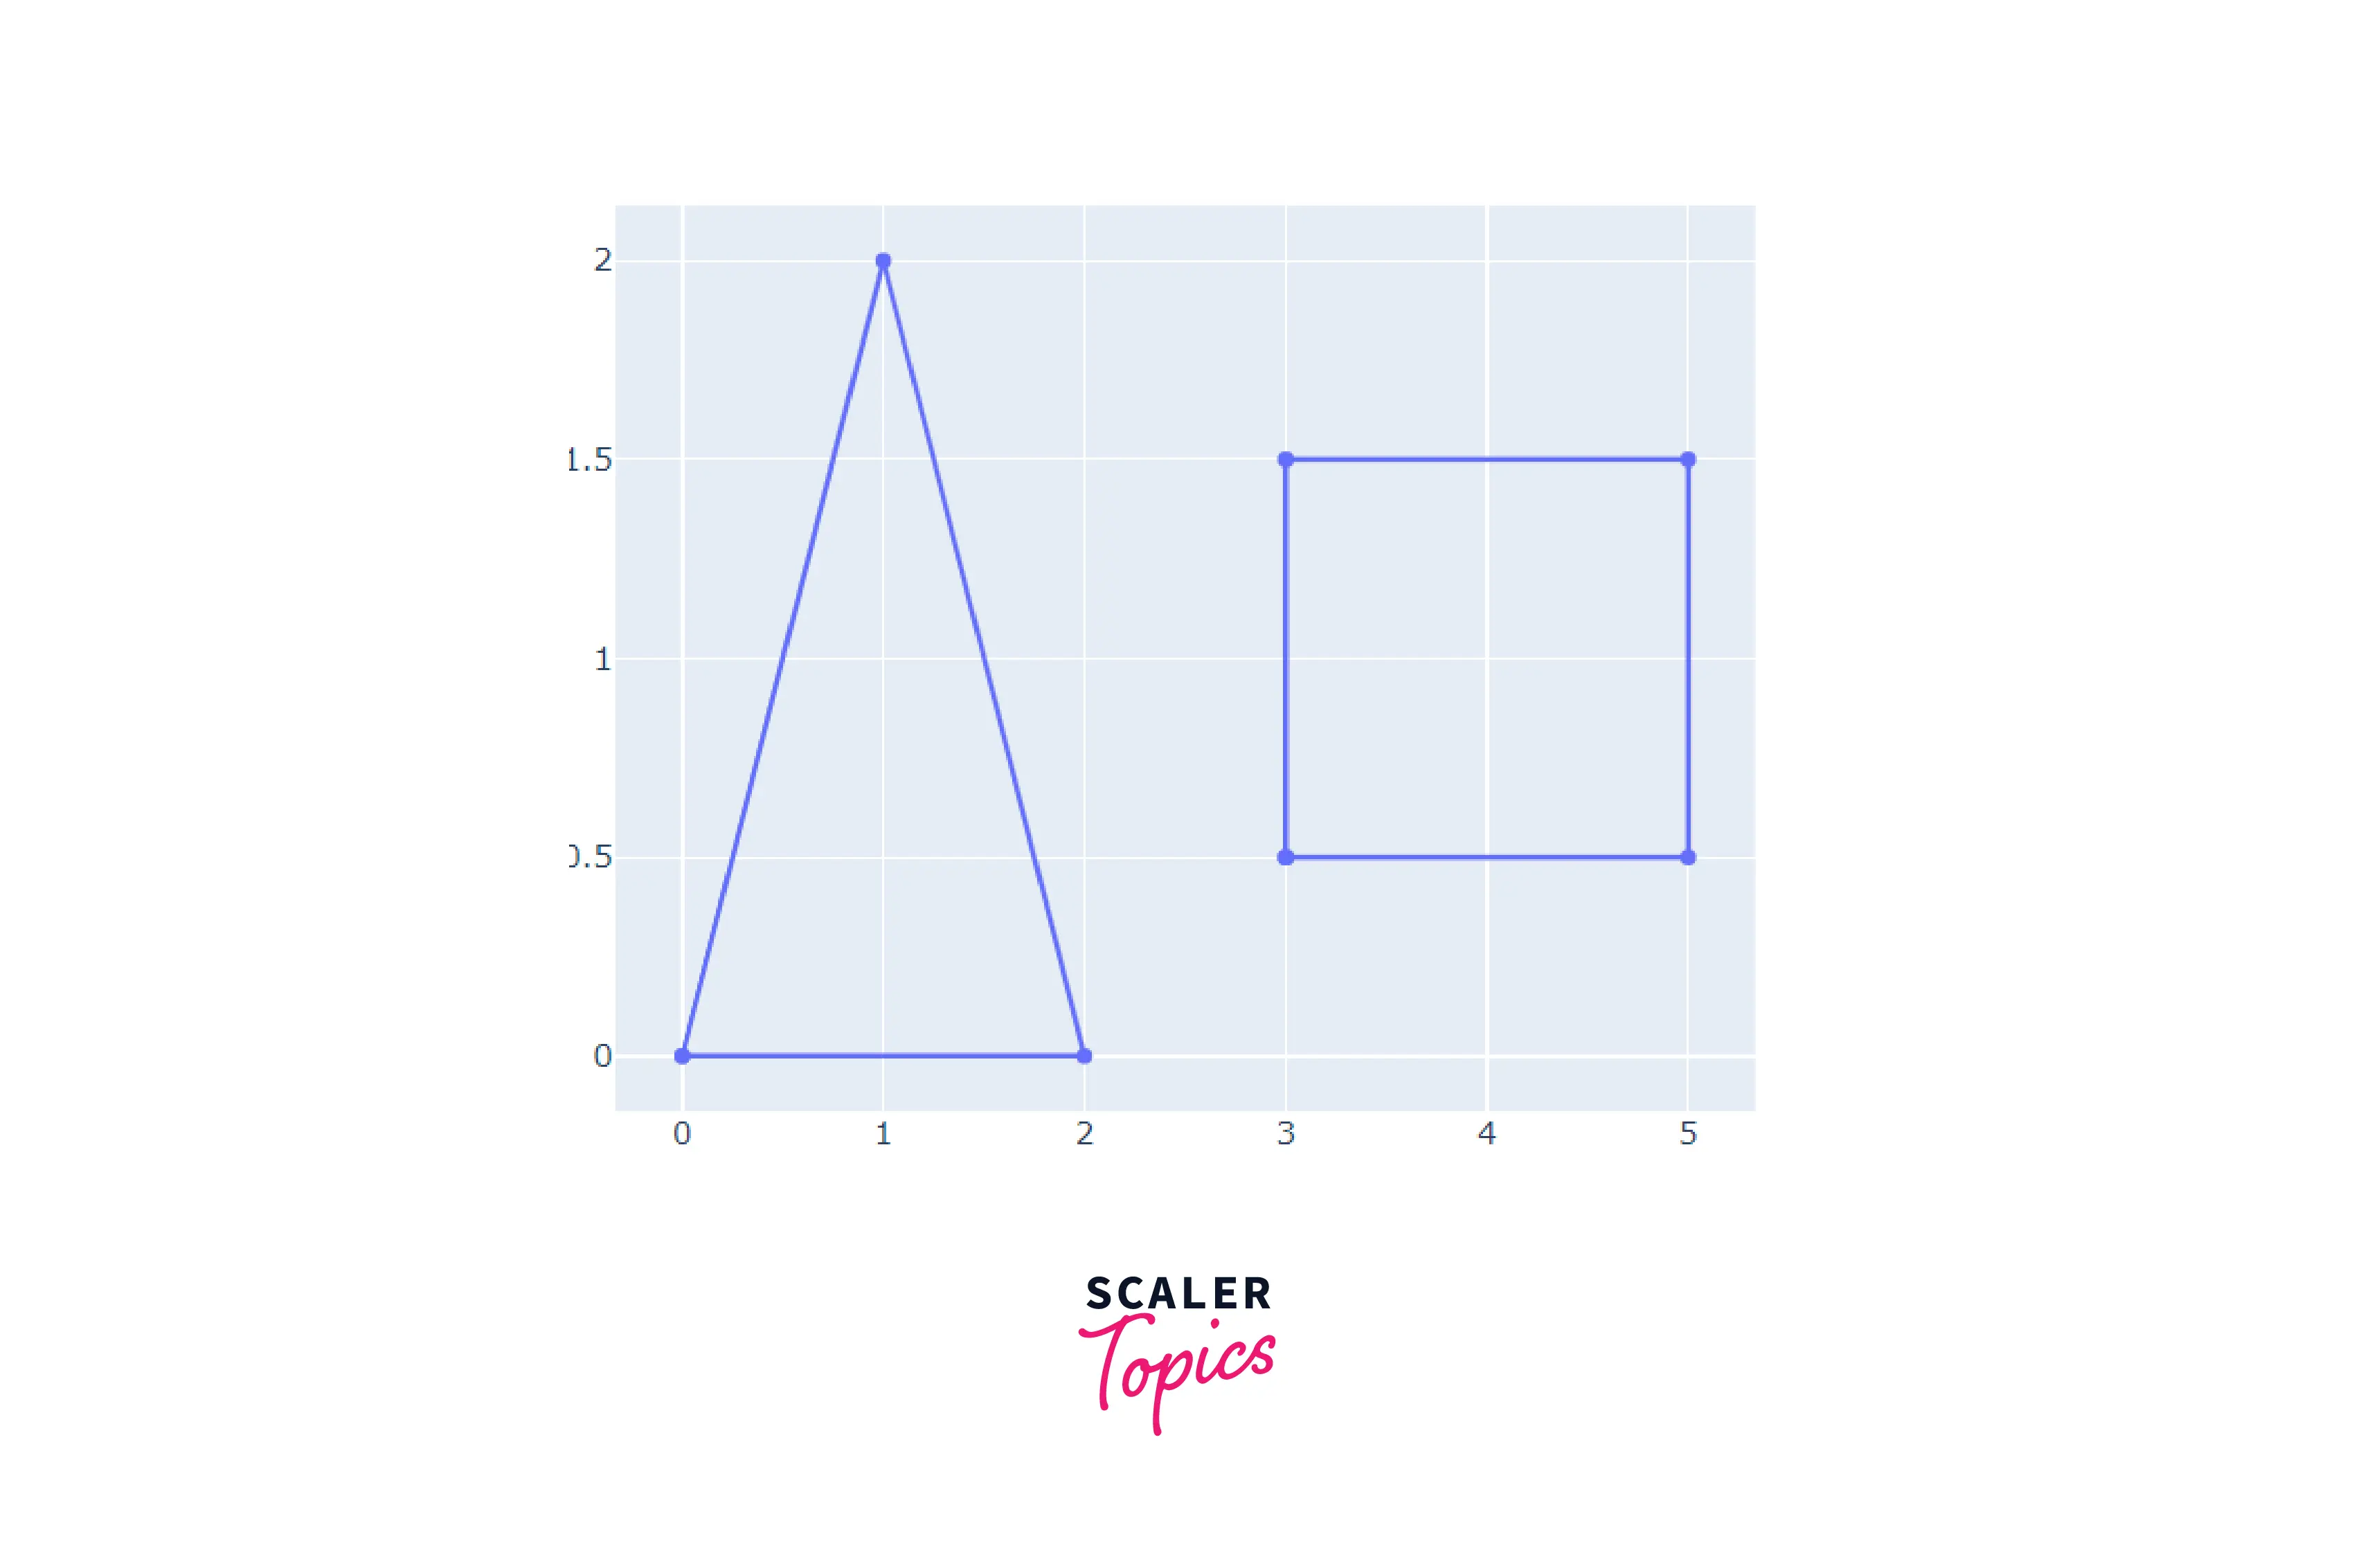
Triangle
- To draw a triangle, we need to use the Polygon function in patches
- In a NumPy array, we need to specify the coordinates of our triangle.
- After that, we must use the add_patch() function to fixate our triangle on the plot.
Output:
Line
- To draw a line, we must use the Line2D function in matplotlib.
- The Line2D function takes in 3 parameters:
- Syntax:
where: ax1: X-coordinate ax2: Y-coordinate lw: Line Width
Output:
Rectangle
- To draw a rectangle, we must use the Rectangle() function in matplotlib.
- The Rectangle() function takes in 3 parameters:
- Syntax:
where: c: starting-coordinates l: length of the rectangle b: breadth of the rectangle
Output:
Square
- To draw a square, we need to use the Rectangle() and ensure the length and breadth are the same.
- The Square() function takes in 3 parameters:
- Syntax:
Where: c: starting-coordinates l: length of the square b: breadth of the square
Output:
Drawing Shapes with a Mouse on Cartesian Plots
Adding Shapes to Subplots
To add shapes to subplots, we need to create subplots using the add_subplot() function, and then we’d have to call the patch functions to create a shape.
In the example below, we will try to create two subplots and draw a square on one of the subplots.
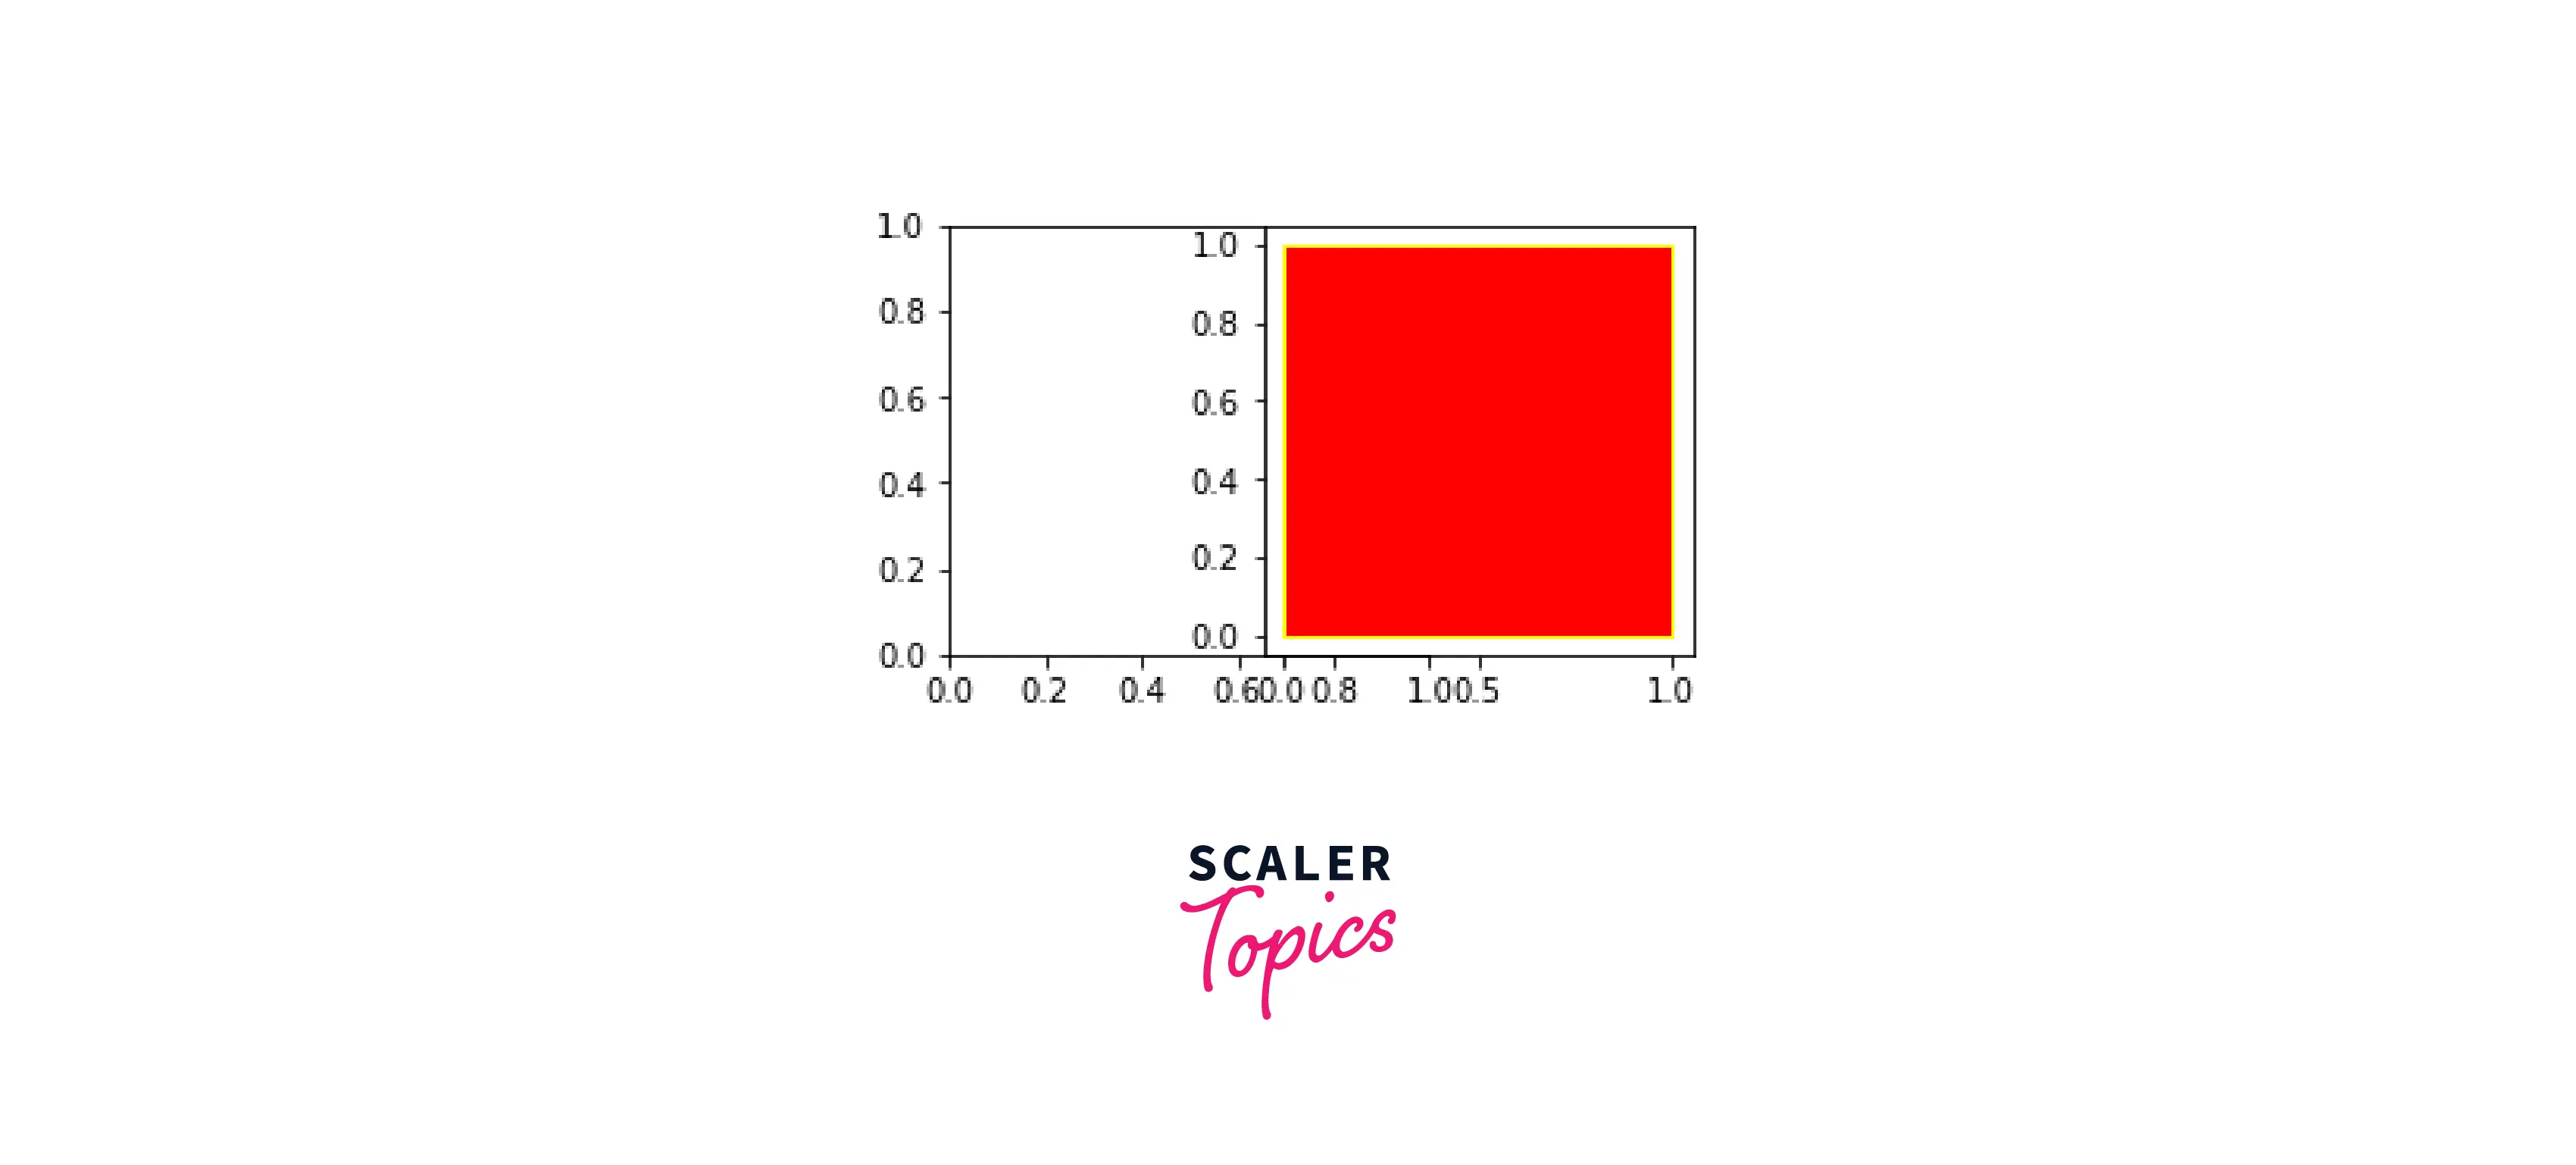
Output:
By using this method, we can add shapes to subplots in matplotlib.
Adding the Same Shapes to Multiple Subplots
- For better visuals, we will try to add some shapes to multiple subplots in matplotlib. To understand subplots more deeply, refer to this article. (hyperlink subplots article) To achieve this, we will create two subplots and then try to draw a shape on both. For example, we will try to draw a circle on both subplots in this example.
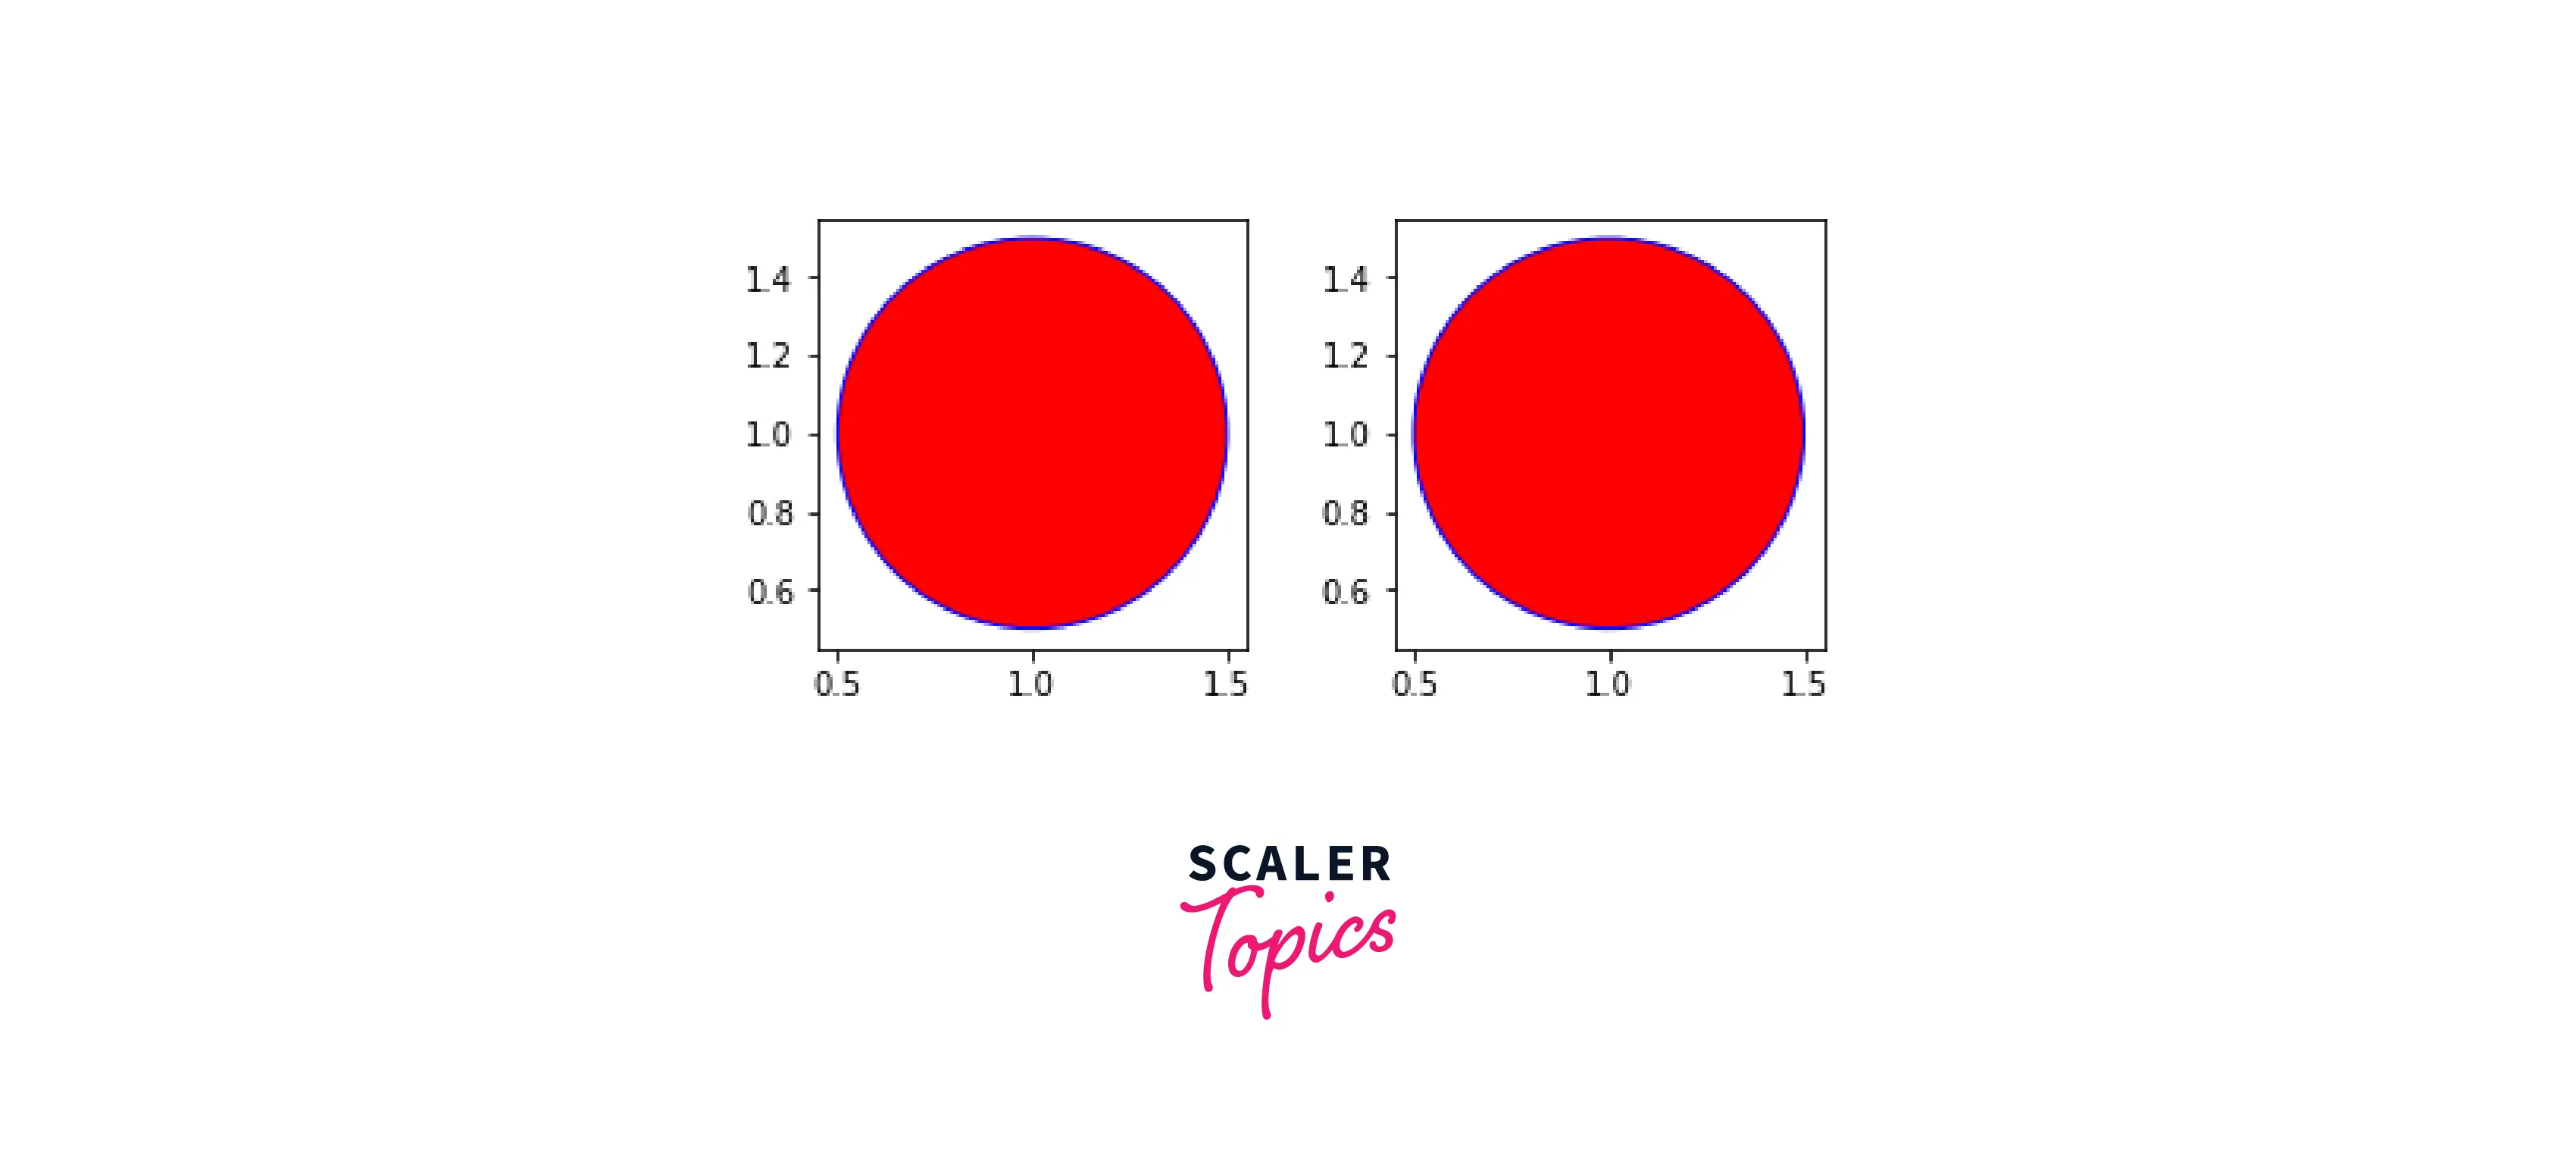
Output:
Add Animations Using matplotlib.animations()
Suppose you are working on a problem where you must represent a pendulum moving in a motion. We can visualize it easily on PowerPoint, but we can do the same in Python too!
Using the animation library in matplotlib, we can quickly animate shapes in our plots. In Python, we have the plot library. Plotly helps us to create publication-quality charts . It creates interactive plots and shapes, enhancing our plot’s feel and visibility.
In this example, we will try to create a circle using plotly.
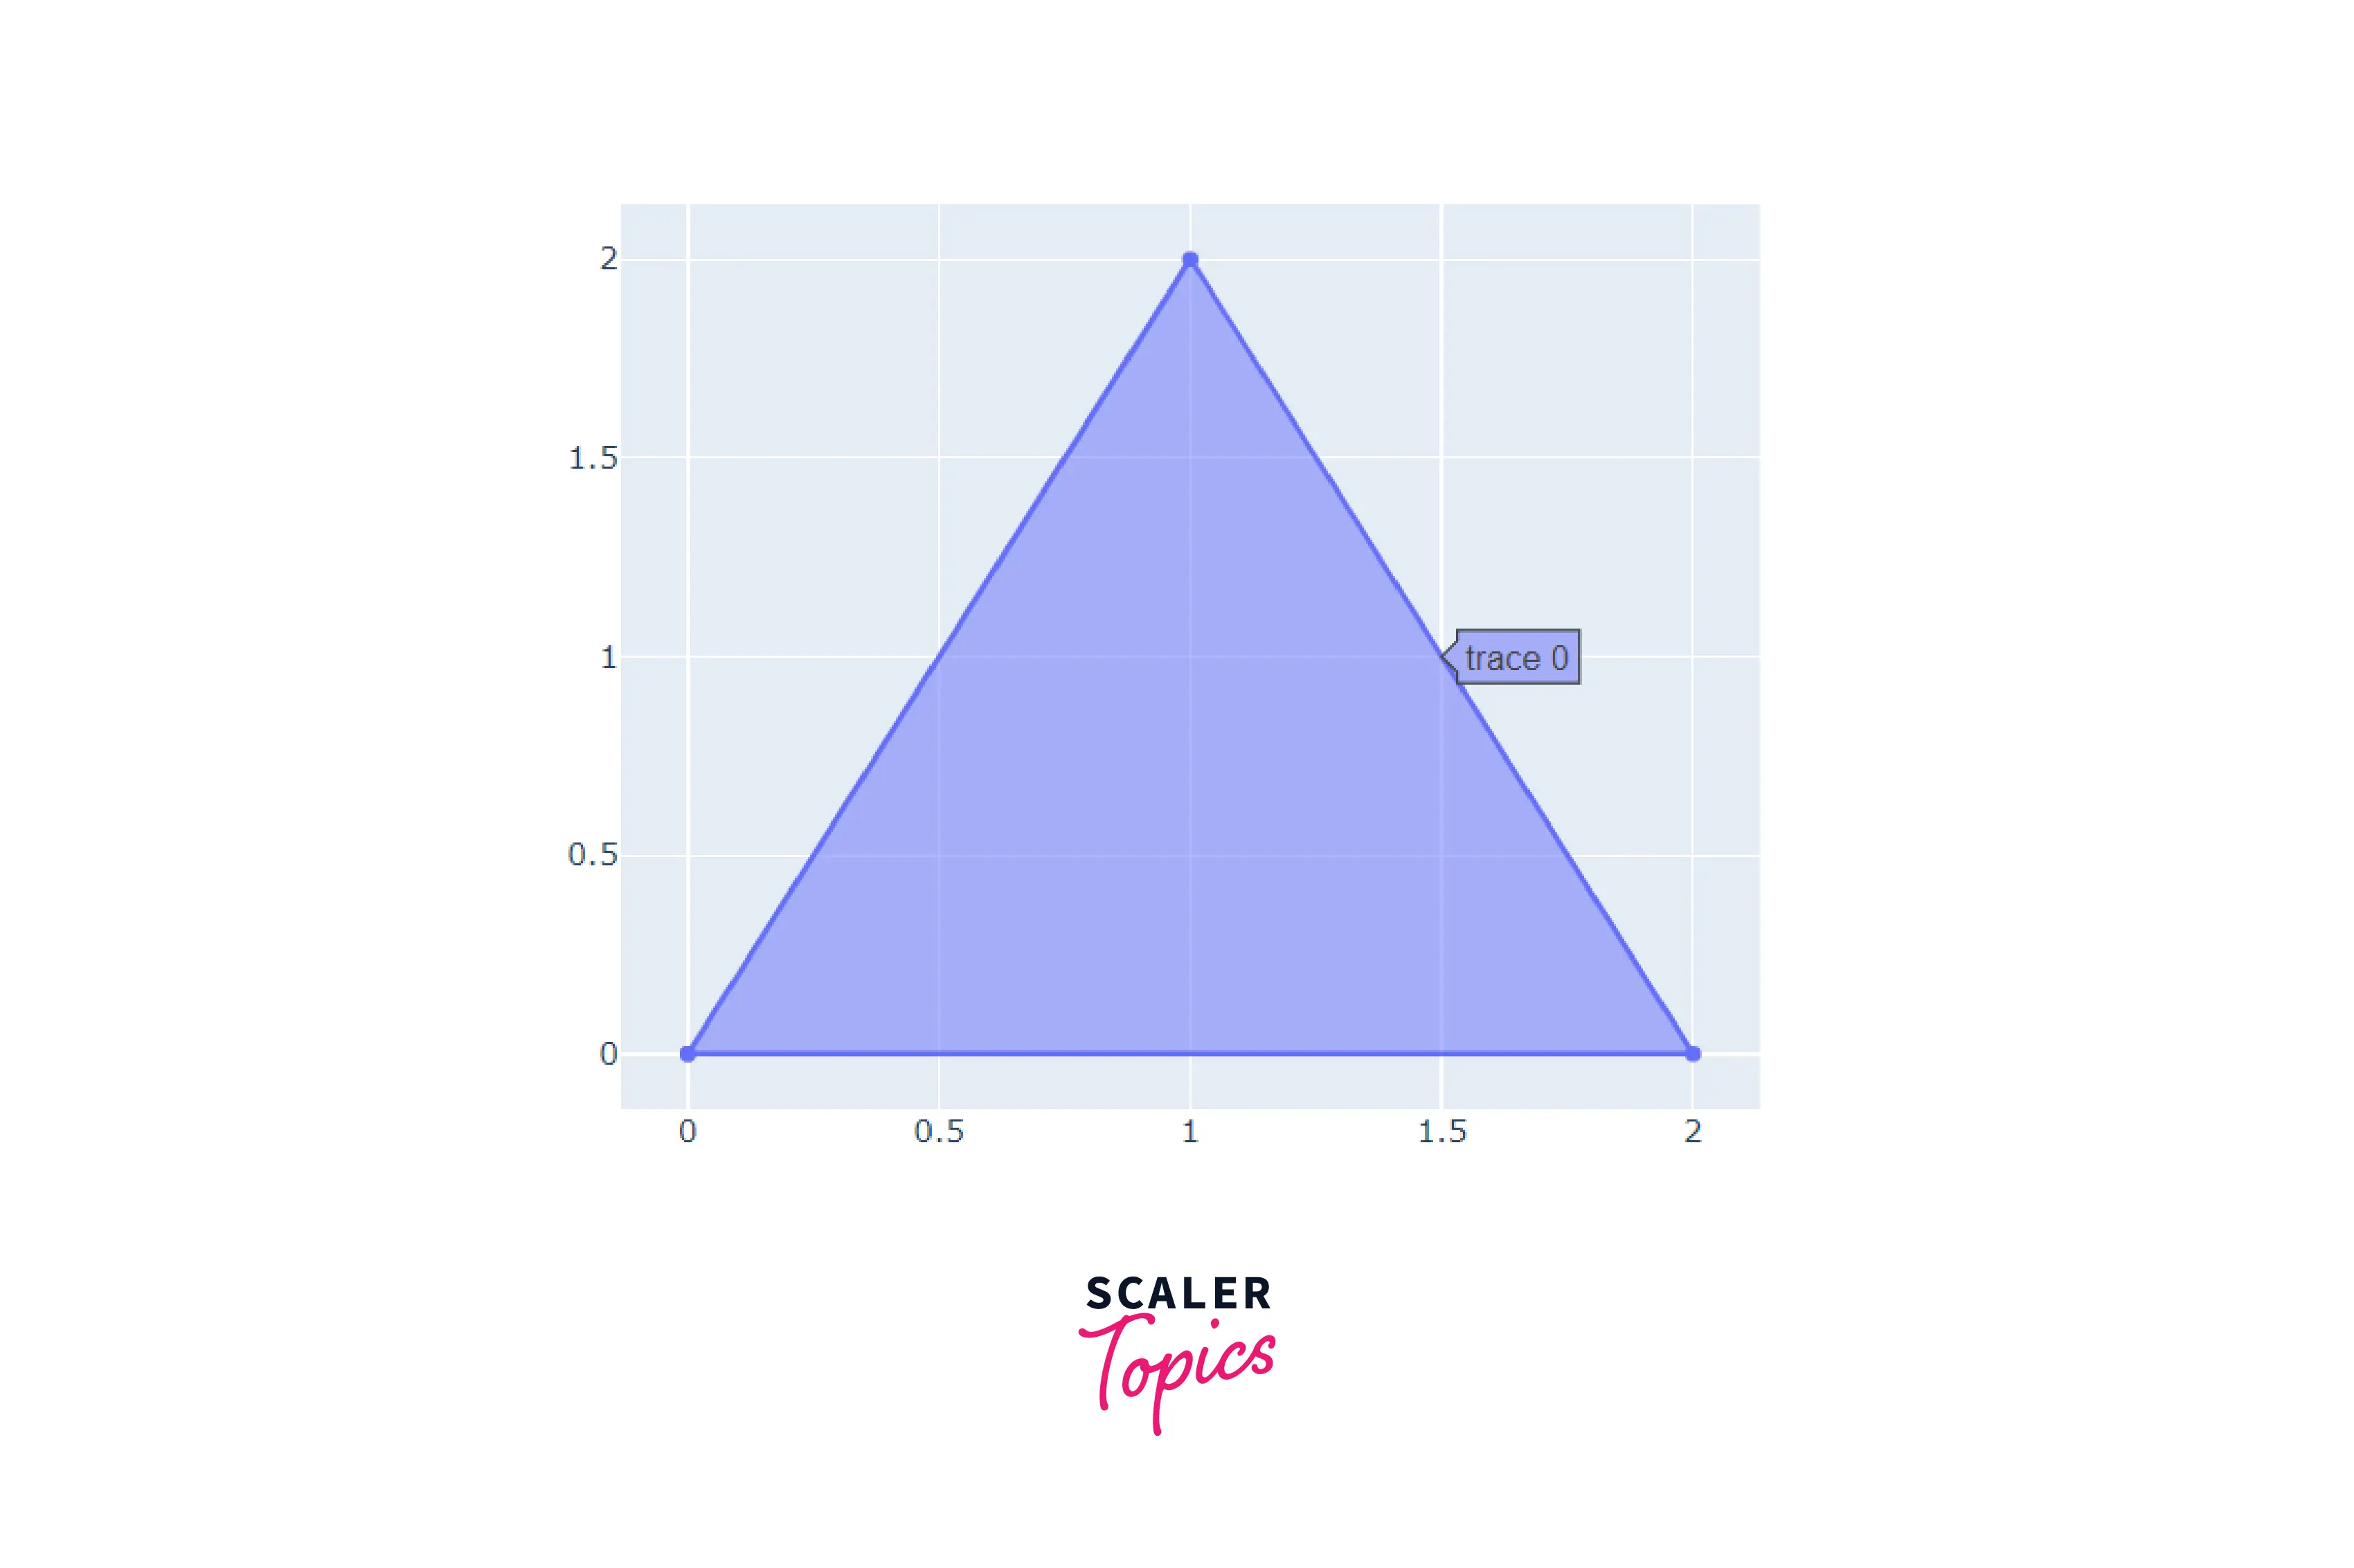
Output:
As you can see, by hovering over the figure, we can trace the figure. Apart from this, you can also find coordinates and select a particular area.
Additional Examples
Just as we added circles on two subplots, we will try to mimic that using a rectangle.
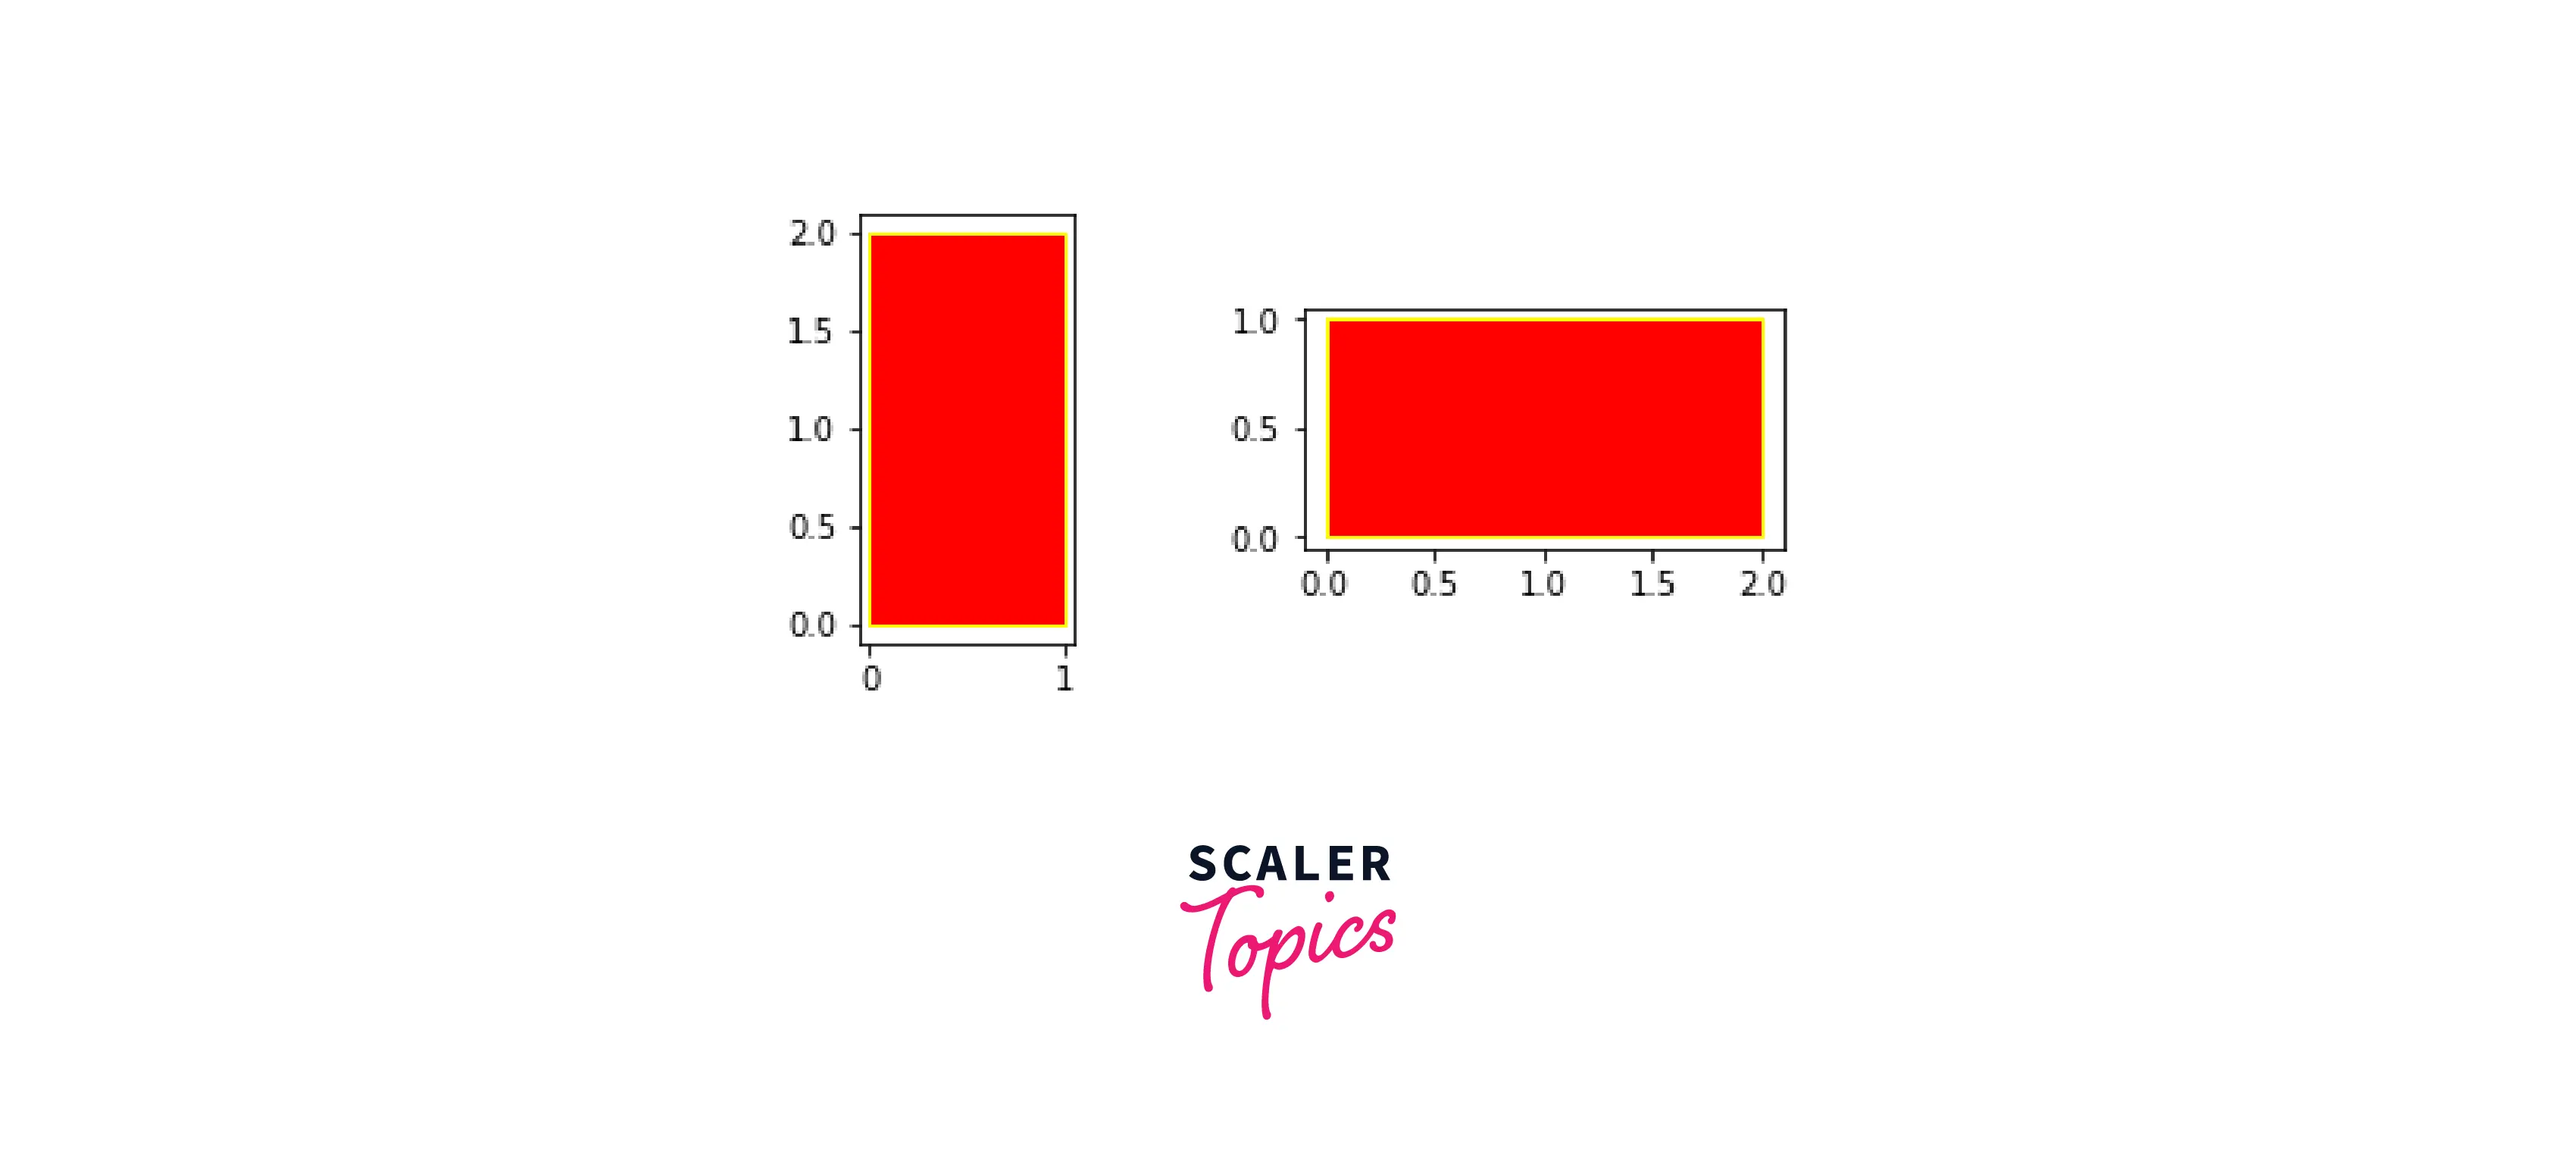
Output:
We will now try to create different shapes and animate them using the plotly library.
Output:
Conclusion
- We created various shapes using the in-built matplotlib functions, including plt.Circle() and plt.Rectangle() .
- In-depth analysis of patches in matplotlib, how they work and what functions we can inherit from it.
- Walkthrough of adding shapes and designs in subplots in matplotlib.
- Adding similar shapes to different subplots in matplotlib.
- Improving our visualizations by animating shapes and plots using Python’s plotly library .