- Opencv python merge images
- Accessing and Modifying pixel values
- Accessing Image Properties
- Image ROI
- Splitting and Merging Image Channels
- Making Borders for Images (Padding)
- Split & Merge Image Using OpenCV Python
- Split image using NumPy indexing
- Split image using cv2.split()
- Time Calculation to split Image
- Show single channel
- Merge Image
- Split and Merge Image Color Space Channels in OpenCV and NumPy
- Color Spaces and Channels
- OpenCV Function – cv2.split()
- Syntax
- Split BGR Image in OpenCV
- Load Required Libraries
- Read Sample Image
- Split Image with cv2.split
- Display Blue Channel
- Display Green Channel
- Display Red Channel
- Split HSV Image in OpenCV
- Creating HSV Image
- Split Image with cv2.split
- Display Hue Channel
- Display Saturation Channel
- Display Value Channel
- Split Image in NumPy
- OpenCV Function – cv2.merge()
- Syntax
- Merge Image Channels in OpenCV to BGR
- Merge Image Channels in OpenCV to HSV
Opencv python merge images
Almost all the operations in this section are mainly related to Numpy rather than OpenCV. A good knowledge of Numpy is required to write better optimized code with OpenCV.
*( Examples will be shown in a Python terminal, since most of them are just single lines of code )*
Accessing and Modifying pixel values
Let’s load a color image first:
You can access a pixel value by its row and column coordinates. For BGR image, it returns an array of Blue, Green, Red values. For grayscale image, just corresponding intensity is returned.
You can modify the pixel values the same way.
Numpy is an optimized library for fast array calculations. So simply accessing each and every pixel value and modifying it will be very slow and it is discouraged.
Note The above method is normally used for selecting a region of an array, say the first 5 rows and last 3 columns. For individual pixel access, the Numpy array methods, array.item() and array.itemset() are considered better. They always return a scalar, however, so if you want to access all the B,G,R values, you will need to call array.item() separately for each value.
Better pixel accessing and editing method :
Accessing Image Properties
Image properties include number of rows, columns, and channels; type of image data; number of pixels; etc.
The shape of an image is accessed by img.shape. It returns a tuple of the number of rows, columns, and channels (if the image is color):
Note If an image is grayscale, the tuple returned contains only the number of rows and columns, so it is a good method to check whether the loaded image is grayscale or color.
Total number of pixels is accessed by img.size :
Image datatype is obtained by `img.dtype`:
Note img.dtype is very important while debugging because a large number of errors in OpenCV-Python code are caused by invalid datatype.
Image ROI
Sometimes, you will have to play with certain regions of images. For eye detection in images, first face detection is done over the entire image. When a face is obtained, we select the face region alone and search for eyes inside it instead of searching the whole image. It improves accuracy (because eyes are always on faces 😀 ) and performance (because we search in a small area).
ROI is again obtained using Numpy indexing. Here I am selecting the ball and copying it to another region in the image:

Splitting and Merging Image Channels
Sometimes you will need to work separately on the B,G,R channels of an image. In this case, you need to split the BGR image into single channels. In other cases, you may need to join these individual channels to create a BGR image. You can do this simply by:
Suppose you want to set all the red pixels to zero — you do not need to split the channels first. Numpy indexing is faster:
cv.split() is a costly operation (in terms of time). So use it only if necessary. Otherwise go for Numpy indexing.
Making Borders for Images (Padding)
If you want to create a border around an image, something like a photo frame, you can use cv.copyMakeBorder(). But it has more applications for convolution operation, zero padding etc. This function takes following arguments:
- src — input image
- top, bottom, left, right — border width in number of pixels in corresponding directions
- borderType — Flag defining what kind of border to be added. It can be following types:
- cv.BORDER_CONSTANT — Adds a constant colored border. The value should be given as next argument.
- cv.BORDER_REFLECT — Border will be mirror reflection of the border elements, like this : fedcba|abcdefgh|hgfedcb
- cv.BORDER_REFLECT_101 or cv.BORDER_DEFAULT — Same as above, but with a slight change, like this : gfedcb|abcdefgh|gfedcba
- cv.BORDER_REPLICATE — Last element is replicated throughout, like this: aaaaaa|abcdefgh|hhhhhhh
- cv.BORDER_WRAP — Can’t explain, it will look like this : cdefgh|abcdefgh|abcdefg
Below is a sample code demonstrating all these border types for better understanding:
Split & Merge Image Using OpenCV Python

In Python OpenCV Tutorial, Explained How to split and merge image using numpy indexing and python OpenCV cv2.split() & cv2.merge() function?
Syntax: cv2.split(m[, mv]) -> mv
. @overload . @param m input multi-channel array. . @param mv output vector of arrays; the arrays themselves are reallocated, if needed.
Syntax: cv2.merge(mv[, dst]) -> dst
. @param mv input vector of matrices to be merged; all the matrices in mv must have the same . size and the same depth. . @param dst output array of the same size and the same depth as mv[0]; The number of channels will . be the total number of channels in the matrix array.
Split image using NumPy indexing
import cv2 img_path = r"C:\Users\kashz\AI Life\AI Projects - IAIP, PTs (Web + Channel)\02 OpenCV\000 opencv tutorial\data\images\girl-eye.jpg" img = cv2.imread(img_path) img = cv2.resize(img, (1280, 720)) img.shape ## image shape img[. 0] # Blue image channel img[. 1] # Green Image channel img[. 2] # Red Image Channel
Split image using cv2.split()
Time Calculation to split Image
import time start_time = time.time() for i in range(100): r, g, r = cv2.split(img) end_time = time.time() print("Total time taken to split 100 images: ", end_time - start_time)import time start_time = time.time() for i in range(100): b = img[:, :, 0] g = img[:, :, 1] r = img[:, :, 2] end_time = time.time() print("Total time taken to split 100 images: ", end_time - start_time)Show single channel
import cv2 img_path = r"C:\Users\kashz\AI Life\AI Projects - IAIP, PTs (Web + Channel)\02 OpenCV\000 opencv tutorial\data\images\girl-eye.jpg" img = cv2.imread(img_path) img = cv2.resize(img, (400, 400)) cv2.imshow("Model Blue Image", img[. 0]) cv2.imshow("Model Green Image", img[. 1]) cv2.imshow("Model Red Image", img[. 2]) cv2.waitKey(0)import cv2 img_path = r"C:\Users\kashz\AI Life\AI Projects - IAIP, PTs (Web + Channel)\02 OpenCV\000 opencv tutorial\data\images\girl-eye.jpg" img = cv2.imread(img_path) img = cv2.resize(img, (400, 400)) b, g, r = cv2.split(img) cv2.imshow("Model Blue Image", b) cv2.imshow("Model Green Image", g) cv2.imshow("Model Red Image", r) cv2.waitKey(0) cv2.destroyAllWindows()Merge Image
import cv2 img_path = r"C:\Users\kashz\AI Life\AI Projects - IAIP, PTs (Web + Channel)\02 OpenCV\000 opencv tutorial\data\images\girl-eye.jpg" img = cv2.imread(img_path) img = cv2.resize(img, (400, 400)) b, g, r = cv2.split(img) img_merge = cv2.merge([b,g,r]) cv2.imshow("Model Blue Image", b) cv2.imshow("Model Green Image", g) cv2.imshow("Model Red Image", r) cv2.imshow("Merge Model Image", img_merge) cv2.waitKey(0) cv2.destroyAllWindows()Split and Merge Image Color Space Channels in OpenCV and NumPy

In this tutorial, we will show you how to split the image into it’s multiple channels by using the OpenCV cv2.split() function and also with Numpy. We will also show you how we can merge the single channel images to generate the multi-channel image with the cv2.merge() function.
Color Spaces and Channels
The colors of images can be organized in many ways and this scheme is known as color space. For example, a popular way of representing the image is in RGB color space, where the image consists of Red, Green, and Blue. To be more specific, every pixel of the image consists of three values (R,G,B) where each of R, G, and B ranges between 0 to 255. These attributes are also referred to as channels.

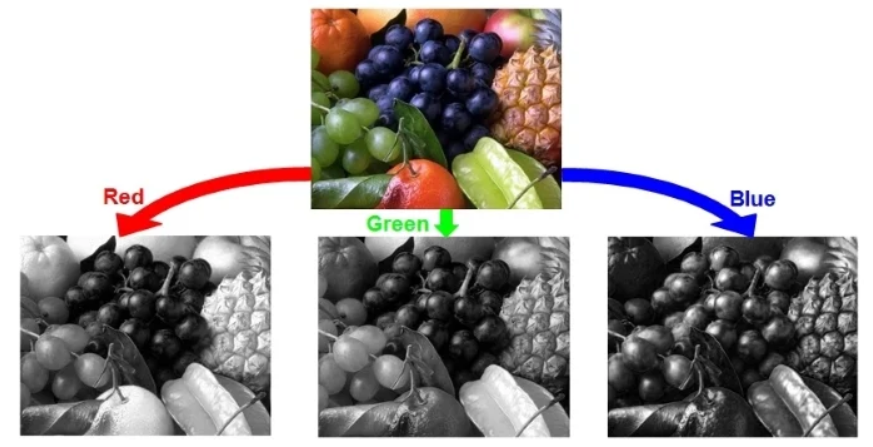
For various image processing tasks, you may be required to split the colored image into its individual channels as shown in the below image. You may find it confusing why the Red, Green, and Blue channels are appearing in grayscale individually. This is because the split image has only a single channel whose pixel value varies between 0 to 255. This actually corresponds to grayscale colorspace hence the three images appear in gray.
On the flip side of the split, you can also merge single-channel images to produce the final multi-channel image.

RGB is just one of many colorspaces that are there, some of the others are HSV, BGR, CMYK, etc. The different color spaces have their own significance depending on the type of image processing task.
OpenCV Function – cv2.split()
In OpenCV, you can easily split the image into its individual channels by using the cv2.split() function.
Syntax
The syntax of the OpenCV split function is as follows –
- img – It is the image whose channels have to be split.
- It returns the individual channels of the image.
Split BGR Image in OpenCV
It should be noted that OpenCV reads the colored image as BGR and not in RGB mode. This means the sequence of the channel is Blue, Green, and Red. It is however possible to convert it to RGB colorspace by using the cvtColor() function of OpenCV. But to keep it simple we will use the BGR colorspace only to show you how the cv2.split() function works in OpenCV.
Load Required Libraries
Let us start by loading the python libraries that will be required for our examples.
import cv2 import numpy as np
Read Sample Image
Next, we read and display the sample image that will be used throughout our examples. As discussed earlier, the OpenCV reads the image in BGR mode.
#read image img=cv2.imread("dog.jpg") window_name='Dog Image' cv2.namedWindow(window_name, cv2.WINDOW_NORMAL) cv2.imshow(window_name,img) cv2.waitKey(0) cv2.destroyAllWindows()Split Image with cv2.split
Now we pass the image to the cv2.split() function that returns its three channels captured by blue, green, and red variables respectively.
blue,green,red = cv2.split(img)
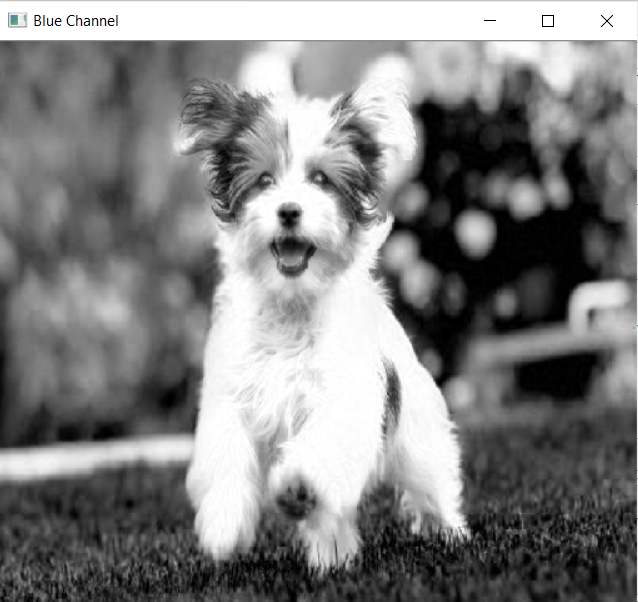
Display Blue Channel
Let us see the blue channel of the image with the below code.
window_name='Blue Channel' cv2.namedWindow(window_name, cv2.WINDOW_NORMAL) cv2.imshow(window_name,blue) cv2.waitKey(0) cv2.destroyAllWindows()

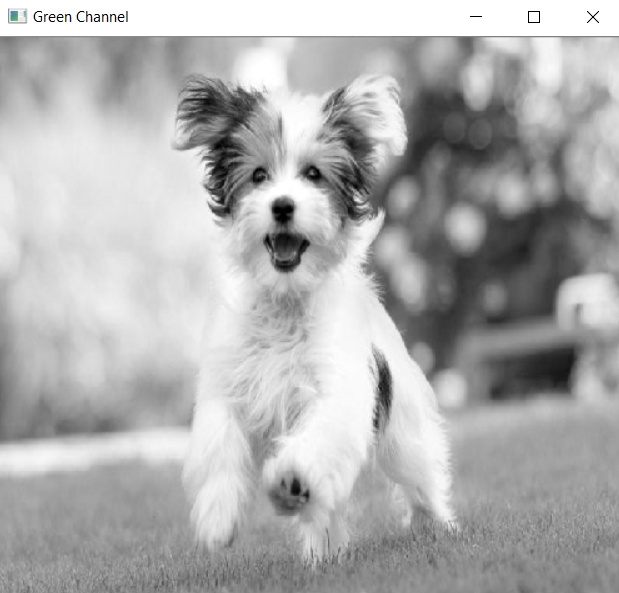
Display Green Channel
Next, let us see the green channel below.
window_name='Green Channel' cv2.namedWindow(window_name, cv2.WINDOW_NORMAL) cv2.imshow(window_name,green) cv2.waitKey(0) cv2.destroyAllWindows()

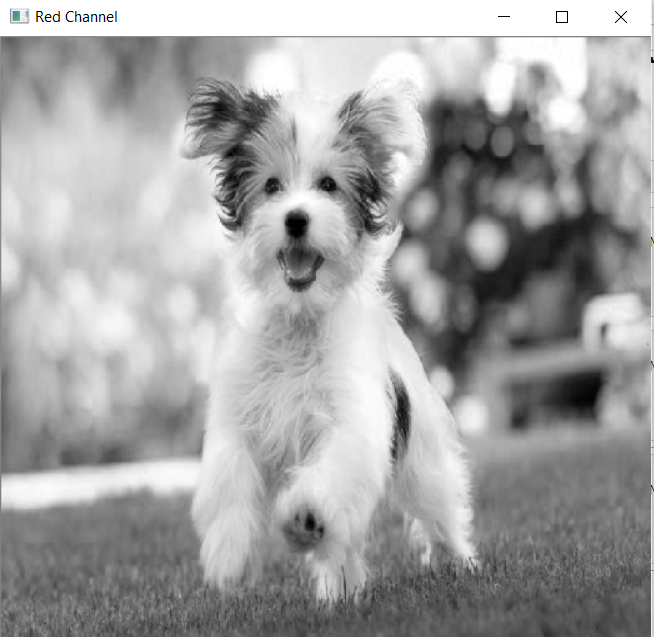
Display Red Channel
Next, let us see the red channel below.
window_name='Red Channel' cv2.namedWindow(window_name, cv2.WINDOW_NORMAL) cv2.imshow(window_name,red) cv2.waitKey(0) cv2.destroyAllWindows()

Split HSV Image in OpenCV
Creating HSV Image
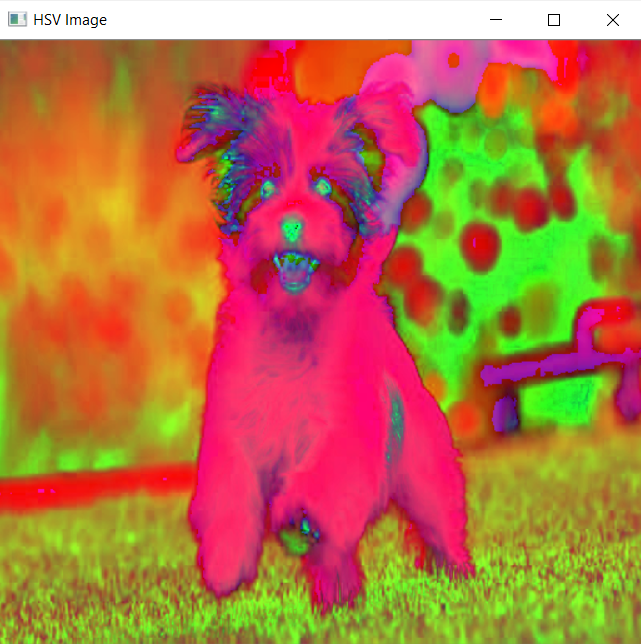
Let us convert the earlier image to HSV color space with the help of cvtColor() function. We will then split this image with the cv2 split function in this example.
hsv_img = cv2.cvtColor(img, cv2.COLOR_BGR2HSV) window_name='HSV Image' cv2.namedWindow(window_name, cv2.WINDOW_NORMAL) cv2.imshow(window_name,hsv_img) cv2.waitKey(0) cv2.destroyAllWindows()

Split Image with cv2.split
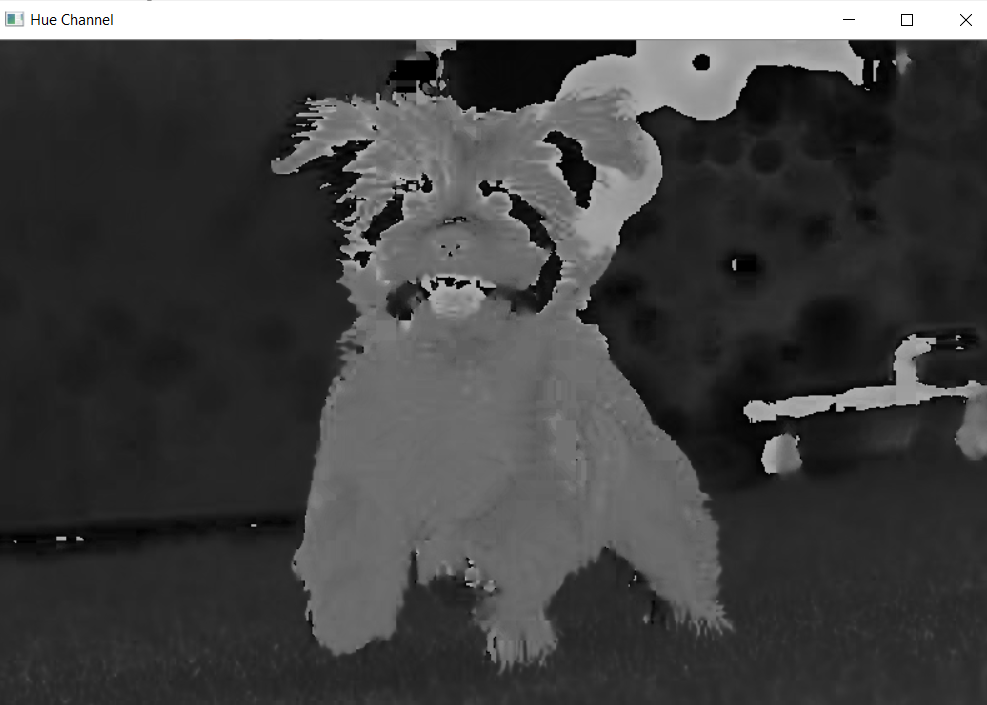
HSV colorspace has three channels – Hue, Saturation, and value. In the below code, the HSV image is split into its three channels.
h_img,s_img,v_img = cv2.split(hsv_img)
Display Hue Channel
Let us see what the Hue channel looks like.
window_name='Hue Channel' cv2.imshow(window_name,h_img) cv2.waitKey(0) cv2.destroyAllWindows()

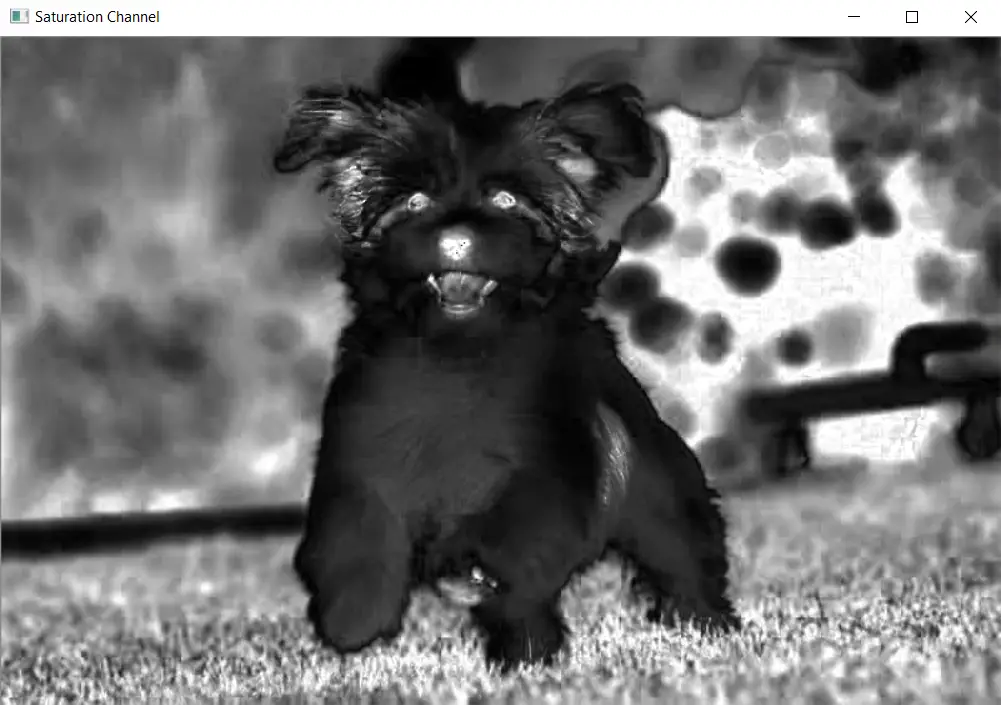
Display Saturation Channel
Next, let us see the saturation channel of the image.
window_name='Saturation Channel' cv2.imshow(window_name,s_img) cv2.waitKey(0) cv2.destroyAllWindows()

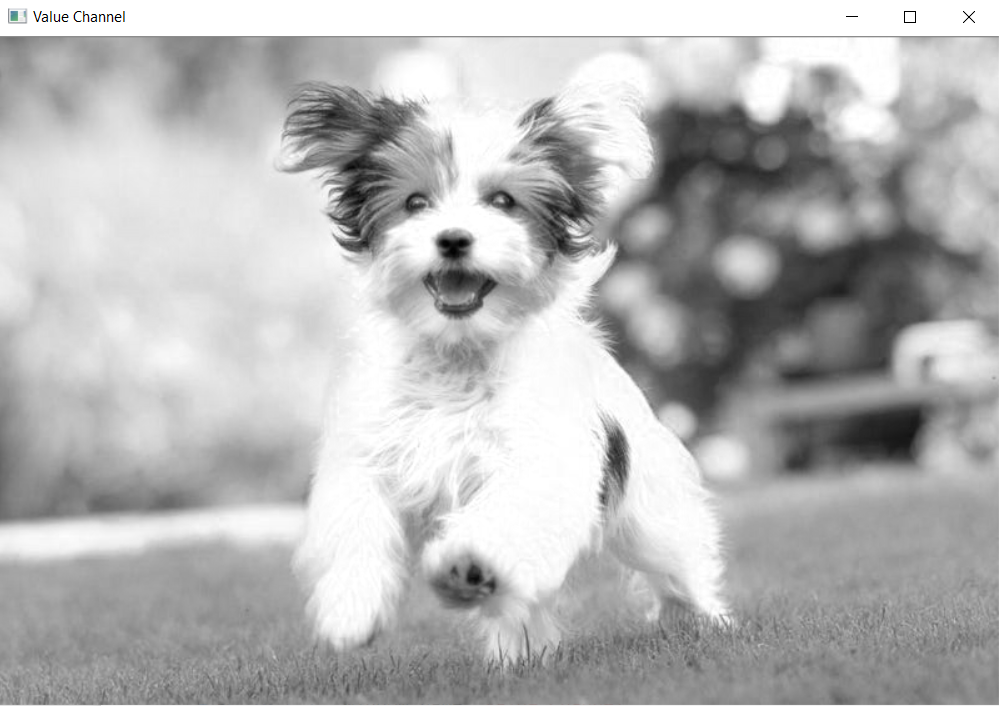
Display Value Channel
Finally, let us see the value channel of the image.
window_name='Value Channel' cv2.imshow(window_name,v_img) cv2.waitKey(0) cv2.destroyAllWindows()

Split Image in NumPy
Although the split() function of OpenCV makes it really easy to split the image into its different channels, its speed performance may not always be very efficient. In such cases, you can split the image with the help of NumPy operations with better speed.
For example, the image containing three channels B,G, and R can be split with NumPy as follows –
B = img[:, :, 0] G = img[:, :, 1] R = img[:, :, 2]
It will produce the same output that we saw with OpenCV split function for the BGR image that we saw in the first example below. Hence not repeating the same again.
OpenCV Function – cv2.merge()
In OpenCV, you can use cv2.merge() function to merge the individual single channel images to produce the final multi-channel image.
Syntax
The syntax of the OpenCV split function is as follows –
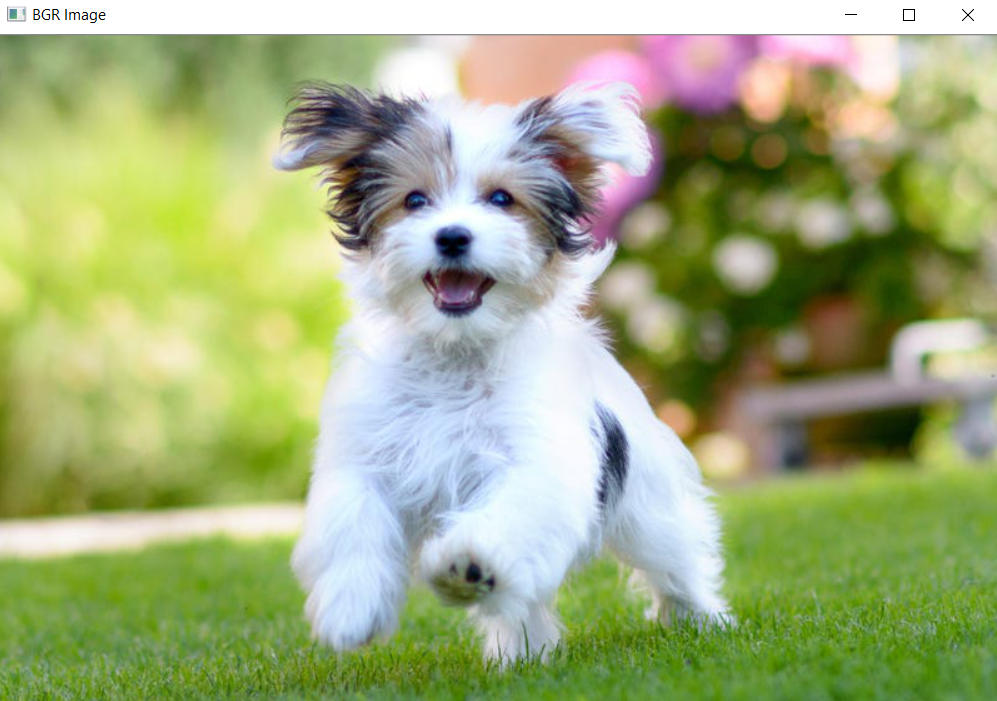
Merge Image Channels in OpenCV to BGR
Let us merge the individual single-channel image that we had split in the first example of the tutorial. It produces back the original BGR image.
merge_bgr_img = cv2.merge([blue,green,red]); window_name='BGR Image' cv2.imshow(window_name,merge_bgr_img) cv2.waitKey(0) cv2.destroyAllWindows()

Merge Image Channels in OpenCV to HSV
Next, let us merge the individual single-channel image that we had split in the second example of this tutorial. It produces back the original HSV image.
merge_hsv_img = cv2.merge([h_img,s_img,v_img]); window_name='HSV Image' cv2.imshow(window_name,merge_hsv_img) cv2.waitKey(0) cv2.destroyAllWindows()