- How To Install LAMP Stack (Linux, Apache, MySQL and PHP) On Ubuntu 20.04 | Step-by-Step
- #What is a LAMP stack?
- #What is a LAMP stack used for?
- #What are alternatives to the LAMP stack?
- #Speed up to process: Install LAMP on Ubuntu 20.04 with Taskell
- #Step 1: Install Tasksel
- #Step 2: Use Tasksel to install lamp-server
- #How to install LAMP stack on Ubuntu 20.04: Step-by-step
- #Prerequisites
- #Step 1: Run apt update
- #Step 2: Install Apache web server
- #Step 3: Install MySQL database management system
- #Step 4: Install PHP scripting language
- #Step 5: [Optional] Configure firewall
- #Step 6: Check Apache test page
- #Step 7: Configure and enable your virtual host (recommended)
- #Step 8: Test PHP processing with test.php
- #Step 9: Configure MySQL database access for PHP
- #Step 10: Test PHP and MySQL
- #Conclusion
- Mantas Levinas
- Join Cherry Servers Community
How To Install LAMP Stack (Linux, Apache, MySQL and PHP) On Ubuntu 20.04 | Step-by-Step

Understanding how to install and configure a LAMP stack is an important skill for Linux administrators and web developers alike. The LAMP (Linux, Apache, MySQL and PHP) stack is one of the most common approaches to building dynamic websites.
This article provides you with a step-by-step tutorial on how to install LAMP on Ubuntu 20.04 system. As a bonus, we’ll review how Tasksel can help you speed up the LAMP stack installation process.
#What is a LAMP stack?
LAMP stack is a set of four popular open source components for web development: Linux, Apache, MySQL and PHP. Each of the letters in the LAMP acronym stands for one of the components:
- Linux is the operating system in the stack.
- Apache is the web server in the stack.
- MySQL is the database in the stack.
- PHP is the programming language in the stack.
#What is a LAMP stack used for?
Web developers use a LAMP stack to build applications. LAMP stack has all the components developers need to create web applications that can serve dynamic content.
Linux acts as the base layer where the other components are installed, Apache serves HTTP(S) pages, MySQL allows data persistence, and PHP allows developers to tie the web server and database layers together and create dynamic sites. For example, PHP can take data from a webform and perform CRUD (create, read, update, delete) operations on a MySQL database.
LAMP is prescriptive in which web server, database, and programming languages a developer should use, but there is flexibility in the Linux distribution. Ubuntu, Debian, RHEL, and CentOS/Rocky Linux are some of the most common distros used in LAMP stacks, but it’s mostly a matter of preference.
#What are alternatives to the LAMP stack?
Traditionally, there are plenty of alternatives to the traditional LAMP stack. For example, some developers use Python or Perl instead of PHP in their stacks. Similarly, some use nginx (pronounced «engine x») instead of Apache to make a LEMP stack or replace MySQL with a different database or data persistence layer like PostgreSQL. There are also more fundamentally different LAMP alternatives like MEAN (MongoDB, Express.js, Angular.js, Node.js).
#Speed up to process: Install LAMP on Ubuntu 20.04 with Taskell
If you’re looking for a quick way to hit the ground running to install LAMP on Ubuntu or Debian, consider using Tasksel. However, if it’s your first time configuring a LAMP stack, skip this step and continue to our usual tutorial to install each component below.
Tasksel is a tool that helps Linux administrators install multiple related packages at the same time, and it installs the Apache, MySQL, and PHP components you need for a LAMP stack with just one command.
To use Tasksel to install Apache, MySQL, and PHP components for your LAMP stack, follow this process:
#Step 1: Install Tasksel
sudo apt install tasksel -y #Step 2: Use Tasksel to install lamp-server
sudo tasksel install lamp-server 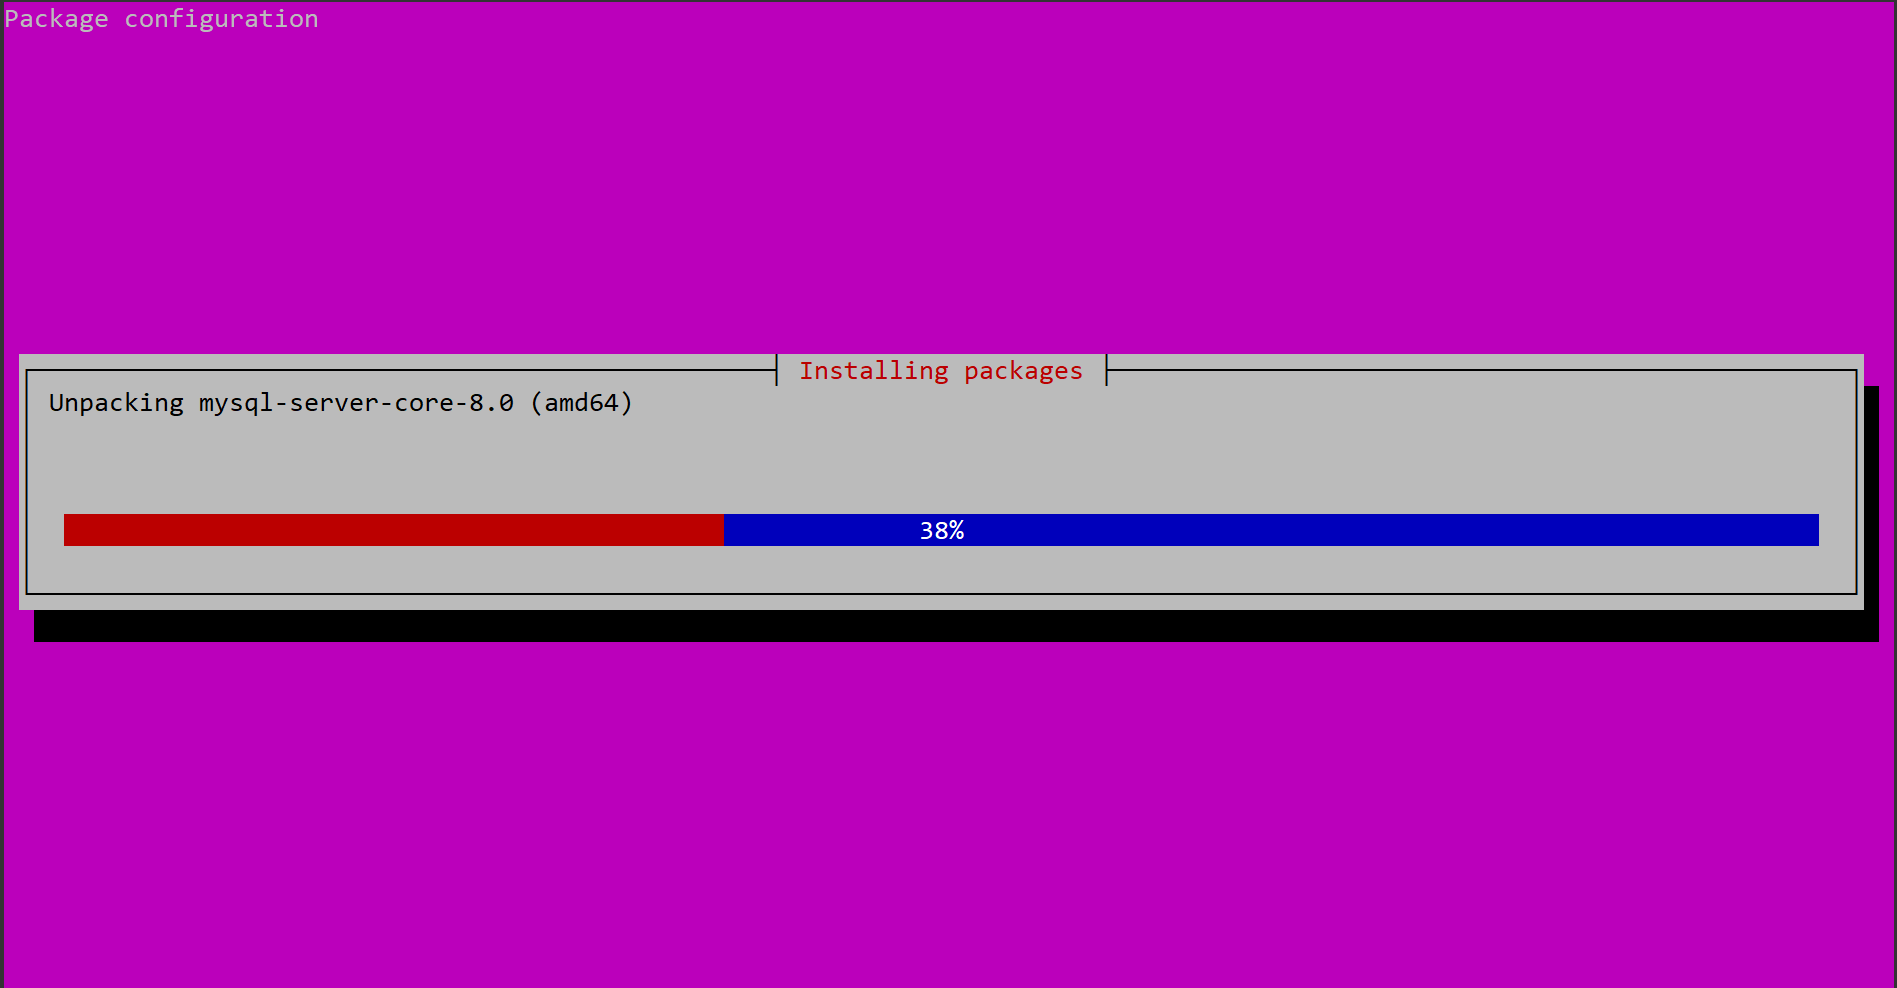
After the lamp-server install, you should see that Apache2, MySQL, and PHP are all installed on your server.
#How to install LAMP stack on Ubuntu 20.04: Step-by-step
Ubuntu’s LTS (long term support) releases are some of the most common Linux operating systems used in LAMP stacks. In this LAMP stack Ubuntu installation process, we’ll use Ubuntu 20.04 LTS to install and configure a working LAMP stack.
#Prerequisites
Before we begin, you’ll need:
- Access to the terminal of an Ubuntu 20.04 system. If you don’t have one, you can spin up a virtual private server on Cherry Servers.
- sudo/root privileges
#Step 1: Run apt update
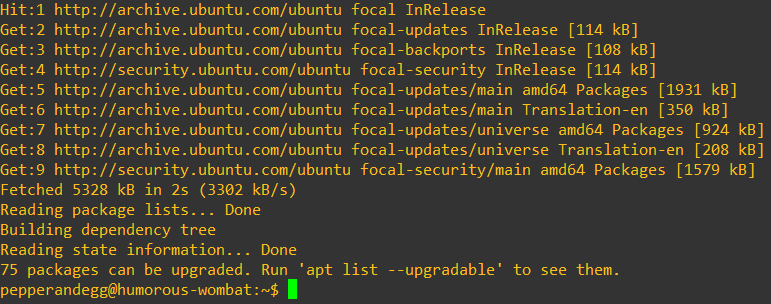
First, let’s update our apt package lists and repositories with this command:
You should see output similar to this:
#Step 2: Install Apache web server
The first part of the LAMP stack we install is the Apache open-source web server. It can be used with PHP for hosting dynamic websites widely used in web development.
Use apt to install the Apache webserver with this command:
sudo apt install apache2 -y 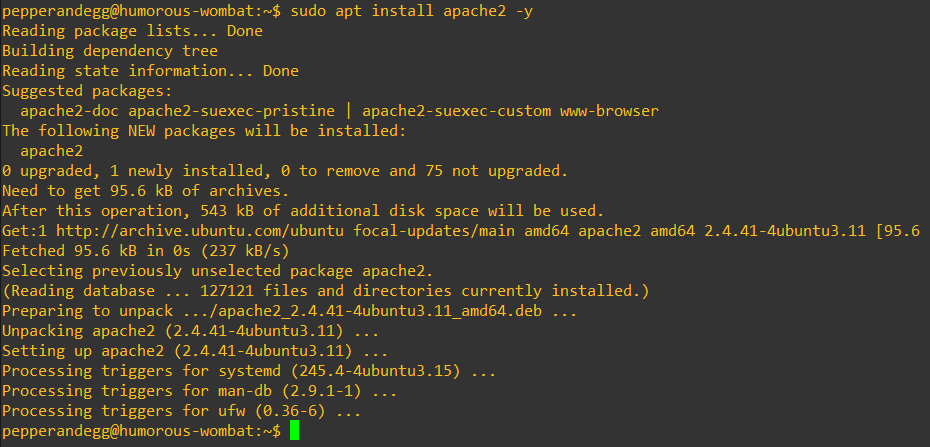
#Step 3: Install MySQL database management system
Now that you’ve installed the Apache web server, next, we’ll install MySQL. MySQL is an open-source relational database management system that provides access to databases where a website can store and process information.
For a deep dive on the MySQL installation and configuration process — including information on hardening your installation — check out How to Install and Configure MySQL on Ubuntu 20.04.
For this step of our LAMP stack installation process, run this command to install the MySQL Server package:
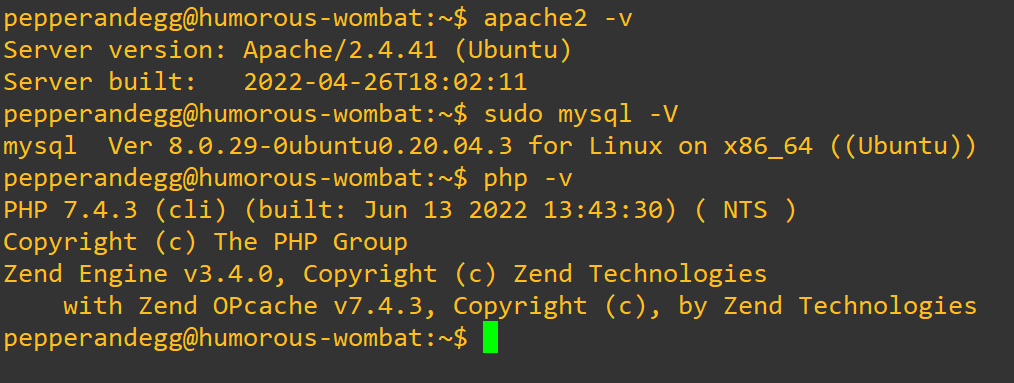
apt install mysql-server -y You can verify your MySQL installation by running this command:

Output should look similar to:
#Step 4: Install PHP scripting language
Now that we have MySQL, we can install the third component of the LAMP stack — PHP scripting language.
PHP is a general-purpose programming language widely used in web development. It can run scripts, connect to your freshly installed MySQL databases to retrieve information, and visualize content to display to your website visitors.
Specifically, we will install 3 packages in PHP:
- php is the default package for the PHP scripting language
- libapache2-mod-php is the PHP module for Apache
- php-mysql is the PHP module for MySQL
To install all 3 packages, run this command:
sudo apt install php libapache2-mod-php php-mysql -y You can verify your PHP installation by running this command:

Output should look similar to:
#Step 5: [Optional] Configure firewall
By default, Ubuntu’s uncomplicated firewall a.k.a. ufw is disabled. You can enable ufw to implement firewall policies and help secure your system. If you choose to leave ufw disabled, you can skip this step. For in-depth instruction, head to our detailed guide on how to configure Ubuntu Firewall.
If you’re not sure if ufw is enabled on your system, you can check its status with this command:
If ufw is enabled, there are three available applications (listed in the output of sudo ufw app list ) related to Apache you can allow through the firewall:
- Apache will allow traffic on TCP port 80 (default HTTP) only
- Apache Secure will allow traffic on TCP port 443 (default HTTPS) only
- Apache Full will allow traffic on both TCP ports 80 and 443
For our example, will allow inbound traffic to Apache on TCP ports 80 and 443 with this command:
sudo ufw allow in "Apache Full" You should see output similar to:
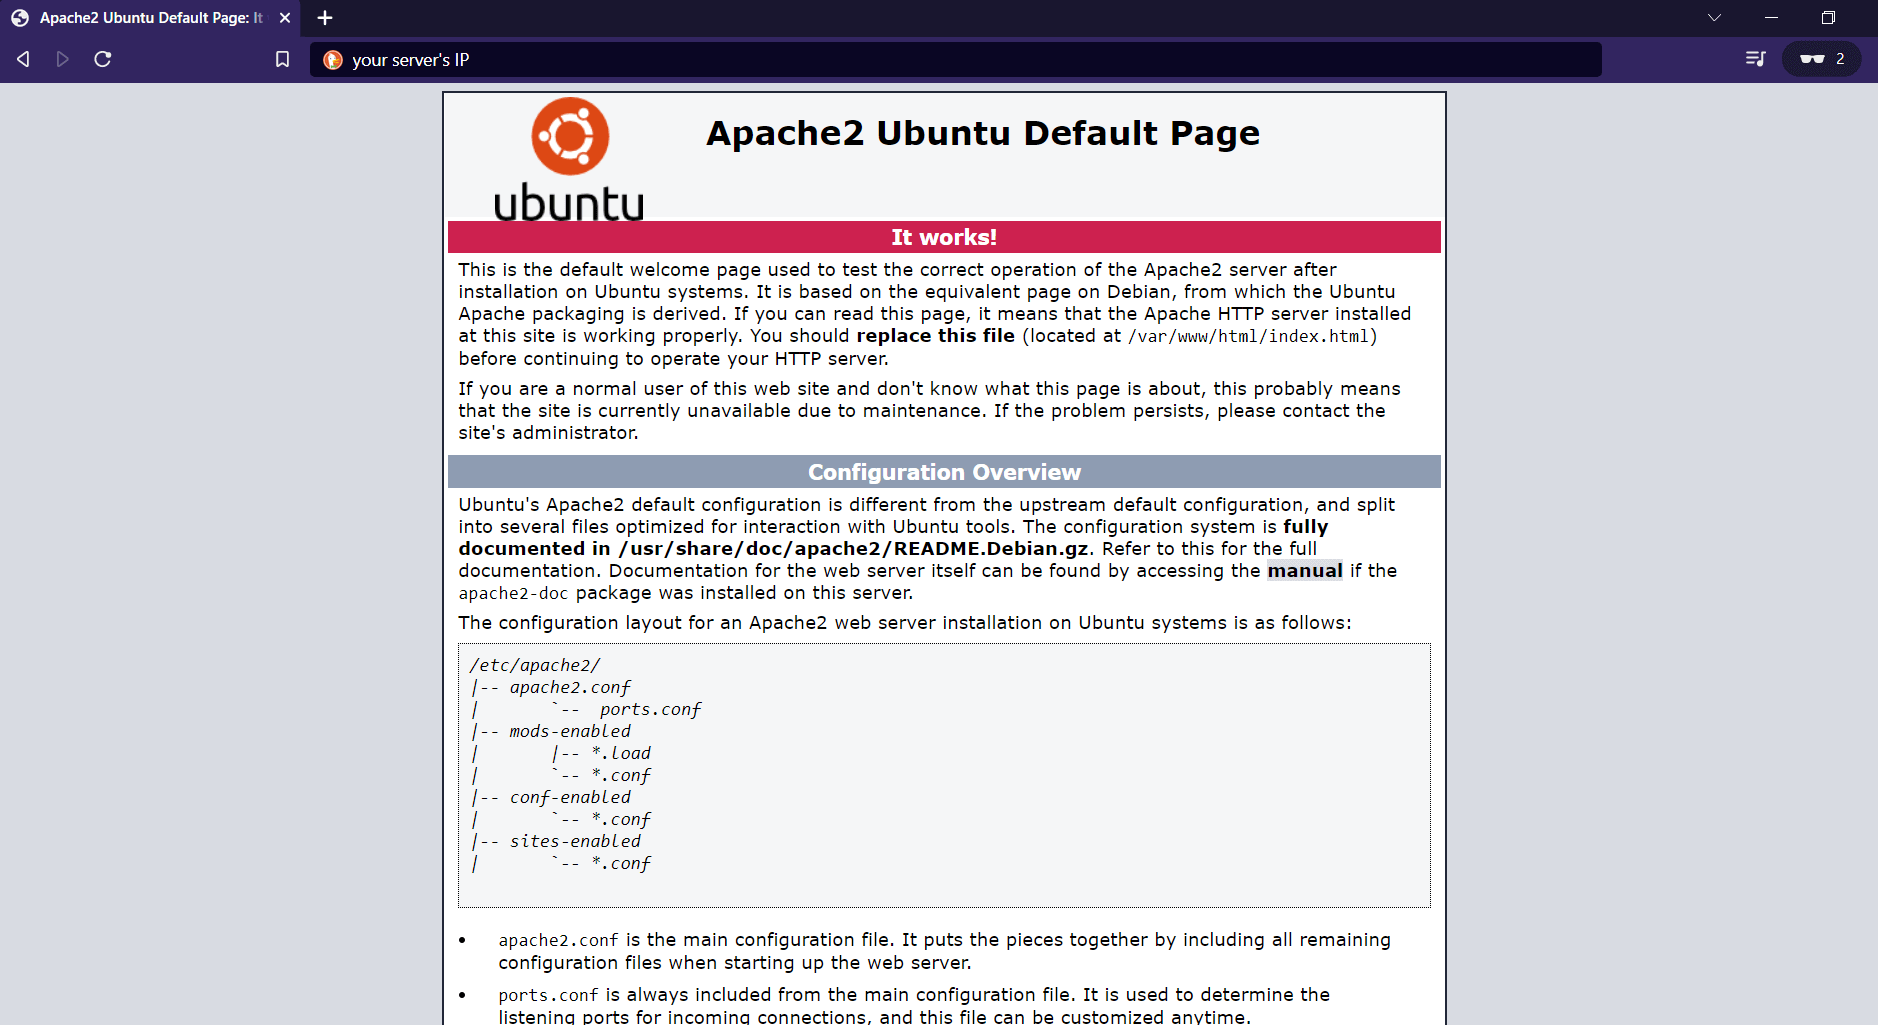
#Step 6: Check Apache test page
Use a web browser to access http:// (where is the IP address of your Ubuntu machine). You should see the default Apache2 Ubuntu Default Page.
If you’ve successfully completed these steps, you’ve now installed LAMP on Ubuntu 20.04 server. However, before continuing, you can also set up an Apache virtual host to store your server’s configuration details.
#Step 7: Configure and enable your virtual host (recommended)
With all the LAMP stack components installed, you could now move on to testing PHP processing and MySQL connectivity in the subsequent steps. By default, Apache will serve web pages in the /var/www/html , and that may be enough for simple sites.
However, Apache Virtual Hosts let you create multiple sites on a single server and are an important concept in Apache web server administration. So, let’s create a Virtual Host for our site by following these steps:
Note: We’ll name our site cherryservers.local . However, you can replace cherryservers.local with any other Apache virtual host name.
sudo a2dissite 000-default.conf - Copy the 000-default.conf Apache configuration file to a new /etc/apache2/sites-available/cherryservers.local.conf file:
sudo cp /etc/apache2/sites-available/000-default.conf /etc/apache2/sites-available/cherryservers.local.conf - Use a text editor like nano or vim to edit the etc/apache2/sites-available/cherryservers.local.conf to contain these settings:
Require all granted ServerName cherryservers.local ServerAlias www.cherryservers.local ServerAdmin pepperandegg@localhost DocumentRoot /var/www/html/cherryservers.local/public ErrorLog $/error.log CustomLog $/access.log combined sudo mkdir -p /var/www/html/cherryservers.local/public sudo chown -R www-data:www-data /var/www/html/cherryservers.local/public - Give the www-data user read, write, and execute permissions on the directory and its contents, and give everyone else read and execute permissions:
sudo chmod -R 755 /var/www/html/cherryservers.local/public sudo a2ensite cherryservers.local sudo systemctl reload apache2 #Step 8: Test PHP processing with test.php
Next, let’s serve a simple test.php page that demonstrates PHP is working on our site.
- Use a text editor like nano or vim to create a new /var/www/html/cherryservers.local/public/test.php file with this content:
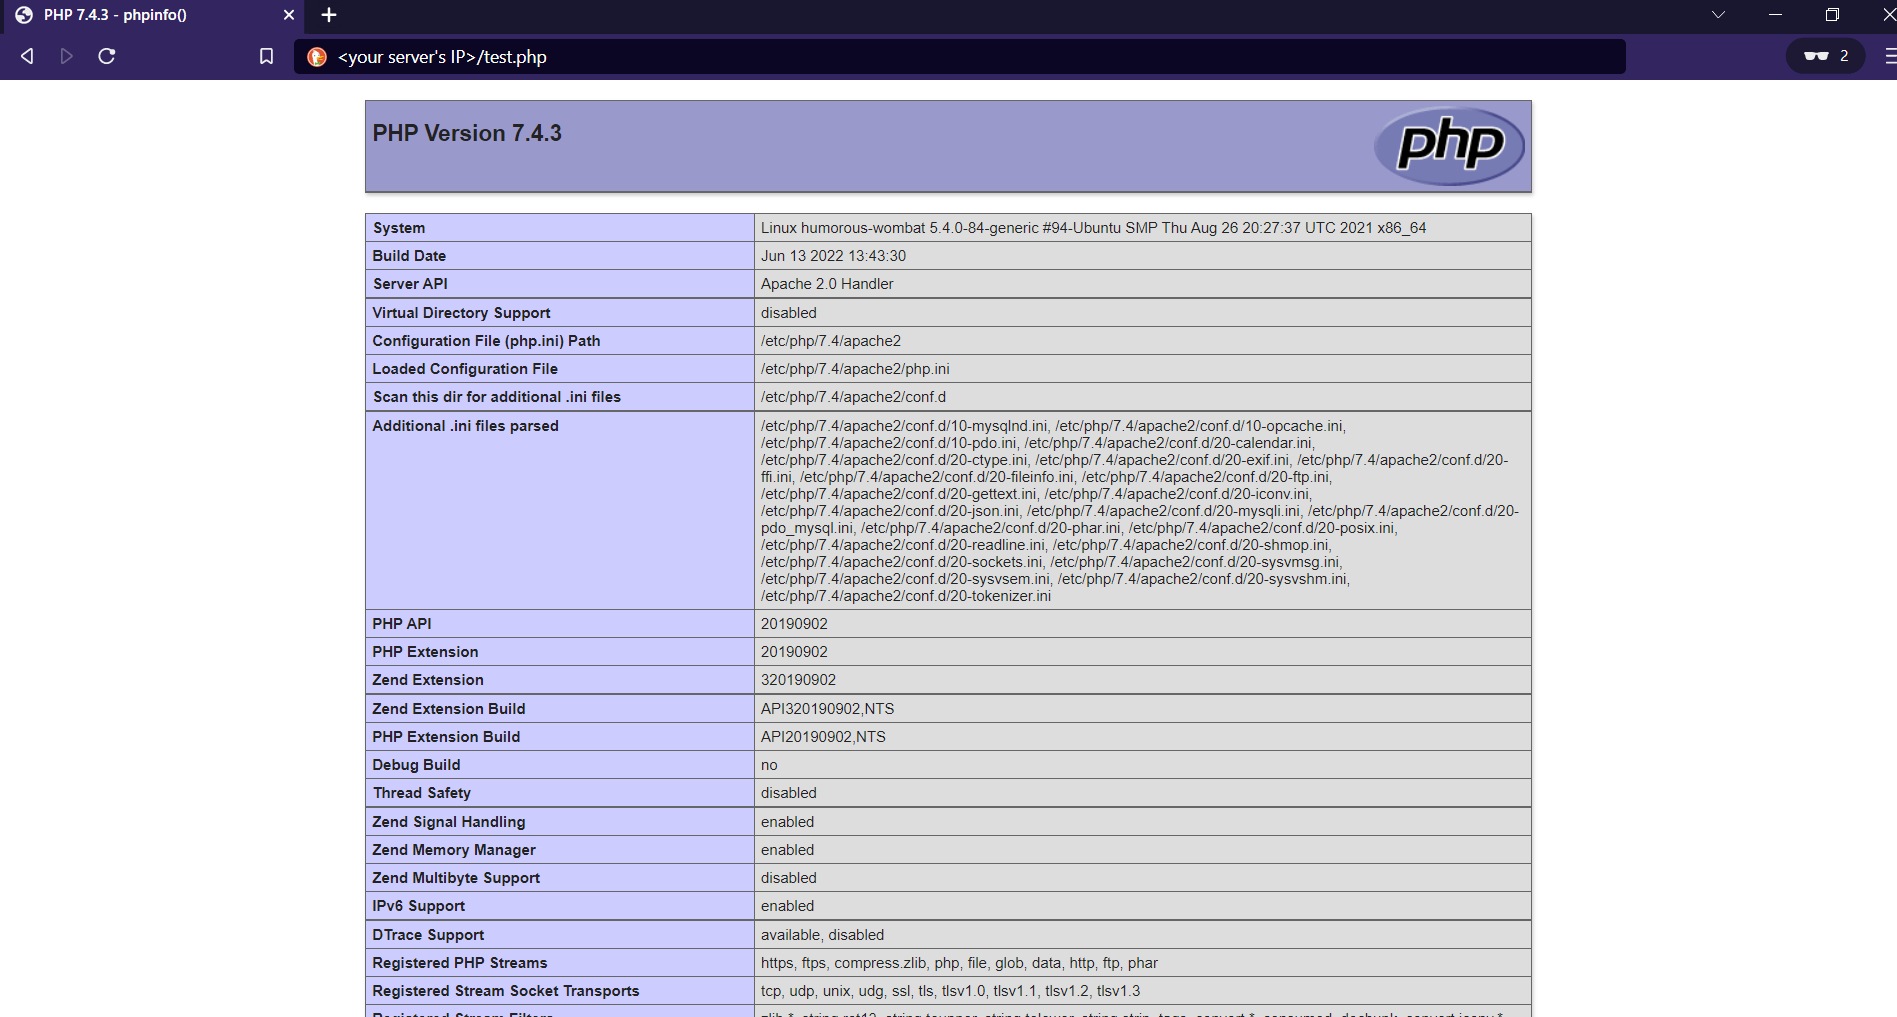
- Use a web browser to access http:///test.php (where is the IP address of your Ubuntu machine). You should see a page that displays PHP information similar to this:
#Step 9: Configure MySQL database access for PHP
Now, let’s create a test MySQL database and configure a user for PHP to access it with.
- Create a MySQL user named phpUser with a password of password (replace password with a strong password):
CREATE USER 'phpUser'@'%' IDENTIFIED WITH mysql_native_password BY 'password'; 4.Grant the phpUser user full privileges on the testDB database:
GRANT ALL ON testDB.* TO 'phpUser'@'%'; CREATE TABLE testDB.breakfastMenu(food VARCHAR(50), description VARCHAR(255)); INSERT INTO testDB.breakfastMenu(food, description) VALUES ('Pepper and Egg With Giardiniera', 'Great Way To Start The Day'); #Step 10: Test PHP and MySQL
Finally, we can create a PHP script to display data from our MySQL database.
- Use a text editor to create a new PHP script at /var/www/html/cherryservers.local/public/cherry.php with this content (be sure to change your «password» to match the MySQL password you configured earlier):
<?php $DBconnect=mysqli_connect("localhost","phpUser","password","testDB"); $result = mysqli_query($DBconnect,"SELECT * FROM breakfastMenu"); while($row = mysqli_fetch_array($result)) print_r($row['food']); mysqli_close($DBconnect); ?> 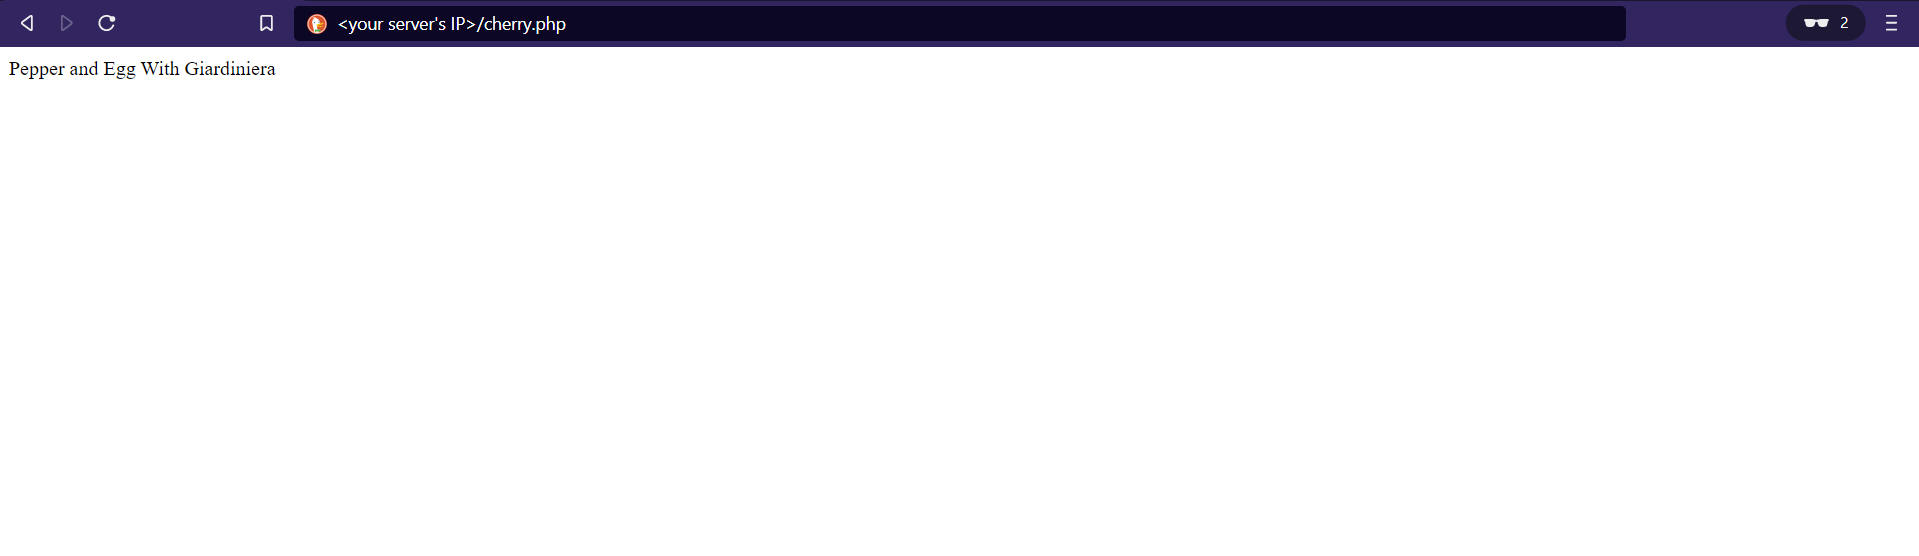
- Use a web browser to access http:///cherry.php (where is the IP address of your Ubuntu machine). You should see a page that displays the food value we inserted into the database previously, similar to this:
#Conclusion
That’s it! Now you have successfully installed LAMP on Ubuntu 20.04 server, and have a working LAMP stack in the system. From here, you can delete our test .php scripts and move on to further hardening your system — for example, by configuring Apache to use HTTPS — and creating dynamic content for your site.
For related reading, check out our other comprehensive Linux tutorials.

Mantas Levinas
Helping engineers learn 💡 about new technologies and ingenious IT automation use cases to build better systems 💻
Join Cherry Servers Community
Get monthly practical guides about building more secure, efficient and easier to scale systems on an open cloud ecosystem.