Содержание
- HTML Web Page Examples with Source Code
- HTML Web Page Example 1
- HTML WebPage Example 2
- HTML Code Example 3 (Offer Page)
- HTML Code Example 4
- Conclusion
- How TO — Make a Website
- Create a Website from Scratch
- A «Layout Draft»
- Navigation bar
- Side Content
- Main Content
- Footer
- First Step — Basic HTML Page
- Example
- My Website
- Example Explained
- Creating Page Content
- Header
- My Website
- Navigation Bar
- Content
- Footer
- Footer
- W3Schools Spaces
HTML Web Page Examples with Source Code
In this article, we are going to see some HTML web page examples with source code. We will also see some of the key points to learn how to create these web pages.
HTML Web Page Example 1
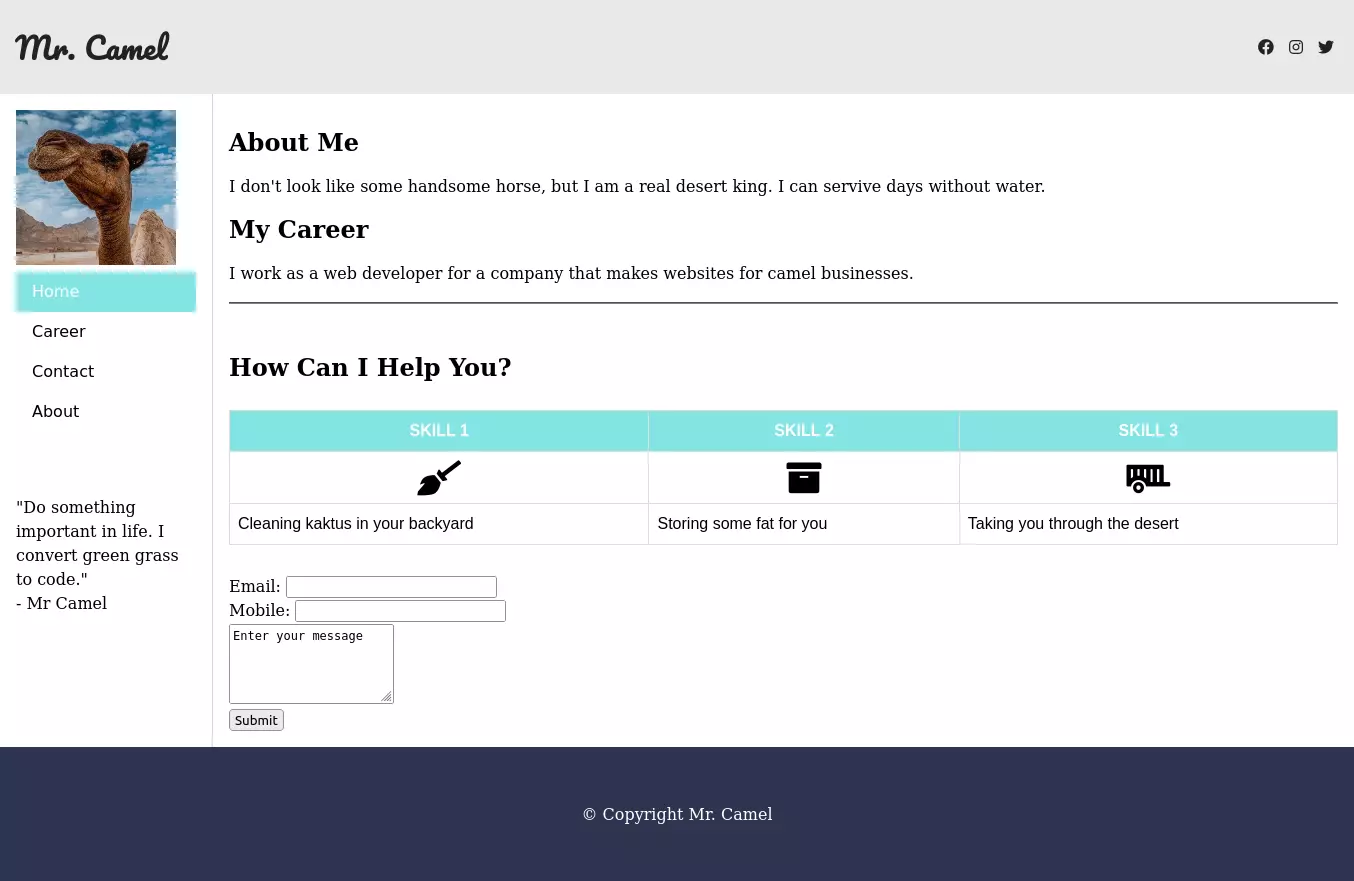
This is an example of a simple HTML web page that shows the profile of a professional camel.
Here is how the camel profile is designed in HTML:
- Container — The complete HTML web page is wrapped in a container. The container is a div element with the class container .
- Header — Inside the container, we have a header element that contains the logo and the navigation menu.
- Aside — Aside contains the profile picture and other navigational links.
- Main — The main element contains the profile information. Like the name, the career, the skills, the contact form, etc.
- Footer — The footer contains copyright information.
Here is the complete code of the camel profile:
@import url('https://fonts.googleapis.com/css2?family=Pacifico&display=swap'); body < margin: 0; box-sizing: border-box; >.container < line-height: 150%; >.header < display: flex; justify-content: space-between; align-items: center; padding: 15px; background-color: #e9e9e9; >.header h1 < color: #222222; font-size: 30px; font-family: 'Pacifico', cursive; >.header .social a < padding: 0 5px; color: #222222; >.left < float: left; width: 180px; margin: 0; padding: 1em; >.content < margin-left: 190px; border-left: 1px solid #d4d4d4; padding: 1em; overflow: hidden; >ul < list-style-type: none; margin: 0; padding: 0; font-family: sans-serif; >li a < display: block; color: #000; padding: 8px 16px; text-decoration: none; >li a.active < background-color: #84e4e2; color: white; >li a:hover:not(.active) < background-color: #29292a; color: white; >table < font-family: arial, sans-serif; border-collapse: collapse; width: 100%; margin: 30px 0; >td, th < border: 1px solid #dddddd; padding: 8px; >tr:nth-child(1) < background-color: #84e4e2; color: white; >tr td i.fas < display: block; font-size: 35px; text-align: center; >.footerMr. Camel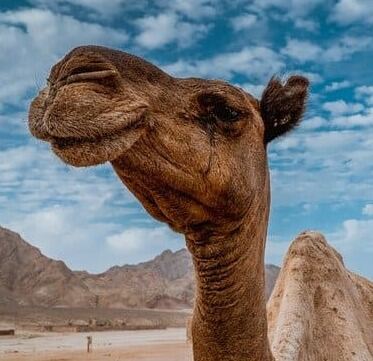
- Home
- Career
- Contact
- About
"Do something important in life. I convert green grass to code."
- Mr Camel
About MeI don't look like some handsome horse, but I am a real desert king. I can survive days without water.
My Career
I work as a web developer for a company that makes websites for camel businesses.
How Can I Help You?
SKILL 1 SKILL 2 SKILL 3 Cleaning kaktus in your backyard Storing some fat for you Taking you through the desert
Mobile: