- Create A Login Page Form Using HTML And CSS — With Source Code
- What will our login page look like?
- Login Page HTML Structure
- Explanation Of Our HTML Code
- Login Page CSS Code
- How to Create Login Page in HTML?
- Pre-requisites
- What Are We Creating?
- Creating the Login Page Structure with HTML
- Styling the Login Page with CSS
- Conclusion
- How TO — Login Form
- How To Create a Login Form
- Example
- Example
- How To Create a Modal Login Form
- Example
- Example
- Example
Create A Login Page Form Using HTML And CSS — With Source Code
An integral part of any website is its login functionality. No matter what web technology you use, users go through the process of logging in to your website and interacting with the login page the most number of times.
Having a fancy responsive login page is a must these days as the demand for mobile web pages has far increased that of desktop ones.
Having a beautiful login page is essential. Users have to instantaneously like your login page to give that best first impression.
In today’s blog post, we will create a beautiful yet simple login web page using HTML and CSS only and I will also leave the source code so you can use it for your website.
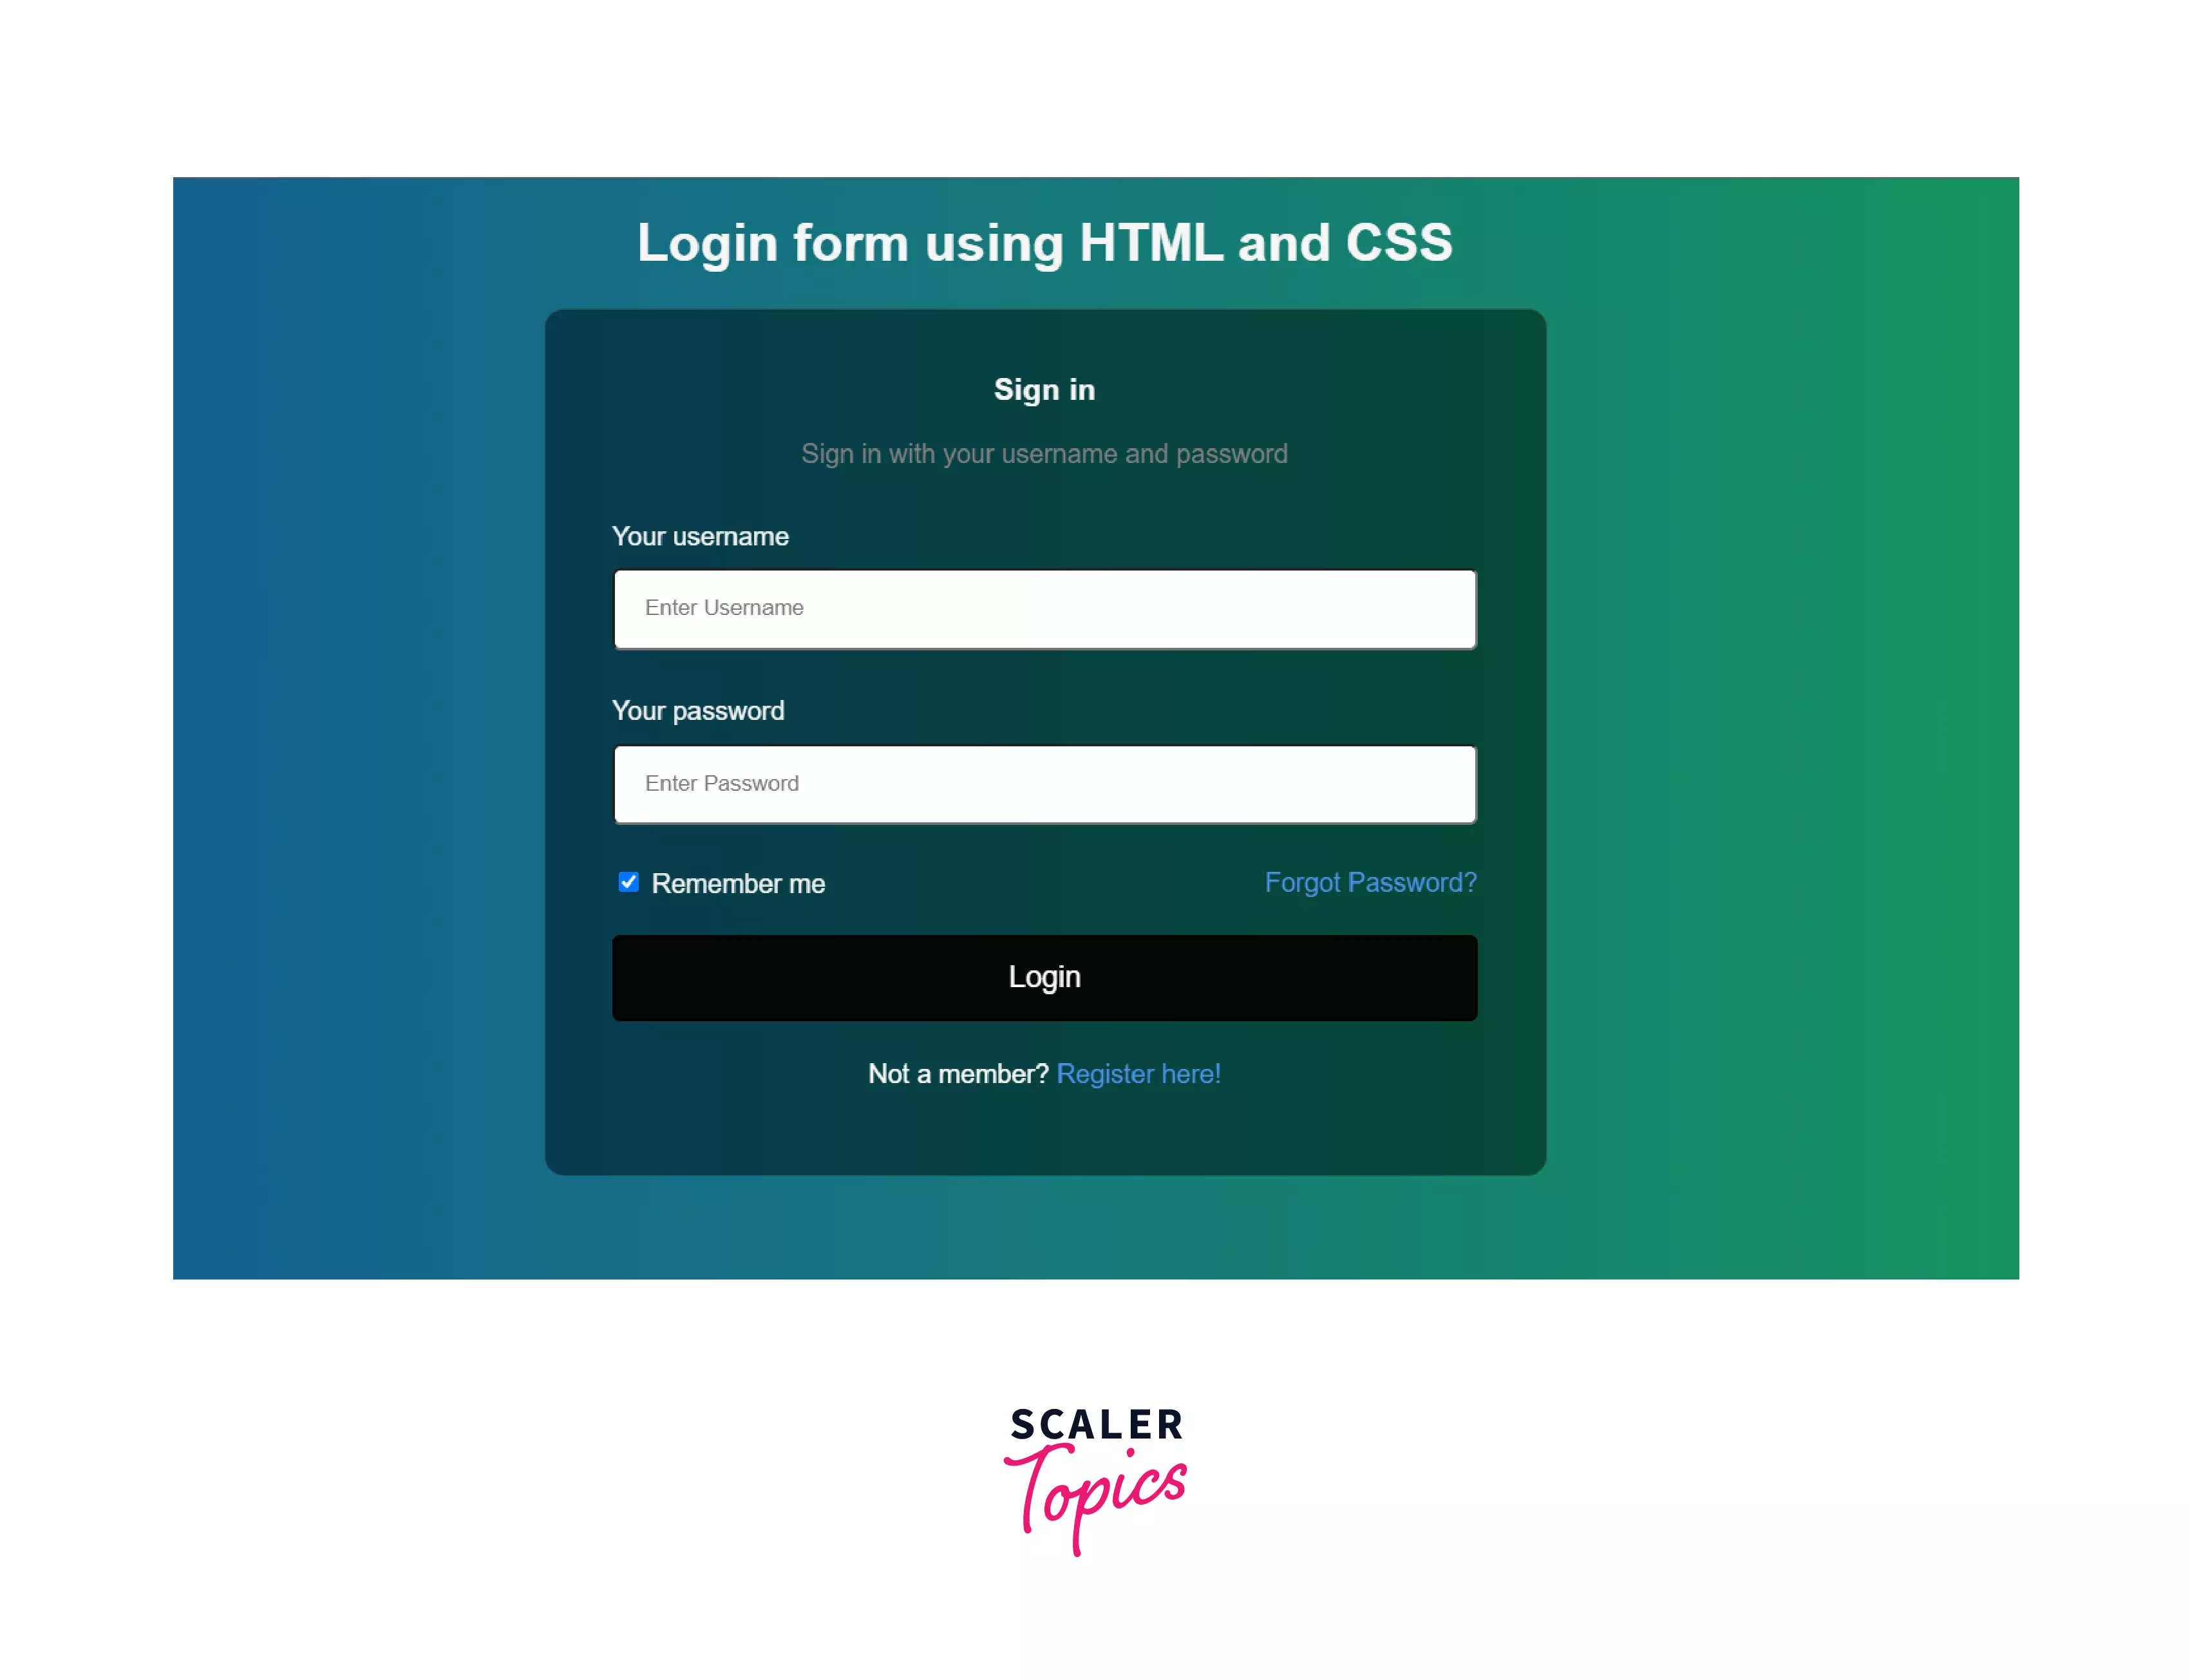
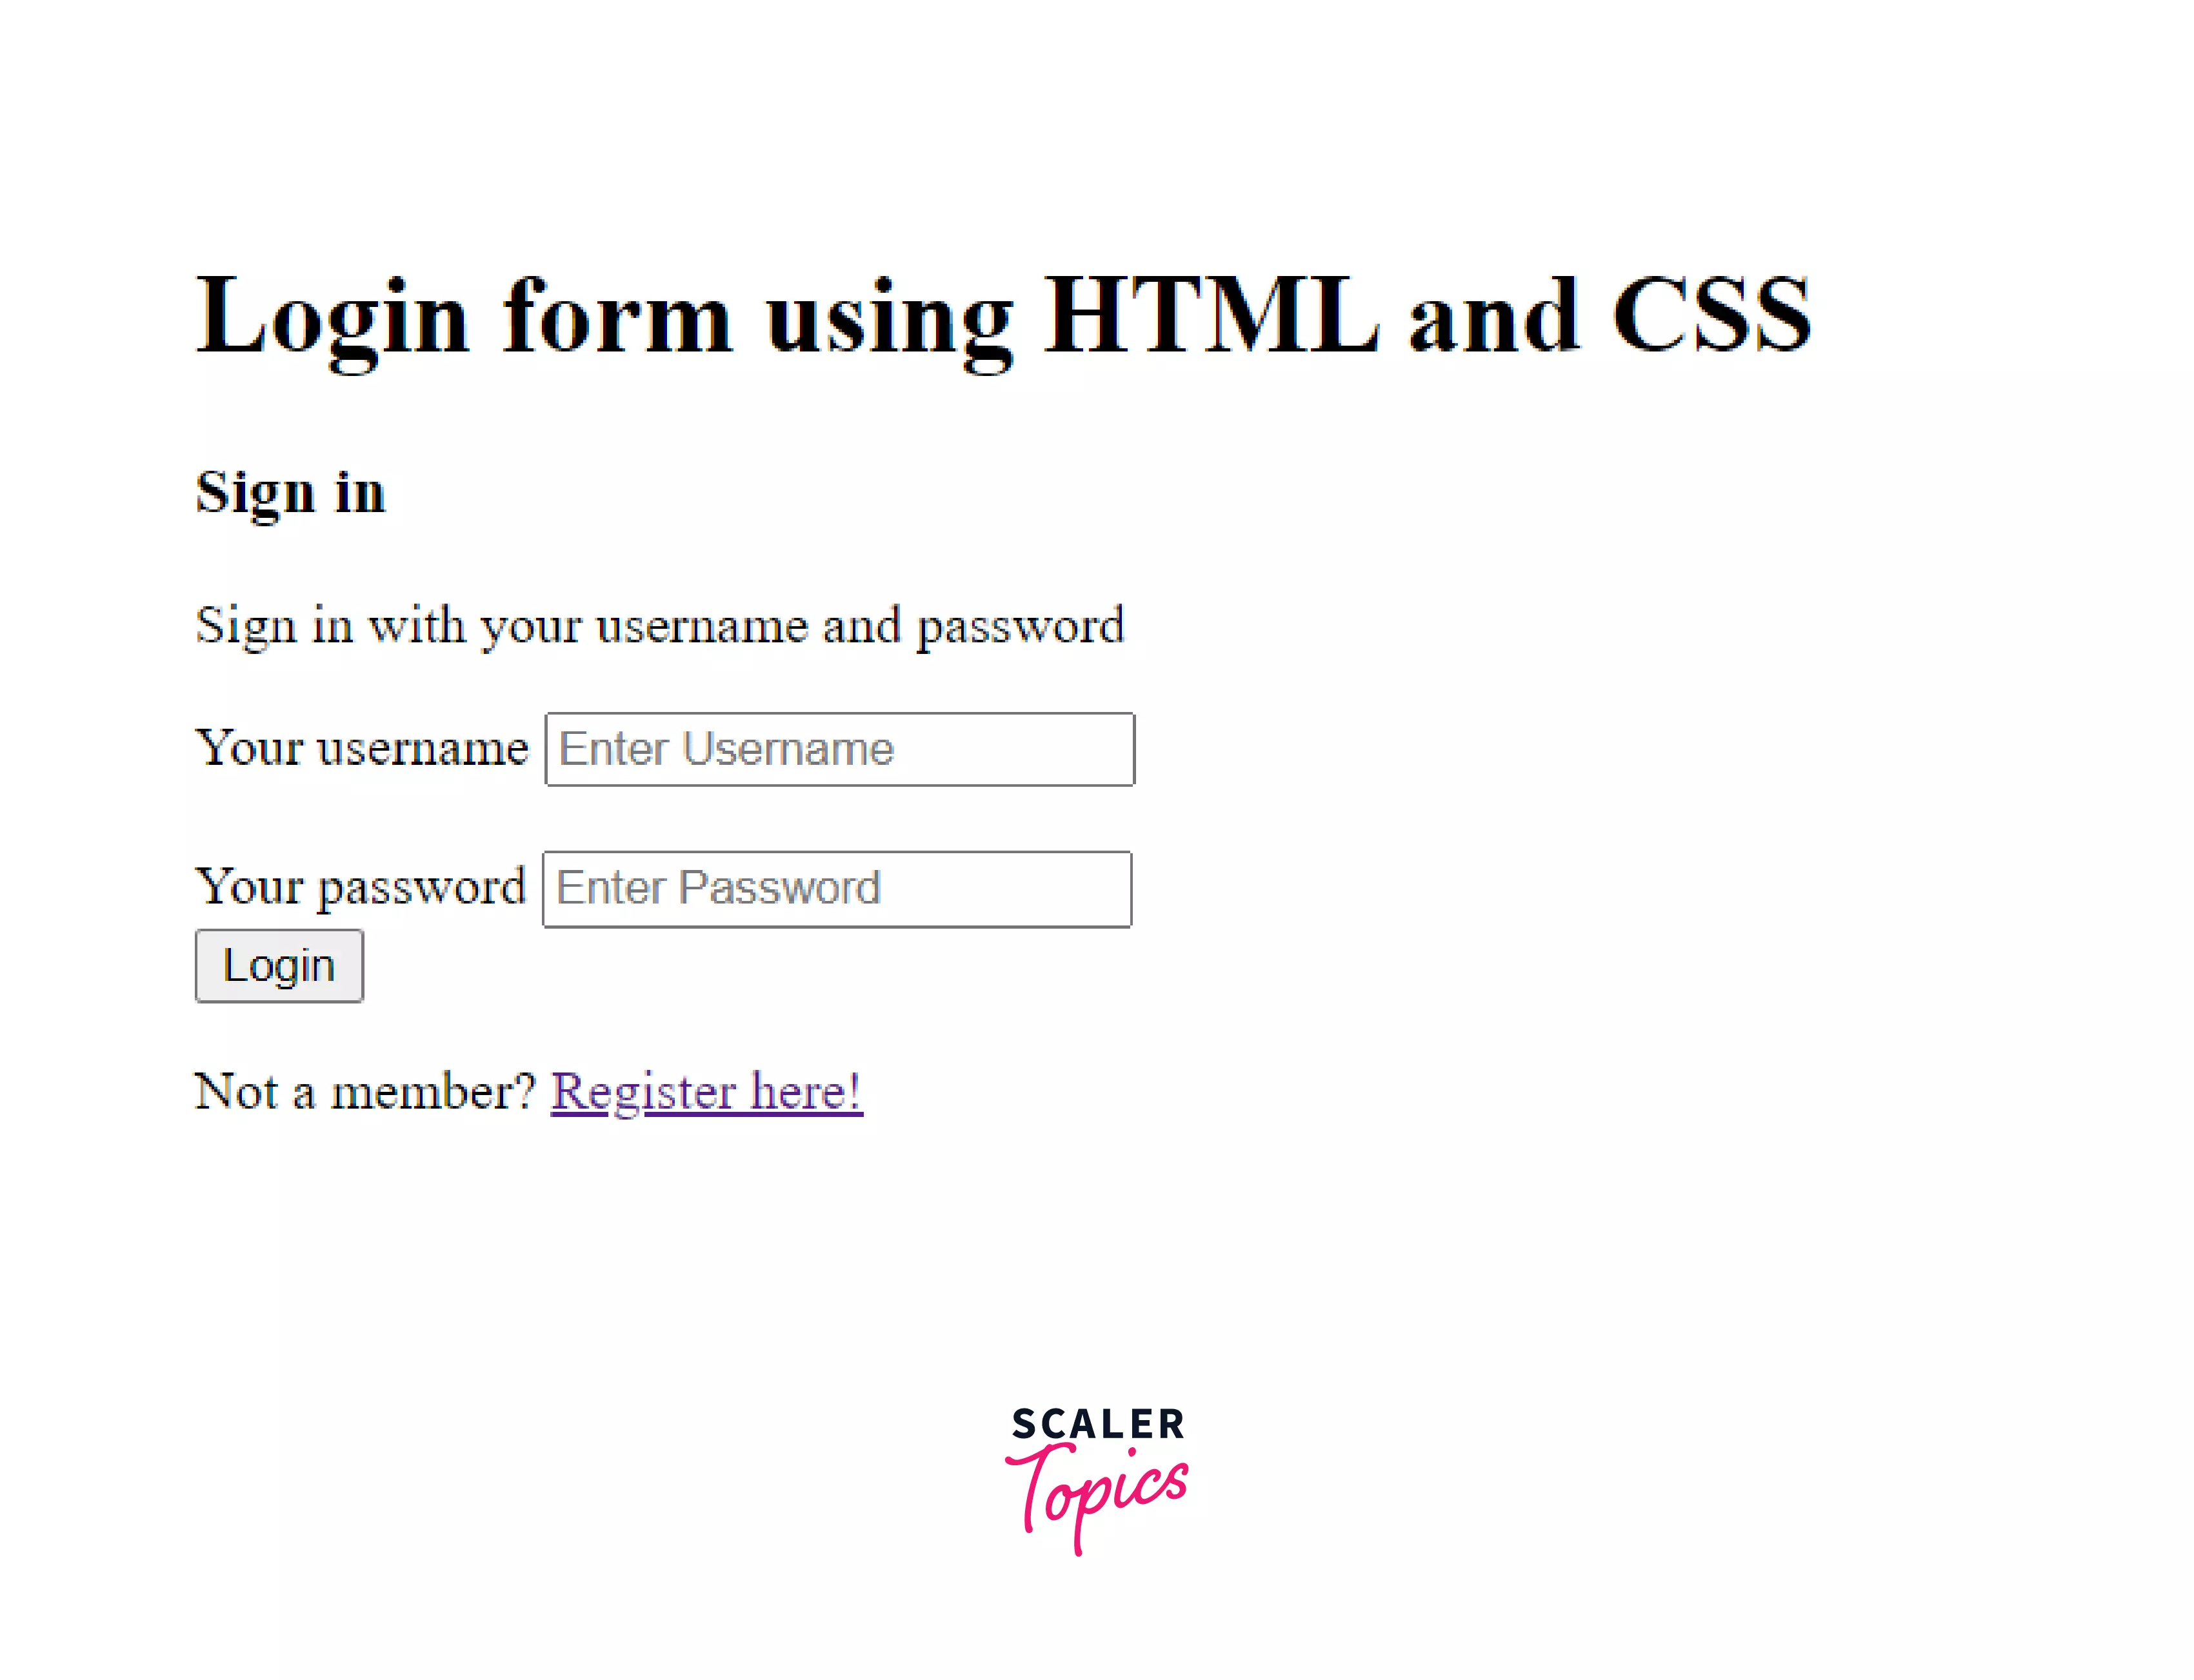
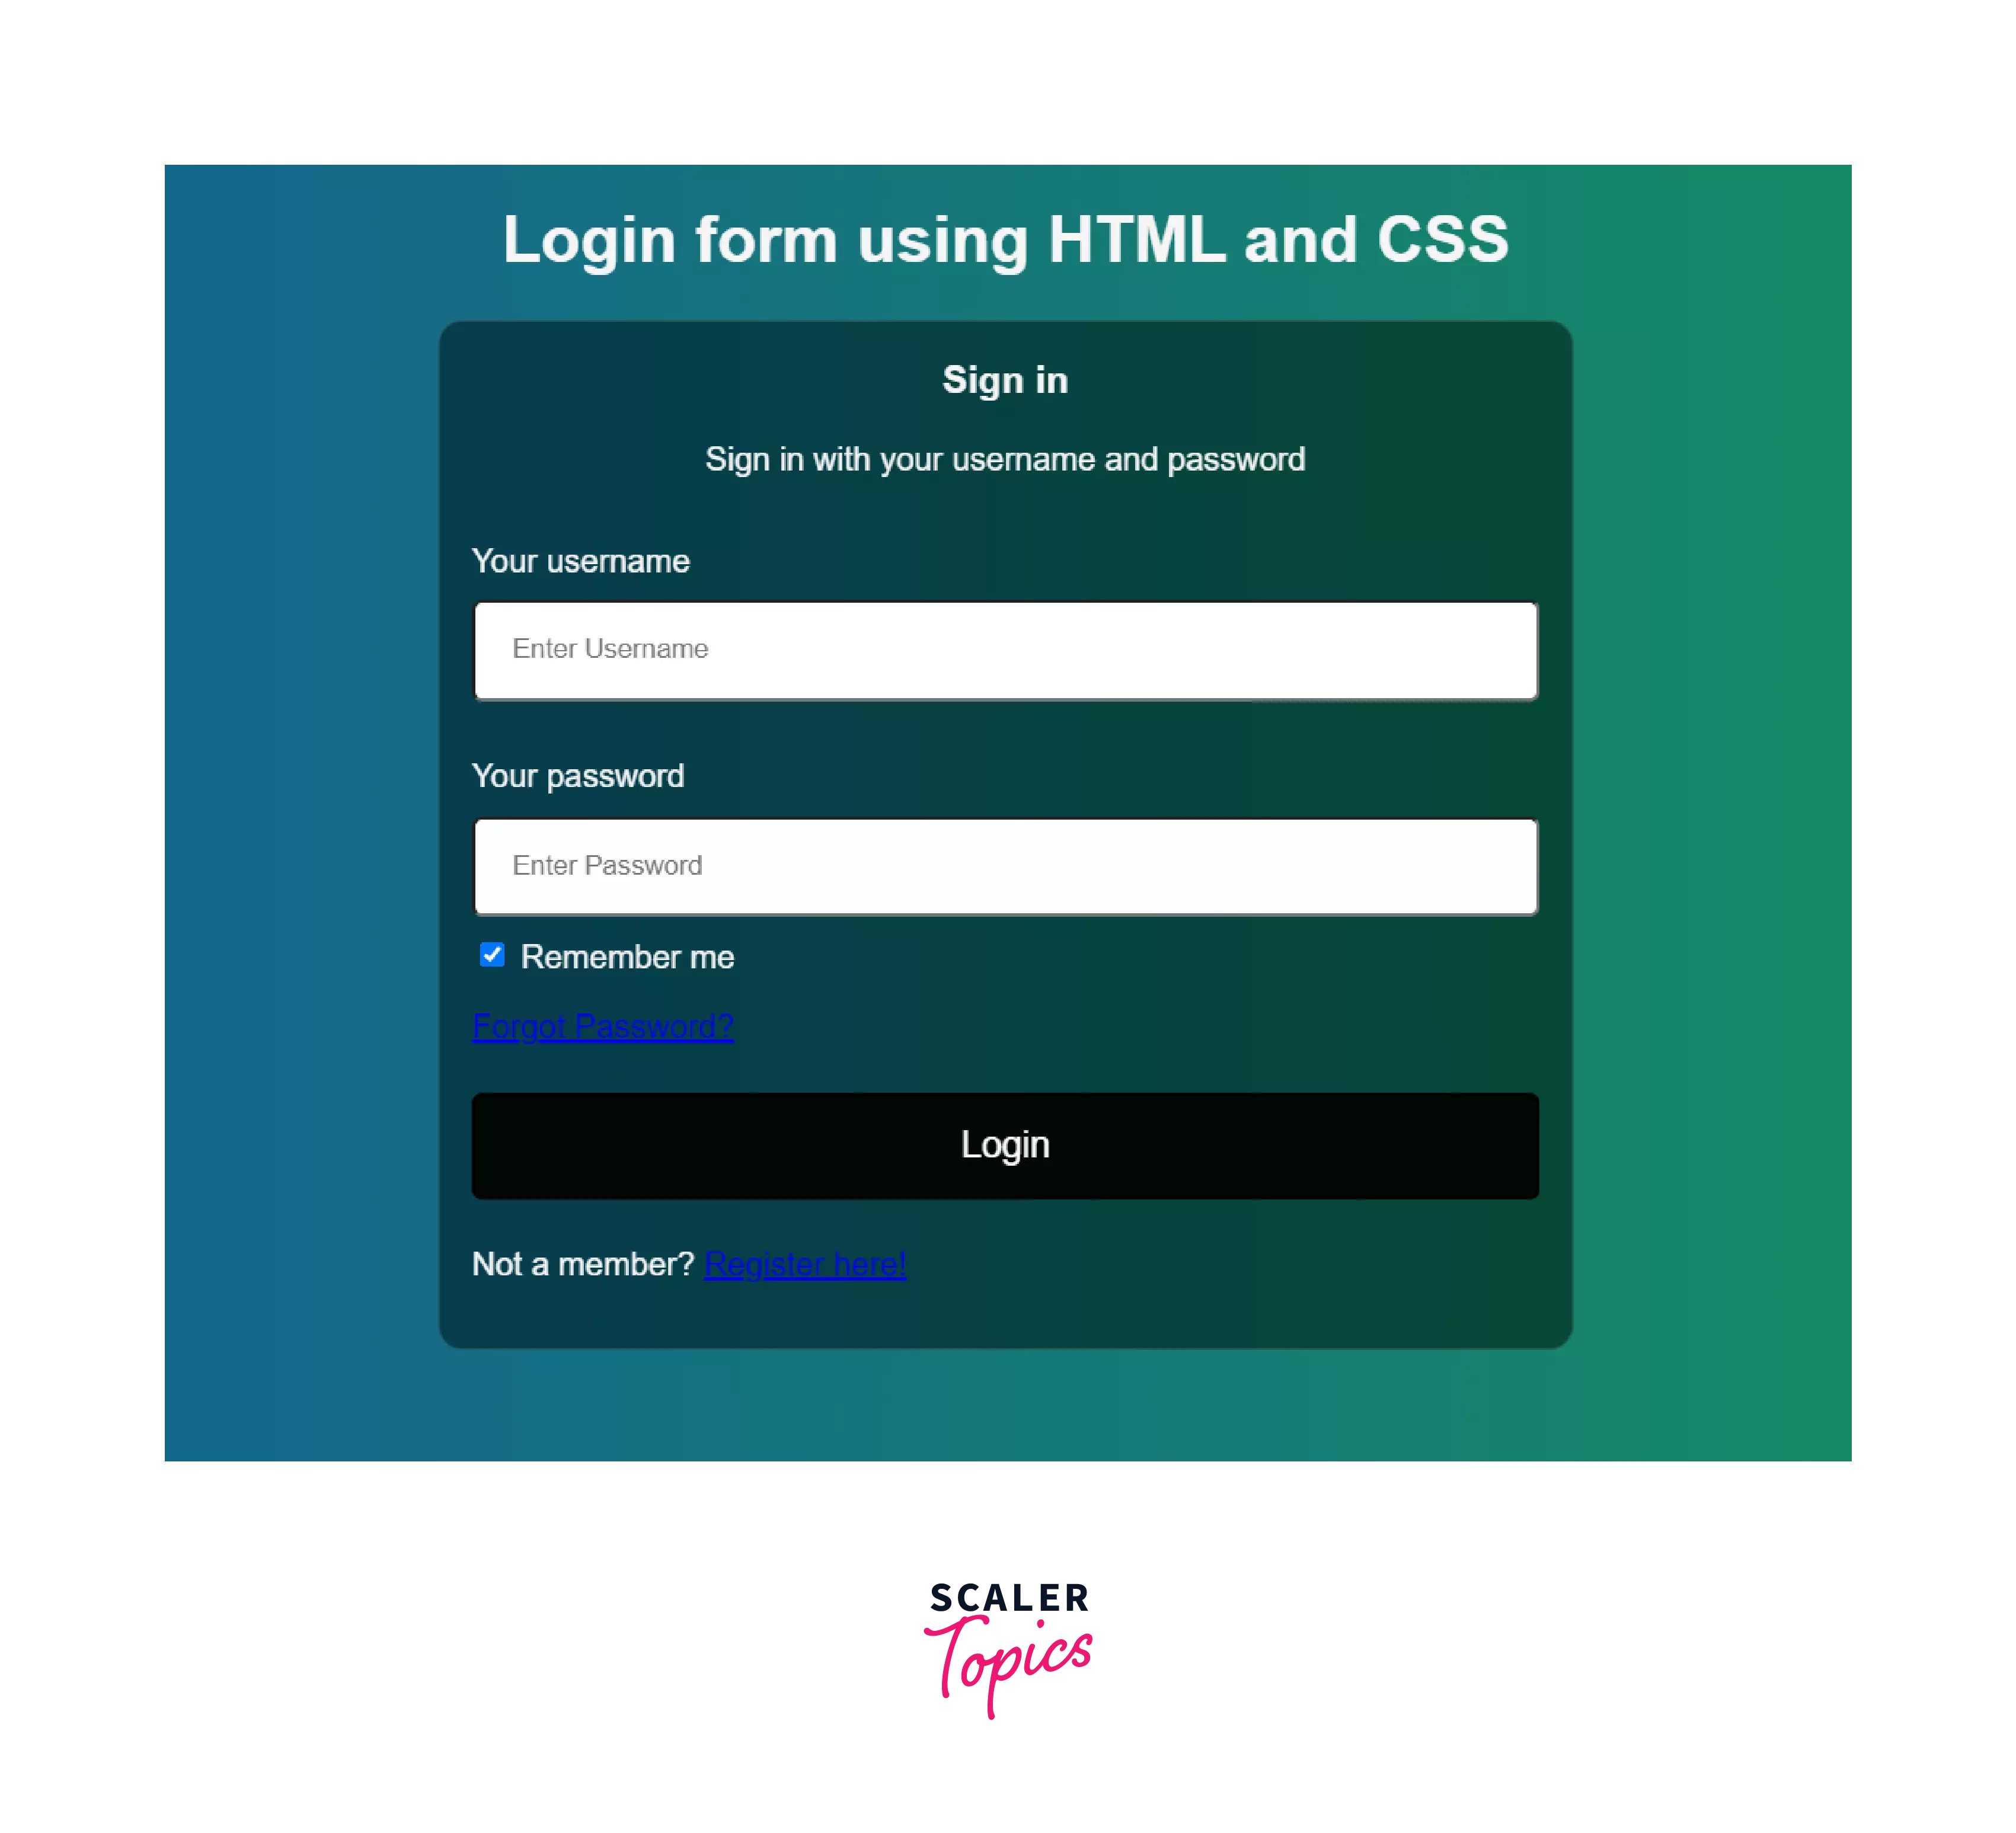
What will our login page look like?
We will be building this simple yet beautiful login page by just writing some HTML and CSS.
This login page will be centered on the screen vertically and horizontally.
It will have two input text fields, username, and password.
It will also have a remember me checkbox, just if the developer wants to remember their login details.
Then there will be a full-width login button.
Users who don’t yet have a username and password on this website can go to the sign-up link. This will be provided just below the login button.
We will also have an option of signing in using social links like Facebook and Google.
Now that we know what we are building, let’s go ahead and understand how, step by step.
Login Page HTML Structure
I am using visual studio code as my code editor and I will start by creating two files in the folder.
After creating these two files, we will create the structure for our index.html page. We are using the Emmet extension inside visual studio code to create the basic structure for the HTML page.
This is what the HTML structure looks like.
I have linked my style.css fie in the link tag.
I am using Fontawesome Icons to add icons to my website. They are super simple to use and very versatile. They provide a brilliant aesthetic to websites.
I will signup to Fontawesome and then use the script tag to add the icons to our Login HTML page.
Now, we will add the HTML structure to our login page.
As you can see in the image below, I have added some HTML elements for our login page, we will now go line by line and understand what’s happening in our HTML code.
Explanation Of Our HTML Code
In the body tag of our HTML page, we start by creating a div element with a class of container. This will be the white box that you see in our first image.
Then we add a div with a class of login-box. This will be our actual login container.
This login box will have four main components.
On the top it will have an icon, then the login elements such as inputs, checkbox, and button, then we will have the separator for the social links and finally, we will have the buttons for social login.
The code is very clean and easy to understand. You can find the source code at the end of this post.
Login Page CSS Code
Once we have created the HTML structure, it’s now time to make things beautiful by adding some styles to our elements.
We will first start by adding a Google font to our website and then define the body and html tags.
Then we add the styles for the containers that we created.
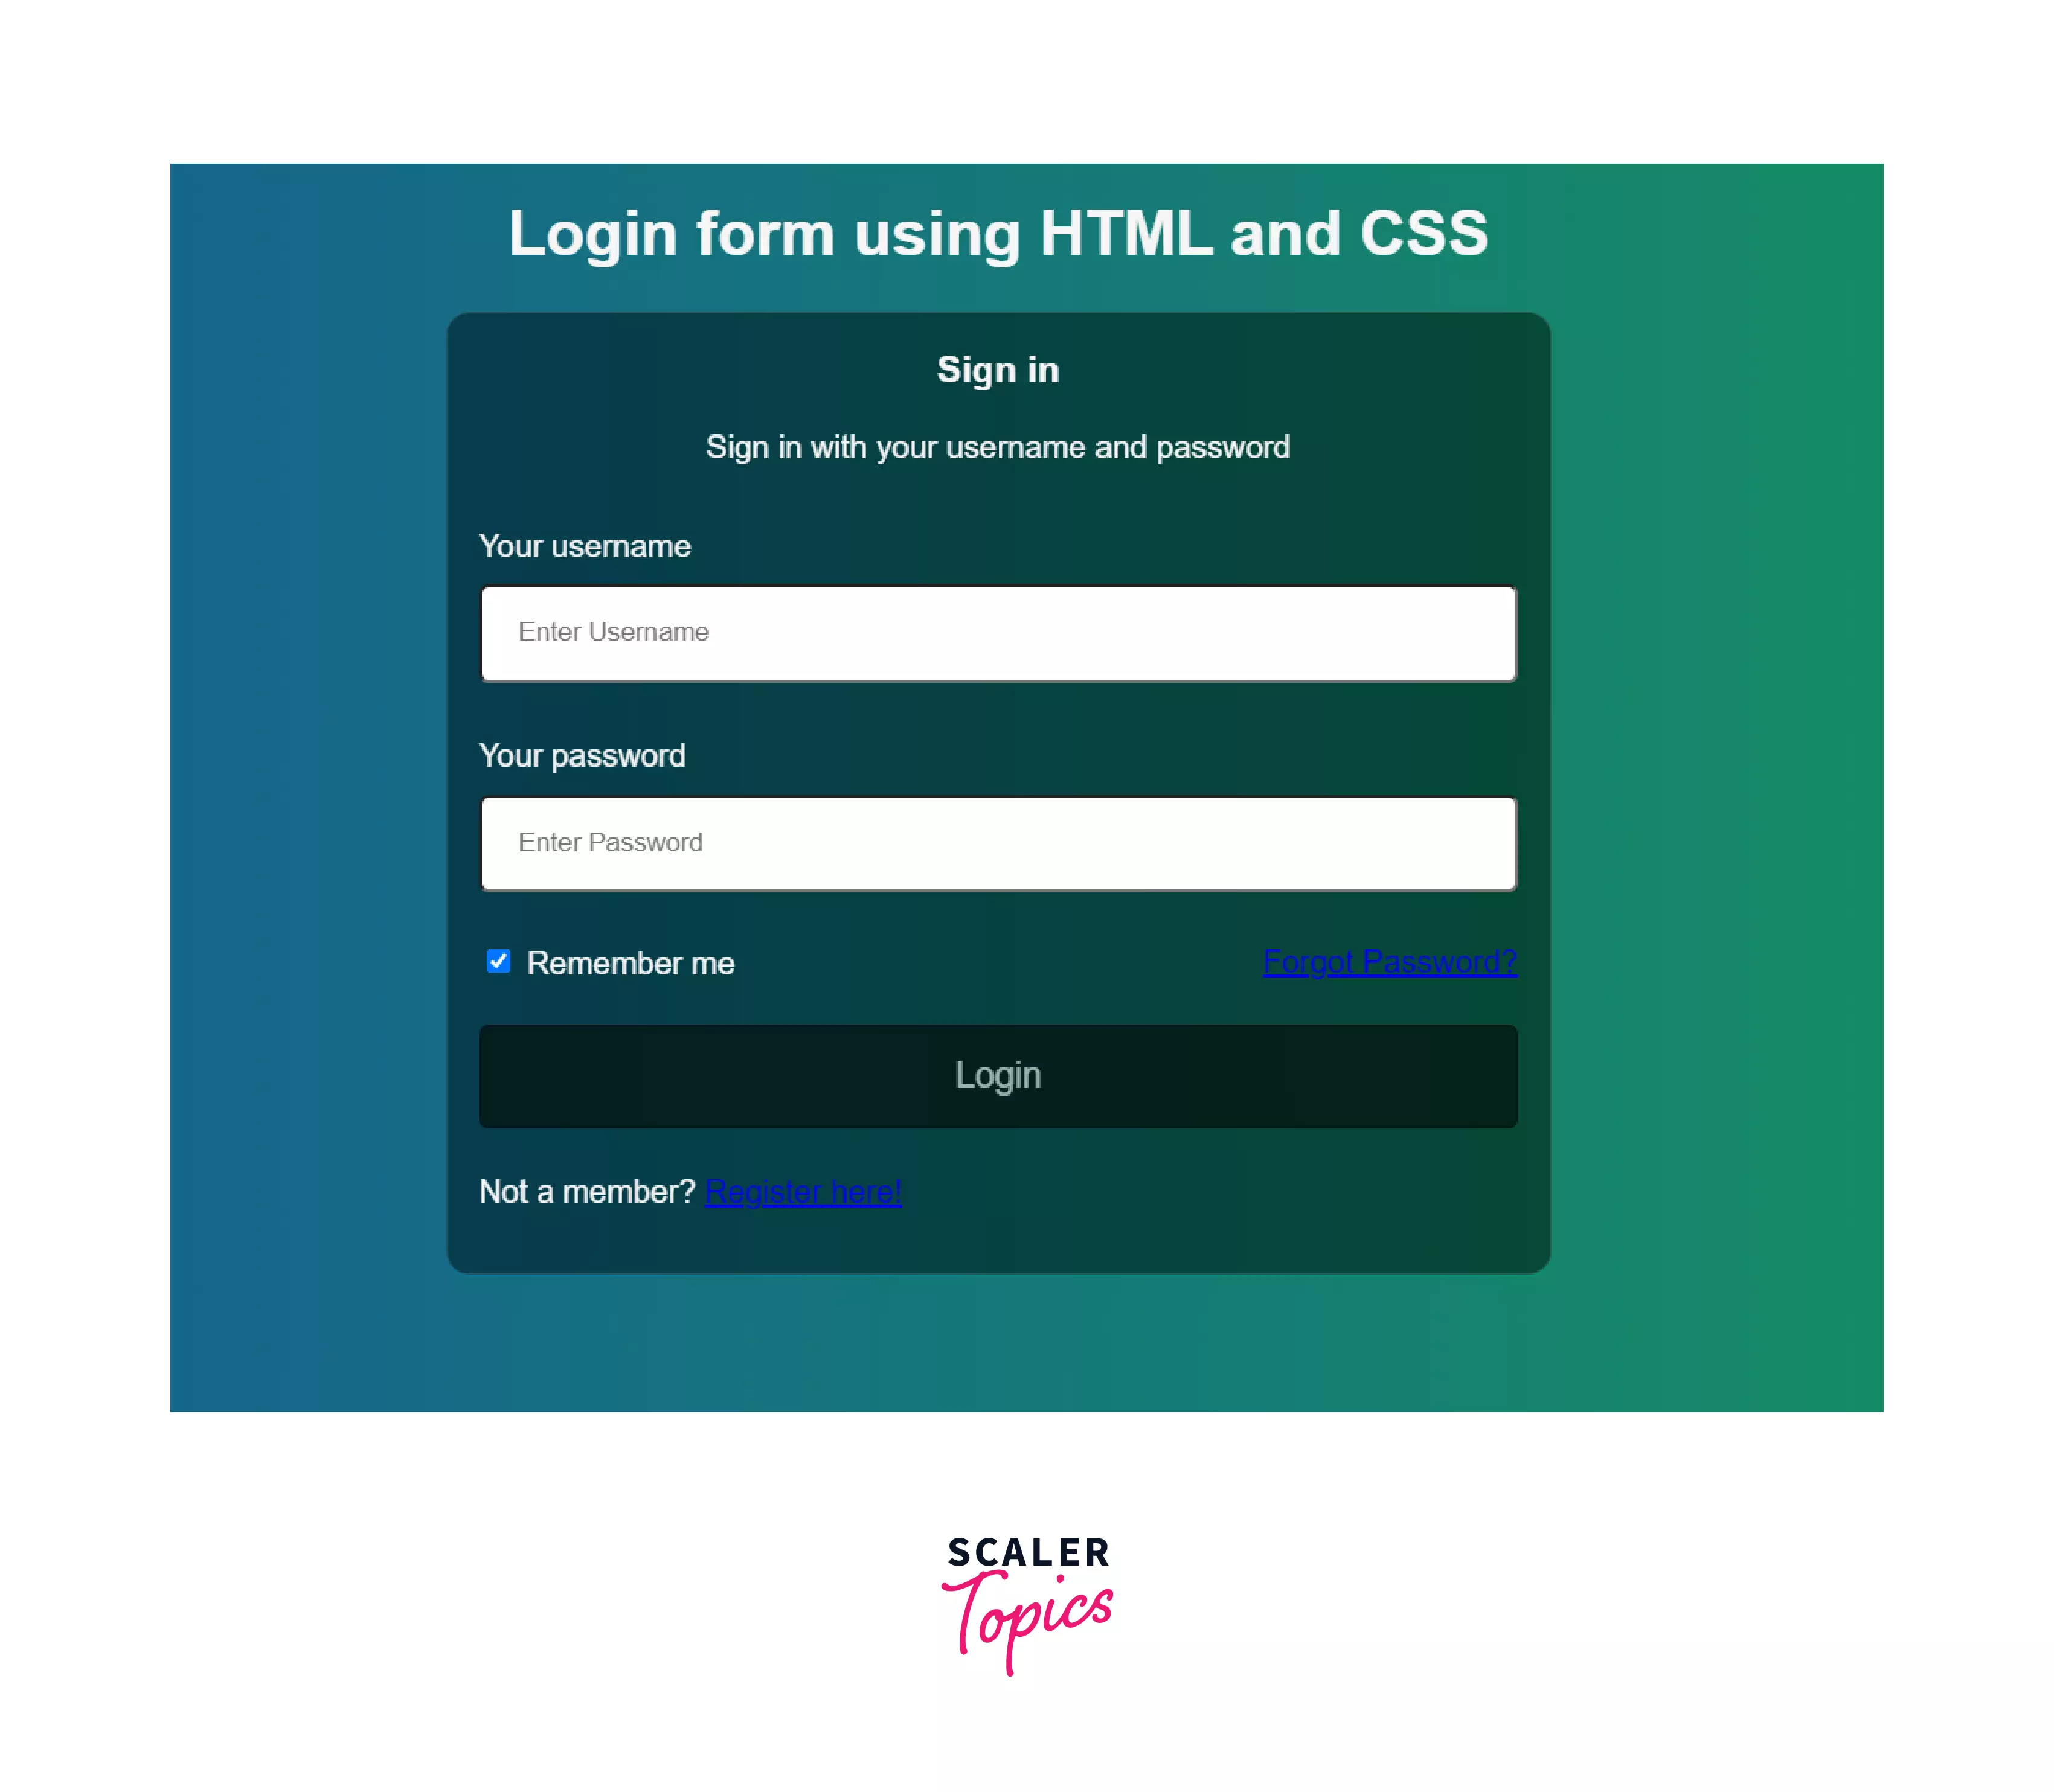
Now, if you go to the initial image, we have the login icon on the top.
We are giving the icon the full width of the login box and placing the icon right in the middle.
At this point, our login page looks something like the below:
Now, let’s style the input controls.
The only thing that is now left on our login page is the social links and the separator and the CSS code for these is really simple.
That’s it! With all that HTML and CSS code, we can achieve a beautiful-looking login page that your visitors like.
How to Create Login Page in HTML?

We’ll design a login page using HTML and CSS. A login page in HTML collects information from the user and has a submit button to send the details for server-side operations. However, our objective here is to design a login page and not to deal with the backend tasks.
Pre-requisites
To begin with the login page in HTML, we need to know the following:
What Are We Creating?
The login page uses HTML and CSS for the structuring and styling. We’ll first create the simple structure with HTML and then move to make it look great with CSS. This is what our final output will look like:
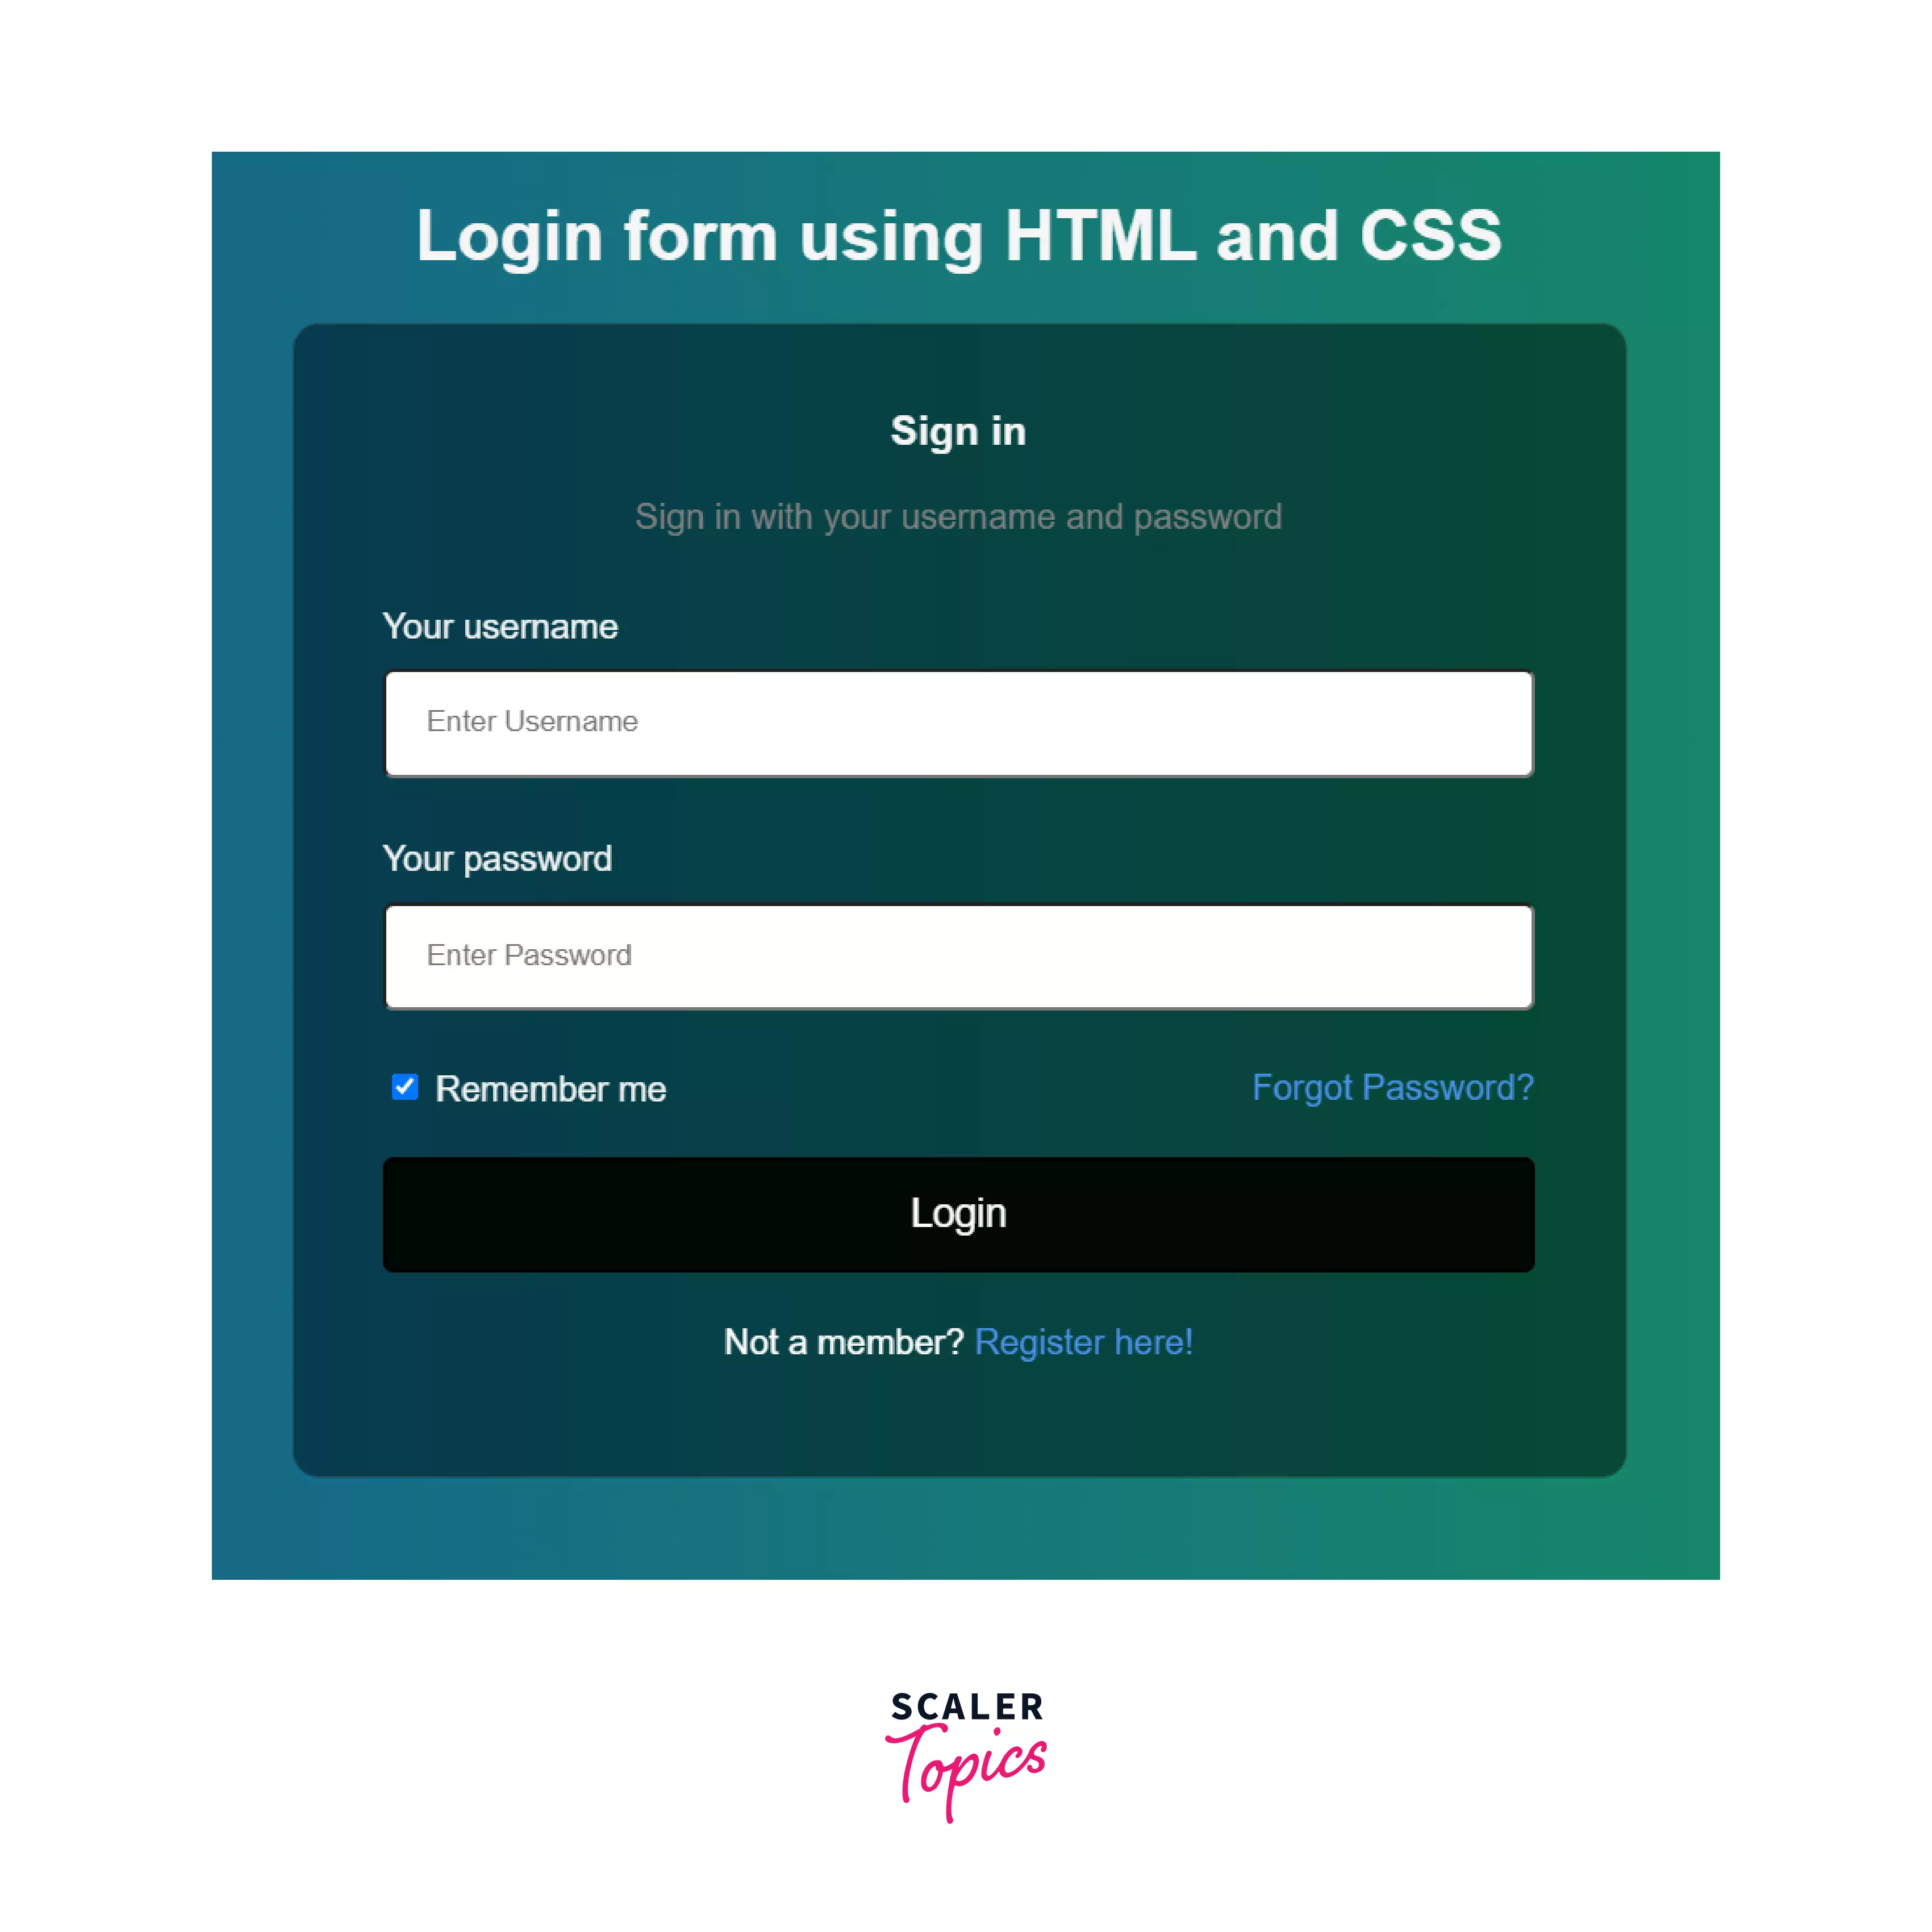
At first, we’ll go through the HTML code for the login page and then switch to CSS to make it look better.
Creating the Login Page Structure with HTML
Basically, we are going to make use of the tag in HTML. Forms are readily available in HTML to gather information from a user.
You can provide server-side operations as well with the action attribute, but this is beyond the scope of our discussion. You can learn more about forms here.
Let’s just start with writing the basic HTML structure in the first place.
Output
As already mentioned, we are designing the login page without any server-side operations, so the action attribute will be left empty. Following it will be the container that collects and lets the user submit their username and password. The form container will be styled later, but the initial structure shall be provided first.
There will be two elements; one contains the form headings and another for collecting information from the user.
Output
Although the div containers aren’t visible, you’ll soon notice the changes once we add input fields in the form.
Inside the main container, tags will be used to define the input for the user. In our case, we need input types such as text (for username) and password. To define these input fields, we’ll use tags but make sure that the contains the same name as the name attribute of its tag. It is because any form control (input fields) can be associated with only one element. It is important to provide the same name to bind the and elements together.
For the username, the input type is text , and we’ll put because the user must put their username and password.

Output
Output
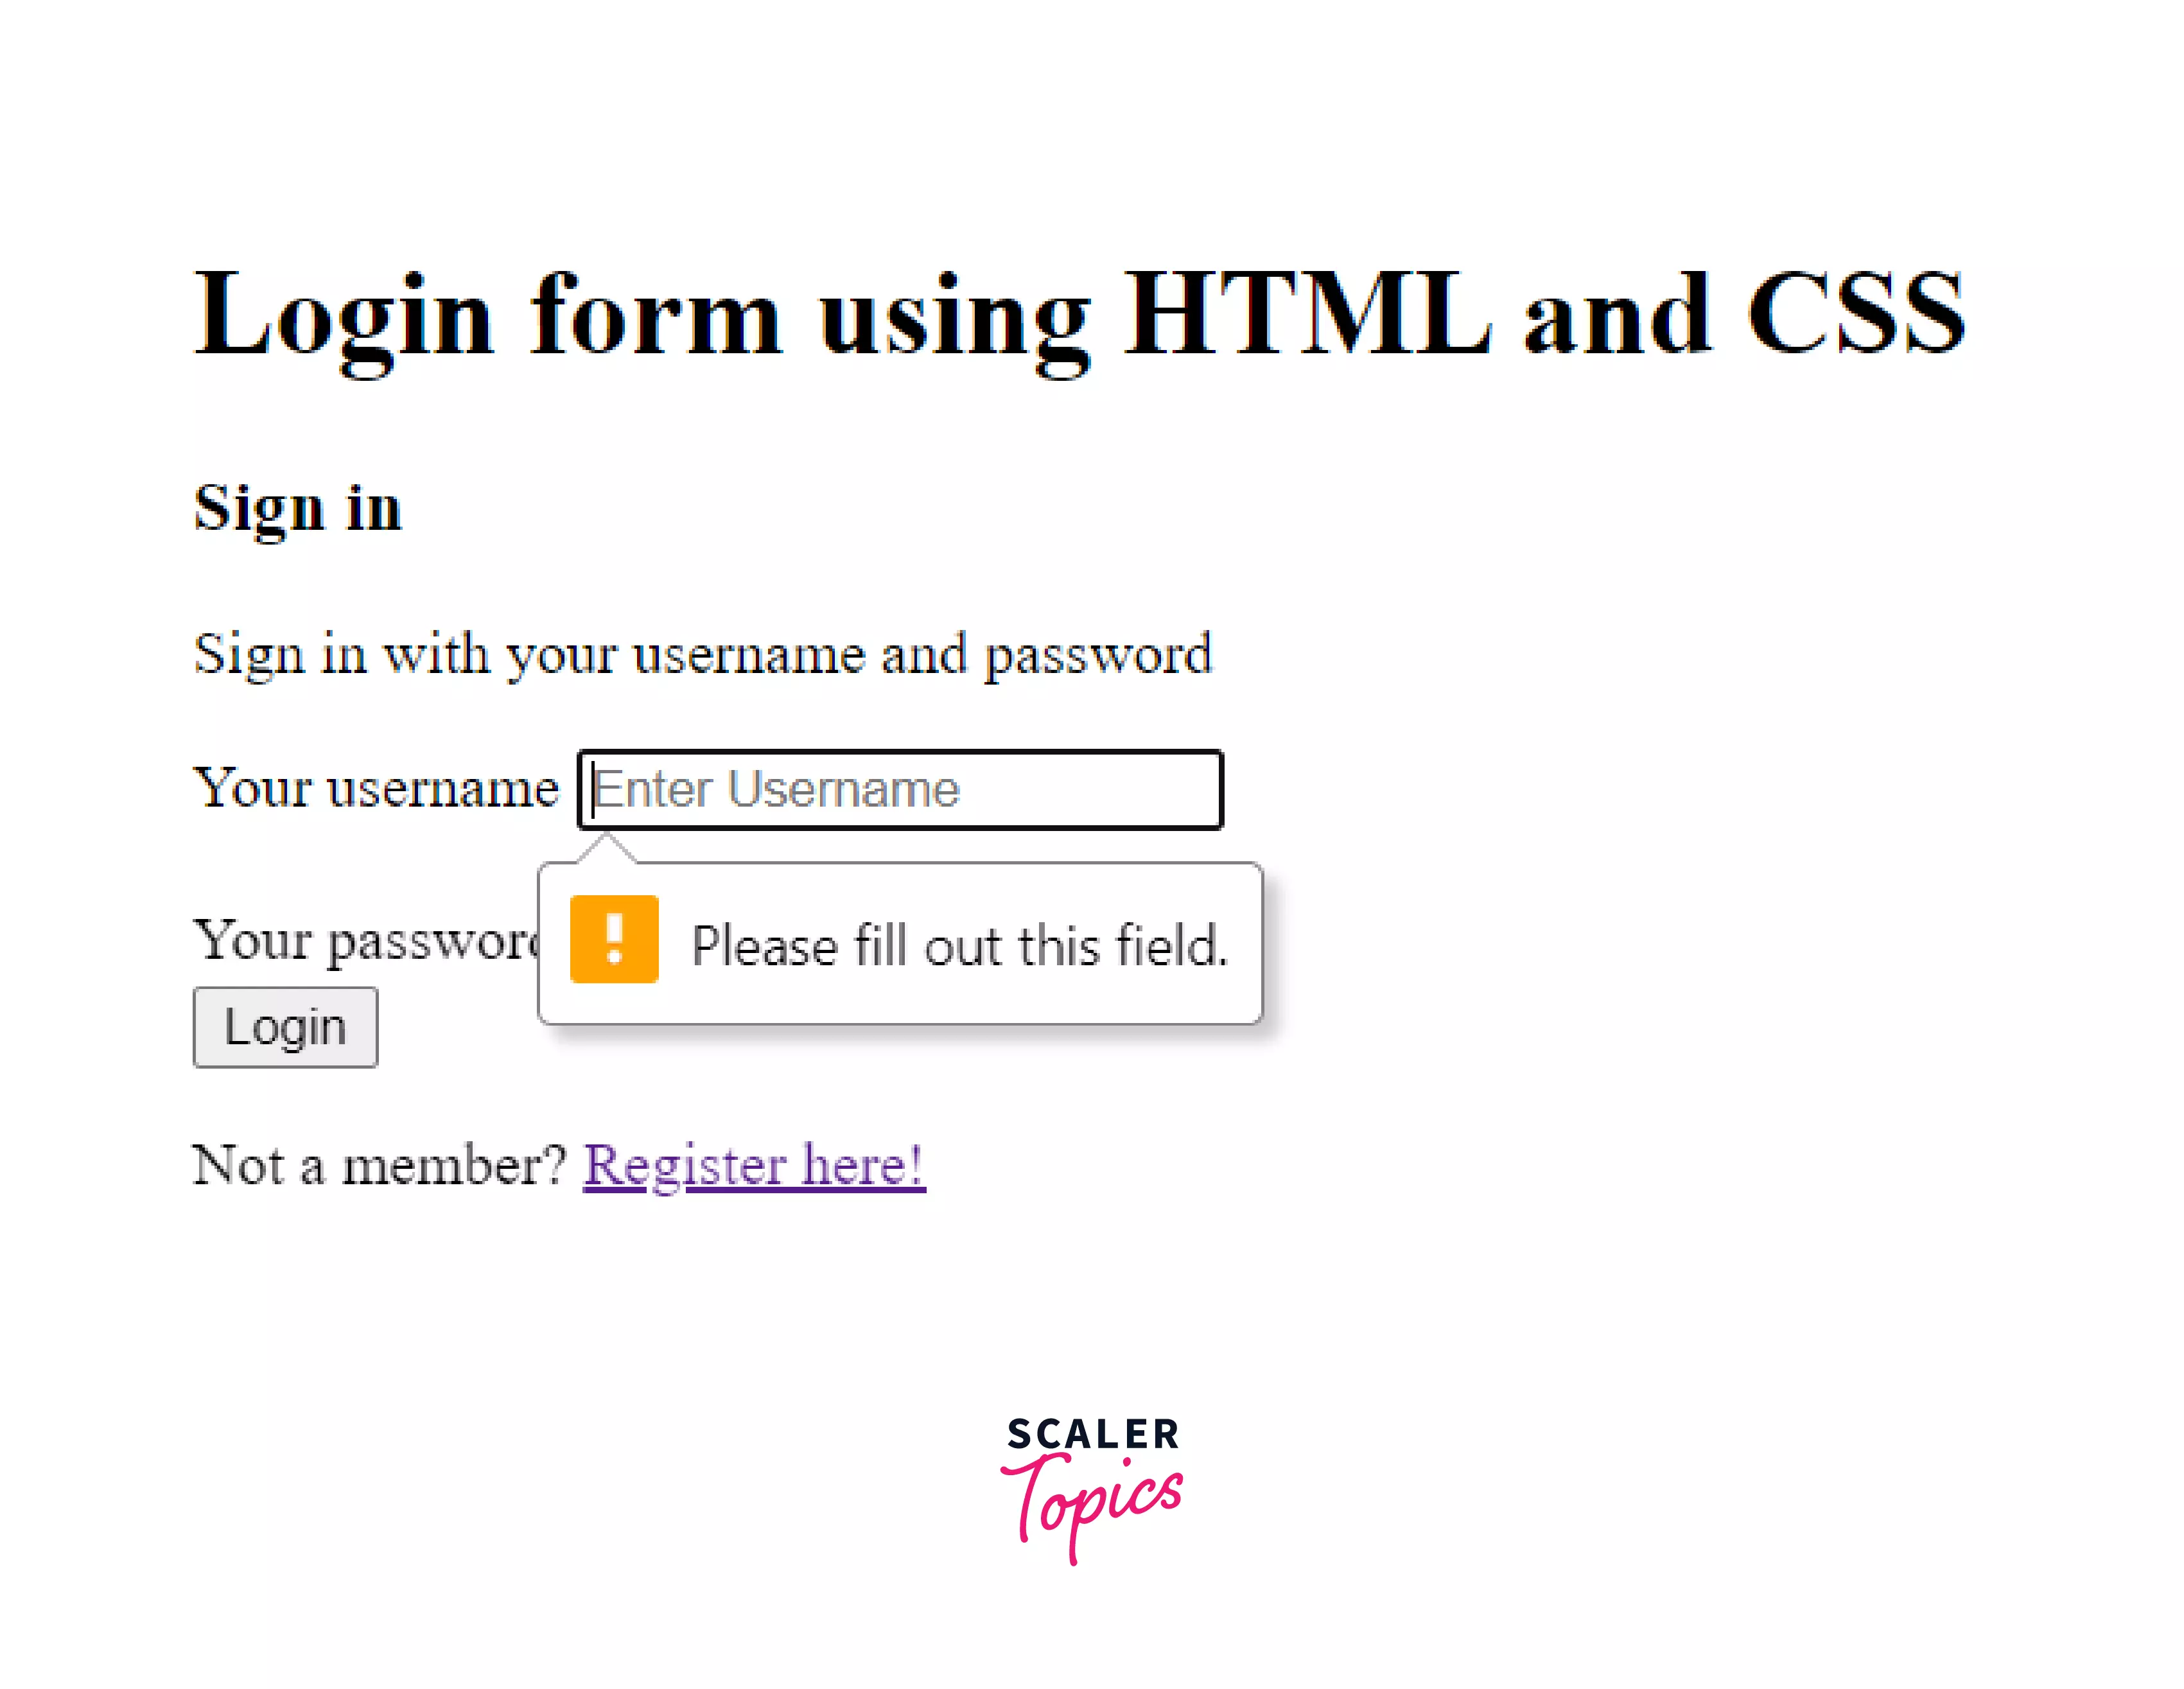
Since we used the required attribute, it ensures that the input must be provided to the input fields when we the Login button.
Inside the main container, there will be another sub-container to keep a checkbox and forgot password link at the same level. For the same, the basic use of flexbox is needed.

Output This is our final structure.
However, it doesn’t look good yet. Since we are done with the HTML code for the login page, we’ll now cover the styling part in the next section.
Styling the Login Page with CSS
We’ll create a separate style sheet for the login page. So, we need to link this new stylesheet with the HTML login page. The link can be added inside the tag.

Here’s a screenshot provided for reference.
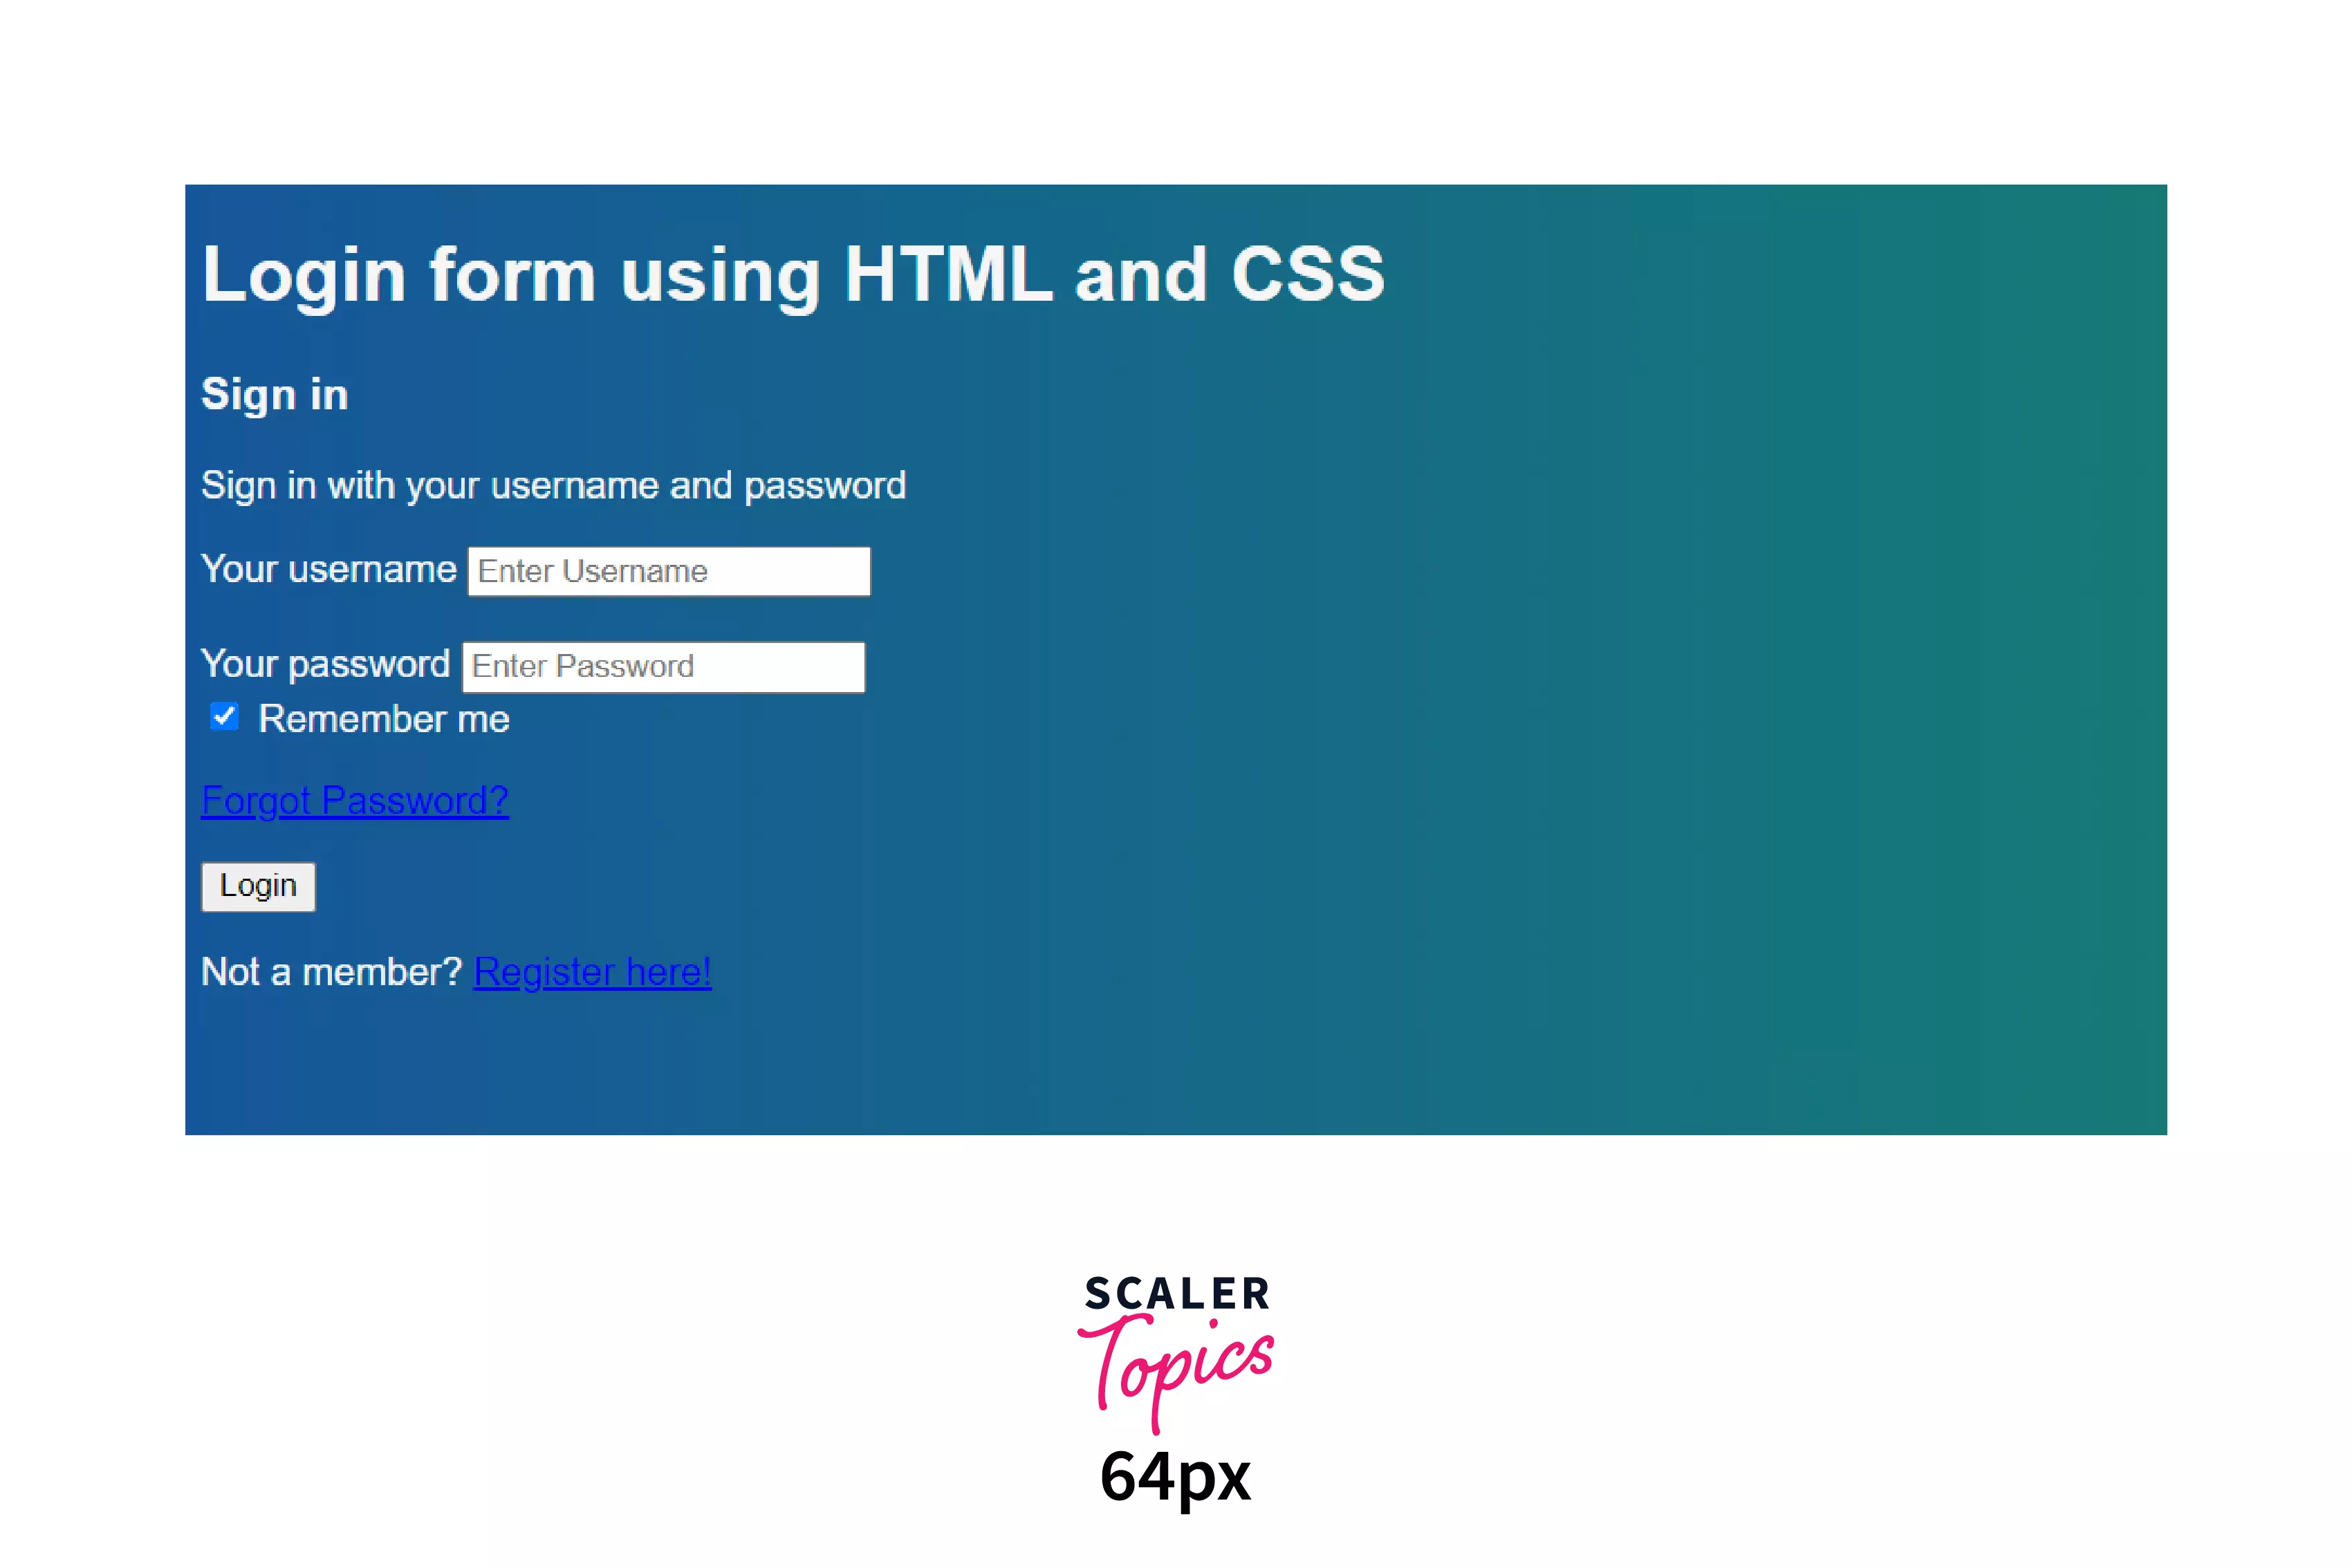
Let’s get a linear-gradient background for the entire login page. Here’s a link to another page if you want to learn more about it.

Output
We also want the form to comprise only 35 relative units of its root element. Plus, it should be placed at the center horizontally, which can be done with margin: auto; .
Since we have used two tags (for username and password), we can style them as follows:
box-sizing has been set to border-box because we need to restrict the input’s width inside the total width of the form container.
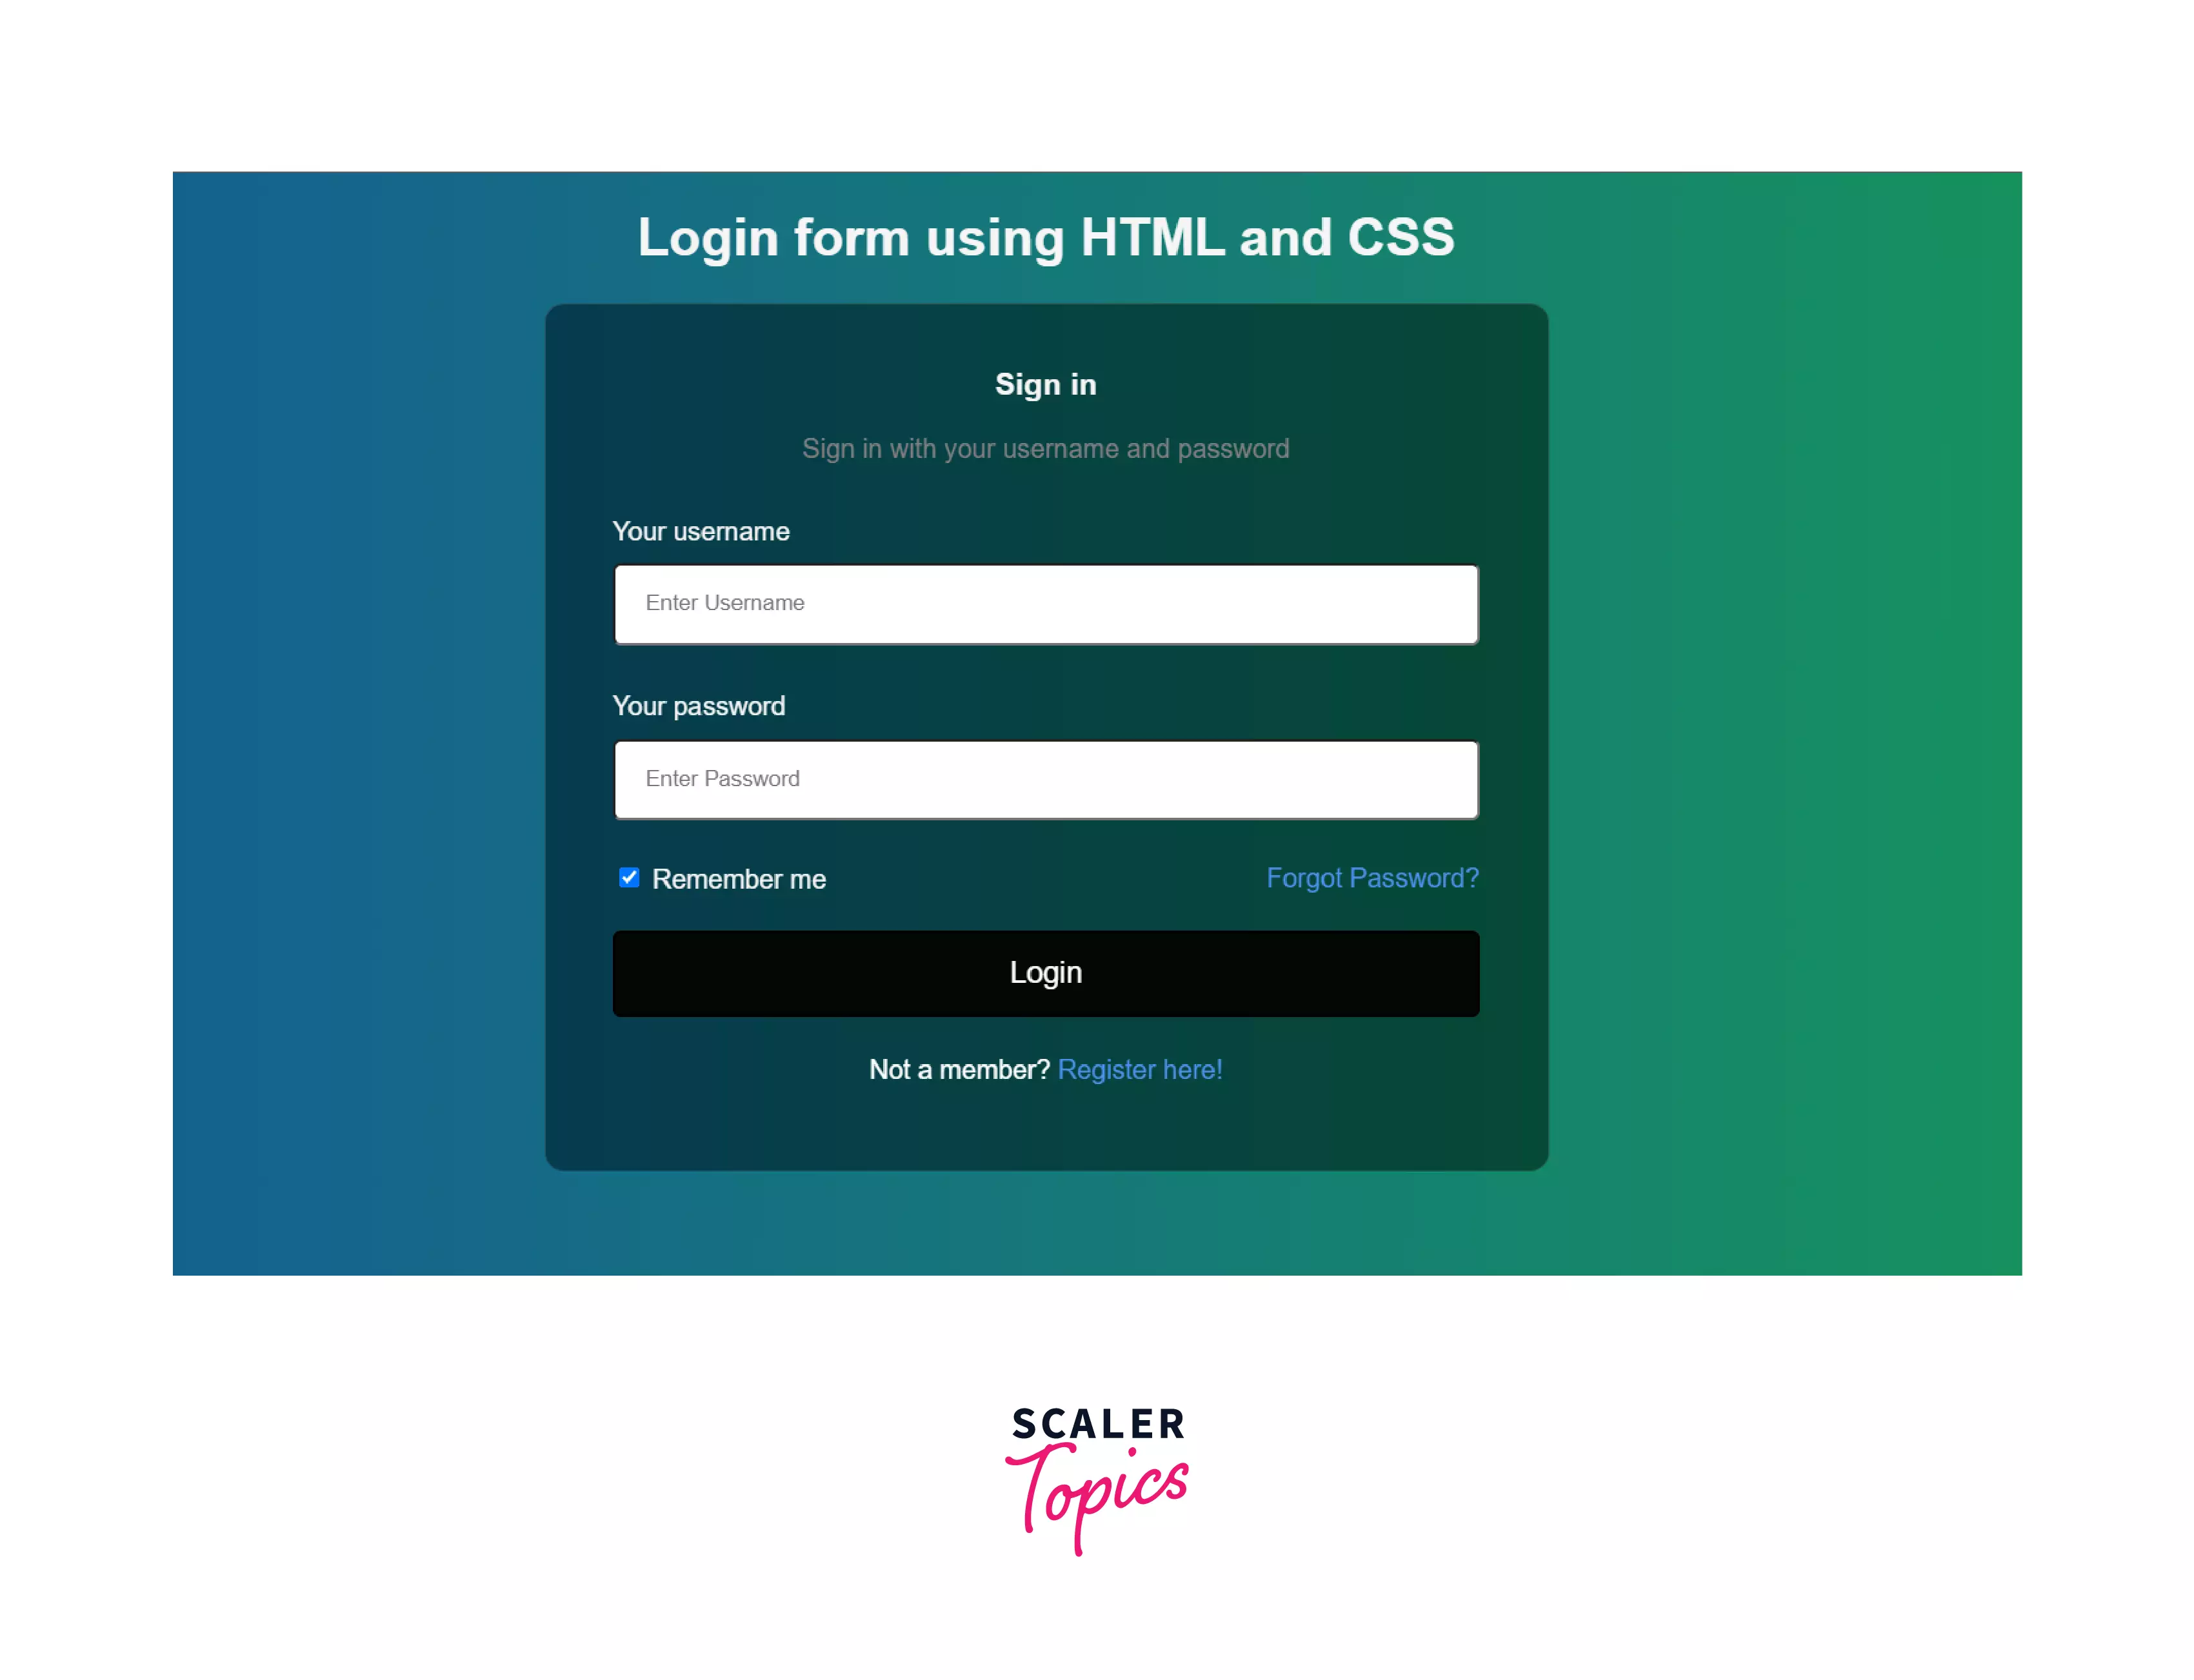
Now let’s style the button according to the page. You can choose your own background-color and the color of the text. Additionally, on hovering the button, the opacity (transparency) of the button will be set to 0.6, and the mouse cursor will be shown as a pointer.
By far, this is our CSS code (along with styling the button).
Output
Let’s give the form a good translucent look.
Output
Shouldn’t the elements inside the form have a little space between them and the form’s extreme ends? We’ll need to provide padding for that.
Output
For the sub-container, we need display: flex; and the elements inside it need to be aligned in a row ( flex-direction: row; ). To center them vertically, align-items: center; will be used, and they should be put at both ends of the form, so justify-content: space-between; will be used.
Output
You can use the following code for stylings links.

Output
To make the page responsive, we need to use media queries that make the page adaptive according to the screen resolution. This makes the page useful for not only a desktop but a mobile phone as well. We just want the form to shrink horizontally with the decreasing width of the screen.
So, we are now at the final stage of our code for the login page. Also, let’s just provide a bit more padding to the main container.
Output
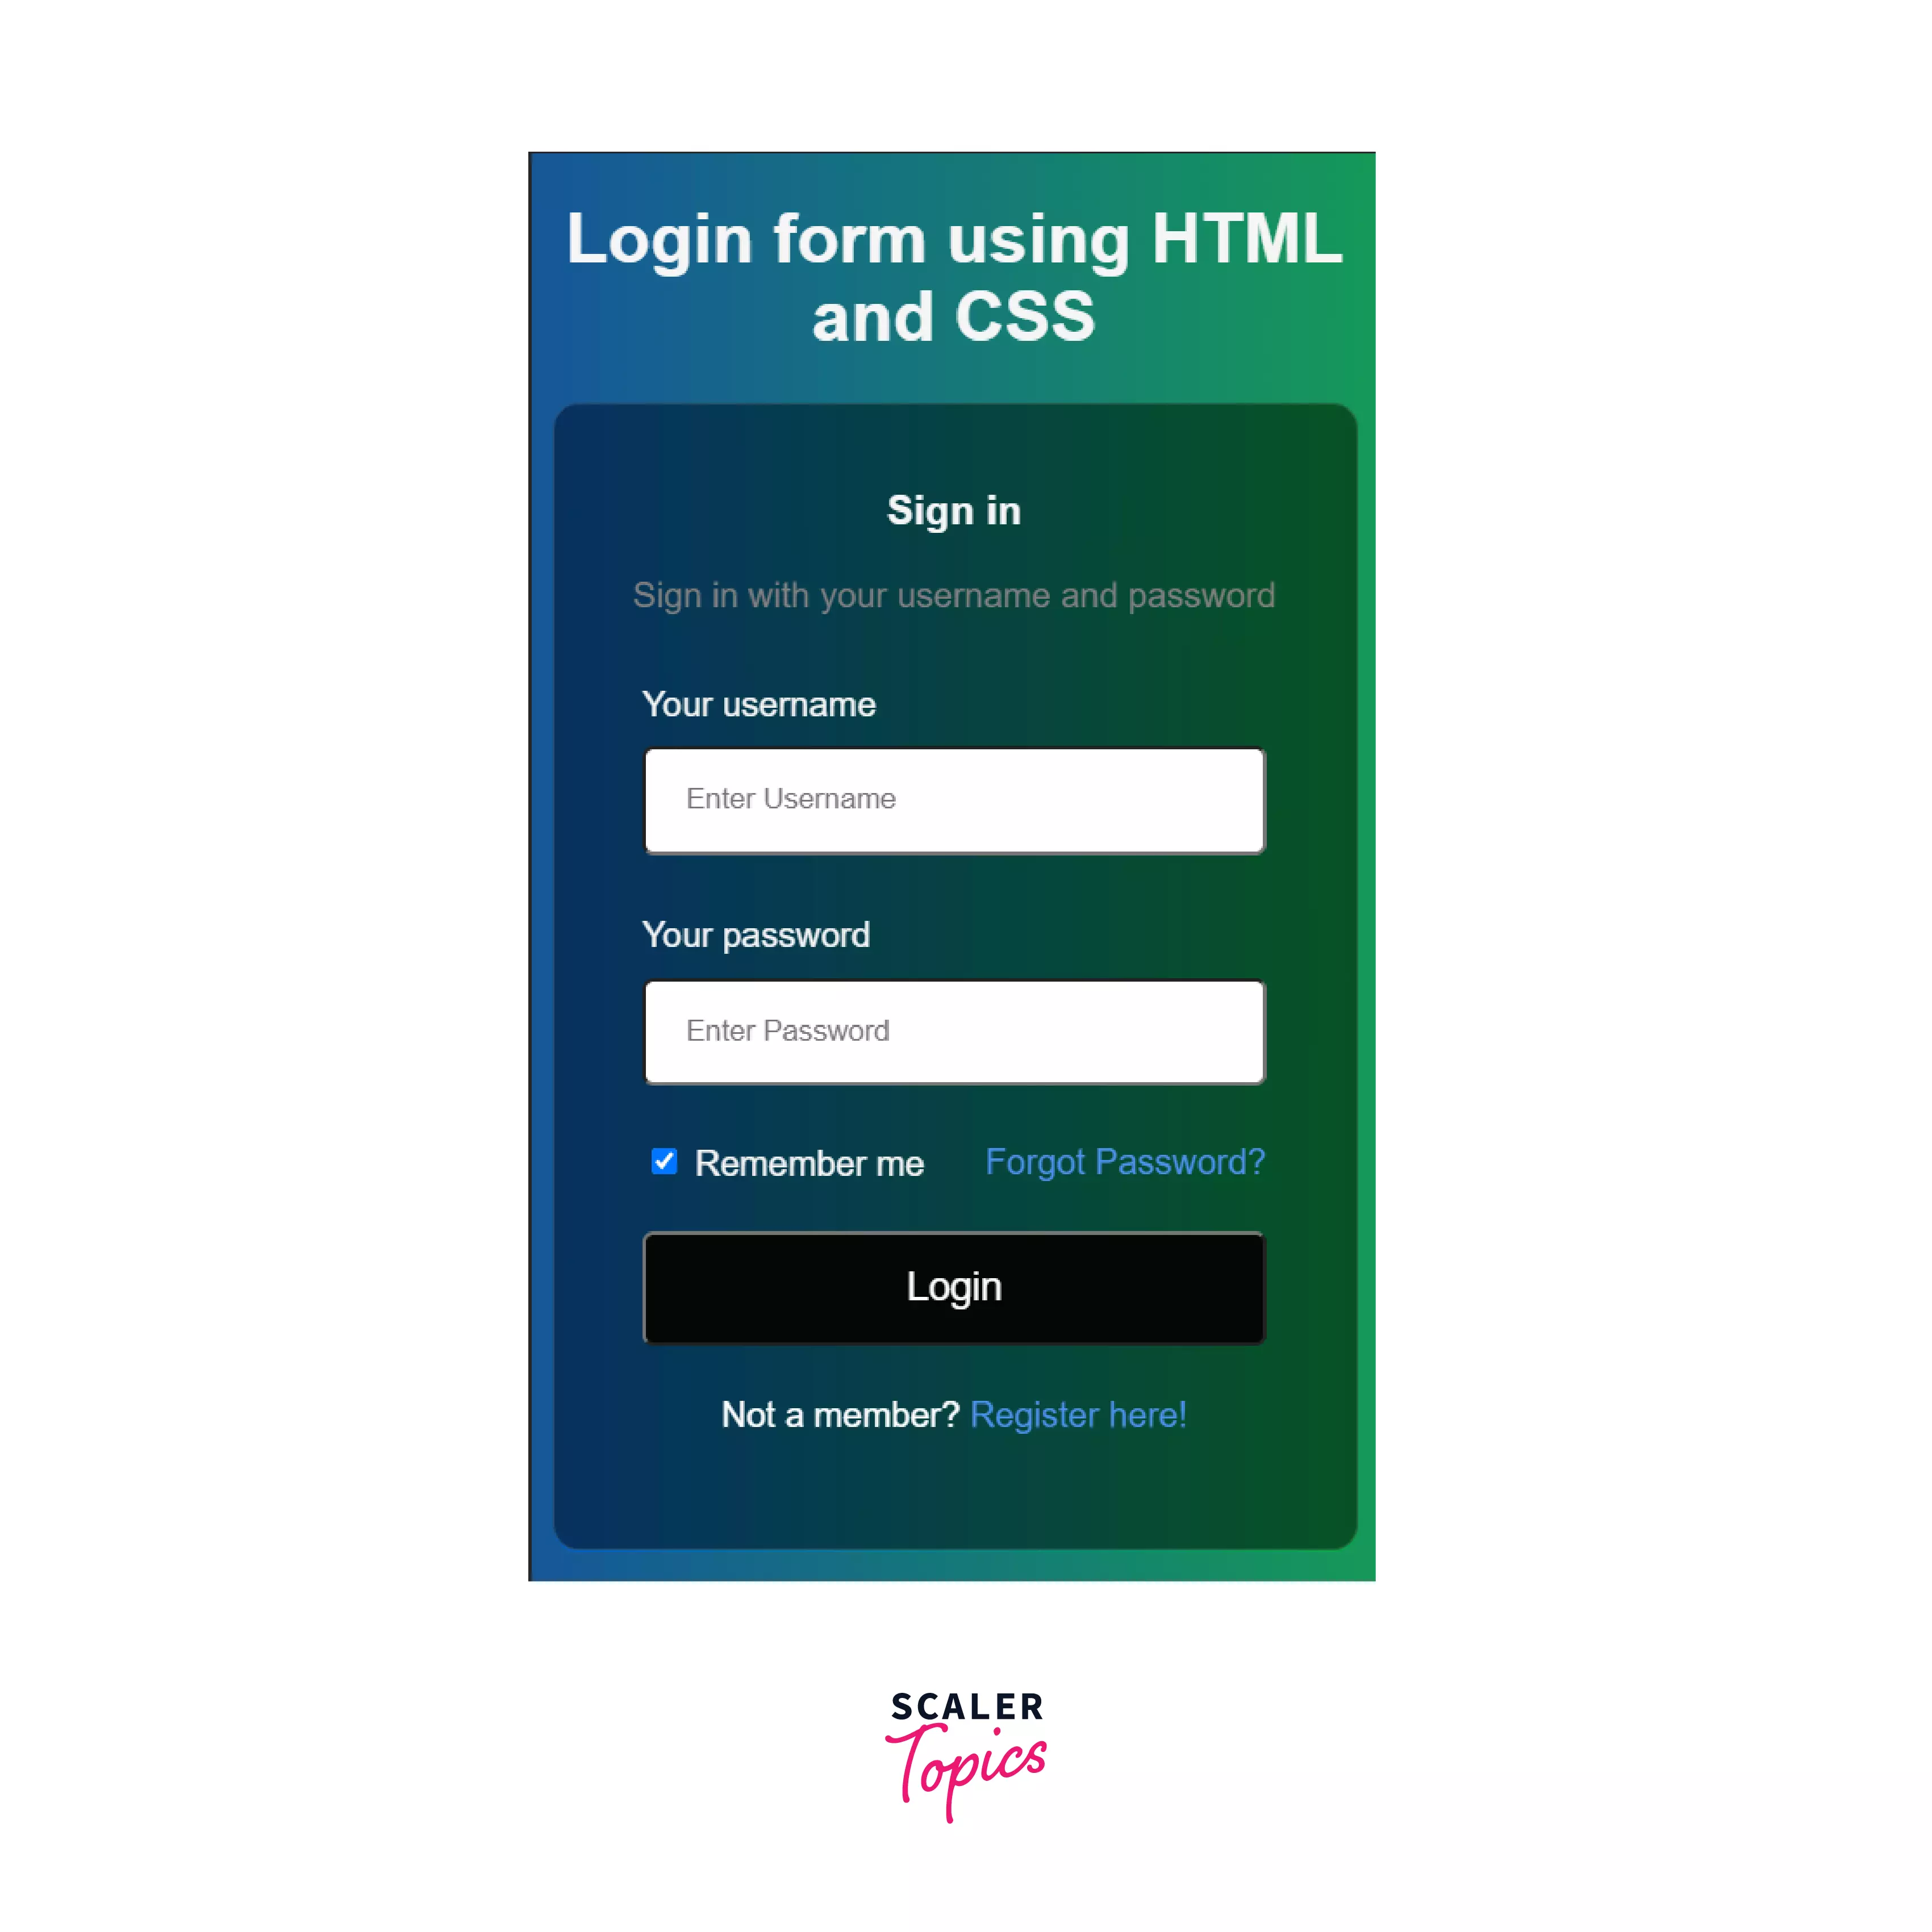
Moreover, the page has also become responsive.
Conclusion
- In this article, we created a simple login form in HTML.
- Additionally, we can also handle the events by integrating JavaScript code along with HTML and CSS.
- We have used concepts like flexbox and media queries in CSS to make the page adapt to different screen resolutions.
- The tag has been majorly used to create the login page in HTML with CSS code.
How TO — Login Form
Learn how to create a responsive login form with CSS.
Click on the button to open the login form:
How To Create a Login Form
Step 1) Add HTML:
Add an image inside a container and add inputs (with a matching label) for each field. Wrap a element around them to process the input. You can learn more about how to process input in our PHP tutorial.
Example
Step 2) Add CSS:
Example
/* Bordered form */
form border: 3px solid #f1f1f1;
>
/* Full-width inputs */
input[type=text], input[type=password] width: 100%;
padding: 12px 20px;
margin: 8px 0;
display: inline-block;
border: 1px solid #ccc;
box-sizing: border-box;
>
/* Set a style for all buttons */
button background-color: #04AA6D;
color: white;
padding: 14px 20px;
margin: 8px 0;
border: none;
cursor: pointer;
width: 100%;
>
/* Add a hover effect for buttons */
button:hover opacity: 0.8;
>
/* Extra style for the cancel button (red) */
.cancelbtn width: auto;
padding: 10px 18px;
background-color: #f44336;
>
/* Center the avatar image inside this container */
.imgcontainer text-align: center;
margin: 24px 0 12px 0;
>
/* Avatar image */
img.avatar width: 40%;
border-radius: 50%;
>
/* Add padding to containers */
.container padding: 16px;
>
/* The «Forgot password» text */
span.psw float: right;
padding-top: 16px;
>
/* Change styles for span and cancel button on extra small screens */
@media screen and (max-width: 300px) span.psw display: block;
float: none;
>
.cancelbtn width: 100%;
>
>
How To Create a Modal Login Form
Step 1) Add HTML:
Example
Step 2) Add CSS:
Example
/* The Modal (background) */
.modal display: none; /* Hidden by default */
position: fixed; /* Stay in place */
z-index: 1; /* Sit on top */
left: 0;
top: 0;
width: 100%; /* Full width */
height: 100%; /* Full height */
overflow: auto; /* Enable scroll if needed */
background-color: rgb(0,0,0); /* Fallback color */
background-color: rgba(0,0,0,0.4); /* Black w/ opacity */
padding-top: 60px;
>
/* Modal Content/Box */
.modal-content background-color: #fefefe;
margin: 5px auto; /* 15% from the top and centered */
border: 1px solid #888;
width: 80%; /* Could be more or less, depending on screen size */
>
/* The Close Button */
.close /* Position it in the top right corner outside of the modal */
position: absolute;
right: 25px;
top: 0;
color: #000;
font-size: 35px;
font-weight: bold;
>
/* Close button on hover */
.close:hover,
.close:focus color: red;
cursor: pointer;
>
/* Add Zoom Animation */
.animate -webkit-animation: animatezoom 0.6s;
animation: animatezoom 0.6s
>
Tip: You can also use the following javascript to close the modal by clicking outside of the modal content (and not just by using the «x» or «cancel» button to close it):
Example
// When the user clicks anywhere outside of the modal, close it
window.onclick = function(event) if (event.target == modal) modal.style.display = «none»;
>
>
Tip: Go to our HTML Form Tutorial to learn more about HTML Forms.
Tip: Go to our CSS Form Tutorial to learn more about how to style form elements.
Ever heard about W3Schools Spaces? Here you can create your website from scratch or use a template, and host it for free.