- How To Style the HTML element with CSS
- Prerequisites
- Exploring the Element in Practice
- Adding and Styling Text in a Container
- 43 CSS Borders
- Related Articles
- Author
- Links
- Made with
- About a code
- Animated Border Image
- Author
- Links
- Made with
- About a code
- Partial Gradient Border
- Author
- Links
- Made with
- About a code
- Gradient Border with Rounded Corners
- Author
- Links
- Made with
- About a code
- Background Border
- Author
- Links
- Made with
- About a code
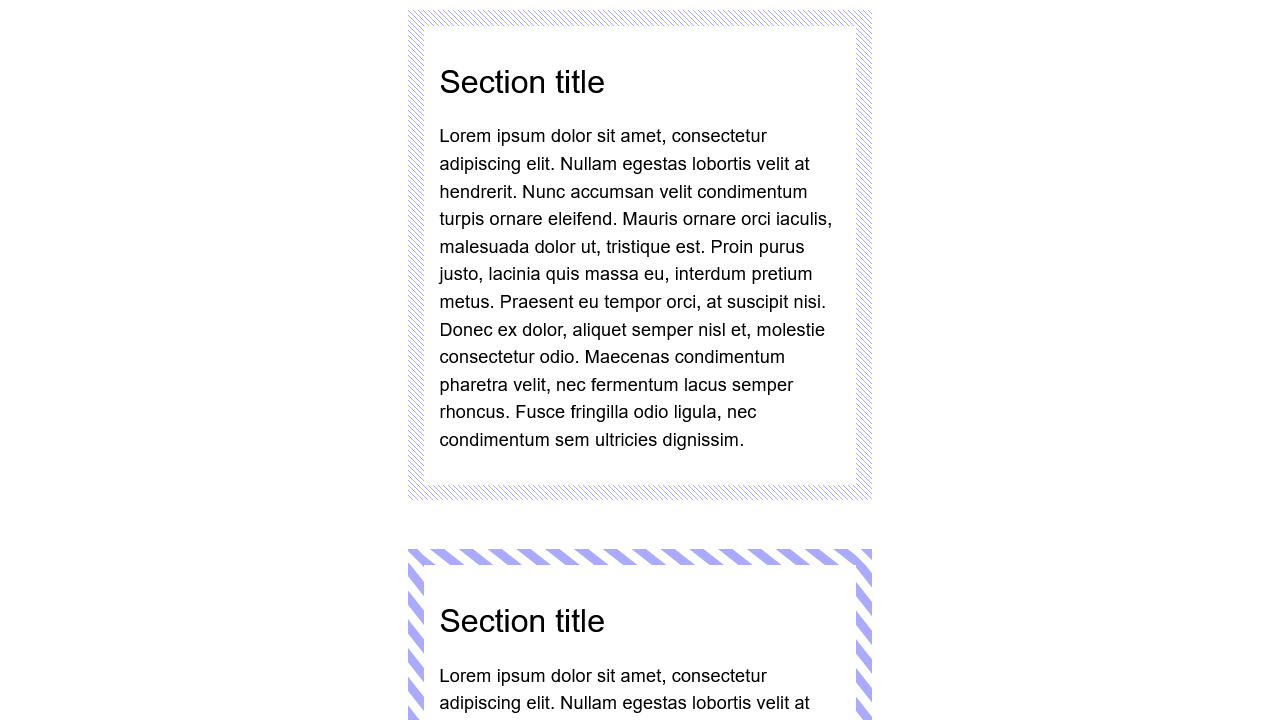
- Patterned Borders
- Author
- Links
- Made with
- About a code
- Custom Dashed Border
- Author
- Links
- Made with
- About a code
- Colorful Border
- Author
- Links
- Made with
- About a code
- Gradient Border Effect
- Author
- Links
- Made with
- About a code
- Gradient Border + Transparent Background
- Author
- Links
- Made with
- About a code
- Border Linear-Gradient + Border-Radius
- Author
- Links
- Made with
- About a code
- Corner-only Border
- Author
- Links
- Made with
- About a code
- 8bit border-image
- Author
- Links
- Made with
- About a code
- 8-bit Pixel Border
- Author
- Links
- Made with
- About a code
- Avatar Border Effect. 15 Declarations, 1 Element, No Pseudos
- Author
- Links
- Made with
- About a code
- Use SVG for border-image
- Author
- Links
- Made with
- About a code
- CSS Gradient Borders
- Author
- Links
- Made with
- About a code
- Borders & Gradients
- Author
- Links
- Made with
- About a code
- Multiple Border-Radius Values
- Author
- Links
- Made with
- About a code
- CSS Candy Stripe Border Using Clip-Path
- Author
- Links
- Made with
- About a code
- Offset and XOR Frame: Lively
- Author
- Links
- Made with
- About a code
- Full Screen Vintage Frame with Multiple Borders
- Author
- Links
- Made with
- About a code
- Gradient Border
- Author
- Links
- Made with
- About a code
- Pure CSS Circular Border Patterns
- Author
- Links
- Made with
- About a code
- Fitted Border Image the Easy Way
- Author
- Links
- Made with
- About a code
- Map-Inspired Border
- Author
- Links
- Made with
- About a code
- Blurred Border
- Author
- Links
- Made with
- About the code
- Magic Borders
- Author
- Links
- Made with
- About the code
- Interactive Button Border
- Author
How To Style the HTML element with CSS
This tutorial will introduce you to styling the HTML Content Division element—or element—using CSS. The element can be used to structure the layout of a page and break up a webpage into separate components for individual styling. In this tutorial, you will create and style elements, as well as learn how to add and style other elements inside a container. These skills will prepare you to use elements as layout tools later on in the series when you begin recreating the demonstration website.
The
tags to an HTML document. On its own, the
Prerequisites
To follow this tutorial, make sure you have set up the necessary files and folders as instructed in a previous tutorial in this series How To Set Up You CSS and HTML Practice Project.
Exploring the Element in Practice
Let’s try a hands-on exercise to study how the element works. Erase everything in your styles.css file (if you added content from previous tutorials). Next, add the following CSS rule for the tag selector:
div background-color: green; height: 100px; width: 100px; > Save the styles.css file. Next, return to your index.html file, erase everything that’s there (except for the first line of code: ) and add the following code snippet:
Notice that the element has opening and closing tags but does not require any content. Save the index.html file and reload it in your browser. (For instructions on loading an HTML file, please visit our tutorial step How To View An Offline HTML File In Your Browser).
Your webpage should display a green box 100 pixels wide and 100 pixels tall as specified by the CSS rule:


![]()
![]()