- How to create a custom file upload button
- 1. Use a label tag and point its for attribute to the id of the default HTML file upload button
- 2. Style the label element and hide the default HTML file upload button
- Custom styled input type file upload button with pure CSS
- Markup
- Styling
- Styling the upload file block
- Styling the upload file button
- Styling the the click/drop zone
- Handling drag and drop events
- Demo
How to create a custom file upload button
I find the default HTML file upload button rather ugly. Annoying enough, there seems to be no way to style it directly. Here is how I created a custom file upload button.
1. Use a label tag and point its for attribute to the id of the default HTML file upload button
type="file" id="actual-btn"/> for="actual-btn">Choose File By doing this, clicking the label element in the browser toggles the default HTML file upload button (as though we clicked it directly). The output of the above code is below. As you can see, we only have a Choose File text (from the label element) a few pixels to the right of the actual upload button. We can click the Choose File text, and it will toggle the upload window (Click it and see)
2. Style the label element and hide the default HTML file upload button
We hide the default HTML file upload button in the browser by adding the hidden attribute to the tag like so
type="file" id="actual-btn" hidden/> label background-color: indigo; color: white; padding: 0.5rem; font-family: sans-serif; border-radius: 0.3rem; cursor: pointer; margin-top: 1rem; > Now we have this beautiful custom button, which actually works like the original file upload button: At this point, we are done. But there is one more glitch to fix. With the default file upload button, there is a no file chosen text beside the button (scroll up to the first codepen window), which gets replaced with the name of the file we will be uploading. Unfortunately, we don’t get to see that with our custom button. How do we do that? What I did was to include a span tag (with an id of file-chosen) right after our custom file upload button. In the javascript file, I listen to the change event on the original file upload button(which we have hidden). A file object is returned which contains the details(such as name, file size etc) of the file uploaded. Then I set the text content of the span element(with the id of file-chosen) to the name property of the file object returned. The final result is below. Test it out. Kindly leave your comments and questions down below
Custom styled input type file upload button with pure CSS
In this guide I’ll show you how to create a stylish and user friendly file upload button with pure CSS and HTML.
Markup
To upload files you’ll need to use the input tag with type=»file» attribute. Additionally you can specify which file types you’re allowing to upload via accept attribute.
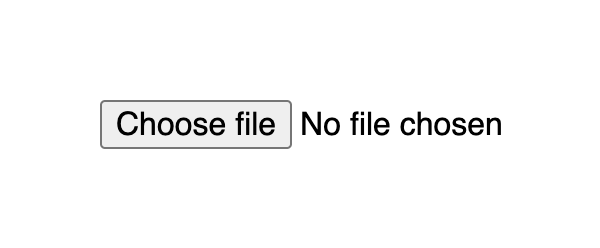
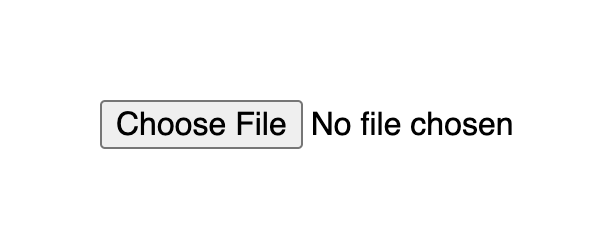
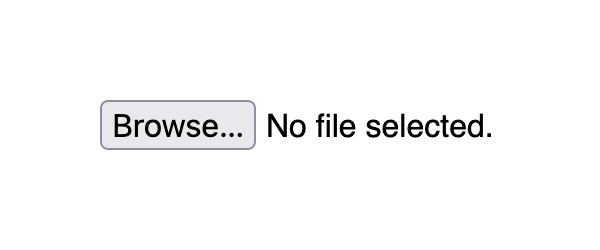
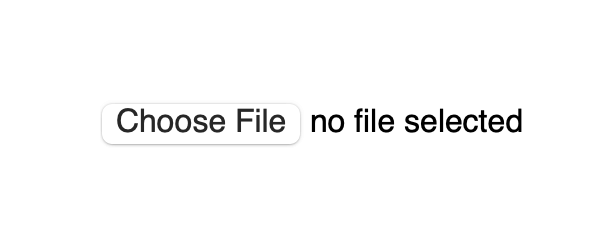
This markup produces a button with a Choose file title followed by a text which indicates the file name when selected. By default it is No file chosen.
Input with type file default look differs on different browsers:
Styling
The upload file widget structure consists of a block that displays a button and a file name. A user can click anywhere inside the block or drag a file from the desktop and it will open up the upload window.
Styling the upload file block
If you apply styles for the input[type=file] selector it will set them for the whole widget block, that is the button and text.
input[type=file] width: 350px; max-width: 100%; color: #444; padding: 5px; background: #fff; border-radius: 10px; border: 1px solid #555; > The result already looks much better as it indicates the zone where user is able to click or drag the file.
Styling the upload file button
By default, the Choose file button has a plain user-agent style. To style the button with CSS you should use the ::file-selector-button pseudo-element to select it. It is supported in all modern browsers.
input[type=file]::file-selector-button margin-right: 20px; border: none; background: #084cdf; padding: 10px 20px; border-radius: 10px; color: #fff; cursor: pointer; transition: background .2s ease-in-out; > input[type=file]::file-selector-button:hover background: #0d45a5; > Styling the the click/drop zone
If you wich to go a bit further, you can create a large zone where user can click and drag files. This large zone will make it easier for people to use the widget, as it don’t require to be that precise when dragging a file, especially on smaller screens.
To implement a large drop zone, you’ll need to wrap your file upload input into a label tag and specify a description text that will let users know how to use the widget.
for="images" class="drop-container" id="dropcontainer"> class="drop-title">Drop files here or type="file" id="images" accept="image/*" required> For the layout, we need to set display to flex with flex related properties for positioning. The height and padding properties for proportion. And finally add some fancy styles like border and hover effects to highlight the file upload zone and you’re ready to go.
.drop-container position: relative; display: flex; gap: 10px; flex-direction: column; justify-content: center; align-items: center; height: 200px; padding: 20px; border-radius: 10px; border: 2px dashed #555; color: #444; cursor: pointer; transition: background .2s ease-in-out, border .2s ease-in-out; > .drop-container:hover background: #eee; border-color: #111; > .drop-container:hover .drop-title color: #222; > .drop-title color: #444; font-size: 20px; font-weight: bold; text-align: center; transition: color .2s ease-in-out; > Handling drag and drop events
Additionally, you can handle cases when the user will try to drag the file over the drop area. CSS alone cannot handle such cases, so we can add a little bit of JavaScript.
There are two points to consider to improve UX for the drop field:
- Indicate the drop area when the user is dragging a file over it
- Make it possible to drop a file inside the drop area, and not just the input element
To indicate drop area when user is dragging a file over it, we’ll need to use the dragenter and dragleave events. Both on the label tag, since it represents the drop area. For each event we add or remove a CSS class accordingly.
Since user will be dropping to the label tag we also need to set the input value with the file. To do that we need to do 2 things:
- Set dragover event for the label tag, set e.preventDefault() and pass false as the third parameter for the addEventListener method
- On drop event, we need to set the input’s files property to the file via fileInput.files = e.dataTransfer.files
const dropContainer = document.getElementById("dropcontainer") const fileInput = document.getElementById("images") dropContainer.addEventListener("dragover", (e) => // prevent default to allow drop e.preventDefault() >, false) dropContainer.addEventListener("dragenter", () => dropContainer.classList.add("drag-active") >) dropContainer.addEventListener("dragleave", () => dropContainer.classList.remove("drag-active") >) dropContainer.addEventListener("drop", (e) => e.preventDefault() dropContainer.classList.remove("drag-active") fileInput.files = e.dataTransfer.files >) As for styles, we can use similar styles to :hover state, but this time with a designated class:
.drop-container.drag-active background: #eee; border-color: #111; > .drop-container.drag-active .drop-title color: #222; > Demo
See the full example on CodePen:
See the Pen Untitled by Nikita Hlopov (@nikitahl) on CodePen.