Adventures in the programming jungle
How to run Cisco ASDM as a Java Web Start application
Problem
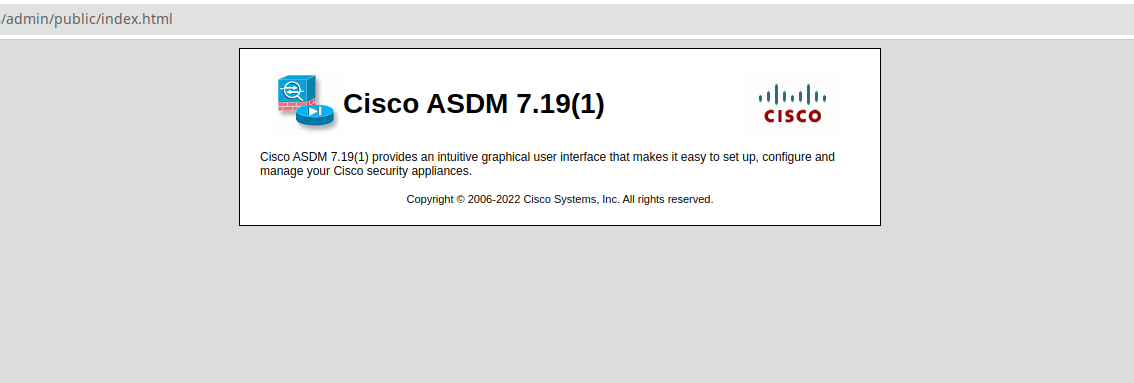
My goal was to use Cisco ASDM on a Ubuntu system; for the Linux systems Cisco offers a Java version of the ASDM application. The application can be executed as a Java Web Start application meaning that basically you need only a browser and a JRE (Java Runtime Environment) to execute the application.
The working workflow should be the following one:
- go to the Cisco web console (in my case the url was https:/192.168.1.1/admin).
- retrieve the jnlp (Java Network Launch Protocol ) file (in my case the file name was asdm.jnlp)
- execute jnlp file to start the ASDM application.
In my case, while executing the step 1 from the previous workflow I had the following error:

I was pretty sure that the JRE is correctly installed but because of some obscure reason the browser do not recognize that the JRE is present.
Solution
After trying different solutions like importing the Cisco Web Server certificate to the JRE keystore, mark the Cisco Web Server url as a trusted url for the browser and for the JRE, I found a way to solve the problem (retrieve the jnlp file).
So, looking to the HTML code of the index.html page you can see 2 divs with self-explanatory ids (“jws_installed” and “jws_not_installed”). The visibility of this divs is handled by the display attribute (display:none will not show the div, display:inline will show the div). As you can see on the original page the div that should be shown if the jws is installed is not shown (see the red arrow on the following image).

So, by modifying the display attribute of the “jws_installed” div, it would be possible to render the page as if the browser recognized that JRE is installed on the system. And here is the result:

Now, you can click on the “Run ADSM” button, so the jnlp file can be downloaded on your system. Once you have the jnlp file, then you can execute it using the following command:
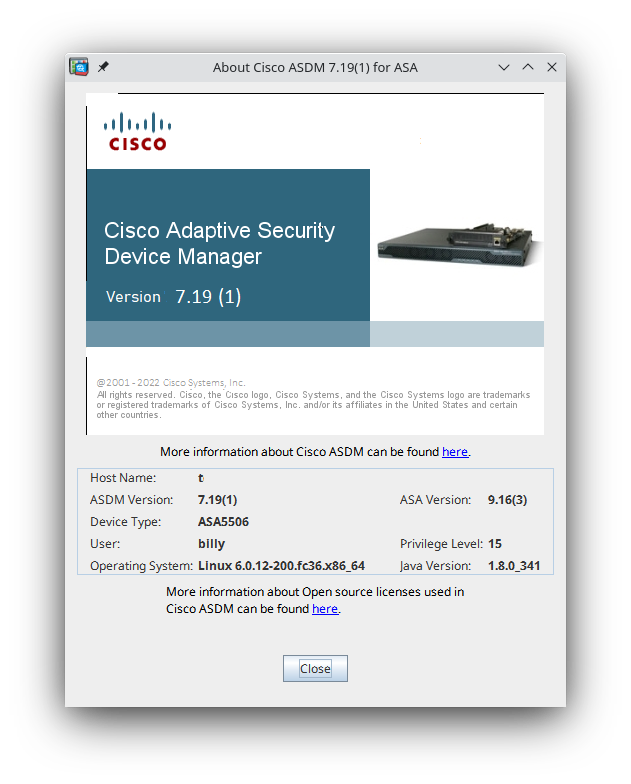
Running Cisco ASDM 7.18 or 7.19 on Linux
ASDM 7.18 ending support for Java Web Launch—Starting with ASDM 7.18, ASDM will no longer support Java Web Start due to Oracle’s end of support for JRE 8 and Java Network Launching Protocol (JNLP). You will have to install the ASDM Launcher to launch ASDM.
And, sure enough, if you upgrade to 7.18 or 7.19 and do the normal steps with javaws that have worked for a dozen years now, you’ll get a FileNotFoundException and no ASDM.
JNLPException[category: Download Error : Exception: java.io.FileNotFoundException: https://192.168.1.1/admin/public/asdm.jnlp : LaunchDesc: null at com.sun.javaws.Main.launchApp(Unknown Source) . Caused by: java.io.FileNotFoundException: https://192.168.1.1/admin/public/asdm.jnlp at sun.net.www.protocol.http.HttpURLConnection.getInputStream0(HttpURLConnection.java:1896) . Looking a little more closely, yeah, that JNLP file is gone, and even using an old version of it to point at the updated server errors in a strange way. Well that’s annoying.
Luckily, if we look at the old JNLP, it isn’t really doing much. It downloads some jars, sets some parameters, then runs a Launcher class with some arguments in there. That tells us that whatever it’s doing now is probably not any more complicated than those steps, just wrapped in a different installer package. Luckily as well, the ASDM has a MacOS-friendly DMG package that we can get access to.
So, let’s grab that DMG and do the steps that the JNLP would have done in a more manual fashion.
- You’re the kind of person who is ok with running an untested, hacky tool to manage your network equipment. If so, good for you. You’re in good company here.
- This assumes you’ve got a legit copy of the asdm-openjre-7191.bin file. If not, contact your authorized Cisco reseller.
- You should also have that ASDM binary installed on legit hardware, and have a login available.
- This also assumes you’ve got a java 8 on your path. Even though this is openjre, I ended up using the Oracle spin of it, though as we’ll see later the MacOS package includes the Zulu jre. Also, it wants Java 8, later than 8u261. Boo. If you’re not comfortable with the dry, esoteric java installation instructions from Oracle proper, (and honestly, even if you are) I strongly recommend using something like SDKMan to make your java vm life easier.
In these examples, I’ll use 192.168.1.1 as the address of the admin portal. Adjust your steps and ports and such accordingly.
First, get the DMG. Crack open a browser and head to the admin portal. On my linux system, it provides nothing, no buttons, no options
Switch up the URL. Remove the /public/index.html and add dm-launcher.dmg . It’ll look similar to https://192.168.1.1/admin/dm-launcher.dmg then ask you for a login. Use your ASDM username and password, that’ll download the DMG.
Next, make sure you’ve got the right tools installed. Add dmg2img and something that can read (we don’t need to write) Apple’s APFS. On my Fedora system that looked like
dnf install dmg2img apfs-fuse Next, extract the relevant part of the DMG. Find the one that has the actual data, not the boot sector and GPT stuff.
$ dmg2img -l dm-launcher.dmg dmg2img v1.6.5 (c) vu1tur (to@vu1tur.eu.org) dm-launcher.dmg --> (partition list) partition 0: Protective Master Boot Record (MBR : 0) partition 1: GPT Header (Primary GPT Header : 1) partition 2: GPT Partition Data (Primary GPT Table : 2) partition 3: (Apple_Free : 3) partition 4: disk image (Apple_APFS : 4) partition 5: (Apple_Free : 5) partition 6: GPT Partition Data (Backup GPT Table : 6) partition 7: GPT Header (Backup GPT Header : 7) That command shows that partition 4 is the one we’re after. Let’s extract that.
$ dmg2img -p 4 dm-launcher.dmg dmg2img v1.6.5 (c) vu1tur (to@vu1tur.eu.org) dm-launcher.dmg --> dm-launcher.img decompressing: opening partition 4 . 100.00% ok Warning: wrote 129982464 bytes, expected 130020864 Wrote 38400 padding bytes Archive successfully decompressed as dm-launcher.img You should be able to mount the image [as root] by: modprobe hfsplus mount -t hfsplus -o loop dm-launcher.img /mnt The mount instructions are lying. HFSPlus is not the same as the APFS we saw in the list.
$ mkdir asdm-img $ sudo mount -t apfs -o loop dm-launcher.img ./asdm-img Alright, now we’re pretty close. Doing much of anything with the image requires root, so probably do a sudo -i to get a root shell. Looking through the image, we can find a bunch of jar files, some certificate stuff, and a script that ties them together. It also ships a version of the Zulu 8 JRE, instead of the Oracle one. Neat.
# ls 'asdm-img/root/Cisco ASDM-IDM.app/Contents/Resources/Java/' AC_HS.PEM cert.PEM demo dm-launcher.jar jploader.jar jre lzma.jar retroweaver-rt-2.0.jar # ls 'asdm-img/root/Cisco ASDM-IDM.app/Contents/Resources/Java/jre' ASSEMBLY_EXCEPTION bin DISCLAIMER lib LICENSE man readme.txt release THIRD_PARTY_README Welcome.html zulu-8.jre Importantly, these are the same jar files that we saw in the JNLP file. That implies that it’s the same codebase, just wrapped in a different distribution file. Extra neat.
If we take a look at the script at ./asdm-img/root/Cisco ASDM-IDM.app/Contents/MacOS/dm-launcher.sh we can see what the package does. Almost all of the script is trying to figure out how to run java. It finds the locally installed one, makes sure it’s the right version, does some plist magic, then runs a big long java line. The script can almost be used as-is, but there’s a little too much MacOS pathing and tooling assumed in there.
Let’s finish the extraction. Almost there.
Make a directory, pull the resources we found in there, and make a script that will run the big long java command from the bottom of dm-launcher.sh . We’re still root to be able to read that wacky APFS image, so put some chown in there too.
TARGET_DIR=/home/username/asdm-7191 TARGET_USER=username mkdir -p "$TARGET_DIR" cp "asdm-img/root/Cisco ASDM-IDM.app/Contents/Resources/Java/"* "$TARGET_DIR" cat > "$TARGET_DIR/asdm.sh" That'll do what we said. Now, you should be able to run that asdm.sh script and see the login box come up. Log in normally and you're in good shape
One error message I ran into while doing this annoyed me.
Exception in thread "main" java.lang.ExceptionInInitializerError at com.cisco.launcher.t.if(Unknown Source) at com.cisco.launcher.Launcher.main(Unknown Source) Caused by: java.lang.ArrayIndexOutOfBoundsException: Index 1 out of bounds for length 1 at com.cisco.launcher.ClassUtil.(Unknown Source) . 2 more This ended up being caused by the Cisco launcher trying to parse the version string of a JRE from later than Java 8, and not being able to do that. My solution was just to use a Java 8 JRE with this process.