- How to draw SVG Logo in HTML5?
- Example
- What is an SVG
- Following are the Example to Draw SVG Logo in HTML5
- Example 1
- Example 2
- Example 3
- How to draw SVG Logo in HTML5?
- Example
- What is an SVG
- Following are the Example to Draw SVG Logo in HTML5
- Example 1
- Example 2
- Example 3
- Logo coding in html
- How to Create a Logo in HTML: A Step-by-Step Guide
- How to Add a Logo to Your Website Using HTML and CSS
- The Basics of Adding Logos with HTML and CSS
- How to Embed an Image as a Logo in Your HTML Code
- How to Create a Google Logo using HTML and CSS
- How to Create a Google Logo using HTML and CSS
- How to create a google logo using HTML and CSS
- Step 1 — Create a div with an id of google-logo in your HTML.
- Step 2 — Now paste the below code in your CSS.
- Step 7 — Also paste the below code in your CSS.
- Others Logos
How to draw SVG Logo in HTML5?
In the following article we are going to learn how to draw an SVG logo in HTML5. Before we jump into the article, let’s discuss a few things about SVG. The image format known as Scalable Vector Graphics (SVG) uses vector data. Unlike other formats, SVGs do not use unique pixels to construct your image. It makes use of vector data instead.
The best thing of using it was Making pictures that scale to any resolution is possible with SVGs, which makes them ideal for web design among many other applications.
Let’s look into the simple example for understanding of SVG
Example
When the script gets executed, it will generate an output consisting of an SVG circle drawn on the webpage with the given measurements in the above script.
What is an SVG
Two-dimensional vector graphics are described using SVG, a markup language, which uses XML. This is a text-based technique that works with other technologies like CSS, DOM, JavaScript, and SMIL to describe images of any size.
SVG format vector pictures, for example, can be scaled without losing quality. In contrast to bitmapped pictures like JPEG and PNG, they can also be localized without the need for a graphics editor.
Following are the Example to Draw SVG Logo in HTML5
Example 1
In the following example we are creating a SVG logo on the webpage.
When the script gets executed, it will generate an output consisting of an ellipse drawn with a linear gradient with the text «TUTORIALSPOINT», which acts as a logo on the webpage.
Example 2
Consider the following example we are creating SVG logo on the webpage
When the above script is run, it will produce an output consisting of the traffic signals drawn on the webpage using the measurements given in the above script, which acts as a logo.
Example 3
Let’s look another example, where we are creating a SVG logo on the webpage.
On running the above script, the output window will pop up, displaying the SVG logo mentioned with a linear gradient drawn on the webpage using the measurements mentioned in the above script.
Logo coding in html
How to Create a Logo in HTML: A Step-by-Step Guide
Creating a logo in HTML is a straightforward process that requires basic knowledge of HTML and CSS. This step-by-step guide will walk you through the process of creating a logo using HTML and CSS.
Step 1: Create an HTML File
The first step is to create an HTML file for your logo. To do this, open up your text editor and create a new file with the .html extension. This will be the main page for your logo, so make sure to give it an appropriate name such as “logo.html” or “mylogo.html”.
Step 2: Add Your Logo Image
Once you have created your HTML file, you can add your logo image to it by using the
tag in the body section of the page like so:
Make sure to replace “your_logo_image_here” with the actual URL or path of your image file on your server or computer.
Step 3: Add Styling With CSS
Now that you have added your logo image to the page, you can use CSS to style it however you want by adding some code inside a tag in between tags like so:
Replace “200px” and “100px” with whatever dimensions work best for your particular logo image size and shape. You can also add other styling elements such as borders, margins, padding etc., if desired.
Step 4: Save Your File & Test It Out!
Once all of these steps are complete, save your file and open it up in any web browser (Chrome, Firefox etc.) to see how it looks! If everything looks good then congratulations – you have successfully created a custom logo using only HTML & CSS!
How to Add a Logo to Your Website Using HTML and CSS
Adding a logo to your website using HTML and CSS is a straightforward process. To begin, you will need to create an image file of your logo in either .jpg, .png or .gif format. Once the image file is created, you can add it to your website by inserting the following code into the HTML of your page:
This code will insert the logo image onto the page at its original size. If you would like to adjust the size of the logo, you can use CSS styling within this same line of code:
The above example sets both width and height values for the logo at 200 pixels wide and 100 pixels high respectively. You can also adjust other properties such as margins and padding if desired by adding additional styling parameters within this same line of code.
The Basics of Adding Logos with HTML and CSS
Adding logos with HTML and CSS is a relatively straightforward process. To begin, you will need to create an HTML document that contains the logo image. This can be done by using the tag, which requires two attributes: src and alt. The src attribute should contain the path to the logo image file, while the alt attribute should contain a brief description of what is being displayed in the image.
Once you have added your logo to your HTML document, you can use CSS to style it further. You can use properties such as width and height to adjust its size, or margin and padding if you want more space around it. Additionally, if you want your logo to link somewhere else on your website or elsewhere on the web, you can add an anchor tag
around it with an href attribute containing a URL destination for when someone clicks on it.
Finally, if desired, you can also add additional effects such as hover states or animations using CSS transitions or keyframe animations respectively. With these tools at hand, adding logos with HTML and CSS is easy!
How to Embed an Image as a Logo in Your HTML Code
To embed an image as a logo in your HTML code, you will need to use the tag. This tag is used to insert images into webpages. The syntax for this tag is as follows:
The “src” attribute specifies the URL of the image you want to embed. The “alt” attribute provides alternative text for users who cannot view the image, such as those using screen readers or browsers with images disabled. The “width” and “height” attributes specify the size of the image in pixels.
For example, if you wanted to embed an image located at https://example.com/logo.png with a width of 200 pixels and a height of 100 pixels, your code would look like this:
About ConTEXT
ConTEXT is a small, fast and powerful freeware text editor for windows, developed to serve as a secondary tool for software developers.
View Downloads
Recent Posts
Donations
ConTEXT is an open source project and we gratefully welcome donations
ConTEXT Editor
A small, fast and powerful freeware text editor for windows, developed to serve as a secondary tool for software developers.
How to Create a Google Logo using HTML and CSS
![]()
Hariom Prajapati
![]()
26 Jun 2022
![]()
HTML

How to Create a Google Logo using HTML and CSS
In this tutorial, we will see that how to create a Google logo using HTML and CSS.
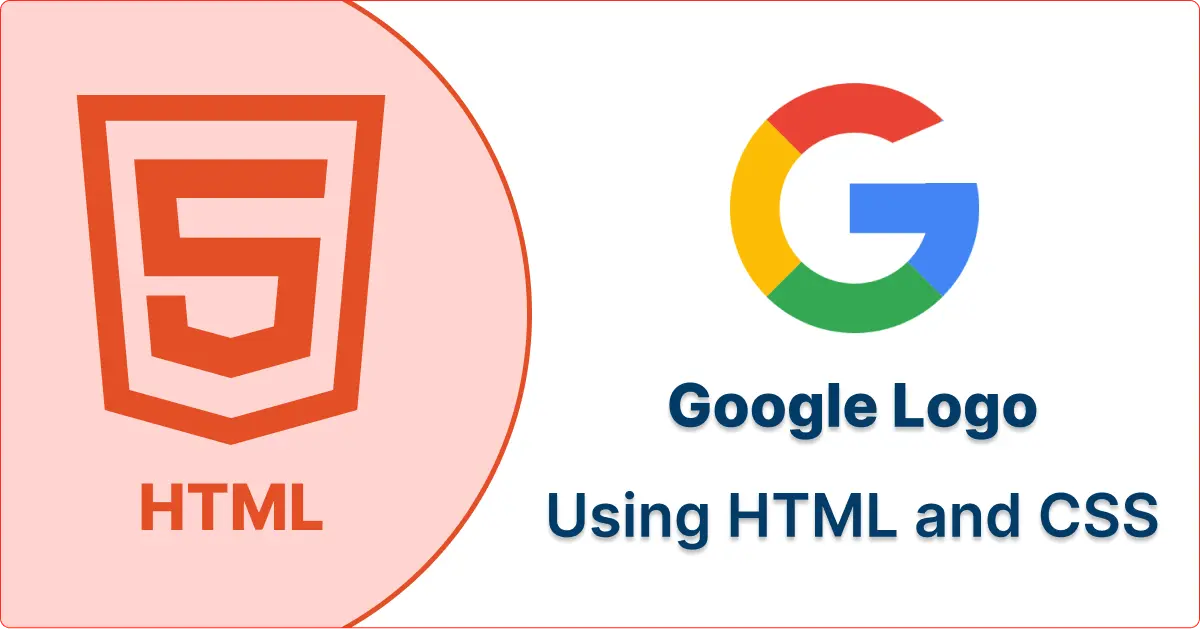
How to create a google logo using HTML and CSS
So let’s follow all the steps to create logo using HTML and CSS.
Step 1 — Create a div with an id of google-logo in your HTML.
Step 2 — Now paste the below code in your CSS.
After pasting the code inside your CSS the logo looking like —

Step 7 — Also paste the below code in your CSS.
#google-logo::before < content: ""; z-index: 100; position: absolute; top: 50%; right: -42.5px; transform: translateY(-50%); width: 122.5px; height:50px; background: #4285F4; >#google-logo::after
Here we combined HTML and CSS code together. (You can also use external CSS file according to your needs)
#google-logo < position: relative; border-top: 50px solid #EA4335; border-right: 50px solid #4285F4; border-bottom: 50px solid #34A853; border-left: 50px solid #FBBC05; border-radius: 50%; background-color: #FFFFFF; width: 150px; height: 150px; padding: 0; margin: 10vh auto 0; >#google-logo::before < content: ""; z-index: 100; position: absolute; top: 50%; right: -42.5px; transform: translateY(-50%); width: 122.5px; height: 50px; background: #4285F4; >#google-logo::after The final output of the Google logo looking like —

Others Logos
- Whatsap Logo
- Youtube Logo
- Tiktok Logo
- Instagram Logo
- Adidas Logo
- Android Logo
- Microsoft Logo
- Figma Logo
- Google Ads Logo
- Twitter Logo
- Google Pay Logo
- Google Loading Logo
- Google Chrome Logo
- Google Logo
Related Posts
Categories
php
javascript
html
laravel
mysql
jquery
css
git
bootstrap
vue
android
python
server
Latest Posts
Popular Tools
Popular Code Snippets
Coursera, Codeacademy, Udacity, W3Schools, Udemy, Alison, TheNewBoston, edX, P.S.Codewars,Freecodecamp, Managing technical debt blog, Scrimba, Codepen, Codepen/challenges, The Odin Project, htmlreference.io, cssreference.io, Frontend Mentor, Dev Challenges, MDN, Code Mentor, Coding Dojo, CSS Battle, Codier, Ace Frontend, Can I Use, CSS Tricks, 30 Seconds of Code,tutorialspoint, Neumorphism, Shaddows Brumm, Fancy Border Radius, Glow Generator, Clothoid Corners, Glassmorphism, Clipy, CSS Filters, Base64 Image, Quantity Queries, Animations, Cubic-Bezier, Keyframes, Wait Animate, Transition.Style, graphic design, web design, website design, website builder, web developer, web designer, webdesign, ecommerce website, web design company, website creator, website designer, responsive web design, web development company, best website design, web design software, web page design, build a website, web developer salary, design website, web design courses, how to design a website, web design inspiration, website layout, web designer salary, web application development, ecommerce website design, web agency, software development company, web design tutorial, web programming, design company, website design templates, what is web designing, web developer jobs, website developer, web design agency, freelance web developer, web design services, freelance web designer, graphic design websites, web solutions, ecommerce website development, free website design, web development courses, webdev, web developers, web development tools, website design services, developpeur web, web design london, website design ideas, web designing and programming, design a website, web design and development, web dev, web development services, homepage design, best designed websites, cheap website design, learn web design, web design templates, web design tools, web design jobs, website design inspiration, web design india, flash website, website developers, designer websites, website services, website design cost, good website design, site design, simple website design, cool website designs, modern website design, graphic designer websites, webcode, best web design software, website making, free web design software, mobile website design, learn web development, front end web developer, how to become a web developer, web developer portfolio, web development company in india, python web development, web development tutorial, website company, website design and development, web company, webdesigning, professional website design, affordable web design, best web design company, creative web design, top website designs, website design pricing, web developer tools, how to develop a website