- HTML и формы
- Рендеринг HTML
- Формы рендеринга
- Использование пакетов шаблонов
- rest_framework/vertical 
- rest_framework/horizontal 
- rest_framework/inline 
- Полевые стили
- Submit Form Data to REST API in a React App
- Prerequisites
- What we will learn
- Submit a Form Data to REST API in a React App
- Create a new React project
- Declare the states
- Function to handle the submit action
- Code the View
- Add some styles (out of topic)
- Codesandbox
- GitHub
- Summary
- Like this:
- You might like this
- Related Posts
- 3 thoughts on “ Submit Form Data to REST API in a React App ”
HTML и формы
REST-фреймворк подходит для возврата как ответов в стиле API, так и обычных HTML-страниц. Кроме того, сериализаторы могут использоваться в качестве HTML-форм и отображаться в шаблонах.
Рендеринг HTML
Для возврата HTML-ответов необходимо использовать либо TemplateHTMLRenderer , либо StaticHTMLRenderer .
Класс TemplateHTMLRenderer ожидает, что ответ будет содержать словарь контекстных данных, и отображает HTML-страницу на основе шаблона, который должен быть указан либо в представлении, либо в ответе.
Класс StaticHTMLRender ожидает, что ответ будет содержать строку предварительно отрендеренного HTML-содержимого.
Поскольку поведение статических HTML-страниц обычно отличается от поведения ответов API, вам, вероятно, придется писать любые HTML-представления явно, а не полагаться на встроенные типовые представления.
Вот пример представления, которое возвращает список экземпляров «Profile», отображенный в шаблоне HTML:
from my_project.example.models import Profile from rest_framework.renderers import TemplateHTMLRenderer from rest_framework.response import Response from rest_framework.views import APIView class ProfileList(APIView): renderer_classes = [TemplateHTMLRenderer] template_name = 'profile_list.html' def get(self, request): queryset = Profile.objects.all() return Response('profiles': queryset>)
profile_list.html :
html>body> h1>Profilesh1> ul> % for profile in profiles %> li> <profile.name >>li> % endfor %> ul> body>html> Формы рендеринга
Сериализаторы могут быть представлены в виде форм с помощью тега шаблона render_form и включения экземпляра сериализатора в качестве контекста в шаблон.
Следующее представление демонстрирует пример использования сериализатора в шаблоне для просмотра и обновления экземпляра модели:
from django.shortcuts import get_object_or_404 from my_project.example.models import Profile from rest_framework.renderers import TemplateHTMLRenderer from rest_framework.views import APIView class ProfileDetail(APIView): renderer_classes = [TemplateHTMLRenderer] template_name = 'profile_detail.html' def get(self, request, pk): profile = get_object_or_404(Profile, pk=pk) serializer = ProfileSerializer(profile) return Response('serializer': serializer, 'profile': profile>) def post(self, request, pk): profile = get_object_or_404(Profile, pk=pk) serializer = ProfileSerializer(profile, data=request.data) if not serializer.is_valid(): return Response('serializer': serializer, 'profile': profile>) serializer.save() return redirect('profile-list')
profile_detail.html** :
% load rest_framework %> html>body> h1>Profile - <profile.name >>h1> form action="" method="POST"> % csrf_token %> % render_form serializer %> input type="submit" value="Save"> form> body>html> Использование пакетов шаблонов
Тег render_form принимает необязательный аргумент template_pack , который указывает, какой каталог шаблонов должен быть использован для отображения формы и полей формы.
Фреймворк REST включает в себя три встроенных пакета шаблонов, все они основаны на Bootstrap 3. Встроенные стили: horizontal , vertical , и inline . По умолчанию используется стиль horizontal . Чтобы использовать любой из этих пакетов шаблонов, вам также потребуется включить CSS Bootstrap 3.
Следующий HTML будет ссылаться на версию CSS Bootstrap 3, размещенную в CDN:
Пакеты сторонних производителей могут включать альтернативные пакеты шаблонов, в которые входит каталог шаблонов, содержащий необходимые шаблоны форм и полей.
Давайте рассмотрим, как отобразить каждый из трех доступных пакетов шаблонов. В этих примерах мы будем использовать один класс сериализатора для представления формы «Вход в систему».
class LoginSerializer(serializers.Serializer): email = serializers.EmailField( max_length=100, style='placeholder': 'Email', 'autofocus': True> ) password = serializers.CharField( max_length=100, style='input_type': 'password', 'placeholder': 'Password'> ) remember_me = serializers.BooleanField()
rest_framework/vertical 
Представляет ярлыки формы над соответствующими входами элементов управления, используя стандартный макет Bootstrap.
Это пакет шаблонов по умолчанию.
% load rest_framework %> . form action="" method="post" novalidate> % csrf_token %> % render_form serializer template_pack='rest_framework/vertical' %> button type="submit" class="btn btn-default">Sign inbutton> form> 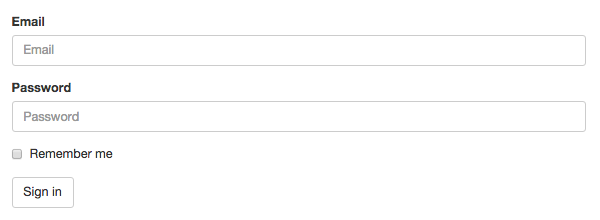
rest_framework/horizontal 
Представляет ярлыки и элементы управления рядом друг с другом, используя разделение колонок 2/10.
Это стиль формы, используемый в просматриваемых API и администраторских рендерах.
% load rest_framework %> . form class="form-horizontal" action="" method="post" novalidate> % csrf_token %> % render_form serializer %> div class="form-group"> div class="col-sm-offset-2 col-sm-10"> button type="submit" class="btn btn-default">Sign inbutton> div> div> form> 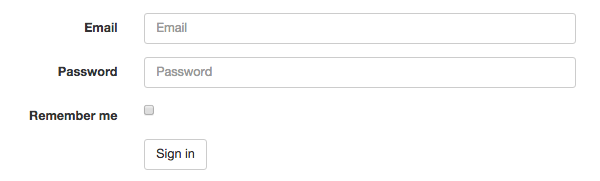
rest_framework/inline 
Компактный стиль формы, который представляет все элементы управления в линию.
% load rest_framework %> . form class="form-inline" action="" method="post" novalidate> % csrf_token %> % render_form serializer template_pack='rest_framework/inline' %> button type="submit" class="btn btn-default">Sign inbutton> form> 
Полевые стили
Поля сериализатора могут иметь свой стиль рендеринга, настроенный с помощью аргумента ключевого слова style . Этот аргумент представляет собой словарь опций, которые управляют используемым шаблоном и макетом.
Наиболее распространенным способом настройки стиля поля является использование аргумента ключевого слова base_template style, чтобы выбрать, какой шаблон из пакета шаблонов следует использовать.
Например, чтобы отобразить CharField как HTML textarea, а не как HTML input по умолчанию, вы должны использовать что-то вроде этого:
details = serializers.CharField( max_length=1000, style='base_template': 'textarea.html'> )
Если вы хотите, чтобы поле отображалось с использованием пользовательского шаблона, который не является частью включенного пакета шаблонов* , вы можете использовать опцию стиля template , чтобы полностью указать имя шаблона:
details = serializers.CharField( max_length=1000, style='template': 'my-field-templates/custom-input.html'> )
Шаблоны полей могут также использовать дополнительные свойства стиля, в зависимости от их типа. Например, шаблон textarea.html также принимает свойство rows , которое может быть использовано для влияния на размер элемента управления.
details = serializers.CharField( max_length=1000, style='base_template': 'textarea.html', 'rows': 10> )
Полный список опций base_template и связанных с ними опций стиля приведен ниже.
Дополнительные варианты стиля
Любое строковое, числовое или поле даты/времени
input_type, placeholder, hide_label, autofocus
rows, placeholder, hide_label
ChoiceField или реляционные типы полей
ChoiceField или реляционные типы полей
MultipleChoiceField или реляционные поля с many=True .
MultipleChoiceField или реляционные поля с many=True .
Submit Form Data to REST API in a React App
Sometimes we might need to submit form data to a REST API in a web app. This is a simple article that explains the steps to submit form data to REST API in a React app.
Prerequisites
Before continuing this article, you must learn the following technologies:-
What we will learn
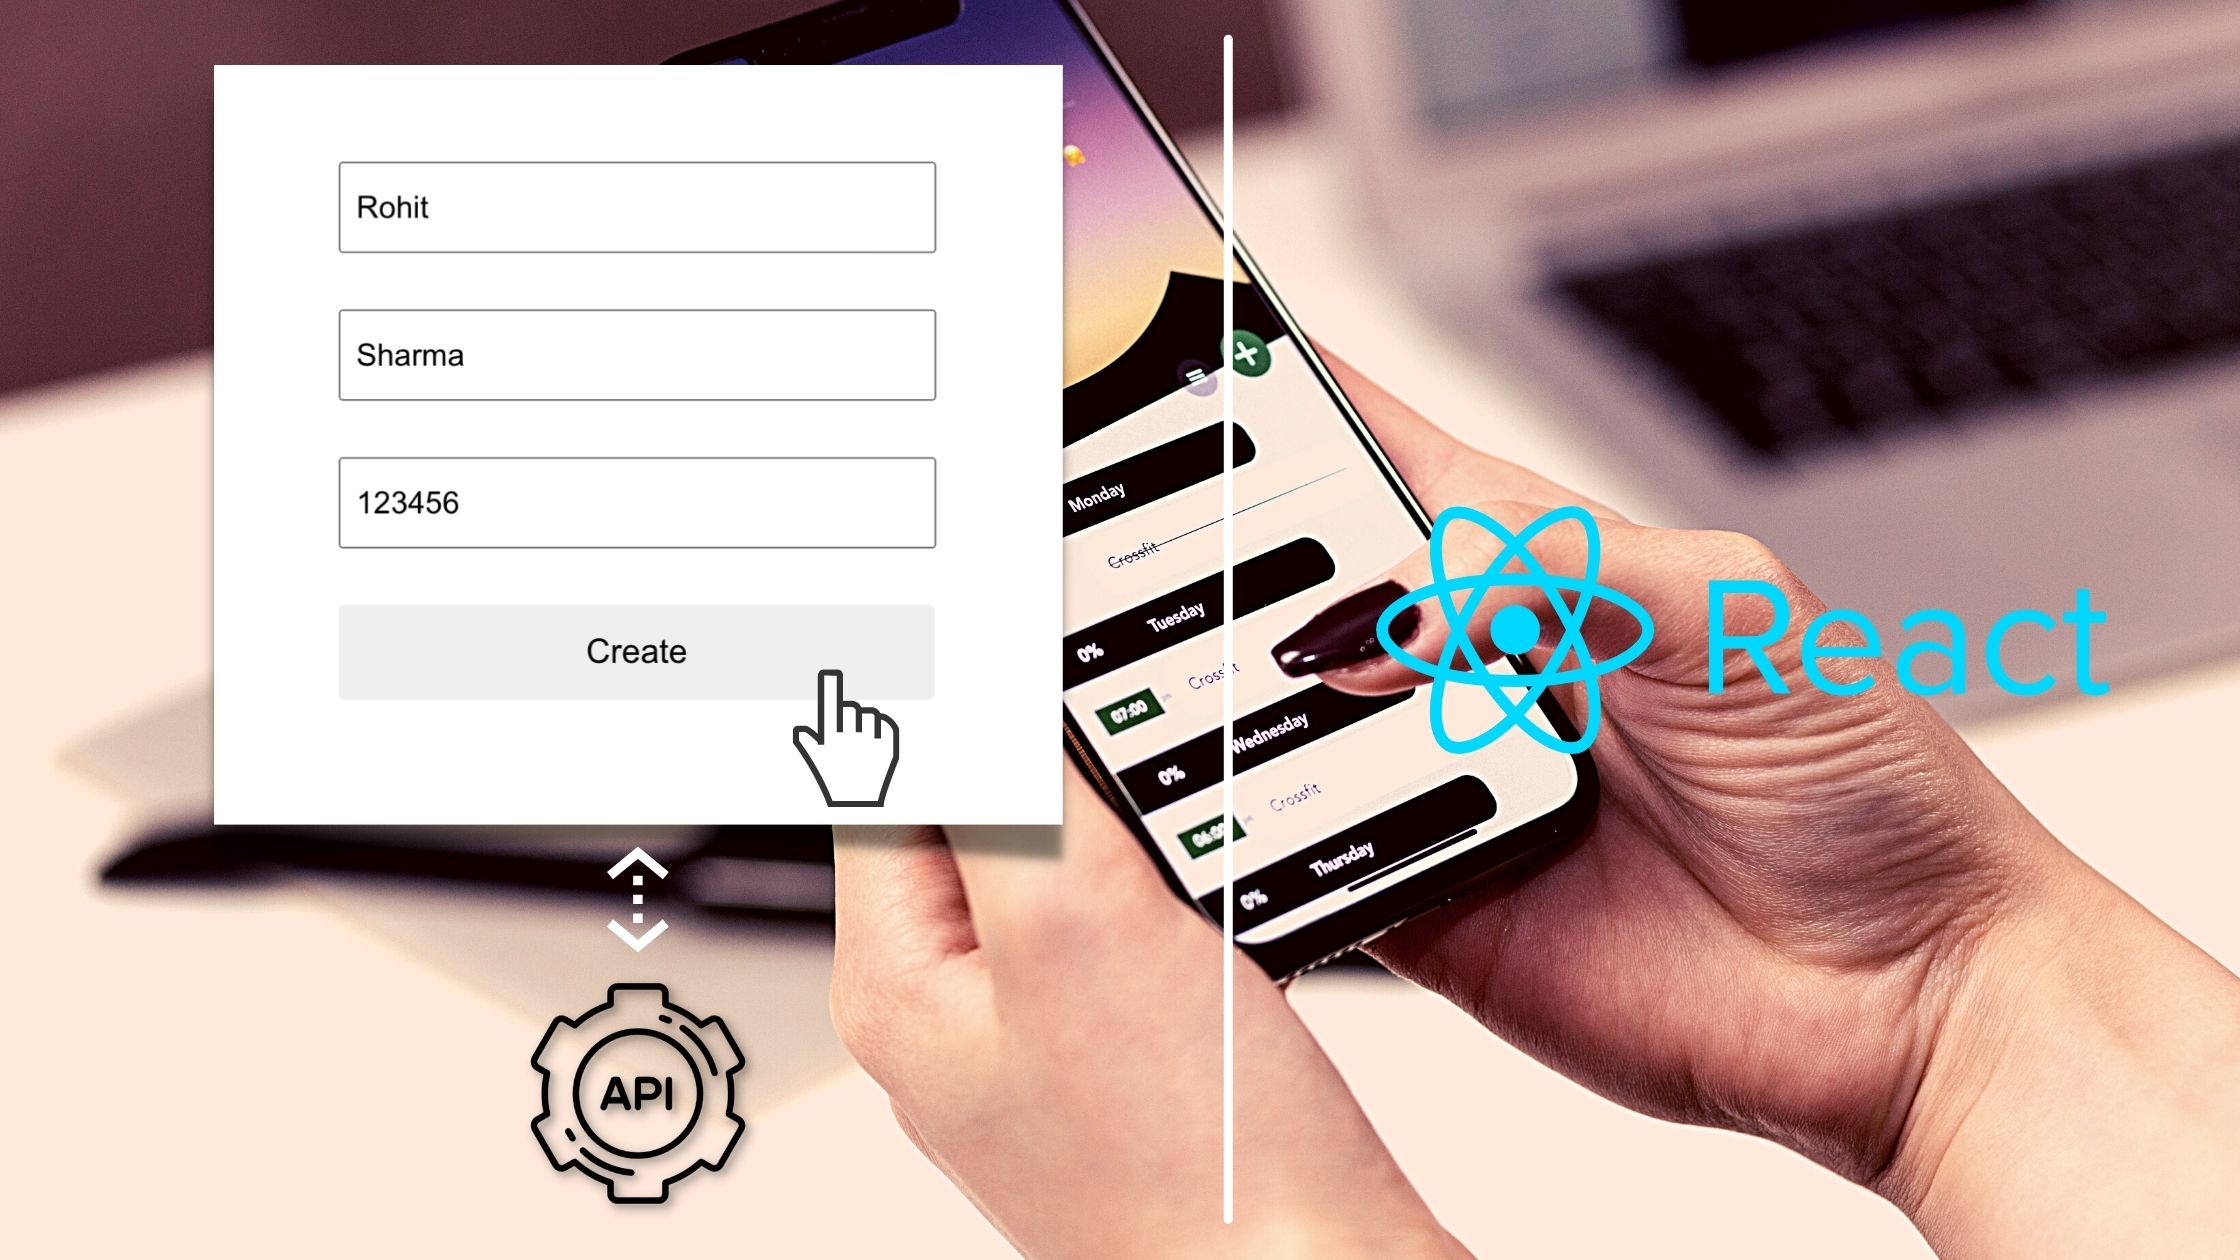
In this article, we will learn to code a form in a React app. The form accepts some input fields and submitting it will post these data to an external REST API.
After completing, the app we will function the same as below.
Submit a Form Data to REST API in a React App
So let us start coding the React app.
Create a new React project
The first step is setting up a React application on your system. This can be easily done using the NPX tool.
So, install Node.js on your system first and create a react application using NPX. Don’t bother about the term NPX, because it’s a tool coming with NPM(Node Package Manager) 5.2+ onwards which will install on your system with Node.js itself.
If you need further assistance in the installation of React on your system, use the below links.
npx submit-form-data-rest-api-react
This command will create a react application with the project name submit-form-data-rest-api-react.
Now enter the project directory and start the app.
cd submit-form-data-rest-api-react npm start
It will open up the React application we have created in our browser window with the address https://localhost:3000. The port may vary if 3000 is busy.

Now we can use our favorite code editor to edit our project. I personally recommend Visual Studio Code.
Declare the states
We can see an App function inside the src/App.js file. Declare the states needed to store the input values, name, email, and mobile number.
Here, we are also declaring a state message to store the success or error message.
Function to handle the submit action
When the form is submitted, it calls a function handleSubmit where it posts the data to a REST API.
We are using fetch to post the data to the a REST API. Here we are using the dummy REST API by httpbin.org and you can use the real API URL here.
Before passing the form data name, email and mobile number, we need to stringify it. JSON.stringify() function will take care of it.
let res = await fetch("https://httpbin.org/post", < method: "POST", body: JSON.stringify(< name: name, email: email, mobileNumber: mobileNumber, >), >);To get the response data in JSON format, we need to convert the original response.
Note that in our API, the response is not returning the created document from the backend. So we really not using the above step. But in general, we will get the created document from the backend and we need to convert it to JSON.
let resJson = await res.json();So that the entire handleSubmit function will be the same as below.
let handleSubmit = async (e) => < e.preventDefault(); try < let res = await fetch("https://httpbin.org/post", < method: "POST", body: JSON.stringify(< name: name, email: email, mobileNumber: mobileNumber, >), >); let resJson = await res.json(); if (res.status === 200) < setName(""); setEmail(""); setMessage("User created successfully"); >else < setMessage("Some error occured"); >> catch (err) < console.log(err); >>; Note: We usually get a status value as the response from the backend. status 200 refers to the success to the API call. This is why we coded if res.status === 200, display “User created successfully” message.
Code the View
Now let us code the view of our app. We use the JSX to code the view in React.
In our case, we are creating a form with 3 input fields, name, email and mobile number.
Any change in the input box will set the value to the state.
A submit button will call the function handleSubmit().
We will also code a portion to display the success or error message.
return ( );So that the complete App.js file will looks the same as below.
// src/App.js import "./App.css"; import < useState >from "react"; function App() < const [name, setName] = useState(""); const [email, setEmail] = useState(""); const [mobileNumber, setMobileNumber] = useState(""); const [message, setMessage] = useState(""); let handleSubmit = async (e) =>< e.preventDefault(); try < let res = await fetch("https://httpbin.org/post", < method: "POST", body: JSON.stringify(< name: name, email: email, mobileNumber: mobileNumber, >), >); let resJson = await res.json(); if (res.status === 200) < setName(""); setEmail(""); setMessage("User created successfully"); >else < setMessage("Some error occured"); >> catch (err) < console.log(err); >>; return ( ); > export default App;Add some styles (out of topic)
Let us also add some CSS in our app to make it a bit shinier. We are already importing the App.css file inside the App.js and so that we can add our CSS in this file.
// src/App.css .App < display: flex; justify-content: center; margin-top: 5rem; >input < display: block; width: 20rem; height: 2rem; padding: 0.5rem; font-size: 1.1em; font-weight: 500; margin-bottom: 2rem; >button < border: none; padding: 1rem; width: 21.2rem; font-size: 1.2em; border-radius: 0.2rem; cursor: pointer; >button:hover < background-color: #c5c5c5; >.message
Codesandbox
Refer to the CodeSandbox link to view the live app. You can clone this project to your CodeSandbox account and edit the code also.
GitHub
You can always refer to the GitHub repository to clone this project, refer to the code and work on top of it.
Summary
Here we discussed the steps to create a react app with a form UI that accepts some input values and the form submit action will call a REST API.
Like this:
You might like this
Related Posts
 Create a Multi-Step Form with React and Recoil
- Add or Embed a Google Map Location on a React App
- Scroll Page to the Top When Change in States or Props or URL Params – React
 Create a Multi-Step Form with React and Recoil
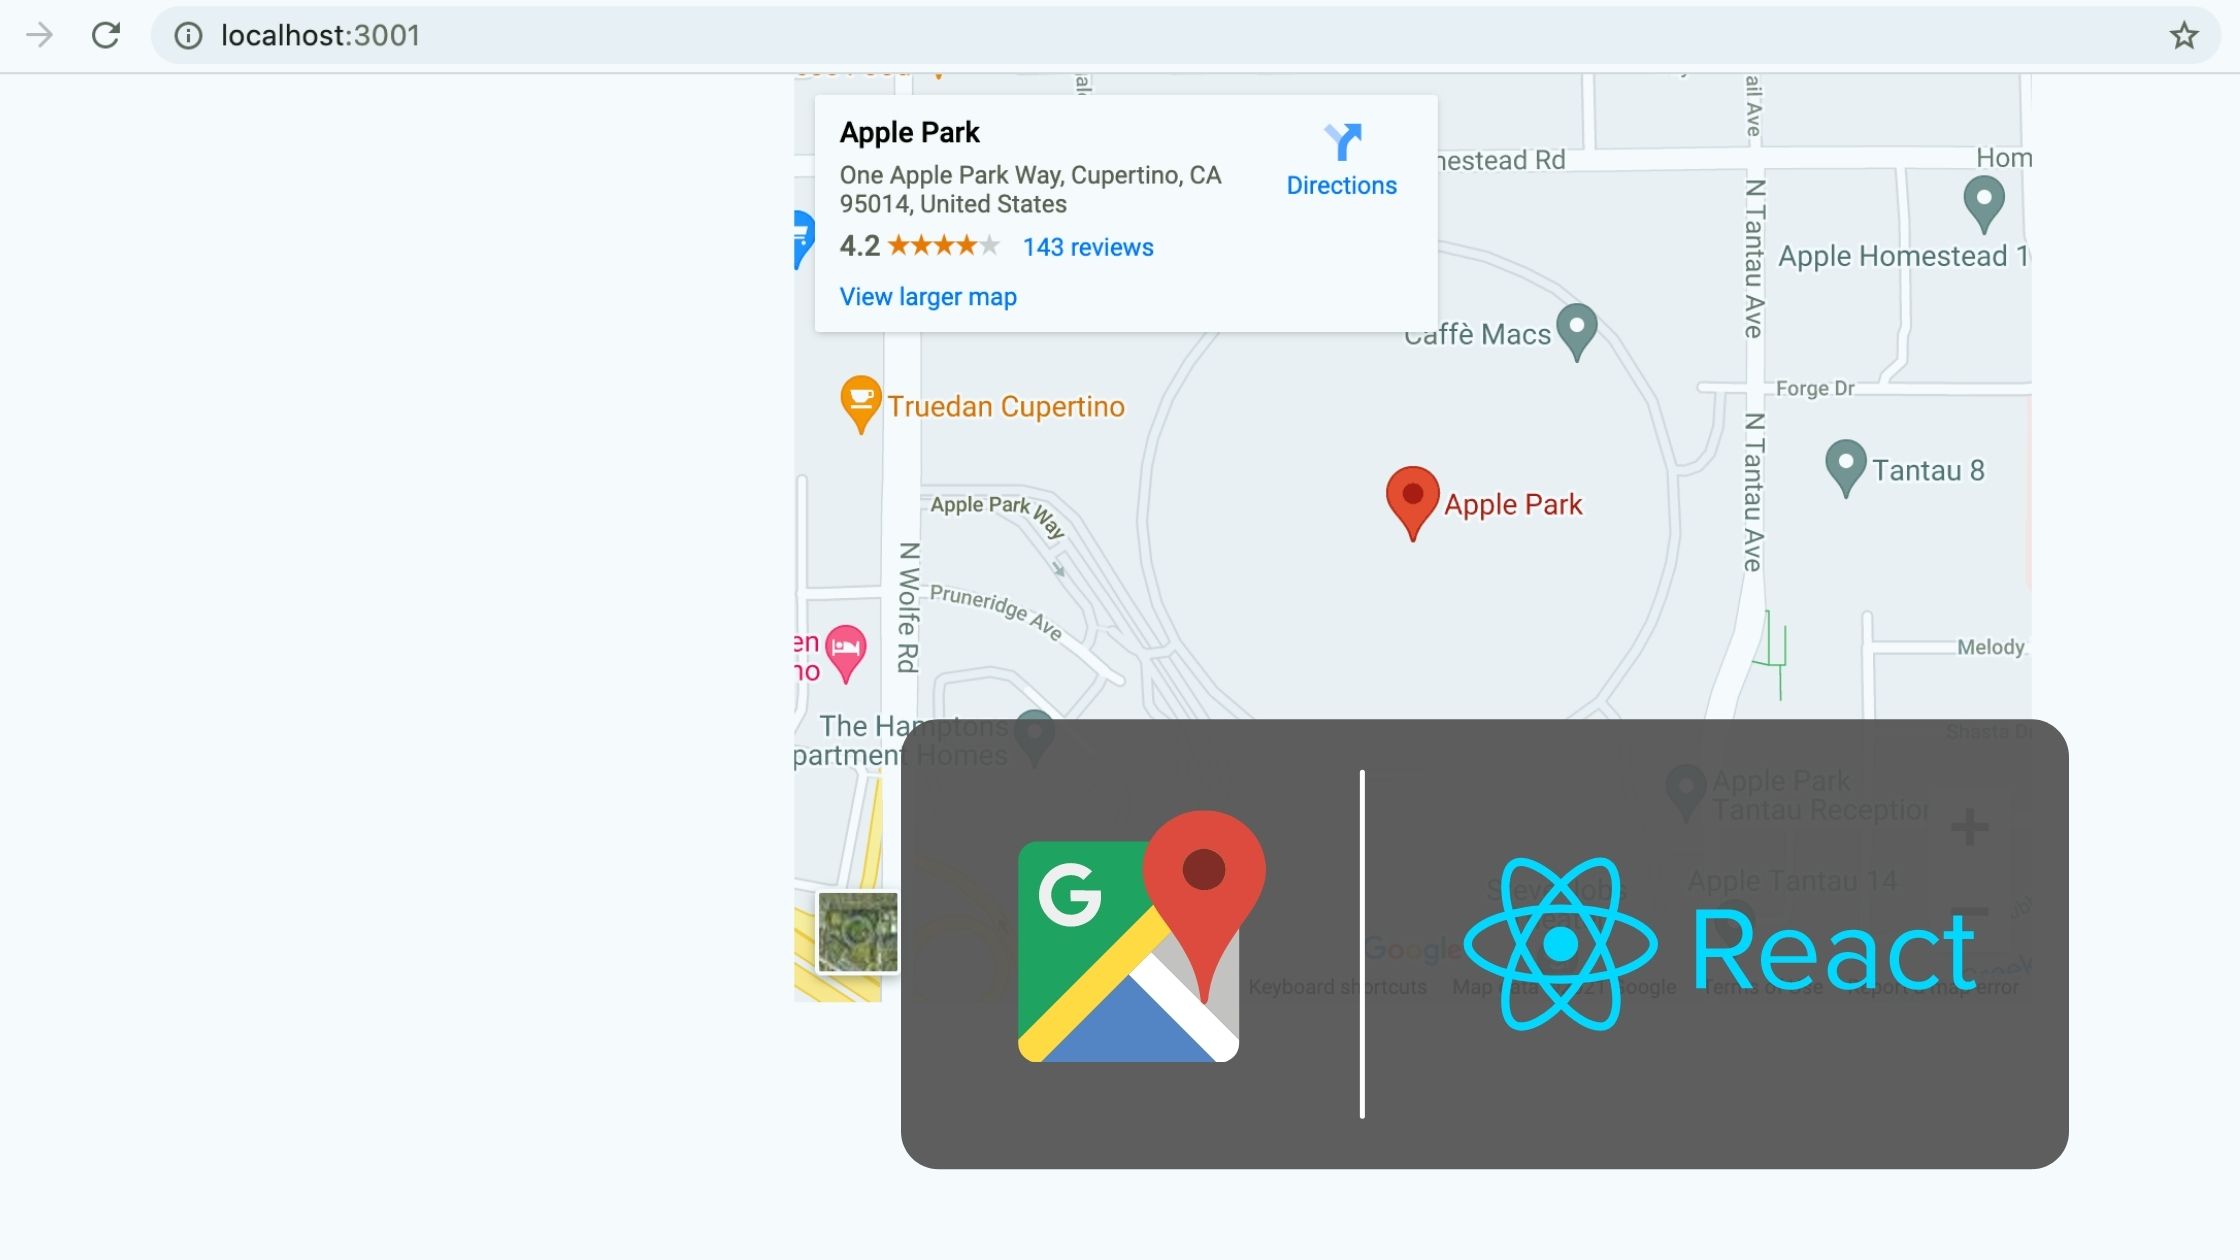 Add or Embed a Google Map Location on a React App
 Scroll Page to the Top When Change in States or Props or URL Params – React
3 thoughts on “ Submit Form Data to REST API in a React App ”
Thanks for this post – this is a clear example of how to submit form data from a React app. I was so frustrated today trying to figure out how to submit form data from my React client to my API and this lays it out clearly.