Письма в html-формате с вложенными изображениями
Резонный вопрос: зачем аттачить изображения, ведь это утяжеляет письма и увеличивает трафик? А чтобы не было такого:
Данный вид возникает в случае если пользователь читает полученную корреспонденцию оффлайн или почтовый клиент не открывает картинки из внешних источников, например из-за его настроек безопасности. Короче говоря, выглядит это может быть и читабельно, но не эстетично.
Если приаттачить картинки к письму, то оно обретёт целостный вид, и дырок уже не будет, если не допущено ошибок на этапе вёрстки.
Итак, необходимо получить возможность создавать полноценные html-шаблоны писем с картинками для их дальнейшего использования в программе (рассылка, автоматические уведомления и т.п.). В последующем шаблоны сможет готовить человек, занимающийся только версткой, без вмешательства в код программы.
Задача типичная, можно сказать обыденная, и реализаций уже придумано не мало. И чтобы не порождать 100500-й веолосипед, обратимся к небезызвестному Swift Mailer, немного расширив его функциональность применительно к нашей задаче.
Так будет выглядеть условный шаблон письма, назовём его index.html:
 Здравствуйте, ! Сообщаем Вам, что если сегодня вы навестите наш сайт, то сможете получить абсолютно безвозмездно, то есть даром. Фото подарка:
  ”>
”> Структура каталогов для хранения шаблонов может выглядеть таким образом:
email_templates/ template1/ index.html images/ company_logo.gif photo1.png . photoN.png template2/ . class SendEMail < static $transport = false; public $filename = 'index.html', // путь к html шаблону $tplFolder = '', // каталог с картинками $imgFolder = 'images/', $subject = '', $from = '', $fromName = null, $contentType = 'text/html', $charset = 'utf-8'; private $message, $data; public function __construct($options) < foreach($options as $option =>$value) $this->$option = $value; if (!self::$transport) self::$transport = Swift_SmtpTransport::newInstance(); > public function Send($data, $email, $name = null) < $this->data = $data; $this->message = Swift_Message::newInstance(); $mess =& $this->message; // подставляем данные в subject письма, если там есть соответствующие теги $subject = $this->SubstituteData($this->subject); $body = $this->GetBody(); // email и имя получателя $mess->setTo($email, $name); // от кого $mess->setFrom($this->from, $this->fromName); // тема письма $mess->setSubject($subject); // сообщение $mess->setBody($body); $mess->setContentType($this->contentType); $mess->setCharset($this->charset); $mailer = Swift_Mailer::newInstance(self::$transport); return $mailer->send($this->message); > private function GetBody() < // считываем шаблон письма $body = file_get_contents($this->tplPath.$this->filename); // подставляем данные в шаблон $body = $this->SubstituteData($body); // аттачим все картинки, с подходящими imgPath и расширениями jpg, png, gif, заменяем атрибуты src в тегах img // 'self::AddImage' будет работать для php > 5.3, для 5.2 нужно заменить на array($this, 'AddImage') return preg_replace_callback('/'.preg_quote($this->imgPath, '/').'((.+)\.(jpg|png|gif))/i', 'self::AddImage', $body); > // прикрепляем картинку, меняем src private function AddImage($matches) < $path = $this->tplPath."/".$matches[0]; return $this->message->embed(Swift_Image::fromPath($path)); > // заменяем теги на соответствующие данные private function SubstituteData($str) < if (empty($this->data)) return $str; foreach($this->data as $k => $v) $str = str_replace($k, $v, $str); return $str; > > $sm = new SendEMail(array( 'tplPath' => '/path_to_emails/email_templates/template1/', 'subject' => 'Чудесные подарки', 'from' => 'noreply@site.com' )); $recipients[0] = array( 'email' => 'dima@blabla.com', 'user' => 'Дмитрий Владимирович', 'something' => 'Мялка', 'something_photo' => 'myalka.jpg' ); $recipients[1] = array( 'email' => 'volodya@blabla.com', 'user' => 'Владимир Анатольевич', 'something' => 'Мешалка', 'something_photo' => 'meshalka.jpg' ); $success = 0; foreach($recipients as $rec) < $data = array('' => $rec['user'], '' => $rec['something'], '' => $rec['something_photo']); $sended = $sm->Send($data, $rec['email'], $rec['user']); if ($sended) $success++; > Теперь необходимо следить за размерами создаваемых писем, и не превышать разумные объёмы, проявляя заботу о тех, у кого интернет с телефона, медленный, с оплатой по трафику.
Конечно, данные следует брать из БД, это всего лишь пример. В классе также отсутствуют обработчики ошибок для уменьшения количества строк, лучшей читаемости кода и понимания.
Embedded Images in HTML Email
In this post, I’ll show you how to use CID-embedded images in email templates.

Frontend Developer, Co-founder

20 years ago, we all had a very slow internet connection. And some of us even had traffic limited plans. That’s why many people turned off displaying images in their browsers. Developers had to check how webpages looked without images. Do you really miss those days? There is no reason for this, but we do still have this issue in the email world.
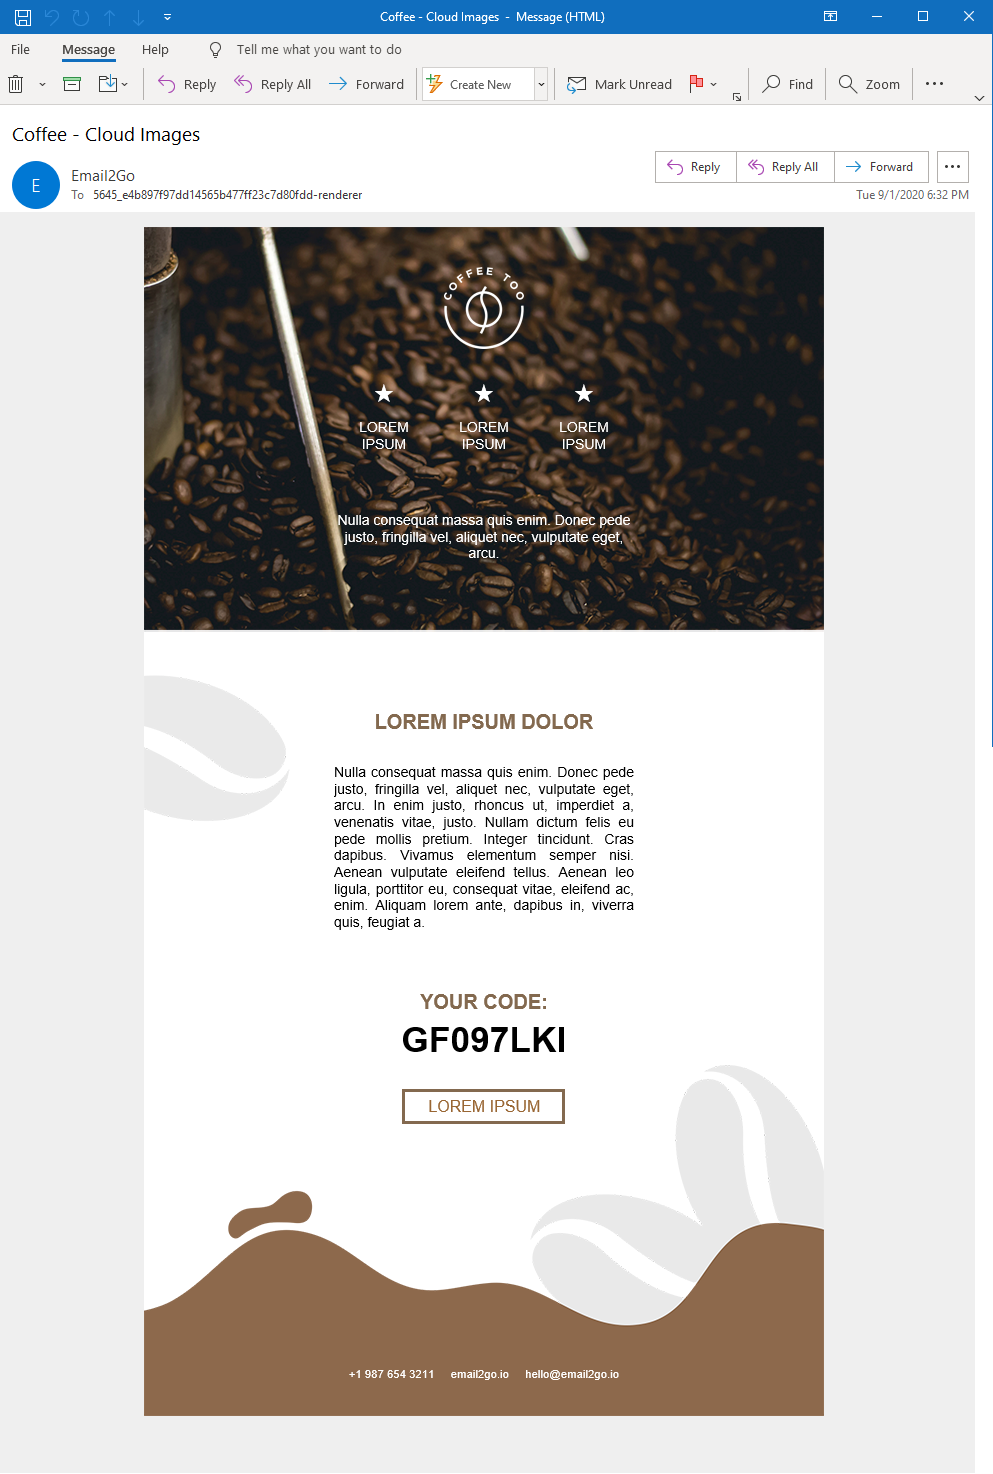
Cloud images turned on, Outlook 365
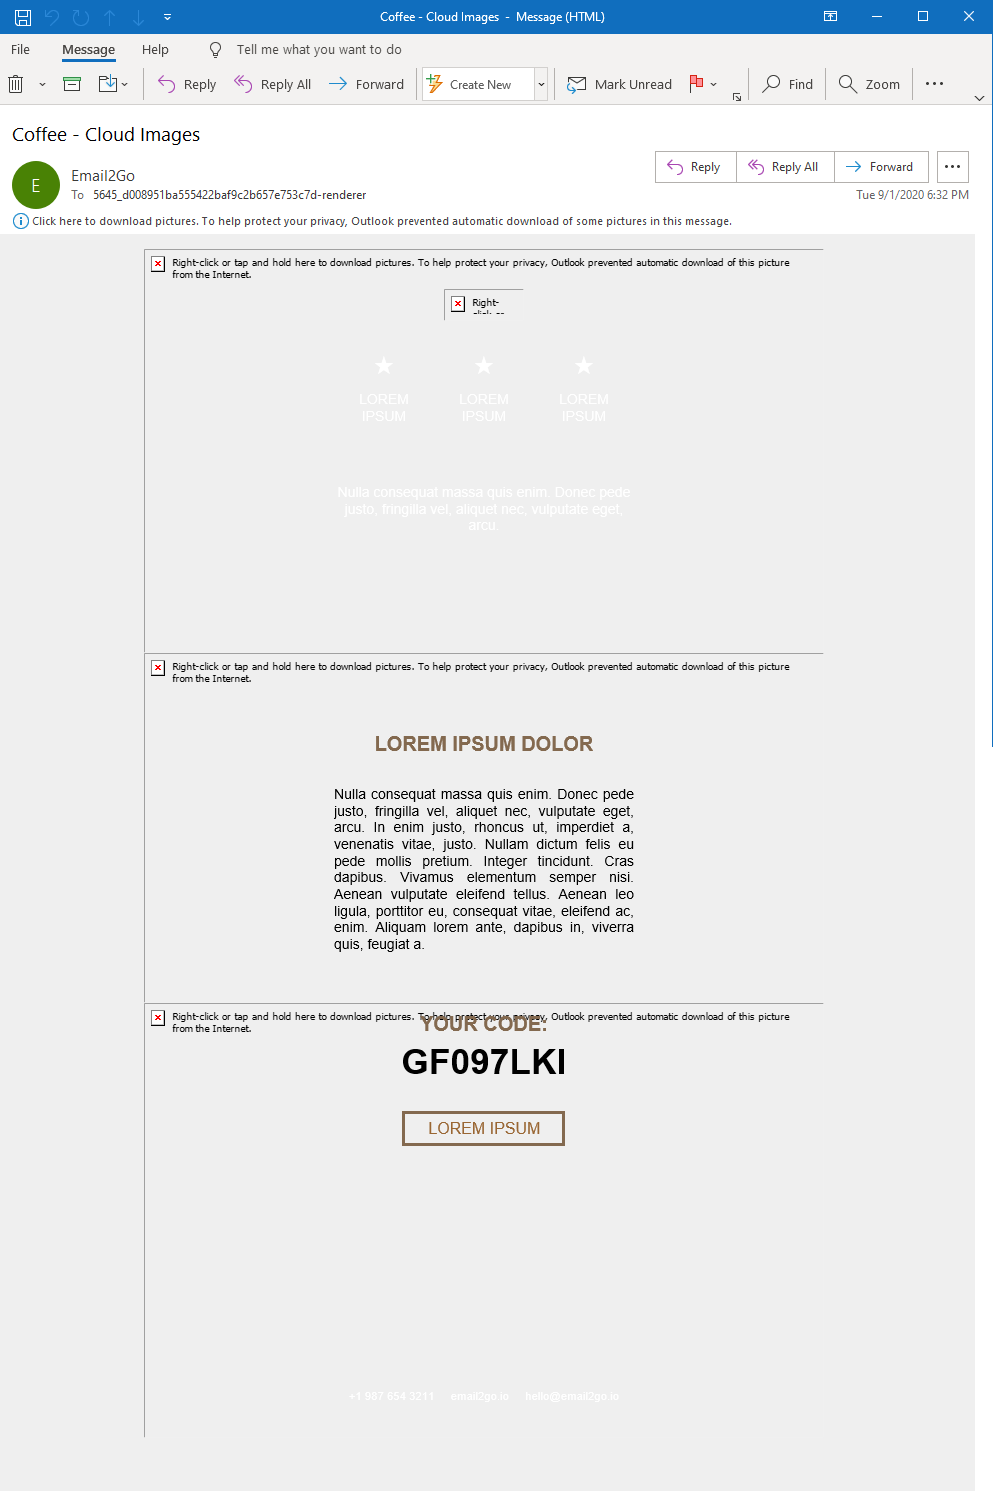
Cloud images turned off, Outlook 365
About 25% of viewers are probably not seeing images in their emails. There are three main reasons for this: saving traffic on mobile devices, prevention tracking user behavior (if images are located in clouds), and some large companies block their employees from downloading images from external servers. We have a solution for these last two reasons using embedded images.
How it works
Usually, we upload necessary image files to a public webserver. Then we use links on those files in our code. For example:


If we want to embed images, we have to attach files to our email with special headers:
Content-Type: image/png; name=logo.png
Content-Transfer-Encoding: base64
Content-ID:
Content-Disposition: inline; filename=logo.png
After that, we have to use CID-links on these files:
![]()
How to embed image in HTML email
For this experiment, I’m going to take the «Coffee» email template from Email2Go’s free template collection and replace all cloud images to CID-embedded ones.
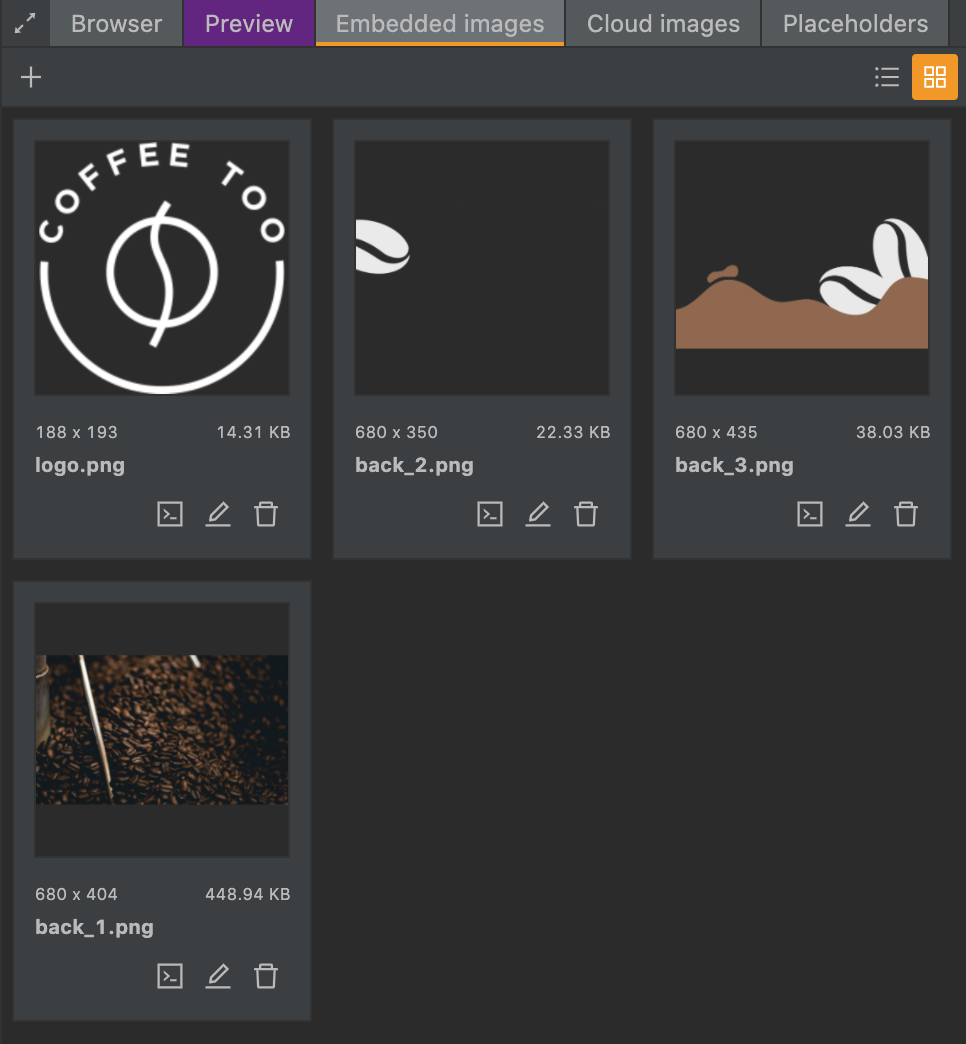
First, I’ll create a new project based on an existing email template. Then I’ll open the «Embedded Images» tab in the right panel and upload all necessary files.
Now I can use CID-links of these files. I’ll click on the «Copy Code» button and get the CID-link. After that, I’ll replace the necessary links in the HTML code or CSS styles.
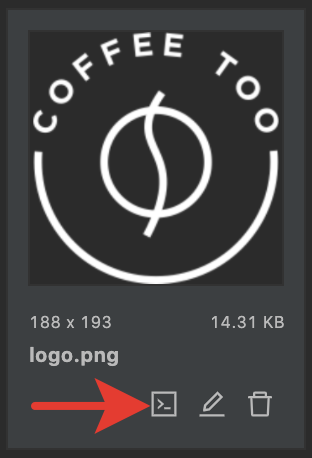
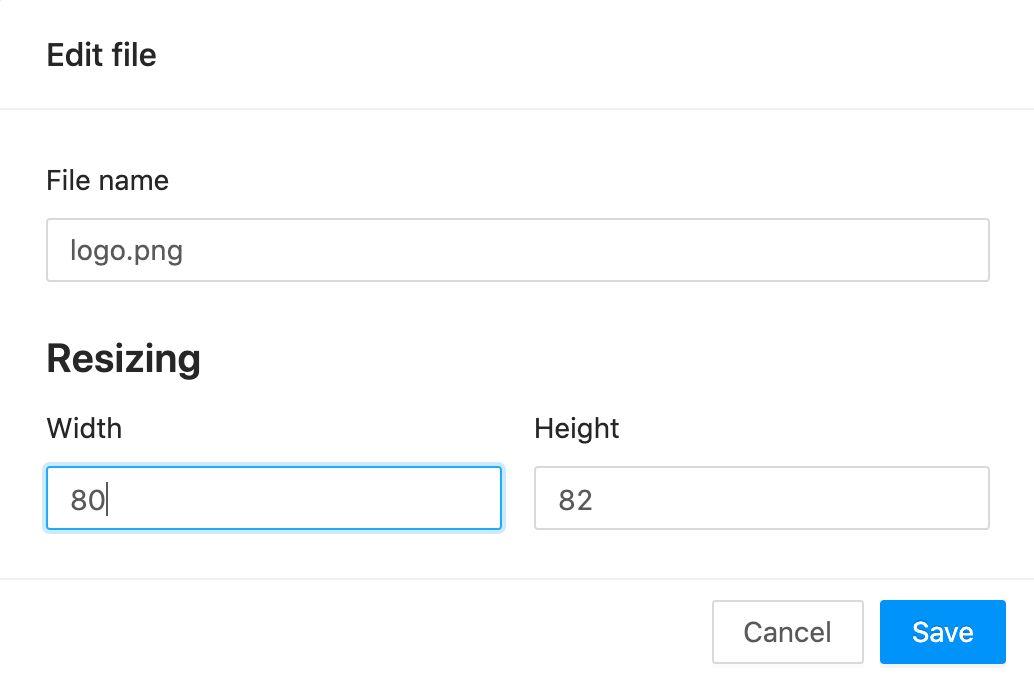
My logo.png file is 188 x 193 px. But tag has the parameter width=»80″ . I’m going to resize the image. For this, I’ll click the «Edit file» button and correct the dimensions. It will help reduce the size of my email template.
That’s it. I just need to check my template using the email template testing tool.
Conclusion
This solution is by no means perfect. Embedded images increase the size of your templates significantly. Also, some mail clients don’t support CID-links in the background images. I recommend using CID-embedded images in tags only. Anyway, now you know one more way to insert an image to an HTML email template.
Related Articles
![]()
Learn more about how to create highly interactive and user-centered emails with AMP email templates.
![]()
How to solve problems with images in emails.
![]()
How to use CSS in your HTML email coding.