- Highlighting text in html using different color background by span tag
- With Div tag
- Span tag with CSS
- Span tag with background image
- Span tag with mouse hover style
- Span HTML – How to Use the Span Tag with CSS
- What is the span tag used for?
- How to style text with the span tag
- How to change the text color
- How to change background color
- How to change font style
- How to Manipulate JavaScript with the span tag
- Conclusion
- Синтаксис
- Пример
- Результат
- Пример
- Результат
- Атрибуты
- Как добавить стиль к тегу ?
- Распространенные свойства для изменения визуальной насыщенности/выделения/размера текста внутри тега :
- Цвет текста внутри тега :
- Стили форматирования текста для тега :
- Другие свойства для тега :
Highlighting text in html using different color background by span tag
We can mark any area of a text in different color background. This way we can highlight some portion of the text. We will be using span tag in html to give color background to the text. Note that we are not using bold tag here to highlight the font in bold letters.
With Div tag
Span tag is also used along with div tag for generating power full CSS effects. We will try how we can format a particular area of text by using span tag and style sheet.
Before that let us start with an simple example. Using span tag we can mark different areas in different colors. Here is the code for a simple span tag.
 Welcome to plus2net html section.
Use the forum to post any query / doubts on the tutorial
Welcome to plus2net html section.
Use the forum to post any query / doubts on the tutorial Span tag with CSS
Let us use span tag along with CSS to define a format for text. We will keep the following code inside the head tags of our html page. This way we are creating one embedded style sheet which will affect the document only.
 highlighting
 color:brown;
font-weight:900;
font-size:100%;
font-family:sans-serif;
background-color: #ffff00;

>
-->
We can use style property with span to create formatted text for use any where. Span tag with background image
Here we are using style property to add background image to this line of text as an example Here we are using style property to add background image to this line of text as an exampleSpan tag with mouse hover style
To check the example place your mouse here and wait. 
plus2net.com
Span HTML – How to Use the Span Tag with CSS

Kolade Chris
You can use the HTML span tag as a container to group inline elements together so you can style or manipulate them with JavaScript.
In this article, I will show you how to use the span tag to make a certain part of your content distinct from the rest. Then you should be able to start using it in your coding projects.
What is the span tag used for?
The span tag is just like a div, which is used to group similar content so it can all be styled together.
But span is different in that it is an inline element, as opposed to div , which is a block element.
Also, keep in mind that span itself does not have any effect on its content unless you style it.
There are two major uses of the span tag – styling and manipulating a particular text with JavaScript.
How to style text with the span tag
If you want to makes some particular text or any other content different from the rest, you can wrap it in a span tag, give it a class attribute, then select it with the attribute value for styling.
In the examples below, I change the color , background-color , and font-style of some text by wrapping it in a span tag.
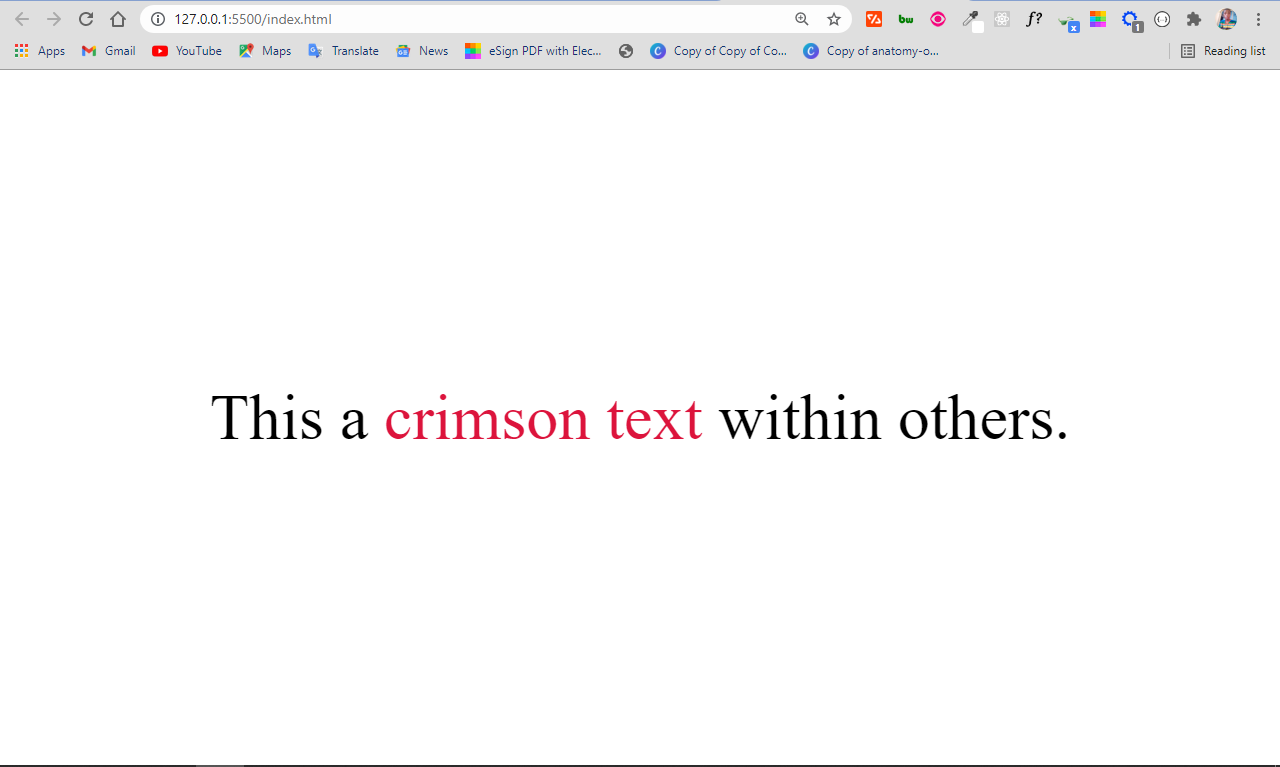
How to change the text color
This a crimson text within others.
I have added some basic CSS to center everything on the page:
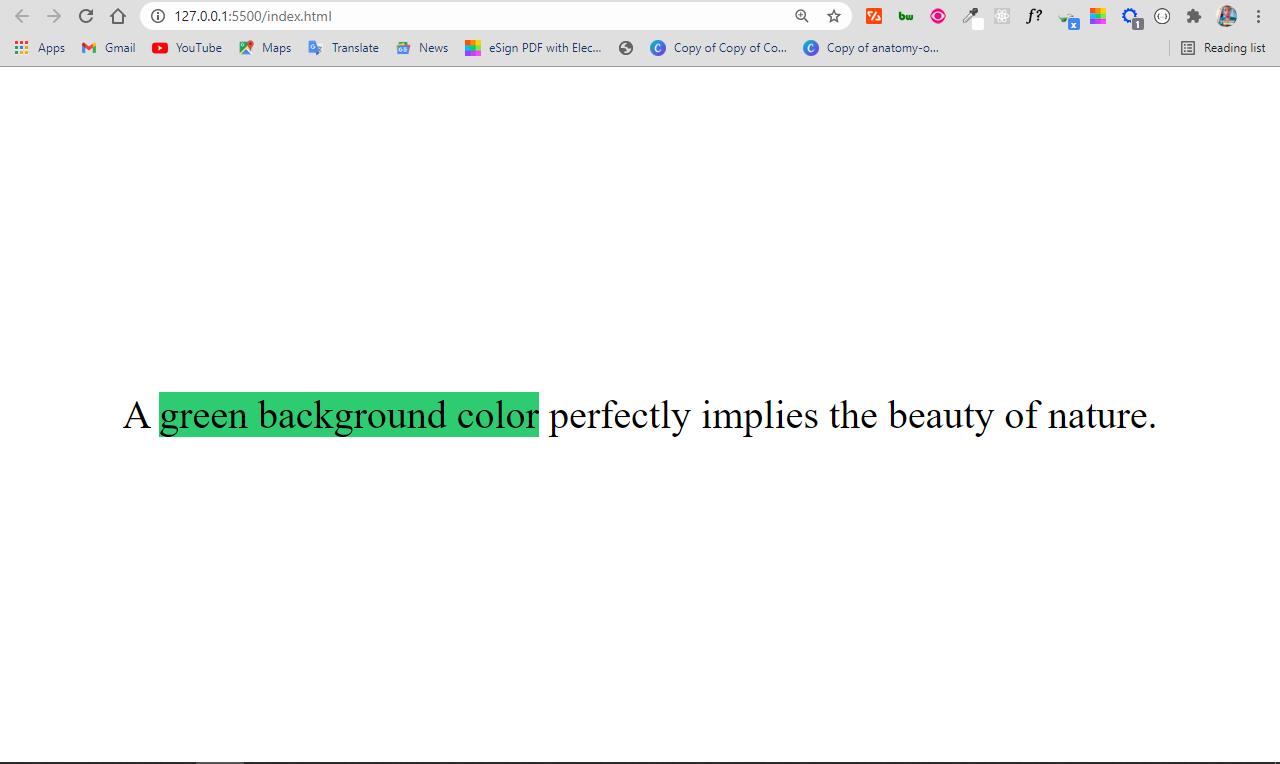
How to change background color
A green background color perfectly implies the beauty of nature.
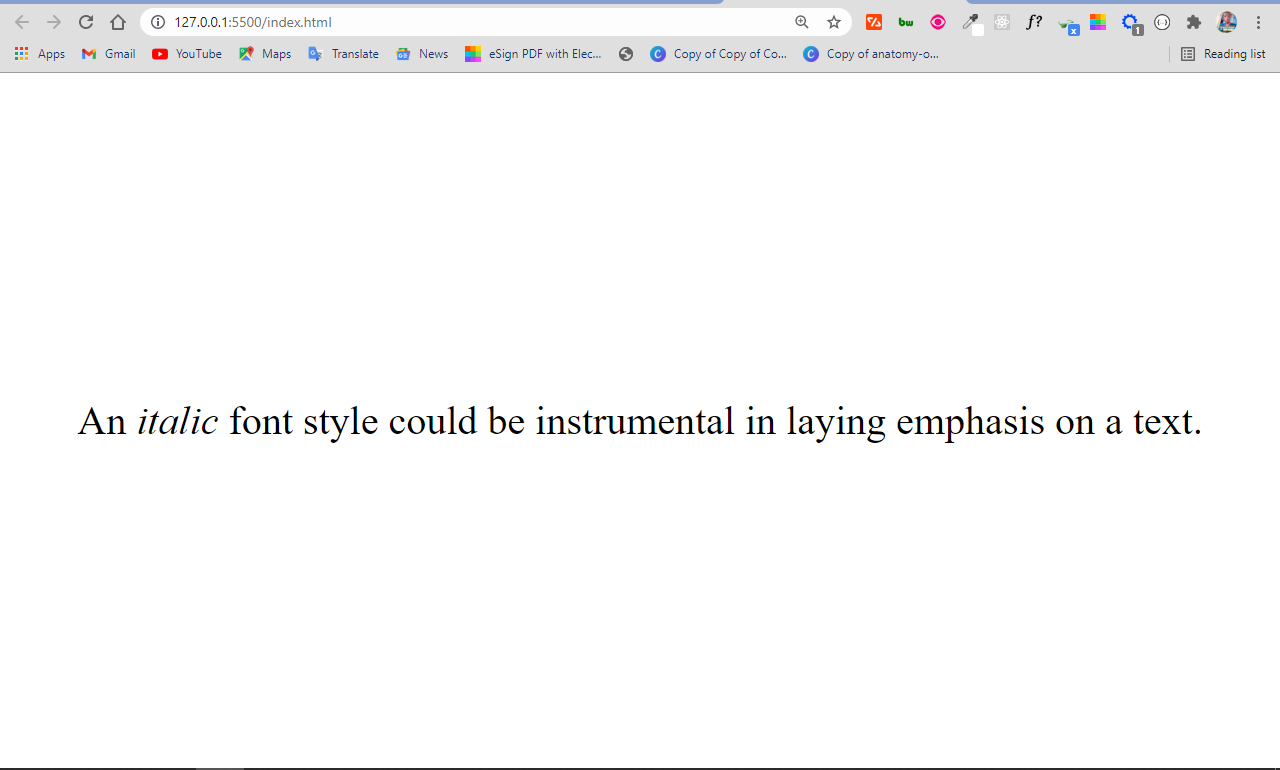
How to change font style
An italic font style could be instrumental in laying emphasis on a text.
How to Manipulate JavaScript with the span tag
Just as it is possible to style content by wrapping a span tag around it, you can also manipulate your content by wrapping it in a span tag. You give it an id attribute and then select it by its id with JavaScript so you can manipulate it.
In the example below, I changed some text within other text to uppercase with JavaScript:
The text, freecodecamp, was turned to upperase with JavaScript
const uppercase = document.querySelector("#uppercase"); uppercase.style.textTransform = "uppercase"; 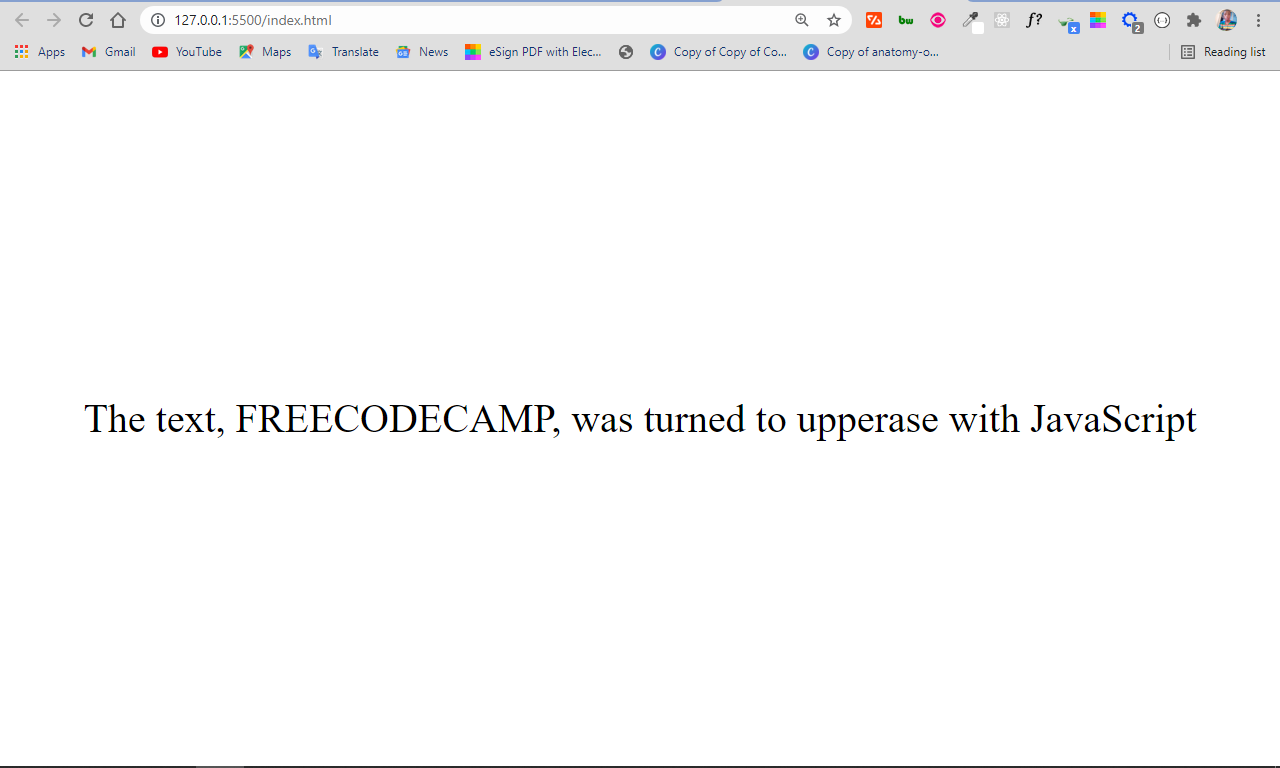
Conclusion
In this tutorial, you have learned how to manipulate a particular piece of text with CSS and JavaScript by wrapping it in a span tag and giving it a unique class or id attribute.
Please note that in cases like this, you should use classes for styling and ids for manipulation with JavaScript in order to avoid confusion.
Thank you for reading, and keep coding.
Kolade Chris
Web developer and technical writer focusing on frontend technologies. I also dabble in a lot of other technologies.
If you read this far, tweet to the author to show them you care. Tweet a thanks
Learn to code for free. freeCodeCamp’s open source curriculum has helped more than 40,000 people get jobs as developers. Get started
freeCodeCamp is a donor-supported tax-exempt 501(c)(3) charity organization (United States Federal Tax Identification Number: 82-0779546)
Our mission: to help people learn to code for free. We accomplish this by creating thousands of videos, articles, and interactive coding lessons — all freely available to the public. We also have thousands of freeCodeCamp study groups around the world.
Donations to freeCodeCamp go toward our education initiatives, and help pay for servers, services, and staff.
HTML тег
Чтобы не задавать каждый раз стиль внутри тега, можно выделить стиль во внешнюю таблицу стилей, а для идентификации тега использовать атрибуты class или id с именем селектора.
Тег не оказывает никакое влияние на визуальное оформление элементов и не имеет семантического значения.
Синтаксис
Тег — парный, его содержимое пишется между открывающим () и закрывающим () тегами.
Пример
html> html> html> head> title>Заголовок документа title> head> body> p>У моей кошки span style="color: green;">зеленые span> глаза. p> body> html>Результат

В этом примере мы задали стиль непосредственно в теге.
Пример
html> html> head> title>Заголовок документа title> style> .letter < color: red; font-size: 300%; /* Размер шрифта в процентах */ position: relative; /* Относительное позиционирование */ top: 7px; /* Сдвиг сверху */ style> head> body> p>span class="letter">О span>на нанесла в руках отвратительные, тревожные желтые цветы. И эти цветы очень отчетливо выделялись на черном ее весеннем пальто. p> p>Михаил Булгаков p> body> html>Результат

В этом примере мы добавили к тегу атрибут class , и отдельно задали стили для содержимого тега.
Атрибуты
Как добавить стиль к тегу ?
Распространенные свойства для изменения визуальной насыщенности/выделения/размера текста внутри тега :
- CSS свойство font-style задает стиль шрифта: normal | italic | oblique | initial | inherit
- CSS свойство font-family создает приоритетный список названий семейства шрифтов и/или общее имя шрифтов для выбранных элементов.
- CSS свойство font-size задает размер щрифта.
- CSS свойство font-weight устанавливает насыщенность шрифта.
- CSS свойство text-transform задает регистр текста (заглавные или строчные буквы).
- CSS свойство text-decoration устанавливает оформление текста. Оно является сокращенным свойством для text-decoration-line, text-decoration-color, text-decoration-style.
Цвет текста внутри тега :
Стили форматирования текста для тега :
- CSS свойство text-indent указывает размер отступа первой строки в текстовом блоке.
- CSS свойство text-overflow указывает, как будет отображаться пользователю строчный текст, выходящий за границы блока.
- CSS свойство white-space указывает, как будут отображены пробелы внутри элемента.
- CSS свойство word-break указывает перенос строки.
Другие свойства для тега :
- CSS свойство text-shadow добавляет тень к тексту.
- CSS свойство text-align-last выравнивает последнюю строку текста.
- CSS свойство line-height устанавливает межстрочный интервал.
- CSS свойство letter-spacing устанавливает расстояние между буквами/символами в тексте.
- CSS свойство word-spacing устанавливает расстояние между словами в тексте.