- How to change the Button element text using JavaScript
- Html button javascript text
- # Table of Contents
- # Change button text on Click using JavaScript
- # Changing the button’s innerHTML on click
- # Toggle button text on Click using JavaScript
- # Toggle a button’s innerHTML on click
- # Additional Resources
- JavaScript Button
- Examples of JavaScript Button
- Example #1
- Example #2
- Example #3
- Example #4
- Example #5
- Example #6
- Conclusion
- Recommended Articles
How to change the Button element text using JavaScript
In this tutorial, we are going to learn about how to change the text value of an button element using JavaScript.
Consider, we have a following input button element:
input type="button" value="Red" id="btn" /> Now, we want to change the above button text value to blue by using JavaScript.
To change the button text, first we need to access the button element inside the JavaScript by using the document.getElementById() method and add a click event handler to the button, then set it’s value property to blue .
const btn = document.getElementById("btn"); btn.addEventListener("click", ()=> if(btn.value === "Red") btn.value = "Blue"; >else btn.value= "Red"; > >)Now, when we click on our button , it changes the value from Red to Blue or vice versa.
If you want to change the text value for a HTML element, then you need to update the button element innerText property instead of value property.
const btn = document.getElementById("btn"); btn.addEventListener("click", ()=> if(btn.innerText === "Red") btn.innerText = "Blue"; >else btn.innerText= "Red"; > >);Html button javascript text
Last updated: Jan 12, 2023
Reading time · 3 min
# Table of Contents
# Change button text on Click using JavaScript
To change the text of a button on click:
- Add a click event listener to the button.
- Use the textContent property to change the button’s text.
- For example, btn.textContent = ‘Button clicked’ .
Here is the HTML for the examples.
Copied!DOCTYPE html> html lang="en"> head> title>bobbyhadz.comtitle> meta charset="UTF-8" /> head> body> button id="btn">Click mebutton> script src="index.js"> script> body> html>
And here is the related JavaScript code.
Copied!const btn = document.getElementById('btn'); // ✅ Change button text on click btn.addEventListener('click', function handleClick() btn.textContent = 'Button clicked'; >); /** * ✅ If you need to change the button's inner HTML use: * - `innerHTML` instead of `textContent` */
We added a click event listener to the button.
Every time the button is clicked, the handleClick function is invoked.
The textContent property can be used to change the button’s text every time it’s clicked.
# Changing the button’s innerHTML on click
If you need to change the button’s inner HTML, use the innerHTML property instead of textContent .
Copied!const btn = document.getElementById('btn'); // ✅ Change button text on click btn.addEventListener('click', function handleClick() const initialText = 'Click me'; btn.innerHTML = `span style="background-color: salmon">Button clickedspan>`; >);
This approach could be used to add a loading spinner when the user clicks a button.
Note that you shouldn’t set the button’s innerHTML based on user-provided input without escaping it. This would make your site vulnerable to cross-site scripting attacks.
# Toggle button text on Click using JavaScript
To toggle a button’s text on click:
- Add a click event listener to the button.
- Each time the button is clicked, check if the button’s text is the initial text.
- If it is, change the text to the clicked text.
- Otherwise, change the text back to the initial text.
Copied!const btn = document.getElementById('btn'); // ✅ Toggle button text on click btn.addEventListener('click', function handleClick() const initialText = 'Click me'; if (btn.textContent.toLowerCase().includes(initialText.toLowerCase())) btn.textContent = 'Button clicked'; > else btn.textContent = initialText; > >); /** * ✅ If you need to change the button's inner HTML use: * - `innerHTML` instead of `textContent` */
Each time the button is clicked, the handleClick function is invoked.
In the function, we check if the button’s textContent contains the initial text value.
We converted both the initialText and the button’s text content to lowercase to make a case-insensitive comparison.
If the button’s text is the initial text, we set the text to a new value of Button clicked .
Otherwise, we set the button’s text to the initial text.
# Toggle a button’s innerHTML on click
If you need to use HTML when setting the button’s content, use the innerHTML property instead of textContent .
Copied!const btn = document.getElementById('btn'); // ✅ Toggle button text on click btn.addEventListener('click', function handleClick() const initialText = 'Click me'; if (btn.textContent.toLowerCase().includes(initialText.toLowerCase())) btn.innerHTML = 'Button clicked'; > else btn.textContent = initialText; > >);
We used the innerHTML property to set the content of a button to a span with a background color.
In a more real-world scenario, you would probably set the content to some text and a loading spinner.
# Additional Resources
You can learn more about the related topics by checking out the following tutorials:
I wrote a book in which I share everything I know about how to become a better, more efficient programmer.
JavaScript Button
JavaScript button is one of the JavaScript element which gives effects to web pages. JavaScript buttons give a good look and feel to the website. These JavaScript buttons can be used to send or receive data; fire clicks events, change the color or text, etc. HTML tag is used in JavaScript frameworks that define a clickable button. When a button is rendered onto the web page, an event is fired to perform a functionality. We shall look into the creation of JavaScript buttons by using createElement() and an HTML tag, which is used for JavaScript frameworks.
Web development, programming languages, Software testing & others
Using HTML tag for JavaScript Buttons
Above is the syntax mainly used in JavaScript Frameworks like ReactJs, AngularJs, etc.
varsampleButton = document.createElement(btn);Above is the Pure JavaScript Syntax used to create a JavaScript button.
Examples of JavaScript Button
Look at the below examples to learn How JavaScript buttons are created?
Example #1
Creating a JavaScript Button using tag
Creation of a JavaScript Button using HTML tag
As there is no functionality or any event linked, clicking button will not work
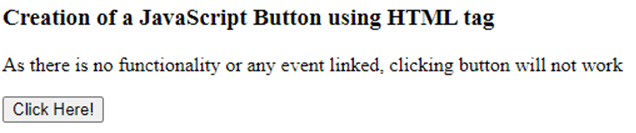
So here, in the above example, we are just creating a button using the HTML tag with an id. Clicking won’t work as there is no event handler or functionality applicable.
Example #2
Add a Click Event to the button.
Adding onClick event handler for JavaScript Button
Click below to see the onClick functionality
function sampleClick() 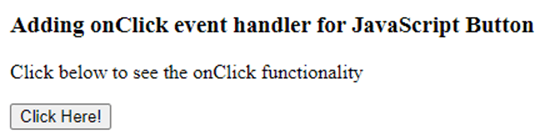
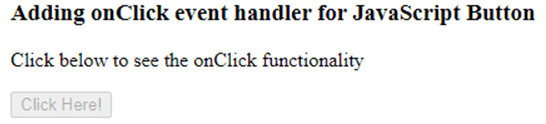
In the above example, we use the onClick functionality to disable the button. .disabled is the method that helps the button get disabled, and clicking would not work.
Example #3
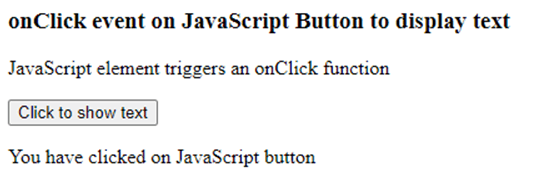
onClick on a button to display text.
onClick event on JavaScript Button to display text
JavaScript element triggers an onClick function
function clickText() 
Example #4
body < text-align: left; >/* Styling for the btn1 class */ .btn1 < background-color: #4FFF8A; >/* Styling for */ #htmlbtn1 < font-weight: bold; >/* Styling for */ #htmlbtn2 < font-style: italic; >/* Styling for */ #jsbtn JavaScript buttons:

Let us walk through the code to understand it in a much better way,
a document.createElement(‘btn1’); creates clickable button object and referenced as ‘clickBtn.’
- innerHTML helps in setting inner content, also known as a label.
- id = ‘jsbtn,’ sets button Id
- className = ‘btn1’, sets the buttons styling CSS
- body.appendChild(clickBtn) helps append clickBtn to the document’s body as a child.
When the page renders, we see all three buttons with background styling from the btn1 class; also, each button has different font styles specific to the ids.
Initially, the text label for htmlbtn2 was ‘I’m an HTML button 2!’; we used JavaScript and modified the text label to ‘Modified HTML button 2!’.
Example #5
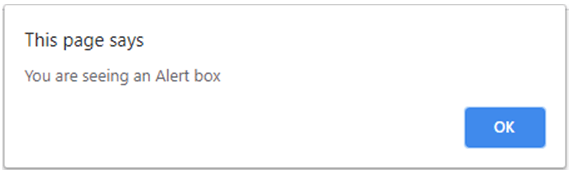
onClick event on button for pop up
Click the button to see a pop up with text
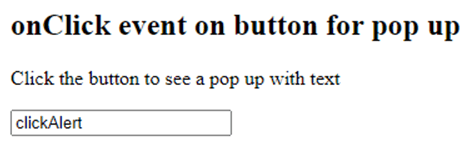
On click, you will see an alert box,
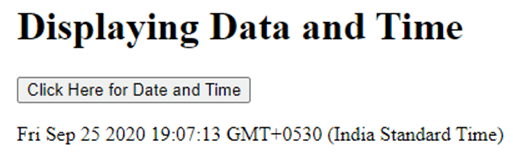
Example #6
Displaying Data and Time
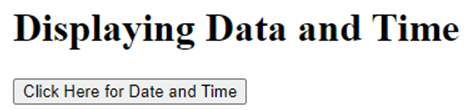
On click, we will see the Current Date and Time,
JavaScript buttons can have multiple event handlers applied to them.
- on clicking the button
- Hover the mouse over the button
- on mouse out from the button
- on submitting a form/ data by clicking the button (Post method)
- Retrieving data from a source (Get method)
- Removing the focus from the button
- Applying focus on the button
- Disabling the button using .disable
- On change method
- and many more…..
Conclusion
With this, we shall conclude the topic ‘JavaScript button.’ We have discussed JavaScript buttons and their usage. Different ways of describing the button; one is by using JavaScript createElement() and the other by using HTML tag . I have listed some examples with clear explanations to make you understand much better. As we have many event handler methods applicable to JavaScript buttons, we have listed some. You can even try hands-on with the other events. JavaScript buttons make the web page look more elegant, as most essential web pages have buttons with various functionalities.
Recommended Articles
This is a guide to JavaScript Button. Here we also discuss the javascript button’s introduction and syntax, different examples, and code implementation. You may also have a look at the following articles to learn more –
89+ Hours of HD Videos
13 Courses
3 Mock Tests & Quizzes
Verifiable Certificate of Completion
Lifetime Access
4.5
97+ Hours of HD Videos
15 Courses
12 Mock Tests & Quizzes
Verifiable Certificate of Completion
Lifetime Access
4.5
JAVASCRIPT Course Bundle — 83 Courses in 1 | 18 Mock Tests
343+ Hours of HD Videos
83 Courses
18 Mock Tests & Quizzes
Verifiable Certificate of Completion
Lifetime Access
4.5