- Set Image Transparency in your site images with CSS
- First things first, what is image transparency?
- Does PNG, JPG and/or GIF affect the page loading speed?
- What is CSS?
- NOTE:****
- In conclusion,
- Transparent Background – Image Opacity in CSS and HTML
- Image Transparency with the CSS Opacity Property
- Background Image Transparency in HTML and CSS
- The solution
- Conclusion
- How to create an image with a transparent background using CSS?
- Creating a transparent background text
- Example: Creating a transparent background text with CSS
- Output
- Example: Creating a transparent text on image
- Conclusion
Set Image Transparency in your site images with CSS
Have you ever tried to make an image background transparent but were unable to and/or spent an eternity trying to get it right? Well, in this guide we are going to show you how to make a background transparent in your site images with CSS.
First things first, what is image transparency?
With an image or graphic, transparent refers to an image that is clear and can take the effect of any images behind it. Basically, a transparent image is a picture where some part of the image is see-through, like the image has been cut out. This is useful because transparent images look much better when combined with other images, allowing you to see the background or other items behind the picture.
Almost all image editors used today are capable of making an image transparent, so, if you’re having trouble making one, note that the JPG or JPEG image format does not support transparency, which is why it’s important that when creating a transparent image, you use GIF or PNG.
What is a transparent image called?
A picture with a transparent background is also called PNG. A PNG is an image file type that allows saving the image with a transparent background. Most images cover a certain number of pixels and have color in all of those pixels, even if that color is white. A transparent background has nothing in the background pixels, allowing what’s behind it to show through.
Does PNG, JPG and GIF have transparency?
As seen before, JPG or JPEG image formats do not support transparency and when they are compressed they lose image quality. That being said, JPGs are a common choice for images on websites because they have a relatively small file size and this helps your website to load faster and without problems.
Another commonly used option is a GIF. GIF files can have transparent backgrounds, but they only allow one color to be specified transparently, while PNGs have better transparency options.
When choosing between PNG, JPG or GIF, PNGs are a better choice when you need a transparent image because not only is the compression lossless, meaning there is no loss in quality each time it is opened and saved again, but PNG also handles detailed, high-contrast images well.
Does PNG, JPG and/or GIF affect the page loading speed?
On average images make up 21% of a total website’s weight. Done right, images can make a website look fantastic. Done wrong, and your website’s load speed will be off the chart. That’s why image optimization is crucial (see this article on how to optimize images to boost page speed and appearance). When optimizing images, your site loads faster and your SEO will benefit.
Many people wonder if using PNG, JPG or GIF affects the speed of your site, so, what file format should I save my image in?
- PNG: expect a higher-quality image but a larger file size. Best for logos, text heavy/graphic designs, screenshots and anything that requires a transparent background.
- JPEG: you’ll probably save images as a jpeg the most. Best for photography, lifestyle images, product shots. As photos contain a wide variety of colours and natural variations, the loss in quality is usually unnoticeable to the human eye.
- GIF: if you need to add an animation go for GIF.
How do I make an image transparent?
Now that you know what image transparency is and how PNG, JPG and GIF come into play, you need to know how exactly to make an image background transparent. As seen above, you can create a transparent area in most images with almost all image editors. But here, we’re going to show you how to make the background of an image transparent with CSS.
What is CSS?
CSS is the language we use to style a web page, it stands for “Cascading Style Sheets”. CSS describes how HTML elements are to be displayed on screen, paper, or in other media,it can control the layout of multiple web pages all at once. It’s basically a language for specifying how documents are presented to users (how they are styled, laid out, etc.). It can be used for very basic document text styling, for example, changing the color and size of headings and links and it can also be used to create layout!
Create a transparent image with CSS:
As of CSS3 we have an «opacity» property that we can use to clarify and give the effect of transparency to the images on a website. Below we are going to show you exactly how to create a transparent image with CSS.
And here is the same picture but with transparency:
Consider the following CSS:
img opacity:0.4; filter:alpha(opacity=40); /* For IE8 and earlier */ > We could make the hover effect show transparency of the image or not in the following way:
img opacity:1; filter:alpha(opacity=100); /* For IE8 and earlier */ > img:hover opacity:1.0; filter:alpha(opacity=100); /* For IE8 and earlier */ > In the previous example we added what should happen when a user hovers over one of the images. In this case, we want the image to not be transparent when the user passes over it.
The CSS code for this is: opacity = 1.
IE8 and earlier versions: filter: alpha (opacity = 100).
When the mouse pointer moves away from the image, the image will be transparent again.
NOTE:****
There’s no CSS property that you can use to change the opacity of only the background image. Unlike background colors, which allow you to adjust the alpha channel to control opacity, it simply doesn’t exist for the background-image property.
To fix this issue, you need to put the background image into a child element of the parent. This will ensure that the background image and the text content will be on their own “layer” in the parent. You can then control each layer’s opacity without affecting each other. One approach you can use is to put the background-image styles in a pseudo-element of the parent element.
In other words, you can fake it by inserting a pseudo element with regular opacity the exact size of the element behind it:
div width: 200px; height: 200px; display: block; position: relative; > div::after content: ""; background: url(image.jpg); opacity: 0.5; top: 0; left: 0; bottom: 0; right: 0; position: absolute; z-index: -1; > Other transparent image editing programs:
- Adobe Photoshop.
- Canva.
- Snappa.
- Lumina.
- InPixio.
- Background eraser.
In conclusion,
As you have probably realized by reading this article, creating an image with a transparent background isn’t as hard as it may have seemed and it actually plays a huge role in image optimization and, therefore, the loading speed of your website and, by consequence, the user interaction with it.
We hope this guide helped and answered your questions on CSS and transparent backgrounds on your website’s images.
If you feel like learning more about creating the best atmosphere for your website, read this article on The Most Complete Guide for Image Optimization
Transparent Background – Image Opacity in CSS and HTML

Kolade Chris

Transparency plays an important role in front end development. It lets you choose how transparent the elements on your web pages appear.
You can adjust transparency in several ways – because of course, in CSS, there are multiple ways to do the same thing.
The CSS opacity property is the first way that might come to your mind to change transparency. But this property can’t come to the rescue all the time, especially when there is a background image with text in it that you want to make transparent.
So in this article, I’m going to show you the various ways you can adjust transparency so you can start implementing it in your coding projects.
Image Transparency with the CSS Opacity Property
To make an image transparent, you can use the CSS opacity property, as I mentioned above. The basic syntax of the opacity property is shown in the code snippet below:
The opacity property takes values from 0.0 to 1.0 , with 1 being the default value for all elements. The lower the value, the more transparent. So if an element is given an opacity of 0 , it would be invisible.
You can find examples of different opacity values in the code snippets below:
I have added some CSS to center everything on the page:

An opacity value of 1 is the default, so the image appears like this:
This code gives us 50% opacity, and you can see that the logo has faded a bit:

With an opacity of 0 , the image is 100% transparent, so it becomes invisible:

The only way to be sure the image is on the page is to inspect it with your browser devtools:

You can use this opacity value to do a lot of things – for example, you can use it to include text over a hero image on a website.
You might be wondering why you would want to make content invisible with an opacity value of 0. Well, it can be useful in animations, and in building HTM + CSS + JavaScript games as well.
You’ll definitely want to use CSS positioning to help you align things. I’ll discuss this in the next parts of the article.
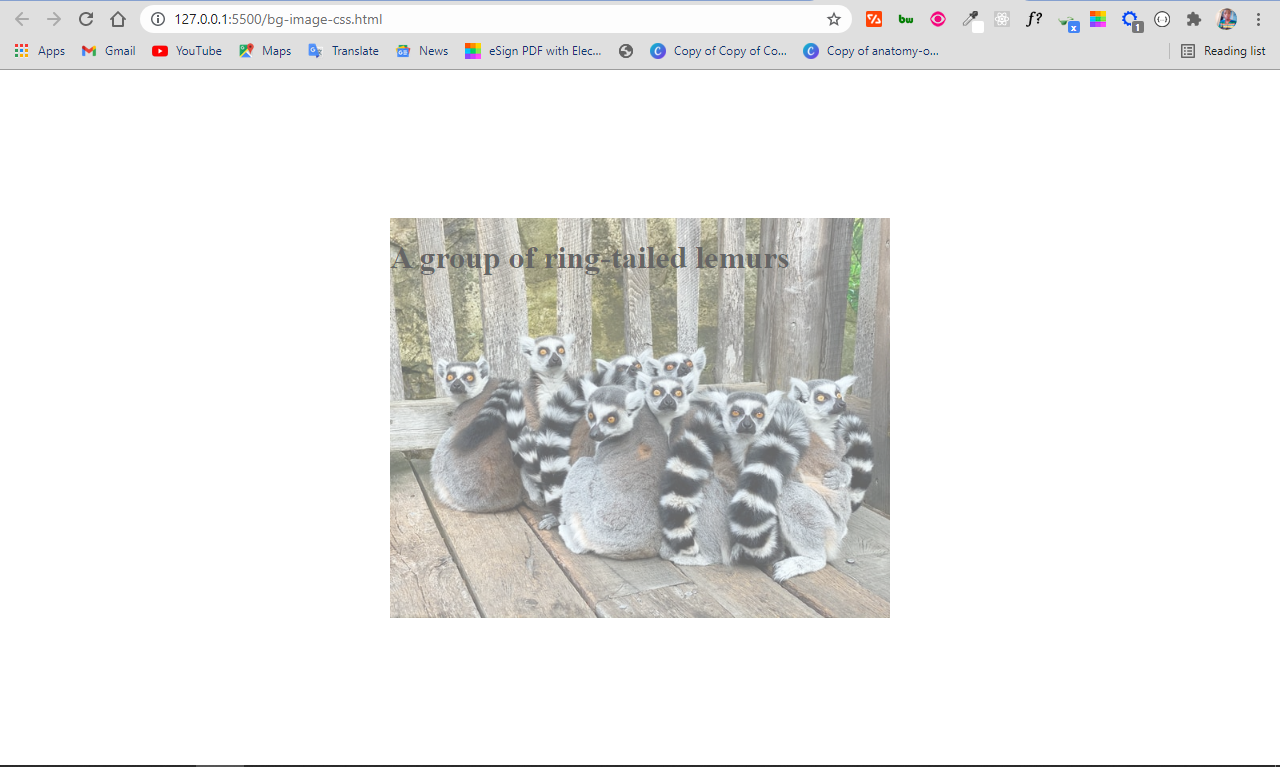
Background Image Transparency in HTML and CSS
CSS offers a way to set the background image for a container element with the background-image property, so you don’t necessarily have to do it with the CSS. This means you can also place text in the container as well.
A group of ring-tailed lemurs
The downside of this approach is that the opacity is set for the container where the image and text are. So, the opacity affects the text as well, not only the image. This is probably not what you want!
The solution
By default, when you apply an opacity to a container, the descendants inherit it as well.
A workaround in this situation is to set the background image in the HTML. This makes it easy to apply the opacity to the image only, instead of setting the background image for the container in the CSS.
This time around, the image and the text will be separated, so the text will not inherit the value set for the opacity .
This means you also have to use CSS positioning to align the text within the image.

A group of ring-tailed lemurs

body < display: flex; align-items: center; justify-content: center; margin: 0 auto; height: 100vh; >.showcase < position: relative; >.bg-image < opacity: 0.7; >.bg-img-title
In the CSS code snippet above, I use flexbox to center everything on the page.
The container div element with the class of showcase is positioned relative , so you can position the h1 text absolute within it. This will push the h1 text to the top-left corner of the image. The top and left properties are then used to push the text to the bottom-left corner of the image.
If you are wondering what the top and left properties are, they are the properties you get access to when you use the display property.
In addition to these two, you also get access to the right and bottom properties. They let you position an element anywhere.
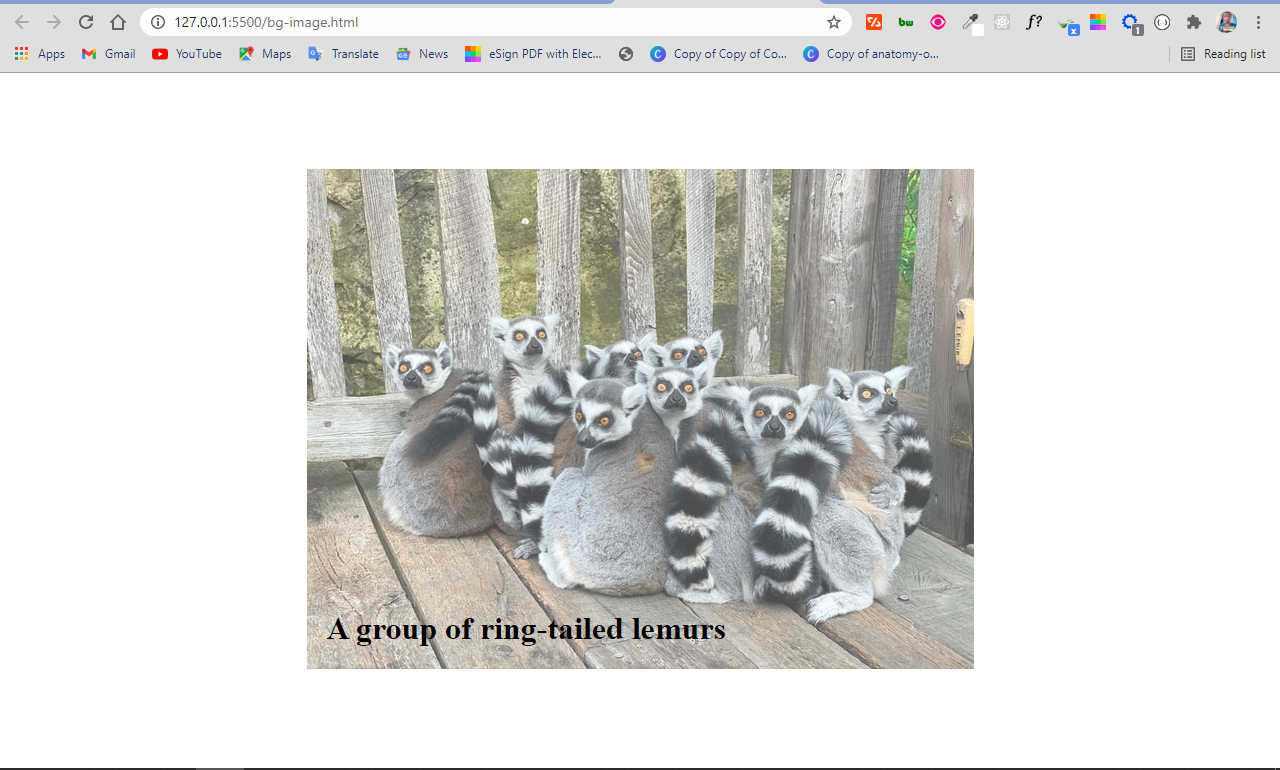
In the end, the image is opaque and the text is not affected:
Conclusion
In this article, you learned how to use the opacity property of CSS to make images transparent.
As CSS remains tricky and a bit weird, it’s helpful to combine the opacity property with other CSS features such as positioning in order to put it into proper use.
Apart from CSS positioning, you can also use the opacity property with CSS pseudo-elements such as ::before and ::after , which is sort of a hacky way of doing things.
Thank you for reading, and keep coding.
How to create an image with a transparent background using CSS?
The transparent text with the image is popular on web pages. The text with transparent background enhances the look of the text.
In this tutorial, we will be learning to create an image with a transparent(see-through) background text. This can be done with CSS.
Creating a transparent background text
To create an image with transparent background text, all we need to do is to take an element and wrap the image and a child with some text within it. Add position: relative to the parent and position: absolute to the child So that the text will be positioned above the image.
To make the background text transparent use RGBA color code. In addition to that add some other CSS properties to customize the elements.
Example: Creating a transparent background text with CSS
Here is an example where we have added an image with transparent text.
.parent < position: relative; max-width: 520px; >.child < position: absolute; width: 100%; background: rgba(0,0,0); /* fall back color */ background: rgba(0,0,0,0.3); /* transparent text*/ color: black; bottom: 5px; >img Transparent Text
The Morning Shows the day

Output
Here is the output of the above example.

Example: Creating a transparent text on image
We can also add an image on the background of the container and add a text with transparent background on it. It has been shown in this example where we have used background-image property to add image.
Conclusion
In this tutorial, we have learned to create an image with text which has a transparent background. We can do so using the CSS property. It has been explained with examples.