- How to override bootstrap? [duplicate]
- 2 Answers 2
- How To Override Default Bootstrap CSS Styles
- Using CSS Override
- Example
- CSS Specificity
- Using SASS
- Example
- How to override Bootstrap CSS?
- Overriding Bootstrap via CSS
- Customizing Bootstrap via Sass variables and mixins
- Bootstrap themes and templates
- Related Questions
- Latest News
- How to overwrite styling in Twitter Bootstrap
- 8 Answers 8
How to override bootstrap? [duplicate]
The original code is too long, I’ve made a short example (This time, using Bootstrap CDN links):
Lorem ipsum dolor sit amet, consectetur adipisicing elit, sed do eiusmod tempor incididunt ut labore et dolore magna aliqua. Ut enim ad minim veniam, quis nostrud exercitation ullamco laboris nisi ut aliquip ex ea commodo consequat. Duis aute irure dolor in reprehenderit in voluptate velit esse cillum dolore eu fugiat nulla pariatur. Excepteur sint occaecat cupidatat non proident, sunt in culpa qui officia deserunt mollit anim id est laborum.
2 Answers 2
It appears the key for changing the background in the navbar is associated with background-image a gradient on the .navbar-default . If you apply none to that property you should get the desired effect.
The other overrides should work normally as you saw with the text color change.
@ZilongL glad to help! I would recommend that in this case since the ‘marked’ answer didn’t answer your question you switch the answer to this one, to help other users that might have a similar question.
Yeah just did. Might if I ask another newbie question? What is happening when I can override bootstrap using html style attribute, but not a separate css file. I know the css file path is correct since some rules still apply, and that it is loaded after bootstrap and bootstrap theme in the html head. Tried ID tags, no luck. Many thanks in advance!
Basically because inline styles > external css sheet. The order of importance is Inline style > internal css > external css > browser default. So that’s why that works. The problem you’re experiencing has to do with another attribute having a higher importance. So you either have to make your attribute have a higher importance or you can amend the bootstrap css IDs and Classes so there is no need for override. In the example above you could have also not used .navbar-default , but rather built your own class called say .navbar-[your name here]
How To Override Default Bootstrap CSS Styles
Developers often override or customize default Bootstrap CSS styles when working on web development projects. Most developers do it to make changes to Bootstrap fonts, borders, colors, or other bootstrap dashboard styles. In addition, default Bootstrap CSS styles are also customized to extend Bootstrap classes with new custom classes and to change Bootstrap grid layouts.
There are two easy and effective ways through which you can customize Bootstrap. Using CSS is the simplest and robust way to do so whereas using SASS for Bootstrap customization is actually an advanced method. Here you can find a step by step guide on how to customize Bootstrap with both of the above-mentioned methods.
Using CSS Override
CSS Customizations should be added to a separate custom.css file to ensure maintainability. This will guarantee that the original Bootstrap style files will remain unaltered.
You need to remember that order matters in CSS. So, the final definition of a particular CSS rule will override the previously defined rules when the CSS selectors & properties match. This is exactly why the custom.css reference should follow after Bootstrap.css.
Example
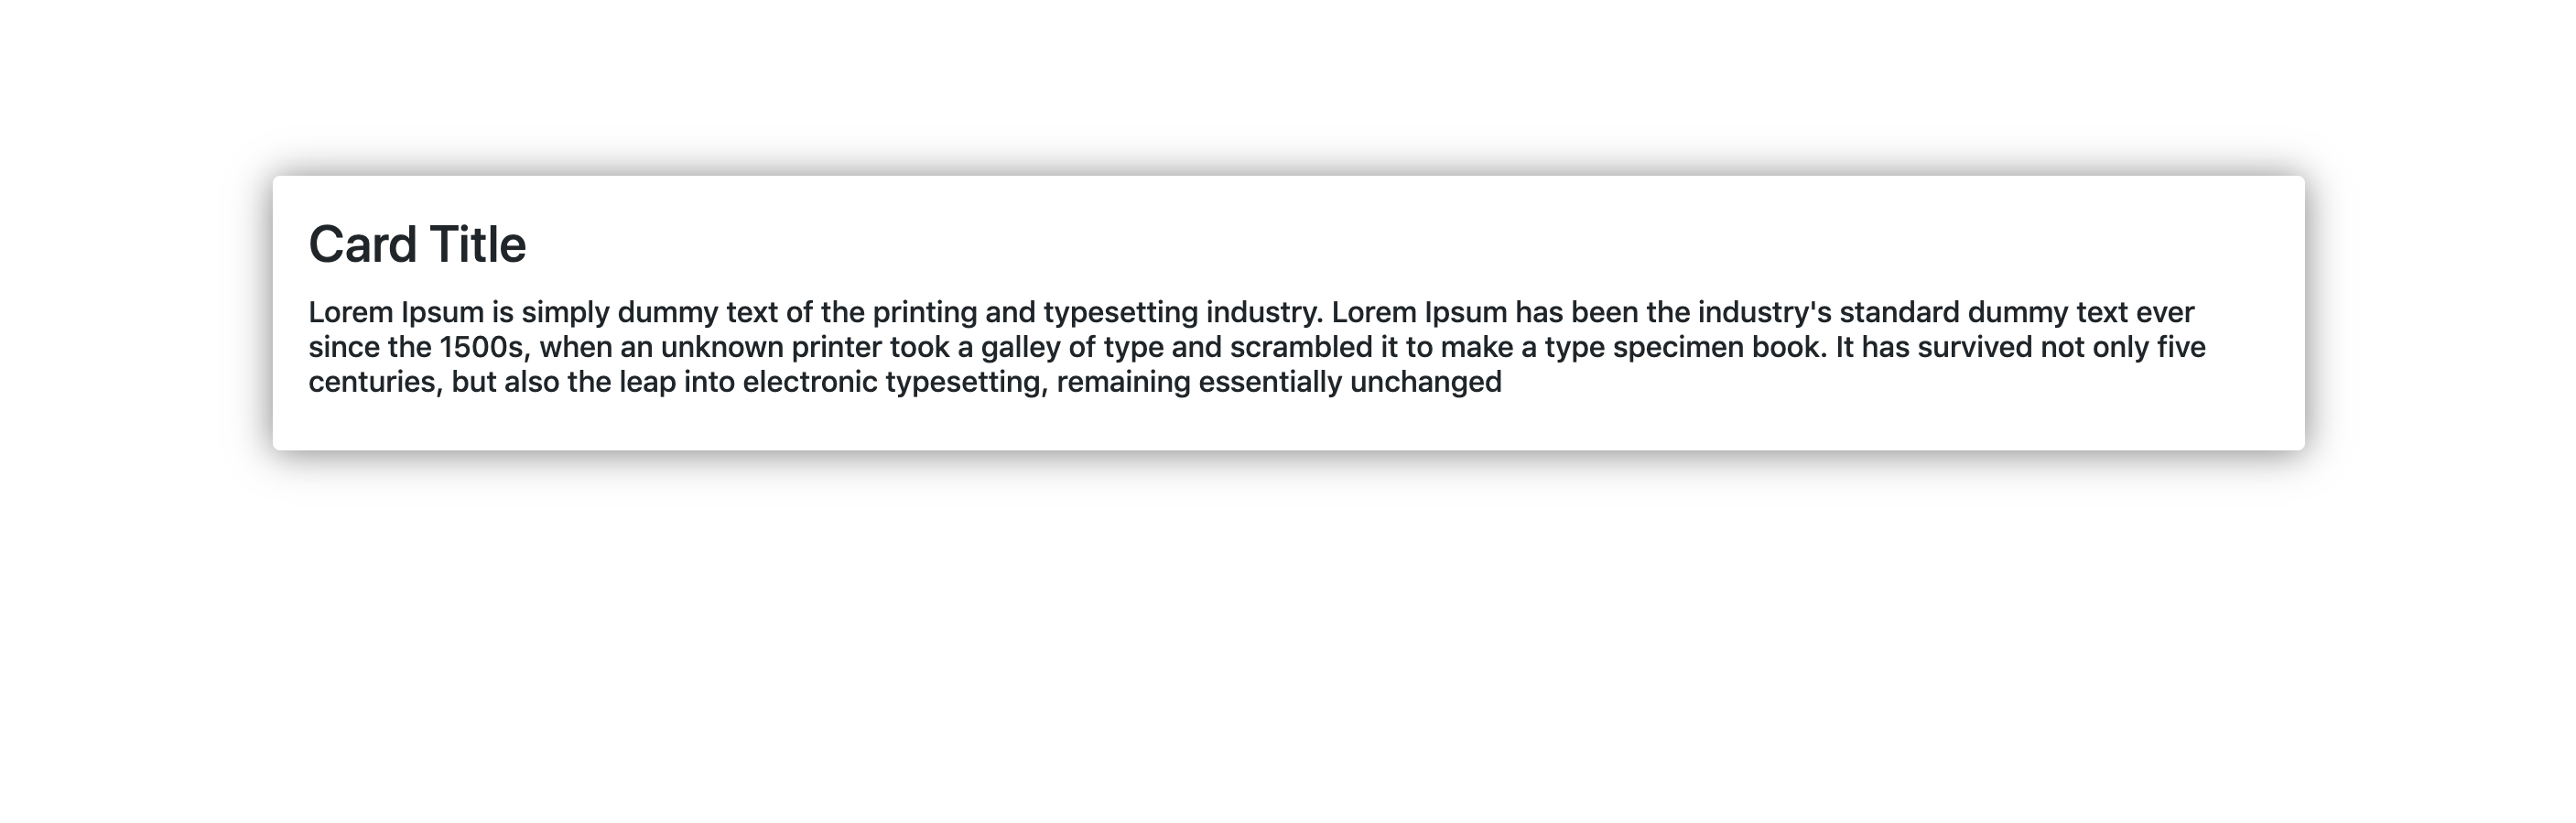
Bootstrap card component comes with a border by default. In this example, we will be removing the border and including a box-shadow to the Bootstrap card component by using custom.css. Here’s the code to do that.
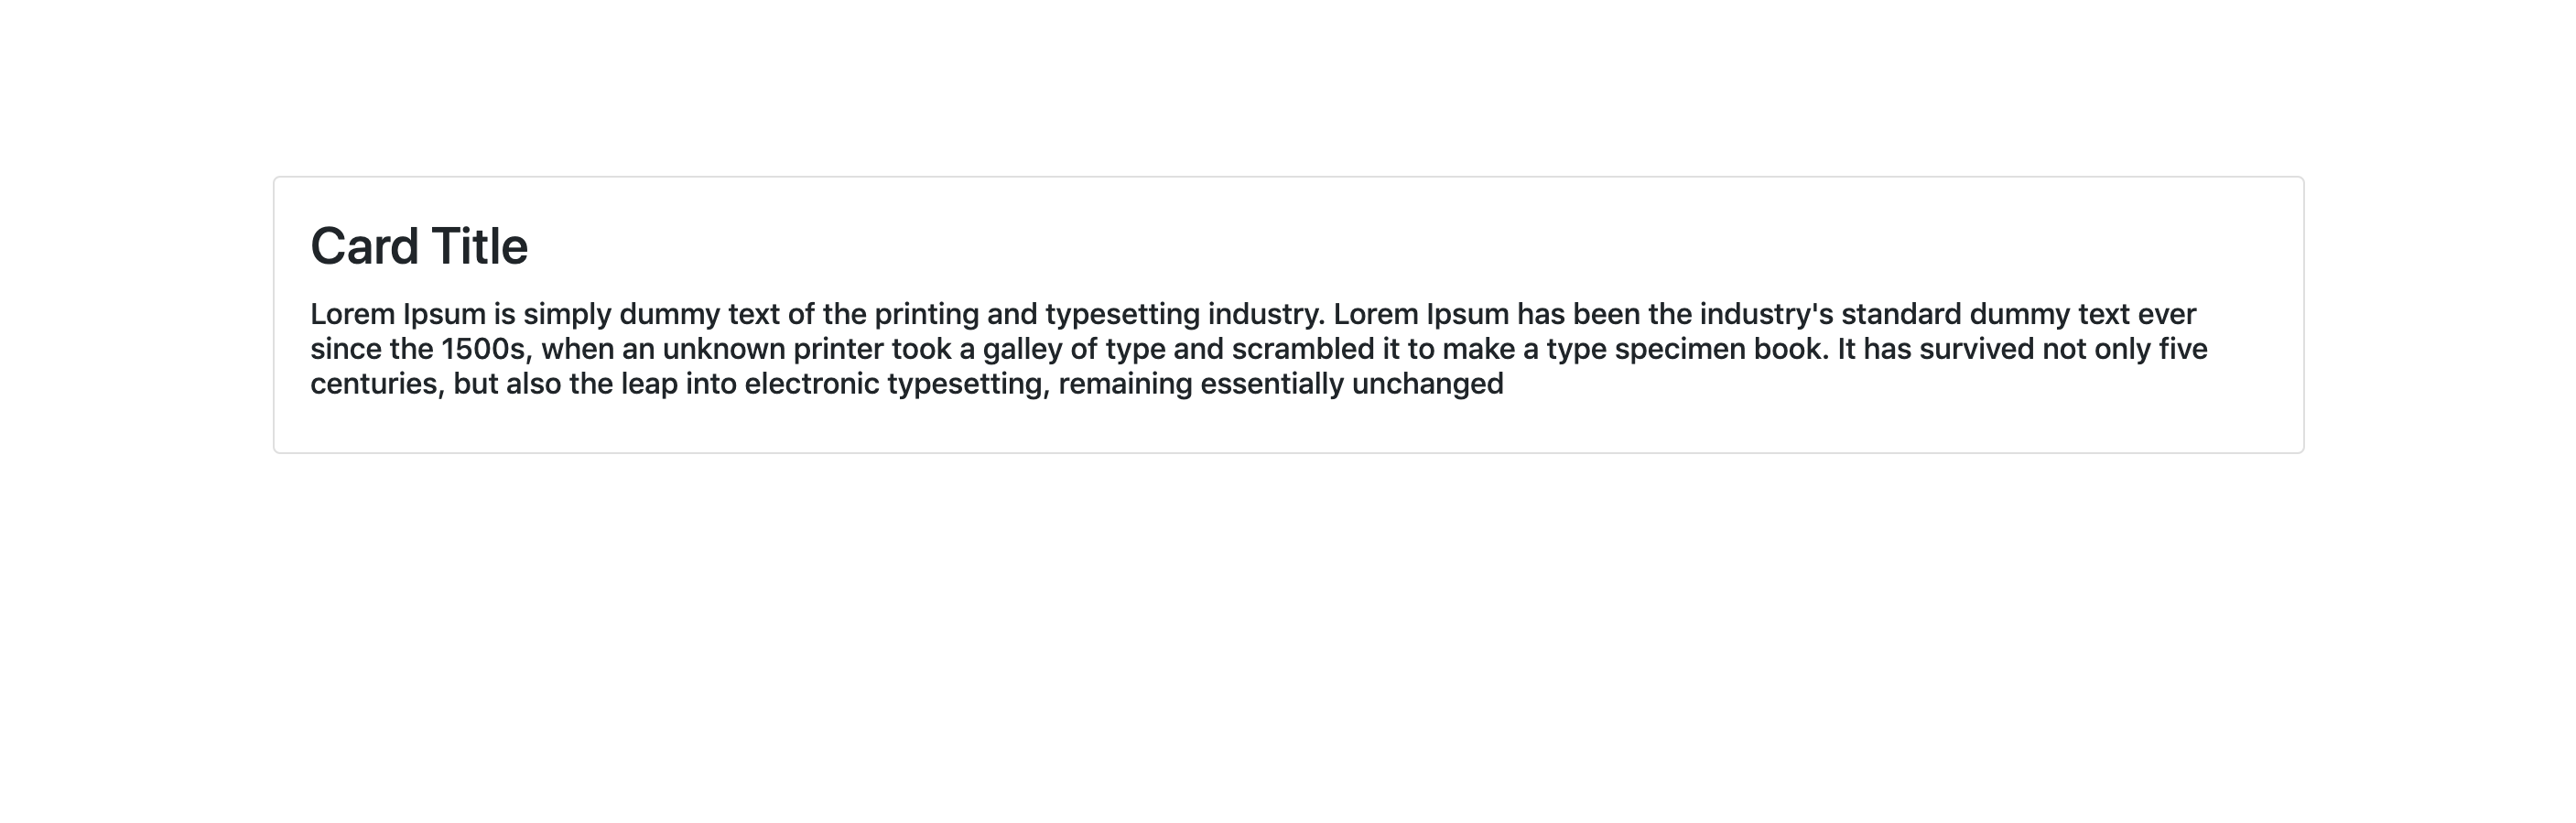
The following image shows a default bootstrap card.
Add the following lines of code in the custom.css file.
/* removes border from card and adds box-shadow property */ .card < border: none; box-shadow: 0 1px 20px 0 rgba(0,0,0,.1); >
Here is an image of the resultant customized Bootstrap Card component
 CSS Specificity
 CSS Specificity
Another important point to keep in mind when overriding the bootstrap styles is CSS specificity. We will need to use selectors that are as specific as the ones in the bootstrap.css. Using selectors that are not specific will not give you desired results, as the component will end up taking the default bootstrap styles even though we have written the custom styles in custom.css file.
It is best to use CSS overrides for simple Bootstrap customizations, but we recommend you to try the SASS method when it comes to making extensive customizations.
Using SASS
SASS is the most recommended method to customize Bootstrap. This is mainly because SASS language is used to write the entire Bootstrap 4 CSS source.
A Project Structure will look like this.
your-project/ ├── scss │ └── custom.scss └── node_modules/ └── bootstrap/ └── scss/ └── mixins/ └── utilities/ └── _functions.scss └── _mixins.scss └── _variables.scss └── (. more bootstrap scss source files) └── bootstrap-grid.scss └── bootstrap-reboot.scss └── bootstrap.scss
In the Bootstrap SASS source file, you can find a Bootstrap.scss file that contains Bootstrap SASS files. There is also a variables.scss file, which contains all the SASS variables. You can use your custom.scss files to override these variables.
Bonus Read: Check out our entire range of bootstrap admin templates here.
Example
The first thing most developers do is to make adjustments to the color palette when customizing default Bootstrap styles. You will need to use $theme-colors SASS map to change the default colors. Here’s how you can change the colors in default Bootstrap theme-colors.
Import the bootstrap variables and functions into the custom.scss file. Now, add the code to change bootstrap default theme-colors and then add the bootstrap scss. The entire code in custom.scss is given below.
/* === Import Bootstrap functions and variables === */ @import "bootstrap/scss/functions"; @import "bootstrap/scss/variables"; /*-------------------------------------------------------------------*/ /* Change theme-colors */ $theme-colors: ( primary: #234d7b, secondary: #3b3c3e, success: #1e6111, info: #64c3d2, warning: #f5e74a, danger: #820410 ); /*-------------------------------------------------------------------*/ /* === Boostrap Main SCSS === */ @import "bootstrap/scss/bootstrap"; /*-------------------------------------------------------------------*/>
A default Bootstrap Button will look like this.

The button will look like this when it is customized by using the above-mentioned code.

New to Bootstrap? Check out our free tutorial on Bootstrap 4! If you’re interested in getting a Bootstrap admin template, we make the best! Check our website out.
How to override Bootstrap CSS?
There are two main ways you can override Bootstrap CSS:
- Override using a higher specificity selector and properties via CSS
- Using Bootstrap Sass variables (recommended)
We recommend using Sass variables because that will not override the regular CSS from Bootstrap, but in fact, change it altogether. However, I will still show you how you can override the Bootstrap CSS in a fast and easy way.
Overriding Bootstrap via CSS
The most straightforward way of overriding Bootstrap styles is using plain old CSS. In this case, you will need to include your own CSS file after having Bootstrap included. Here’s an example:
After that, you can override the Bootstrap default styles in the custom.css file. For example, this is how you can change the color of the primary button:
/* bootstrap.min.css */ .btn-primary
In this case, the specificity is the same as for the default Bootstrap styles, but it is being overridden because it is written after the initial styles.
Some Bootstrap selectors may have a higher specificity so you will have to write selectors that match that specificity or have a higher one. Here’s an example:
/* bootstrap.min.css */ .navbar-light .navbar-brand
This is the default style for the branding element inside the navigation bar. If you want to override this you would need to write with the exact same specificity or a higher one:
/* custom.css */ .navbar-light .navbar-brand
Customizing Bootstrap via Sass variables and mixins
By far this is the best way to customize Bootstrap for your project because instead of overriding the styles it actually changes them saving you time and duplication of style declarations.
The one downside is that you need to set up a local environment that can compile Sass files. The good news is that there are many ways to do this. Some time ago, we wrote a tutorial on how you can set up a simple Gulp 4, Bootstrap Sass, and BrowserSync working environment. You can also just directly download the files to get started and resume this tutorial.
If you followed the tutorial for setting up Bootstrap Sass, Gulp 4, and BrowserSync you will have a _variables.scss file where you can easily change styles such as colors, sizing, shadows that will propagate throughout your whole Bootstrap application.
This means that if you change the $primary variable to your preferred color, all of the primary classes from Bootstrap will take on the new $primary color, including the buttons, badges, navigation items, and so on.
This is one of the reasons that using variables is much easier once you get used to them because you won’t have to override each class one by one using classic CSS.
Bootstrap themes and templates
You can save a lot of time and benefit from professionally designed templates by downloading or purchasing some of our free and premium Bootstrap templates, themes, and UI kits from Themesberg.
Each theme uses the recommended Gulp, Bootstrap Sass, and BrowserSync stack environment. Our newest themes that use Bootstrap 5 also no longer require jQuery as a dependency, rendering your website faster and easier to work with.
Related Questions
Latest News
How to overwrite styling in Twitter Bootstrap
How can I overwrite the stylings in Twitter Bootstrap? For instance, I am currently using a .sidebar class that has the CSS rule ‘float: left;’ How can I change this so that it goes to the right instead? I’m using HAML and SASS but am relatively new to web development.
8 Answers 8
All these tips will work, but a simpler way might be to include your stylesheet after the Bootstrap styles.
If you include your css ( site-specific.css ) after Bootstrap’s ( bootstrap.css ), you can override rules by redefining them.
For example, if this is how you include CSS in your
You can simply move the sidebar to the right by writing (in your site-specific.css file):
Forgive the lack of HAML and SASS, I do not know them well enough to write tutorials in them.
@ClaudiuConstantin I see no reason why not. The rule of thumb is the second style will always trump the first if two are the same level of specificity. As long as your style comes after it will override.
@Kreker That probably has a lot to do with specificity. You can read up about it here (old article), but basically .sidebar.right is more specific than .sidebar . That is probably the problem. Use web inspector to figure out what’s overriding it.
@Kreker yup, that’s the idea. The problem with !important is that you can never override it again in the future.
My Site.css is bundled up and listed in Bundle.config and rendered physically after bootstrap.css but the styles are still not overridden. I had to take the site.css reference out of the modernizer bundle and manually put that after the bootstrap.css (and press Ctrl + F5 once debugging to clear the cache)
This might work but it wouldn’t be best practice for production. Load 1 stylesheet per site unless there’s a big reason not to. #sitespeed
The answer to this is CSS Specificity. You need to be more «specific» in your CSS so that it can override bootstrap css properties.
For example you have a sample code for a bootstrap menu here:
Here, you need to remember the hierarchy of the specificity. It goes like this:
- Give an element with an id mentioned 100 points
- Give an element with a class mentioned 10 points
- Give a simple element a single 1 point
So, for the above if your css has something like this:
.navbar ul li a < color: red; >/* 10(.navbar) + 1(ul) + 1(li) + 1(a) = 13 points */ .navbar a < color: green; >/* 10(.navbar) + 1(a) = 11 points */ So, even if you have defined the .navbar a after .navbar ul li a it is still going to override with a red colour, instead of a green since the specificity is more (13 points).
So, basically all you need to do is calculate the points for the element you are wanting to change the css for, via inspect element on your browser. Here, bootstrap has specified its css for the element as
.navbar-inverse .navbar-nav>li>a < /* Total = 22 points */ color: #999; >So, even if your css is loading is being loaded after bootstrap.css which has the following line:
it’s still going to be rendered as #999. In order to solve this, bootstrap has 22 points (calculate it yourself). So all we need is something more than that. Thus, I have added custom IDs to the elements i.e. home-menu-container and home-menu. Now the following css will work:
#home-menu-container #home-menu li a < color: red; >/* 100 + 100 + 1 + 1 = 202 points :) */