- Scroll horizontally with mouse wheel: Vanilla JavaScript
- Creating some scrollable content
- Making sure the content overflows
- Using the mouse wheel or trackpad to scroll horizontally
- Stick to horizontal scrolling and resume normal scroll when finished
- You like scrolling effects?
- Related articles
- Горизонтальная прокрутка на чистом CSS
- Другой вариант использования
- Способ без JavaScript
- Шаг 1) создаем контейнер
- Шаг 2) поворачиваем контейнер
- Шаг 3) возвращаем дочерние элементы обратно на свое место
- Шаг 4) фиксированное позиционирование
- Совместимость
- Десктоп
- Мобильные устройства
- Заключение
Scroll horizontally with mouse wheel: Vanilla JavaScript
Imagine scrolling down with the mouse-wheel or trackpad and that your page scrolls horizontally instead. Isn’t that cool? In this article we will take a look at how you could use vanilla Javascript to create such an interesting effect.
Creating some scrollable content
To start, we will write some HTML to set in place some content that requires some horizontal scroll.
main>
section>
h1>Beeph1>
section>
section>
h1>Booph1>
section>
section>
h1>Boooomh1>
section>
main>
The main element will be the scroll container. It is a going to be the element that a scrollbar is bound to as long as there is content that overflow it. As it is right now, there isn’t enough content to produce an overflow. So let’s fix this.
Making sure the content overflows
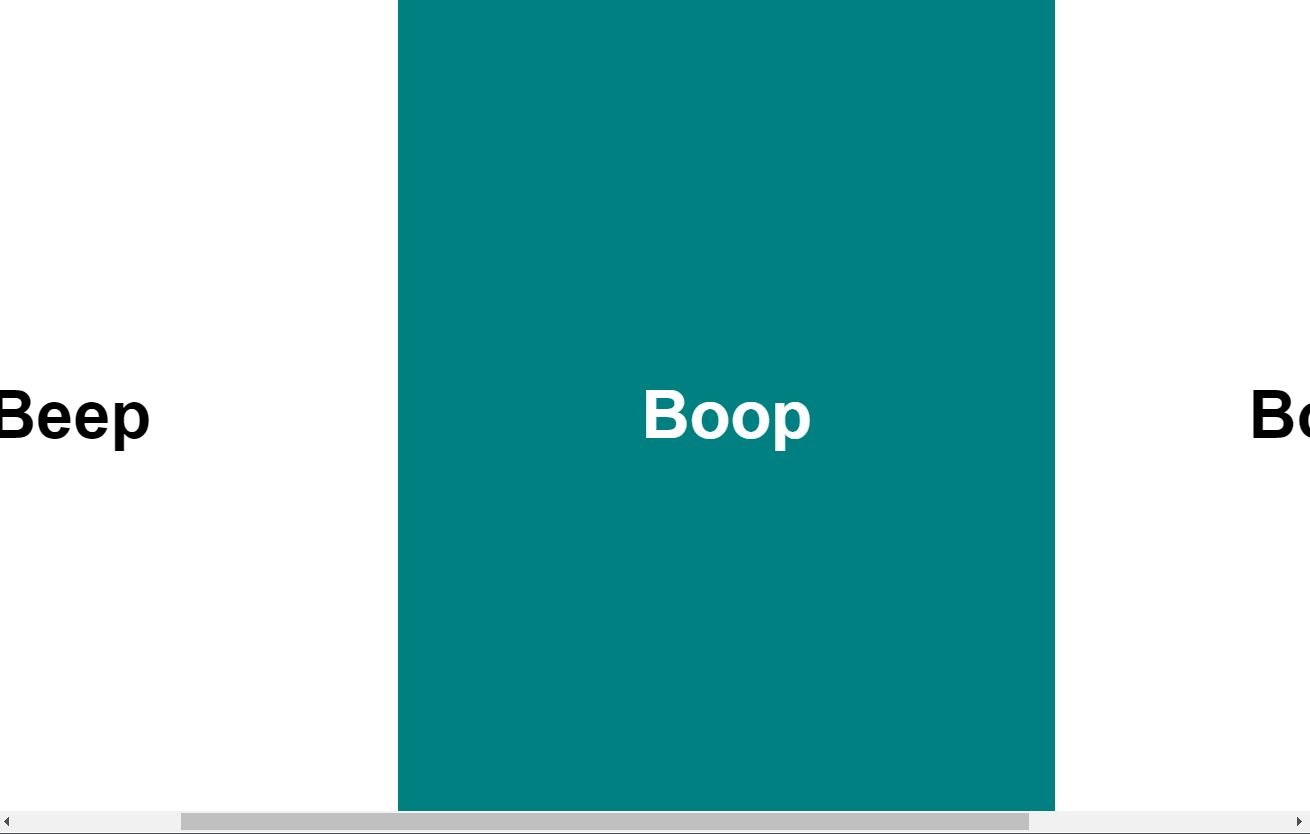
We will place each section aligned next to each other so the content overflows horizontally. We are trying to create something like this, where elements are overflowing the container and therefore we can create a horizontal scrollbar for them. You can have as many sections as you want.
For the purpose of this demo we will make the elements full-screen. To do this, we will use viewport units like vh and vw to set the min-width and min-height properties to scale to both the edges of the screen. Then we can center the content using justify-content and align-items .
We use display:flex making the main element the flex container. We will also be hiding the scrollbar for this demo by using overflow-x: hidden . There’s no need for this but we’ll be doing it for our demo. If you decide not to hide it, make sure to change it for overflow-x: scroll .
main
overflow-x: hidden; /*or overflow-x:scroll */
display: flex;
>

h1
margin: 0;
>

section
min-width: 50vw;
min-height: 100vh;
display: flex;
justify-content: center;
align-items: center;
font-size: 4ch;
>
And why not, we will also give each section a different background:
section:nth-child(even)
background-color: teal;
color: white;
>
Using the mouse wheel or trackpad to scroll horizontally
Here’s where the fun part comes. Now we will subscribe to the mousewheel event by attaching an event listener to our scrollable element, which in this case is the element with the tag main .
What does this means? It means that now we will be able to gather information through JavaScript about the scrolling event, which is exactly what we need.
const scrollContainer = document.querySelector('main');

scrollContainer.addEventListener('wheel', (evt) =>
// The magic happens here.
>);
We need to know the direction the user is scrolling to and the amount they scrolled. So, how do we do it?
We will be using the deltaY property of the event object we get on the parameter ( evt ).
The wheel event has 4 properties, and deltaY represents the vertical scroll amount. So we will use exactly that same value to scroll the exact same amount but this time horizontally.
We will be updating the scrollLeft property of the scrollable container ( main ) so it scrolls it horizontally.
const scrollContainer = document.querySelector("main");

scrollContainer.addEventListener("wheel", (evt) =>
evt.preventDefault();
scrollContainer.scrollLeft += evt.deltaY;
>);
The deltaY property can be positive ore negative. When it is positive it means the user is scrolling up and when it is negative the user is scrolling down. So, in our case, when they scroll up we want to scroll left and when they scroll down we want to scroll right.
The scrollLeft property works exactly with the same idea in mind. When applied to a scrollable element, a negative value means we will be scrolling the scrollable element to the left and a positive one means we will be doing it on the opposite direction, to the right. So we basically assign the deltaY value to the scrollLeft property and we are ready to go!
Just one note. Do not confuse the wheel event with the mousewheel event, the latter of which has been deprecated.
Take a look at the following codepen, fork it and play around with the code to see if you can build a neat horizontally scrollable layout:
Stick to horizontal scrolling and resume normal scroll when finished
Perhaps you are wondering if you can apply the same technique with content before and after the horizontal scrollable element. So the horizontal scrolling element will stick on the viewport until we finish scrolling horizontally.
The answer is YES, you can. This way, the vertical scroll will seem to pause while we keep on scrolling horizontally. Once we are done scrolling vertical scroll will resume.
The trick is creating a sticky container with the height of the horizontal scrollable width. This will serve as a placeholder. It will stick to the top while the page scrolls the placeholder vertically without the user noticing, as we have a stick element taking the whole viewport.
We will then use that scroll to apply it in our sticky element.
There’s a bit more JavaScript involved here. Here’s the full example:
You like scrolling effects?
Love exploring the different ways you can make users interact with your page? Then you are going to have to try out fullPage, it is one of those libraries that comes with a whole box of neat tricks and ways to implement commonly implemented scrolling effects.
Whether it’s snap scrolling both horizontally or vertically, neatly triggering animations or conditionally changing styles it’s got you covered on all fronts.
With cross-browser compatibility (all the way back to IE11), superb documentation, and well-tested code it comes with support for your favorite front-end frameworks like React, Vue, or Angular and popular WordPress web builders like Gutenberg or Elementor.
Related articles
Горизонтальная прокрутка на чистом CSS
От автора: статья нашего гостя, Питера Бизменса. Питер – front-end разработчик на сайте Audience, где он любит писать стили на SCSS. Сегодня он нам покажет то, что я называю честным CSS трюком. Весь веб имеет вертикальное строение. Вы читаете сайт, как обычную книгу: слева направо, сверху вниз. Но иногда хочется уйти от вертикальности и сделать что-то сумасшедшее: сделать горизонтальный список. Или еще безумнее, горизонтальный сайт!
Было бы неплохо, если бы мы могли делать вот так:
К сожалению, такого не будет. Такого даже в планах нет в CSS.

Изучите Веб-вёрстку с нуля
Если вы мечтаете создавать сайты, но не знаете, с чего начать. Хотите глубоко погрузиться в основы веб-разработки, а не просто пройтись по верхам — этот курс для вас!
Это очень плохо, потому что в компании, в которой я работаю, это бы очень пригодилось. Мы делаем очень много презентаций, а презентация – это довольно горизонтальная штука. Обычно соотношение сторон у слайдов составляет 4:3 или 16:9. Из-за этого у нас возникает постоянная проблема с горизонтальными слайдами и вертикальными веб-технологиями. Под «мы» я имею в виду себя. Но что я люблю, так это трудности.
Другой вариант использования
Мне в голову пришел конкретный способ применения. Идея в том, что покупателям было бы удобно просматривать все товары на одном слайде. Естественно, каталог товаров не уместился бы в одном виде. Поэтому мы решили разбить каталог на три категории, каждая с горизонтальной прокруткой. Таким образом, три самых популярных товара видны в каждой категории, а к менее важным товарам открыт легкий доступ.
Способ без JavaScript
Все мы знаем, что на JS существует масса способ сделать горизонтальную прокрутку. Некоторые примеры есть на CSS-Tricks. Мне стало интересно, можно ли воплотить эту идею на чистом CSS. Решение оказалось очень простым:
создаем контейнер с элементами;
поворачиваем контейнер на 90 градусов против часовой стрелки, чтобы нижняя грань оказалась справа;
поворачиваем элементы внутри контейнера обратно на свое место.
Шаг 1) создаем контейнер
Создайте блок div с множеством дочерних элементов.
В нашем примере прокручиваемый контейнер будет 300px шириной, в нем будет 8 элементов 100х100px. Размеры произвольные, можно задать любые.
Высота контейнера станет шириной и наоборот. Ниже «ширина» контейнера будет составлять 300px:
Шаг 2) поворачиваем контейнер
Теперь нужно повернуть контейнер на -90 градусов при помощи CSS свойства transform. Мы получили горизонтальный скроллер.
Только есть одна маленькая проблема: дочерние элементы повернулись вместе с контейнером.
Шаг 3) возвращаем дочерние элементы обратно на свое место
Так как же вернуть элементы на свое место? Поверните его обратно при помощи CSS свойства transform.
Шаг 4) фиксированное позиционирование
Смотрится все неплохо, но есть пара проблем.
Мы повернули контейнер, а в качестве якоря задали правый верхний угол, из-за этого левая сторона сместилась на ширину контейнера. Если вам сложно представить, просто приложите палец к правому верхнему углу страницы и поверните ее. Выход: нужно повернуть ее обратно с помощью свойства translate.
Уже лучше. Но первого элемента все еще не видно, так как та же проблема наблюдается и с дочерними элементами. Это можно поправить, задав первому дочернему элементу верхний margin со значением его ширины или трансформировав все элементы, как контейнер. Самый простой способ, который я нашел, это добавить верхний padding к контейнеру, равный ширине дочерних элементов, тем самым создав буферную зону для элементов.
Еще одно демо с прямоугольными дочерними элементами:
Совместимость
Я проверил совместимость на доступных мне устройствах.

Десктоп
Так как стилизация скроллбаров пока что работает только в Webkit/Blink браузерах, в Firefox и IE показывается обычный серый скроллбар. Это можно поправить с помощью JS и прятать их вообще, но это тема для другого урока.
Прокрутка с помощью колеса мыши отлично работает на десктопе. Но у моего ноутбука свое мнение на этот счет. На устройствах с тач скринами и тач падами демо ведет себя так, будто div вообще не поворачивали.
Мобильные устройства
Я был приятно удивлен, когда узнал, что Android понимает, что контейнер был повернут, и позволяет вам скролить с помощью свайпов вправо и влево.
С iOS же наоборот, все не так гладко. Браузер ведет себя так, будто контейнер не поворачивали вовсе. Поэтому для прокрутки нужно использовать свайпы вверх и вниз, что довольно странно. Overflow: hidden не решает проблему.
Заключение
По данным сайта Can I Use трансформации в CSS сейчас поддерживаются у 93%+ пользователей (на момент написания статьи, ноябрь 2016). Тут проблемы возникнуть не должно.
Хотя лучше не используйте этот метод в продуктиве. Я протестировал его на некоторых устройствах, но далеко не на всех и не так тщательно.
Самая большая проблема – сенсорные инпуты, в которых для перехода налево и направо нужно делать свайпы вверх и вниз. В качестве решения можно было бы прописать сообщение на сайте с объяснением, но тогда вам придется положиться на то, что пользователи прочитают его. И даже тогда это будет противоречить здравому смыслу. Другой способ решения – захватывать сенсорные инпуты с помощью JS на устройствах, но тогда лучше вообще все писать на JS и полностью отказаться от нашего CSS хака.
Автор: Pieter Biesemans
Изучите Веб-вёрстку с нуля
Если вы мечтаете создавать сайты, но не знаете, с чего начать. Хотите глубоко погрузиться в основы веб-разработки, а не просто пройтись по верхам — этот курс для вас!
Редакция: Команда webformyself.