- How TO — Align Images Side By Side
- Float Example
- Flexbox Example
- Add Responsiveness
- Responsive Example
- Related Pages
- How to put image and text side-by-side in HTML?
- Select the ideal picture and text
- How to display image and text side by side using grid method?
- Include CSS
- Using flexbox method
- Using Float text
- Conclusion
- Sharing is caring
- 3 Easy Ways to Place Images Side by Side in HTML & CSS
- Method 1: Place Two Divs Side by Side in CSS Using float
- Example 1: Placing Two Images Side by Side Using float Property
- HTML
- CSS
- Example: Place Two Images Side by Side With Space
- Method 2: Place Images Side by Side in CSS Using grid
- Example
- HTML
- Method 3: Place Two Images Side by Side in CSS Using flex
- Example
How TO — Align Images Side By Side

How to create side-by-side images with the CSS float property:
Float Example
/* Three image containers (use 25% for four, and 50% for two, etc) */
.column float: left;
width: 33.33%;
padding: 5px;
>
/* Clear floats after image containers */
.row::after content: «»;
clear: both;
display: table;
>
How to create side-by-side images with the CSS flex property:
Flexbox Example
.column flex: 33.33%;
padding: 5px;
>
Note: Flexbox is not supported in Internet Explorer 10 and earlier versions. It is up to you if you want to use floats or flex to create a three-column layout. However, if you need support for IE10 and down, you should use float.
Tip: To learn more about the Flexible Box Layout Module, read our CSS Flexbox chapter.
Add Responsiveness
Optionally, you could add media queries to make the images stack on top of each other instead of floating next to each other, on a specific screen width.
The following example will stack the images vertically on screens that are 500px wide or less:
Responsive Example
/* Responsive layout — makes the three columns stack on top of each other instead of next to each other */
@media screen and (max-width: 500px) .column width: 100%;
>
>
To learn more about media queries, read our CSS Media Queries Tutorial.
Related Pages
To learn more about how to style images, read our CSS Images Tutorial.
To learn more about CSS Float, read our CSS Float Tutorial.
To learn how to create an image gallery with CSS, read our CSS Image Gallery Tutorial.
How to put image and text side-by-side in HTML?
One of the common tasks that web developers face is how to put image and text side-by-side in HTML without them overlapping each other. In most cases, you can simply paste the image or video into your document and type out the text around it.
However, if the text or image is too long for the space you have available on the page, you may have to redesign your layout or position the image elsewhere on your page.
This can be a little tricky to do, but there are some simple techniques that you can use.
In this tutorial, we’ll demonstrate how to put an image and text side by side in your HTML project. We will use the and tags to do this. The text will be placed directly below the image using CSS properties. So let’s get going!
Select the ideal picture and text
First, locate an image that you wish to use. If you already have one, great! If not, you can look for images on the internet in a variety of places. Once you have the image that you want to use, you just need to copy its URL and then paste it into your project.
Next, write the text that will appear next to your image. You can write your text in any text editor (like Microsoft Word) and then copy and paste it into an HTML document.
How to display image and text side by side using grid method?
If you want to put text and an image side-by-side in your HTML document, there are a few simple steps you can follow.
- First, Open the HTML editor on your pc.
- You must create a div> element and assign it the necessary attributes. The element is used to group related elements together and it is often used to display content on a page such as images and text.
- Next, you need to add the image to the element. To do this, use the
tag and specify the source attribute. This attribute identifies the URL of the image file you would like to display on the page. For example, if you wanted to display an image from the “www.google.com” website, you would enter “https://www.google.com” in the source attribute.
- Finally, add the
tags between the element and the image using thetag to wrap the element around the image.
- You can use CSS to style your webpage and give your divs certain properties, but you don’t need to worry about this just yet as we’ll be creating an example webpage using the default styles that HTML provides for us. The first step is to create a web page that displays an image alongside a block of text.
A webpage with the appearance shown below will be created using the code below:
Code language: HTML, XML (xml)html> html> head> title>Pretty Paris title> head> body> div class="container"> div class="image"> img src="https://i.pinimg.com/564x/59/32/29/593229739184504afd9507cc42a9cb86.jpg"> div> div class="text"> h1>This is a beautiful picture. h1> div> div> body> html>
As you can see, the image is displayed at the top-left corner of the page and the text is displayed below it.

Include CSS
The next step is to add some styling so that the text is bigger and bolder than the rest of the image. To do this, use CSS to specify the size of the element and ensure that the text is beside the image.
The following code will display the image and set it to be the same size as the text:
Code language: CSS (css).container < display: grid; align-items: center; grid-template-columns: 1fr 1fr 1fr; column-gap: 5px; > img < max-width: 100%; max-height:100%; > .text < font-size: 70px; >

Using flexbox method
If you’re looking to embed text and an image side-by-side in HTML, then you can use the flexbox layout module. Here’s how:
- In your HTML, create a container element for your text and image. For example, you can nest a inside alike this:
- The CSS property selector may be used to change the container’s display property to”flex”. For instance, you could put the following in your CSS file: .text-wrapper
- Next, define some properties for the container’s children – the image and the text. To do this, create individual CSS rules for each element using the property selector (in this case, the > symbol).
- For example, you might add the following rules to the HTML file:
Code language: HTML, XML (xml)html> html> head> title>Pretty Paris title> head> style> .container < display: flex; align-items: center; justify-content: center > img < max-width: 100%; max-height:100%; > .text < font-size: 20px; padding-left: 20px; > style> body> div class="container"> div class="image"> img src="https://i.pinimg.com/564x/59/32/29/593229739184504afd9507cc42a9cb86.jpg"> div> div class="text"> h1>Paris is one of the most magnificient cities in France. h1> div> div> body> html>With these rules in place, your container should now look something like this:

Using Float text
Floating text is a great way to create an image that stands out from the surrounding text.
We’ll show you how to do it with the float property
- The first thing we need to do is add the image to our HTML document. We can do this by using the img element, like this:
- Now that we’ve added the image, we need to style it so that the text will surround it instead of underneath it. we’re going to use the float property to accomplish this. The float property allows you to control where an element is positioned in a page.
- There are three different values for this property that you can use: left, right, and center. You can combine these values to create custom positioning of your elements. To display the text alongside the image, we’re going to set our image to float: left; This will position the image to the left and allow us to place the text on the right instead.
- Once we’ve added our text and set the image to float: left; we can wrap our content with the tag and place the image inside of it. Next, we can use the align property of the tag to align the text in the center of the . The picture may then be placed within the div> tag, right next to the text.
Code language: HTML, XML (xml)html> html> head> title>Pretty flower title> head> style> .container < align-items: center; justify-content: center; > img < max-width: 25%; max-height:15%; float: left; > .text < font-size: 20px; padding-left: 20px; padding-top: 20%; float: left; > style> body> div class="container"> div class="image"> img src="https://i.pinimg.com/564x/48/bf/c9/48bfc9ae0a10418849a3f50d57c08897.jpg"> div> div class="text"> h1>This is a beautiful garden. h1> div> div> body> html>This will place the image right next to your text so that you can see both of them at the same time. Easy, right?

Image on the left – HTML code on the right 🙂
Conclusion
Putting images and text side-by-side in HTML is a great way to create a visually appealing web page. There are a few different ways to do this by using but the easiest way is to use the ‘align’ attribute. With a little bit of code, you can have your images and text aligned perfectly on your web page. Thanks for reading!
Sharing is caring
Did you like what Vanshika wrote? Thank them for their work by sharing it on social media.
3 Easy Ways to Place Images Side by Side in HTML & CSS

In HTML, images are used for different purposes and are usually displayed in the vertical form separately. However, sometimes, you may need to place images side by side to create a stylish layout or to fulfil any other web development purpose.
In this article, we will discuss how to place two divs side by side in CSS using:
Method 1: Place Two Divs Side by Side in CSS Using float
In CSS, the “float” property specifies the floating direction of an element. It places an element on the right or left side of the container, permitting the inline and text elements to wrap around it.
The syntax of the float property is:
Here is the description related to the above-mentioned value of the float property:
- none: It is used for no floating.
- left: It is used to float elements on the left side.
- right: It is used to float elements on the right side.
Using the “float” property, you can also place images side by side. Let’s move to the example of placing images side by side.
Example 1: Placing Two Images Side by Side Using float Property
Here, we have added a heading using and created two divs, and assigned the image sources to it.
HTML
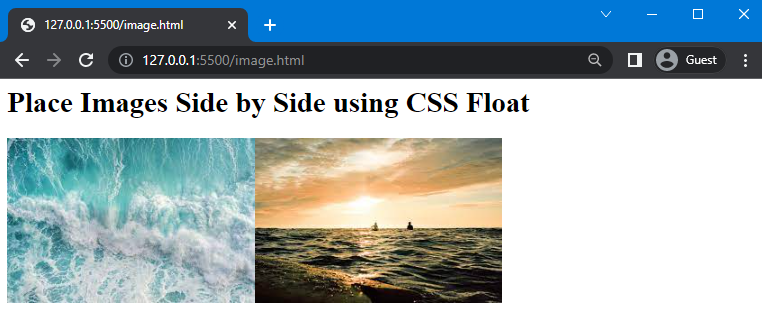
Place Images Side by Side using CSS Float < / h1 >
In CSS, we will use “.div” to access both divs that we have created in the HTML file. Next, assign the value of the float property as “left”. As a result, the effect will be applied to both of our containers.
CSS
As you can see, we have successfully placed images side by side:
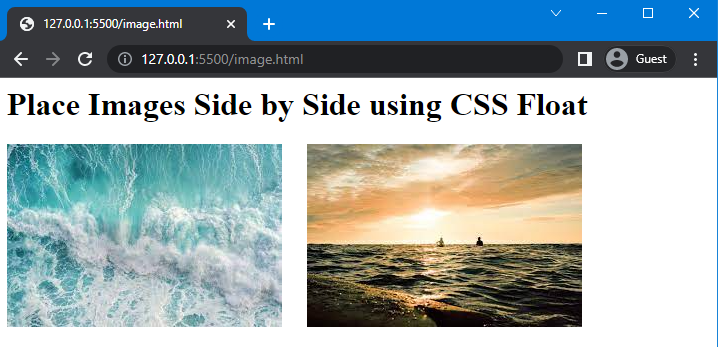
Example: Place Two Images Side by Side With Space
If you want to create space between these two images and place them side by side, then use the “width” property and assign a value to it.
Here, we will assign the value of the width property as “300px”:
Save the given code and check out the results:
Method 2: Place Images Side by Side in CSS Using grid
To place two or more than two images side by side the “grid” layout is used. Basically, the grid is a value of the display property used to create a layout consisting of rows and columns.
Syntax of the display property with grid layout is given as follows:
Example
Here, we will create four sub divs inside the main div names as “parent” and add images to it using
tag.
HTML
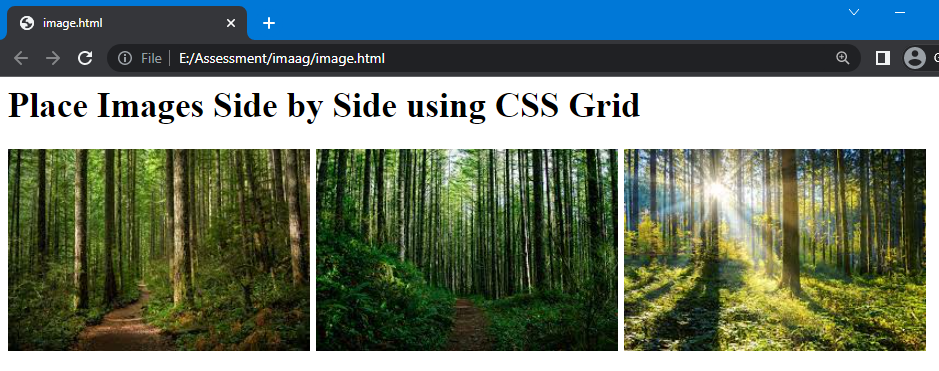
Place Images Side by Side using CSS Grid < / h1 >
Next, in the CSS section, we will use the “.parent” to access the parent div and set the value of the display property as “grid”. After that, we will set the fraction using the “grid-template-columns” property to create space for columns. Specifying “1fr” three times will create “three” columns, which means all divs have equal space. Furthermore, we will set the gap between columns using the column-gap property and set its value as “5px”:
grid-template-columns : 1fr 1fr 1fr ;
Once your complete the CSS code, execute the HTML file and check the output:
Method 3: Place Two Images Side by Side in CSS Using flex
The “flex” is the value of the display property that allows placing elements side by side. In such a scenario, elements will be set according to the viewport of the display screen.
The syntax of display property with flex is:
Example
We will consider the previous HTML file and add three sub divs inside the main div and specify different images sources to it:
Place Images Side by Side using CSS Flex < / h1 >