- google-cloud-storage 2.10.0
- Quick Start
- Installation
- Code samples and snippets
- Supported Python Versions
- Unsupported Python Versions
- Mac/Linux
- Windows
- Next Steps
- How to Install & Use the Google Cloud Storage Python Client
- Prerequisites
- Setting up a Local Development Environment
- Installing the Google Cloud Storage Python Client
- Authenticating Environment with Google Cloud
- Creating a New Cloud Storage Bucket
- Listing Available Buckets in the Google Cloud Storage
- Uploading Objects to a Bucket
- Conclusion
google-cloud-storage 2.10.0
Google Cloud Storage is a managed service for storing unstructured data. Cloud Storage allows world-wide storage and retrieval of any amount of data at any time. You can use Cloud Storage for a range of scenarios including serving website content, storing data for archival and disaster recovery, or distributing large data objects to users via direct download.
A comprehensive list of changes in each version may be found in the CHANGELOG.
Read more about the client libraries for Cloud APIs, including the older Google APIs Client Libraries, in Client Libraries Explained.
Quick Start
In order to use this library, you first need to go through the following steps. A step-by-step guide may also be found in Get Started with Client Libraries.
Installation
Install this library in a virtual environment using venv. venv is a tool that creates isolated Python environments. These isolated environments can have separate versions of Python packages, which allows you to isolate one project’s dependencies from the dependencies of other projects.
With venv, it’s possible to install this library without needing system install permissions, and without clashing with the installed system dependencies.
Code samples and snippets
Code samples and snippets live in the samples/ folder.
Supported Python Versions
Our client libraries are compatible with all current active and maintenance versions of Python.
Unsupported Python Versions
If you are using an end-of-life version of Python, we recommend that you update as soon as possible to an actively supported version.
Mac/Linux
Windows
Next Steps
- Read the Google Cloud Storage Product documentation to learn more about the product and see How-to Guides.
- Read the Client Library Documentation for Google Cloud Storage API to see other available methods on the client.
- View this README to see the full list of Cloud APIs that we cover.
How to Install & Use the Google Cloud Storage Python Client
Ransomware recovery test drive: This technical workshop is designed to take you behind the scenes and shows you how to adopt strategies to automate recovery, ensuring you’re ready to become a recovery hero. REQUEST YOUR LAB
Interacting with your cloud storage buckets and objects can be a pain at some point, especially if you need the right tools. But why struggle when there is the Google Cloud Storage Python Client?
The Google Cloud Storage Python Client lets you securely store, organize and access data from anywhere in the world. And in this tutorial, you will learn to install the Google Cloud Storage Python Client and use it to interact with your Google Cloud Storage resources.
Ready? Stay tuned to improve your cloud storage management efficiently!
Prerequisites
This tutorial will be a hands-on demonstration. To follow along, be sure you have the following:
- A Google Cloud Platform (GCP) account with active billing and admin privileges – A free trial account will suffice.
- Both gcloud CLI and Python are installed on your Linux machine.
Setting up a Local Development Environment
Before taking advantage of the Google Cloud Storage Python Client, you must set up a local development environment. A local development environment is where you can write and test your code without affecting your production environment. Testing out new things should not have to break anything.
You must first install the PIP package manager and activate a virtual environment to set up a local development environment. A virtual environment allows you to work on your project in an isolated environment.
- Open a terminal and run the below commands to perform the following:
- Update your system package index
- Install wget on your machine.
sudo apt update -y && sudo apt install wget -y && wget https://bootstrap.pypa.io/get-pip.py && sudo python3 get-pip.py
2. Once installed, run the following pip3 command to check the installed PIP version ( -V ).

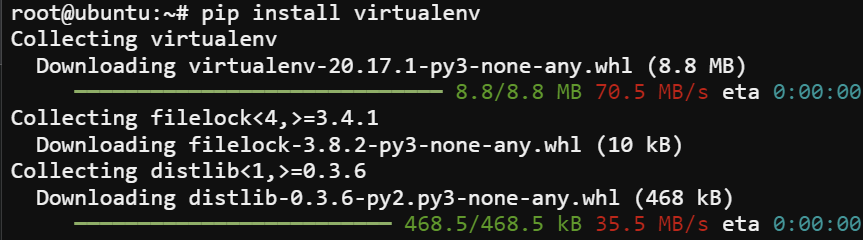
3. Now, run the following pip command to install virtualenv , a tool for creating isolated Python environments.
4. After installing virtualenv , run the below commands, which do not provide output but create your project directory and move into it.
This directory is where you will write and test your code.
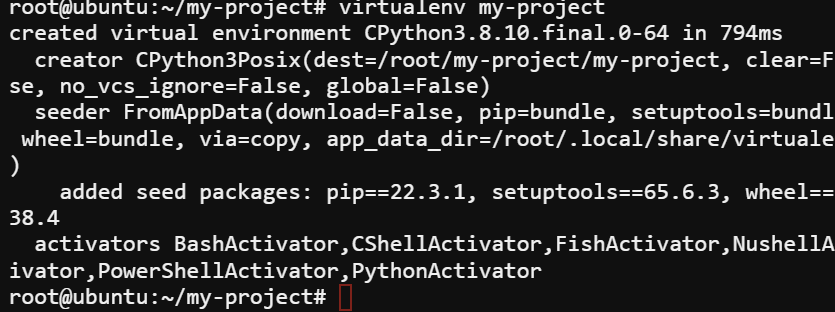
mkdir my-project && cd my-project5. Next, run the following virtualenv command to start a new virtual environment. You can name your virtual environment differently, but this tutorial’s choice is my-project.
6. Lastly, run the below source command to activate your virtual environment, so you can start working on it.
With your virtual environment activated, any changes you make to your project’s dependencies (e.g., installing new libraries) only affect the virtual environment. Moreover, you can have different versions of the same library or dependency installed on your machine. You never have to worry about conflicts or compatibility issues.
source my-project/bin/activateYou will see your prompt change (my-project), as shown below, to indicate you are working in the virtual environment.
Now sharing your project with others becomes a breeze since you can include the virtual environment. Anyone who clones your project gets the same dependencies and libraries installed. This feature helps ensure your project works the same way for everyone who uses it.

Installing the Google Cloud Storage Python Client
Now you have a local development environment and can start installing the Google Cloud Storage Python Client. This client allows you to access and manage Google Cloud Storage from within your Python code.
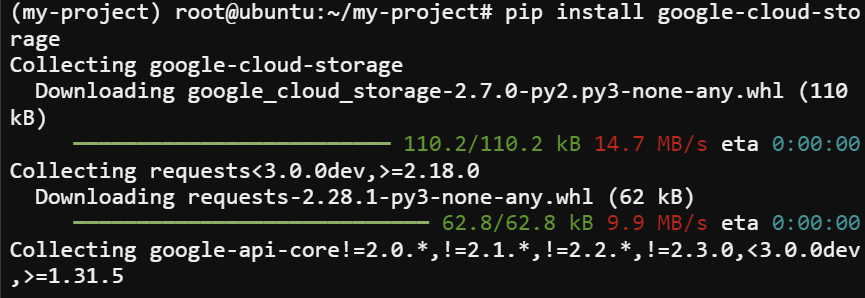
Run the below pip command to download and install the latest version of the google-cloud-storage Python Client library from PyPI to your system.
The google-cloud-storage package is a Python library that provides a user-friendly interface for interacting with the Google Cloud Storage API.
pip install google-cloud-storageOnce the library is installed, you can perform various tasks with your Google Cloud Storage data. For example, you can create new buckets, list buckets, upload objects, and more.
Authenticating Environment with Google Cloud
You have successfully installed the Google Cloud Storage Python Client library, but the Google Cloud Storage API still requires authentication. Why? Doing so lets the Google Cloud Storage API access and manage your cloud storage data.
There are several ways to authenticate with Google Cloud. But in this tutorial, you use the default application method provided by Google.
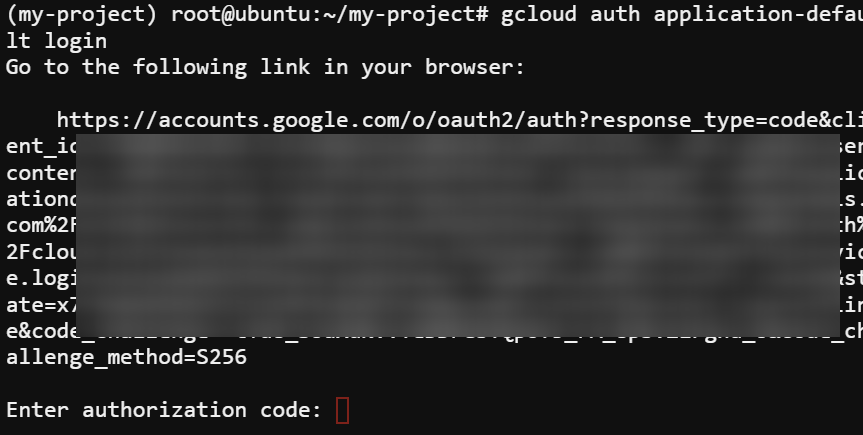
1. Run the below gcloud auth command to authenticate your environment with Google Cloud.
gcloud auth application-default loginNote down the URL in the output, as shown below. You will need it to access the Google Cloud Platform authentication page.
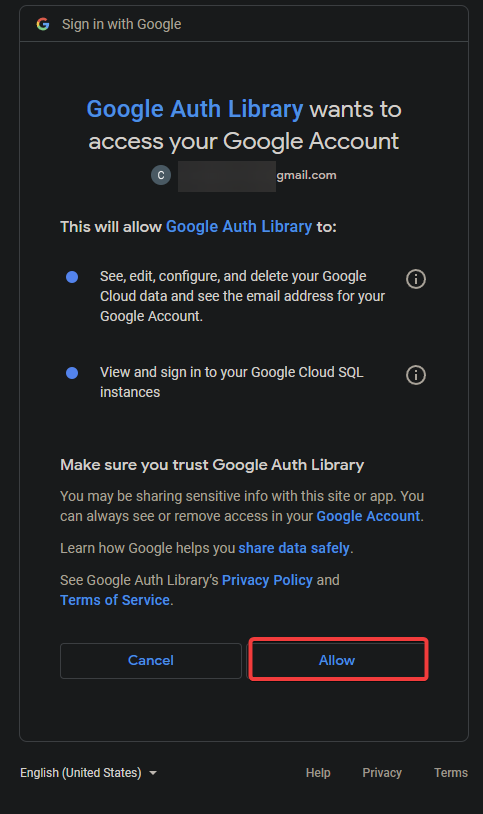
2. Next, navigate to the URL you noted in step one to a new browser tab, and click Allow, as shown below, to confirm the authentication.
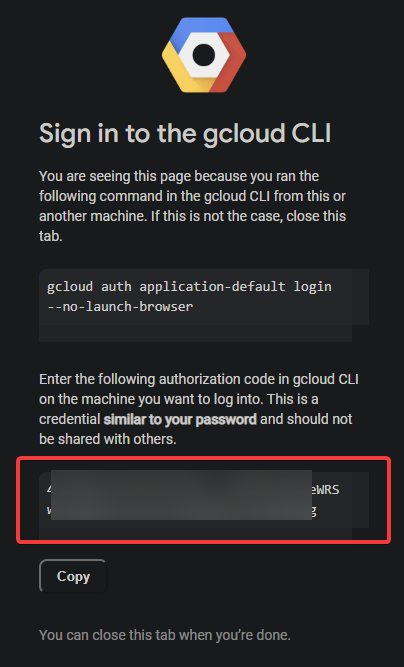
3. Copy the generated code when authentication is successful.
4. Now, switch back to your terminal, paste the code into your terminal, and press Enter to complete the authentication process.

Creating a New Cloud Storage Bucket
You are now ready to use the Google Cloud Storage Python Client library with your environment authenticated. But first, you need a place to organize and store data — a bucket. A bucket (like a folder) is a logical container for storing objects (like files), and each object’s name is unique.
Buckets allow you to group objects and control access to them. For example, you can create a bucket for a specific project and grant access to only the team members working on that project. This feature helps prevent unauthorized access to your data.
To create a new bucket, follow the steps below:
1. Create a Python ( create_bucket.py ), which you can name as you like, with your preferred editor. This tutorial uses the nano text editor.
2. Next, populate the code below into the create_bucket.py file. The code below uses google.cloud.storage to create a new bucket in your Google Cloud Storage.
| Notes to keep in mind when using this code |
| The bucket’s name must be unique within your Google Cloud Storage project and comply with buckets’ naming conventions. The name must be between three and 63 characters long and can only contain lowercase letters, numbers, and hyphens. |
| This code does not verify a specified bucket, which results in an error if the bucket you are trying to create already exists. To avoid getting an error, check all existing buckets before calling the create_bucket() method in your script. |
# Imports the 'storage' module from the google.cloud package # to allow interactions with the Google Cloud Storage. from google.cloud import storage # Creates a Client object that allows the script to communicate # with Google Cloud Storage and perform operations on it (like creating a bucket). client = storage.Client() # Creates a new bucket with a specified name bucket = client.create_bucket("my-first-bucket14755286") # Prints a message indicating the bucket was successfully created. print("Bucket <> created.".format(bucket.name))3. Save and close the create_buckets.py file, and execute the below command to run the script.
If all goes well, you will see a message that says Bucket created., as shown below.

Listing Available Buckets in the Google Cloud Storage
Now you have created a new bucket, and you can use the Google Cloud Storage Client library to list all existing buckets in your project. Why? Listing all available buckets in your project is good practice before performing operations like uploading objects.
To list all the buckets in your project, follow these steps:
1. Create a Python file (named as you desire) with your editor.
2. Next, add the code below to the list_buckets.py file.
This code lists all the buckets in your specified project and checks if the created bucket is in the list. If found, a message prints saying Bucket found! along with information about the bucket.
from google.cloud import storage # Create a client object client = storage.Client() # List all the buckets in your project buckets = list(client.list_buckets()) # Check if the bucket you created is in the list of buckets for bucket in buckets: if bucket.name == "my-first-bucket14755286": print("Bucket found!") print(buckets)3. Save and close the list_buckets.py file and run it.
If the bucket you created is found, you will see a similar output to the one below.

Uploading Objects to a Bucket
Now that you have created an empty bucket, the first step in making your bucket useful is uploading objects to the bucket.
Which type of objects can you upload? Any file type will do, such as an image, video, text file, etc. But before uploading, you need an object first.
1. Create a new text file named my-file.txt, a test file you will upload to your bucket.
2. Next, create a Python file called upload_object.py (or any other name), and populate the code below into the file.
The code below uses the upload_from_filename method to upload your text file to your bucket.
from google.cloud import storage # Create a client object client = storage.Client() # Get a reference to the bucket you want to upload to bucket = client.bucket("my-first-bucket14755286") # Create a new blob object blob = bucket.blob("my-file.txt") # Upload the file to the bucket if blob.upload_from_filename("./my-file.txt"): print("File successfully uploaded to bucket.") else: print("Error uploading file to bucket.")3. Save the file, and execute the below command to run the script ( upload_object.py ).
If all goes well, you will see a message that says File successfully uploaded to bucket, as shown below. At this point, the file has been uploaded to your bucket.

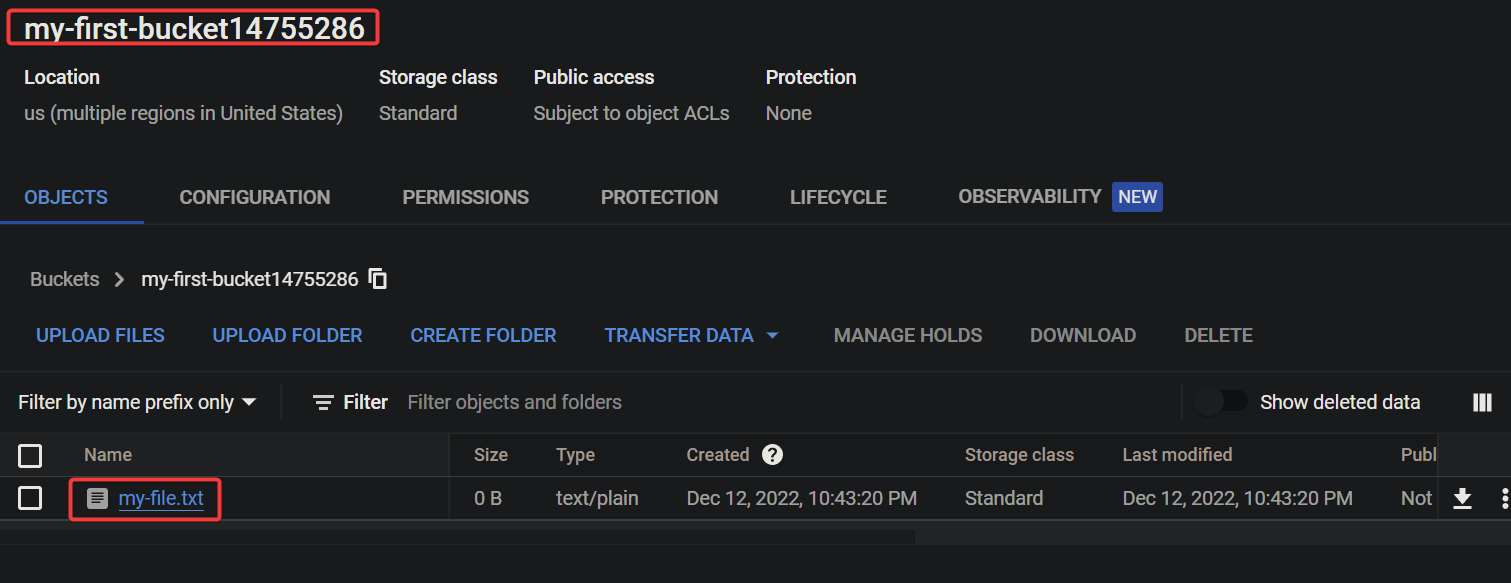
4. Now, navigate the Storage page in the Google Cloud Console to verify the uploaded object exists.
You will see your bucket (my-first-bucket14755286) with the uploaded object (my-file.txt) listed, as shown below.
5. Finally, run the following deactivate command to leave or exit your virtual environment.
Successfully deactivating your virtual environment switches you back to your default prompt, as in the output below.

Conclusion
This tutorial taught you how to create buckets and manage objects with the Google Cloud Storage Python Client. Whether you are a beginner or an experienced developer, the Google Cloud Storage Python Client is a valuable addition to your toolkit for working with data in the cloud.
Now, why not explore the advanced features? Indulge in object versioning, lifecycle management, and permissions for deeper control over your data!
Hate ads? Want to support the writer? Get many of our tutorials packaged as an ATA Guidebook.