- Краткое руководство по GitHub Pages
- Введение
- Создание веб-сайта
- Изменение заголовка и описания
- Next Steps
- Websites for you and your projects.
- Hosted directly from your GitHub repository. Just edit, push, and your changes are live.
- Ready to get started? Build your own site from scratch or generate one for your project.
- You get one site per GitHub account and organization, and unlimited project sites. Let‘s get started.
- Create a repository
- What git client are you using?
- Download GitHub Desktop
- Clone the repository
- Clone the repository
- Clone the repository
- Hello World
- Create an index file
- Hello World
- Push it
- Commit & publish
- …and you’re done!
- Use a theme, or start from scratch?
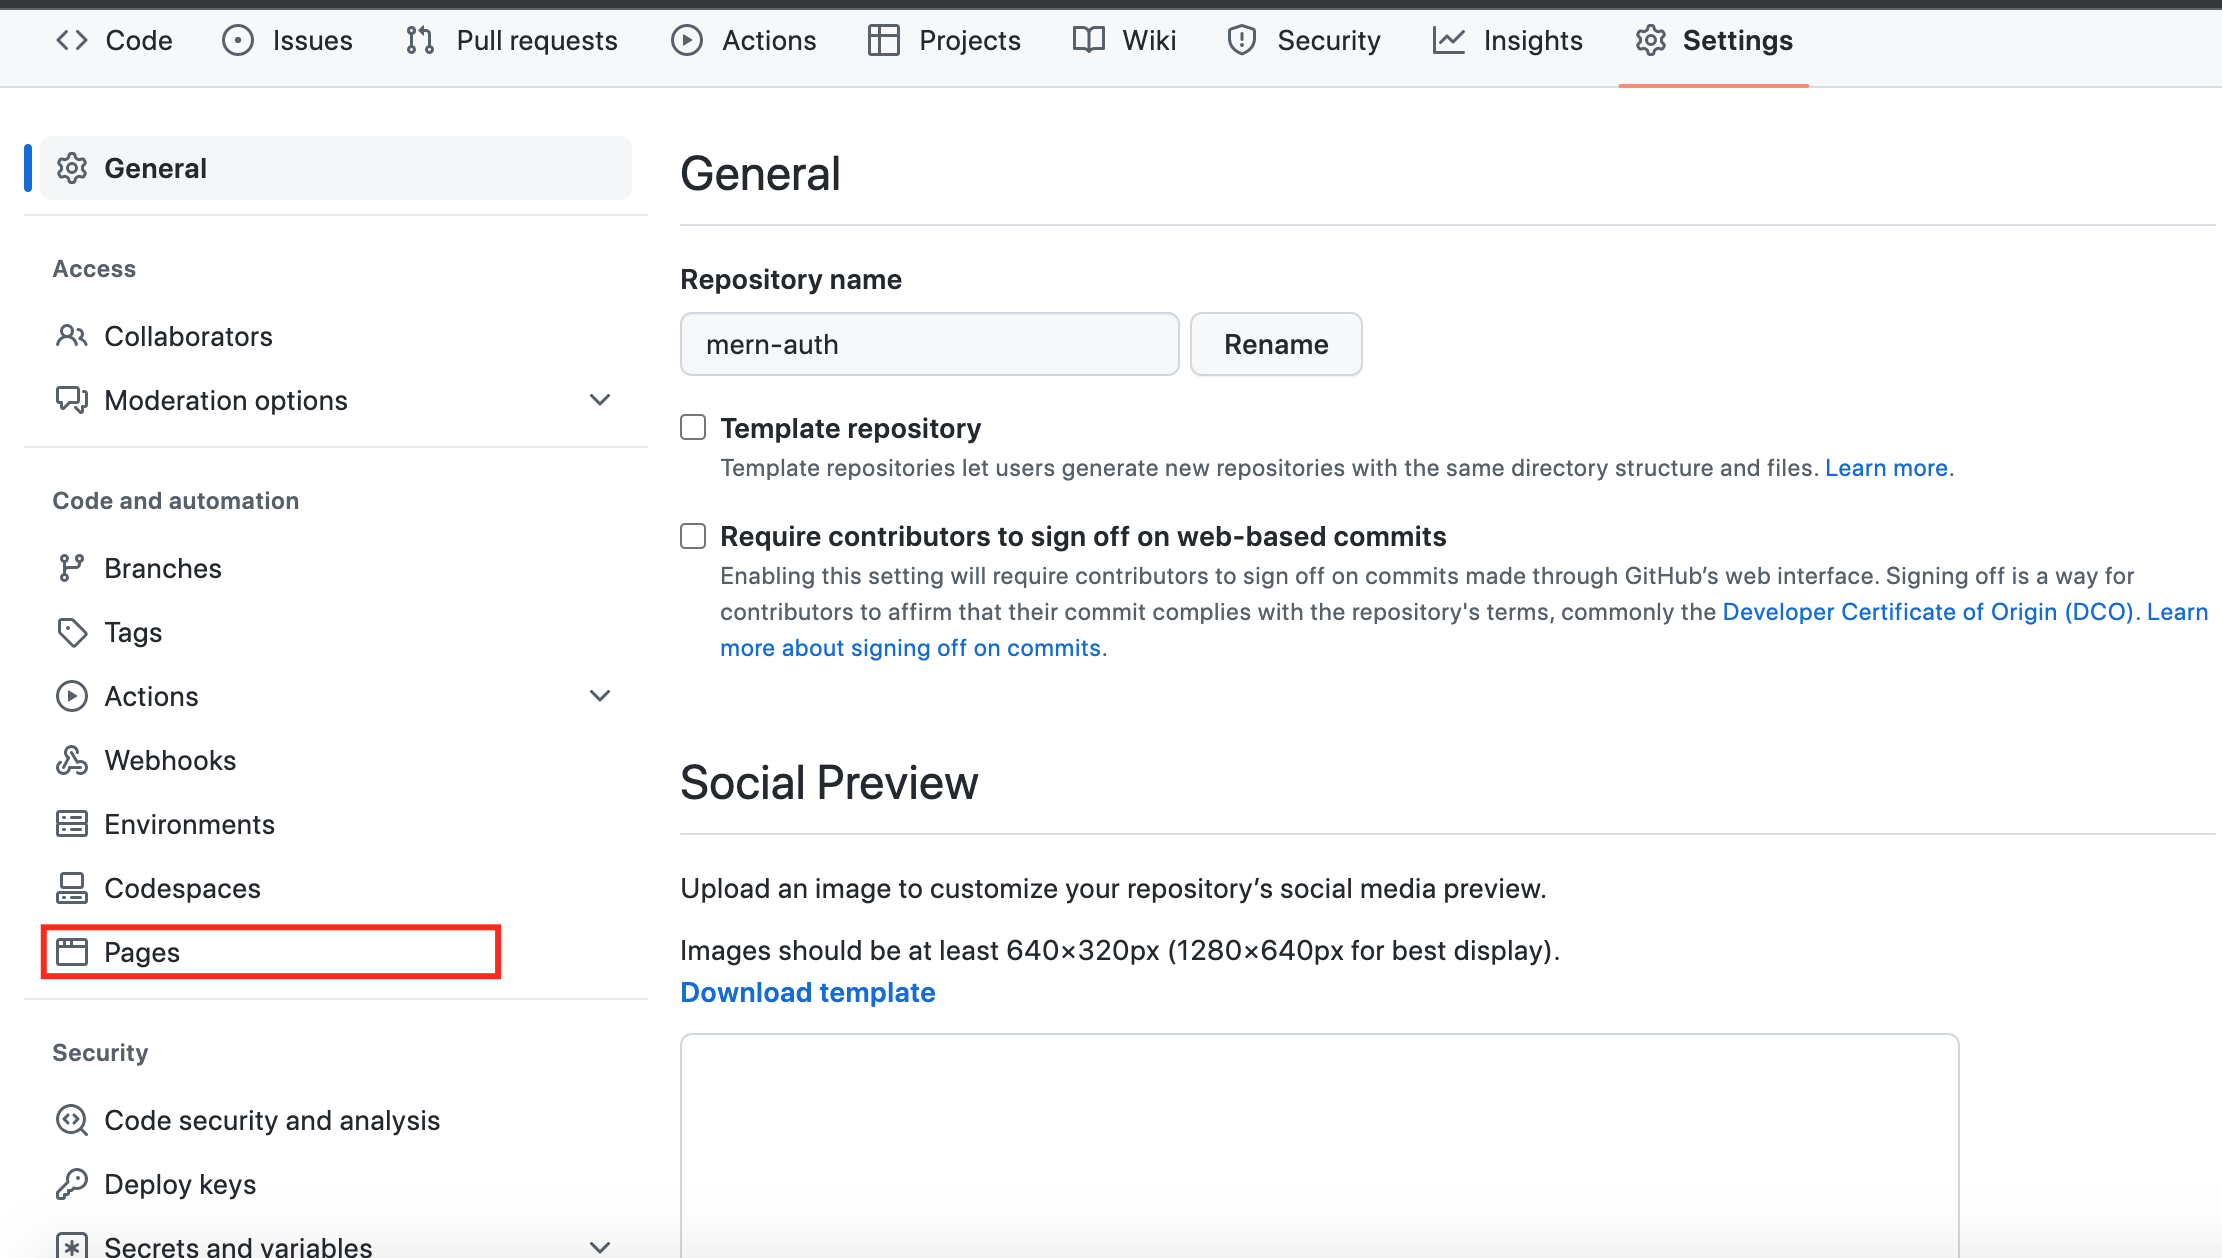
- Repository Settings
- Theme chooser
- Pick a theme
- Edit content
- Commit
- Create an index file
- Hello World
- Commit the file
- Repository Settings
- …and you’re done!
- Now that you’re up and running, here are a few things you should know.
- Creating a GitHub Pages site
- Creating a repository for your site
- Creating your site
- Next steps
- Further reading
- Инструкция по размещению сайта на GitHub Pages
- Особенности и ограничения
- Как опубликовать сайт на GitHub Pages
Краткое руководство по GitHub Pages
Вы можете использовать GitHub Pages, чтобы продемонстрировать проекты с открытым кодом, вести блог или даже поделиться своим резюме. Это руководство поможет вам приступить к созданию вашего нового веб-сайта.
GitHub Pages доступен в общедоступных репозиториях при использовании GitHub Free и GitHub Free для организаций, а также в общедоступных и частных репозиториях при использовании GitHub Pro, GitHub Team, GitHub Enterprise Cloud и GitHub Enterprise Server. Дополнительные сведения см. в разделе Продукты GitHub.
Введение
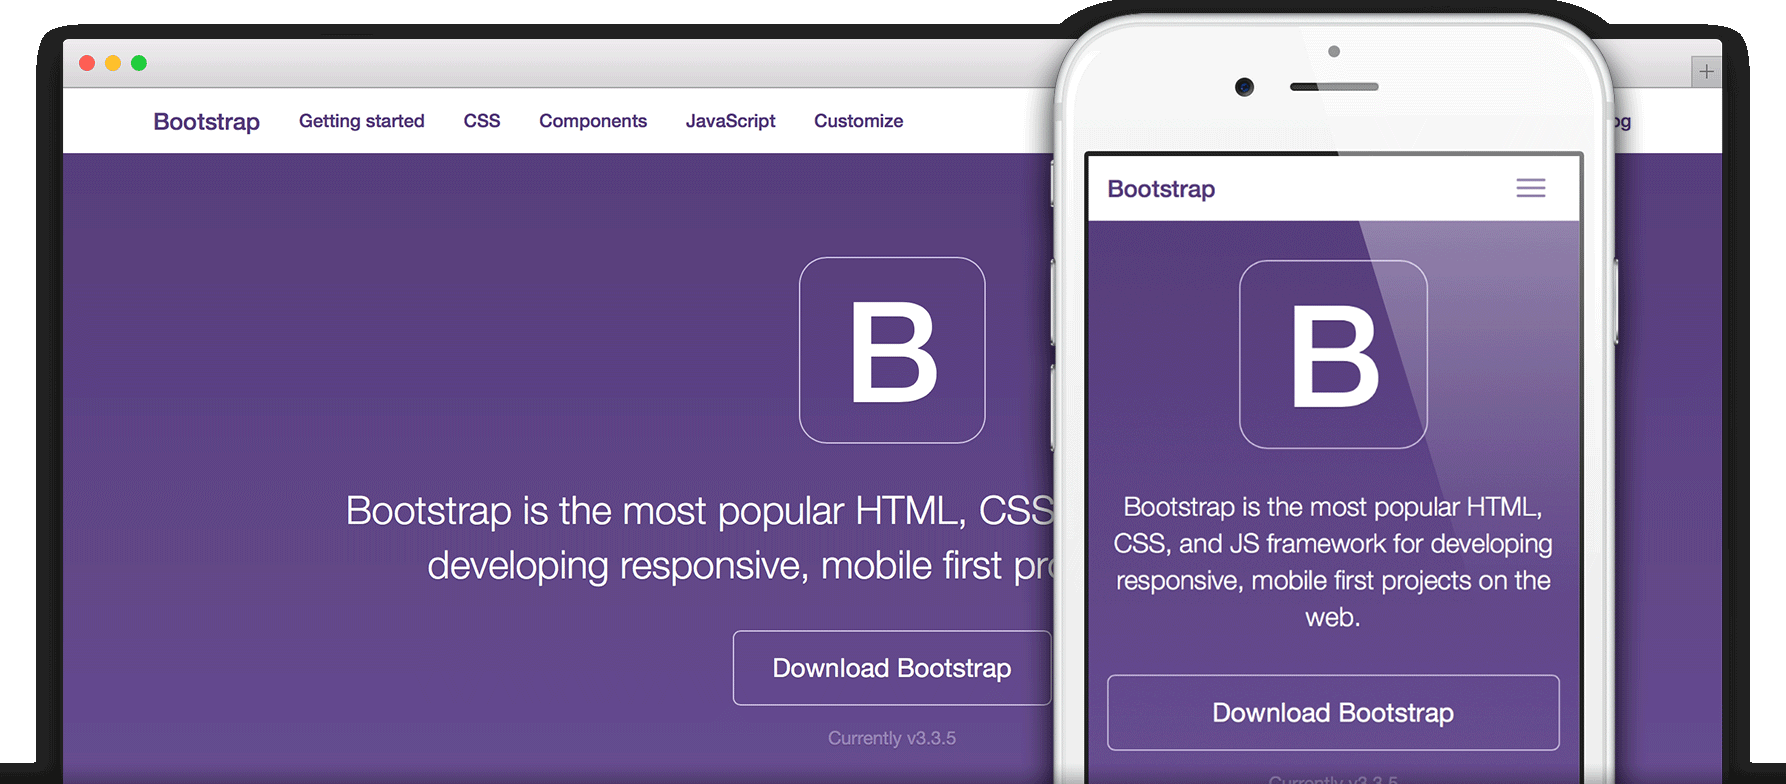
GitHub Pages — это общедоступные веб-страницы, размещенные и опубликованные с помощью GitHub. Самым быстрым способом получения и запуска является использование средства выбора тем Jekyll для загрузки предварительно созданной темы. Затем можно изменить содержимое и стиль данных для GitHub Pages.
В этом руководстве вы узнаете, как создать сайт пользователя в username.github.io .
Создание веб-сайта

и выберите Новый репозиторий.

Введите username.github.io в качестве имени репозитория. Замените username именем пользователя GitHub. Например, если имя пользователя — octocat , именем репозитория должно быть octocat.github.io .
Параметры. Если вкладка «Параметры» не отображается, выберите раскрывающееся меню

и нажмите кнопку Параметры.

Pages.
Изменение заголовка и описания
По умолчанию сайт имеет заголовок username.github.io . Вы можете изменить заголовок путем изменения файла _config.yml в репозитории. Можно также добавить описание вашего сайта.
- В репозитории нажмите вкладку Код.
- В списке файлов нажмите _config.yml , чтобы открыть файл.
- Щелкните
theme: jekyll-theme-minimal title: Octocat's homepage description: Bookmark this to keep an eye on my project updates! Next Steps
Дополнительные сведения о добавлении дополнительных страниц на сайт см. в разделе Добавление содержимого на сайт GitHub Pages с помощью Jekyll.
Дополнительные сведения о настройке сайта GitHub Pages с помощью Jekyll см. в разделе Сведения о GitHub Pages и Jekyll.
Websites for you and your projects.
Hosted directly from your GitHub repository. Just edit, push, and your changes are live.
Ready to get started? Build your own site from scratch or generate one for your project.
You get one site per GitHub account and organization,
and unlimited project sites. Let‘s get started.
Create a repository
What git client are you using?
Download GitHub Desktop

GitHub Desktop is a great way to use Git and GitHub on macOS and Windows. Download GitHub Desktop
Clone the repository
Clone the repository
Clone the repository
Hello World
Create an index file
Hello World
I'm hosted with GitHub Pages.
Push it
Commit & publish
…and you’re done!
Use a theme, or start from scratch?
Repository Settings

Head over to GitHub.com and create a new repository, or go to an existing one.
Click on the Settings tab.
Theme chooser
Scroll down to the GitHub Pages section. Press Choose a theme.
Pick a theme
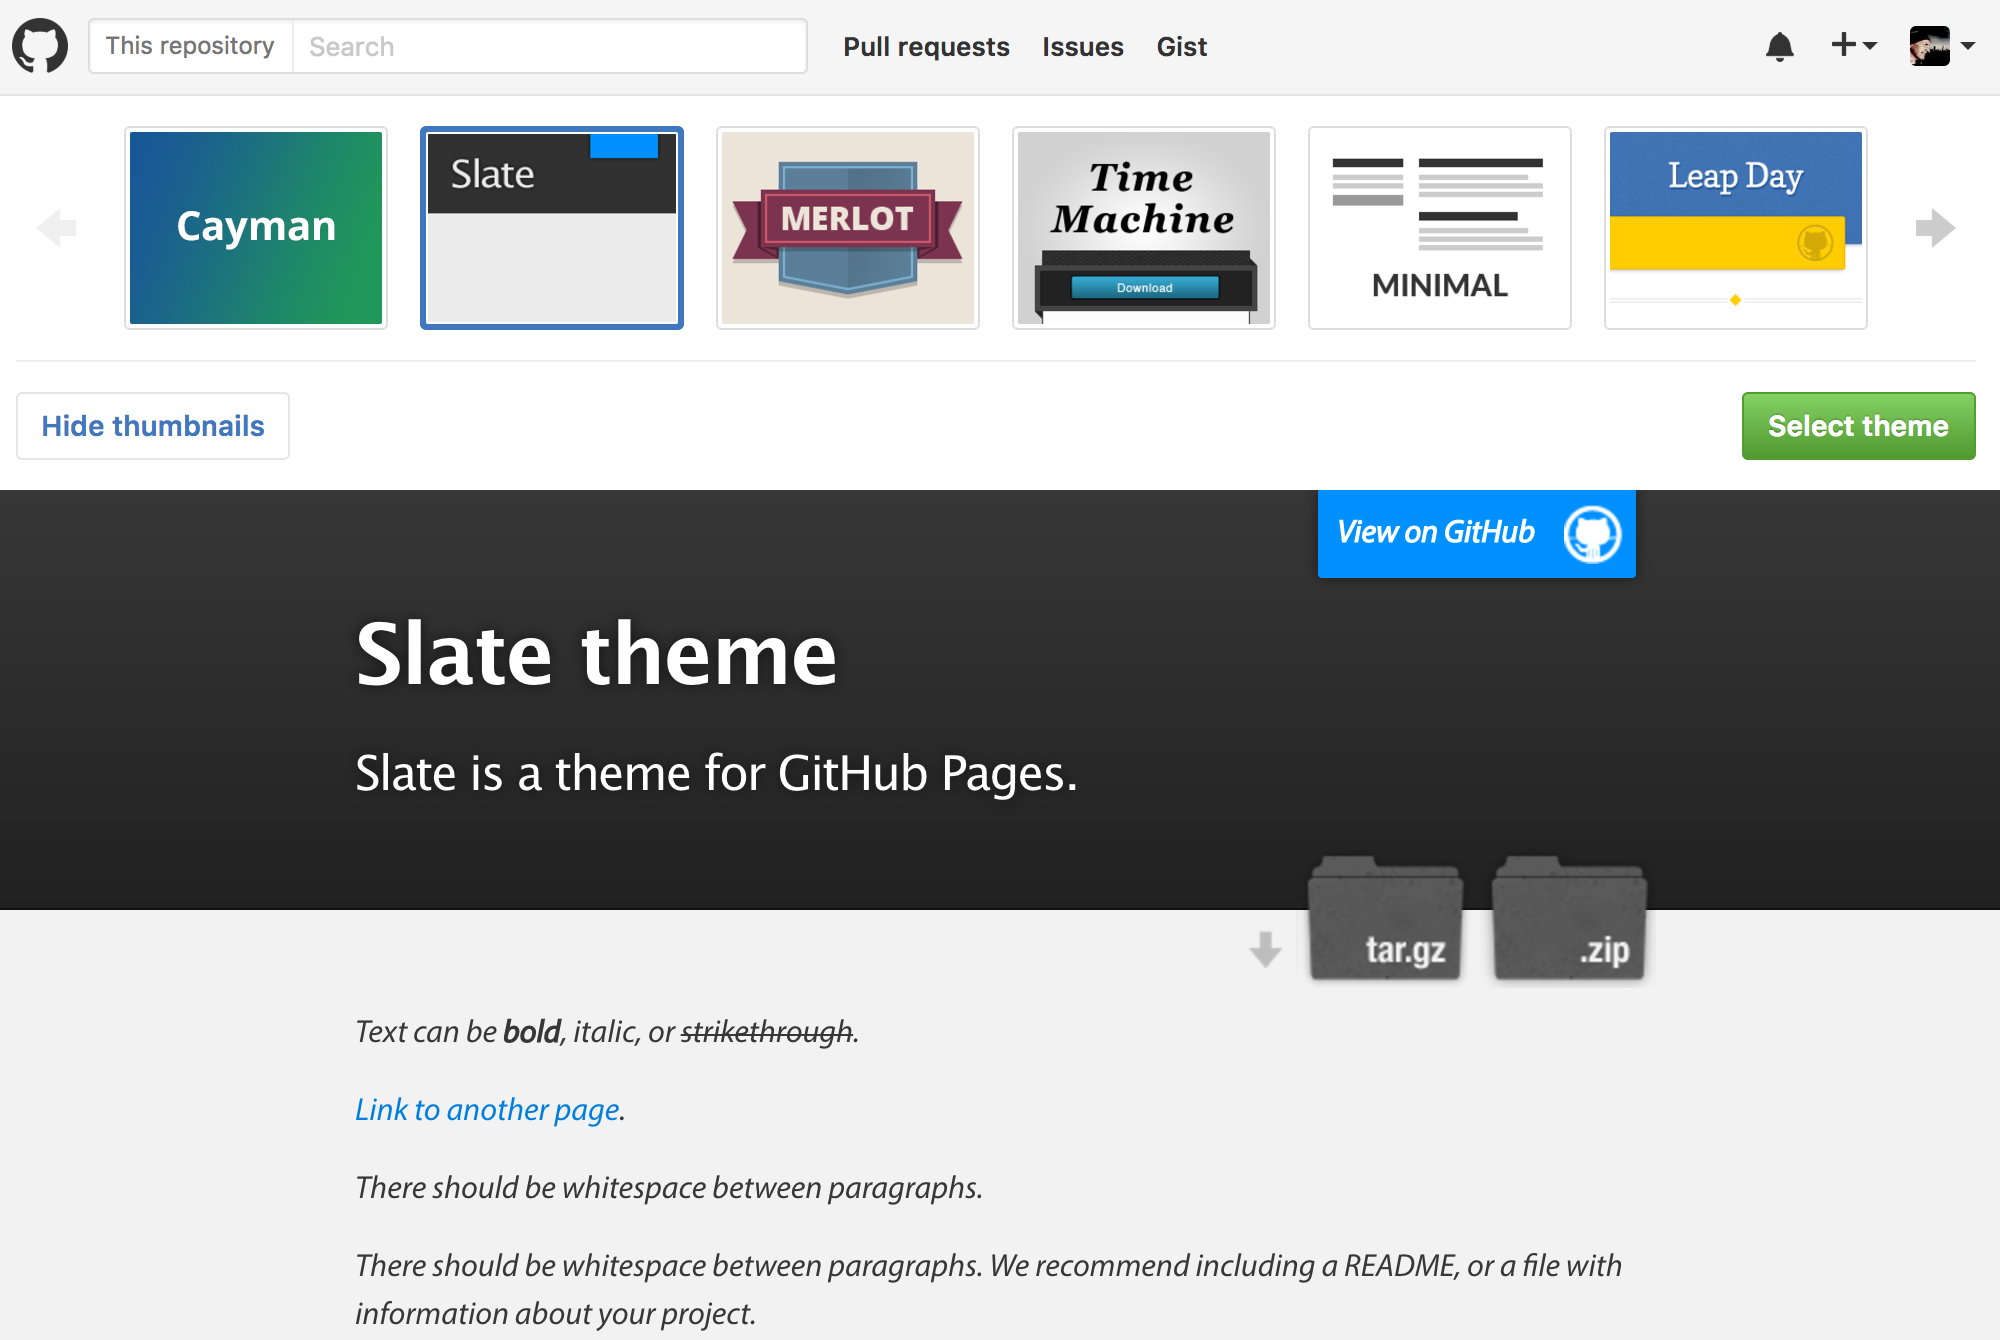
Choose one of the themes from the carousel at the top.
When you’re done, click Select theme on the right.
Edit content
Use the editor to add content to your site.
Commit

Enter a commit comment and click on Commit changes below the editor.
Create an index file

Head over to GitHub.com and create a new repository, or go to an existing one.
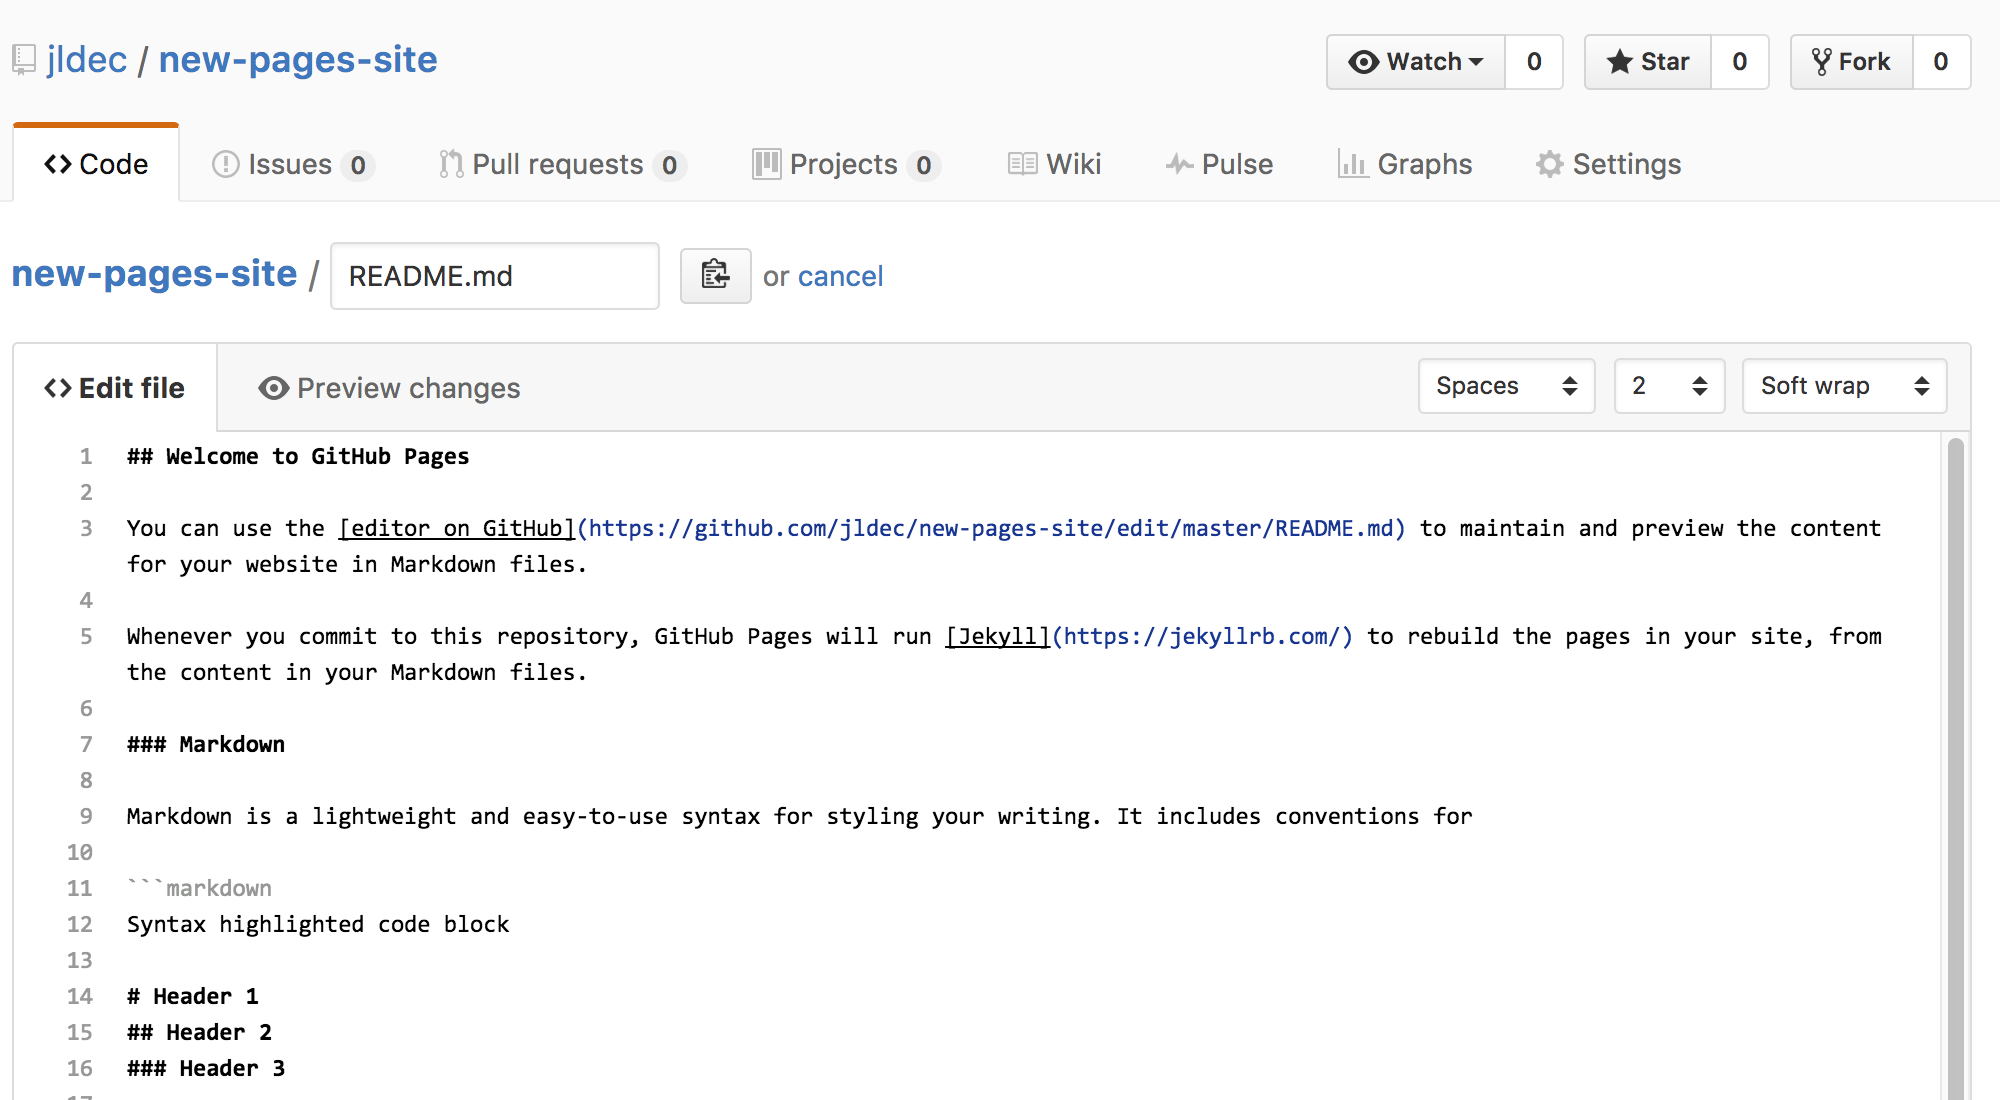
Click on the Create new file button.
Hello World
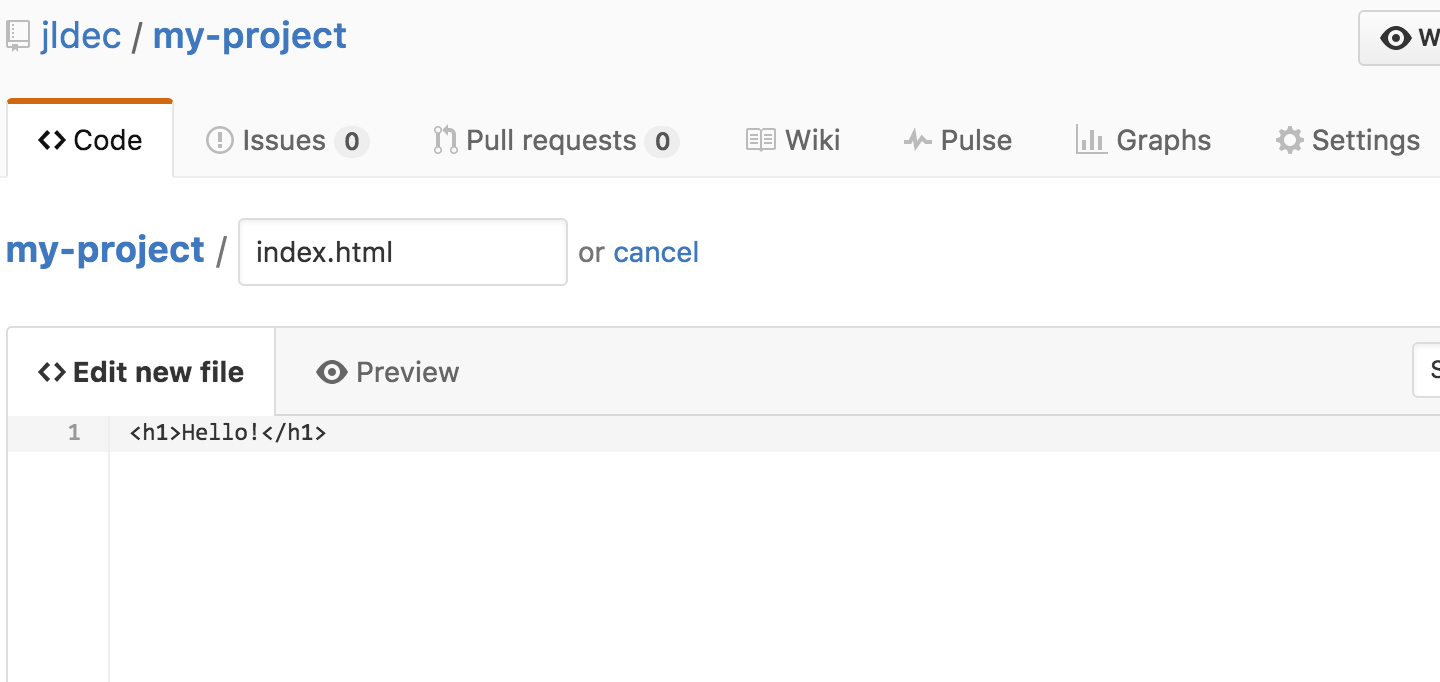
Name the file index.html and type some HTML content into the editor.
Commit the file
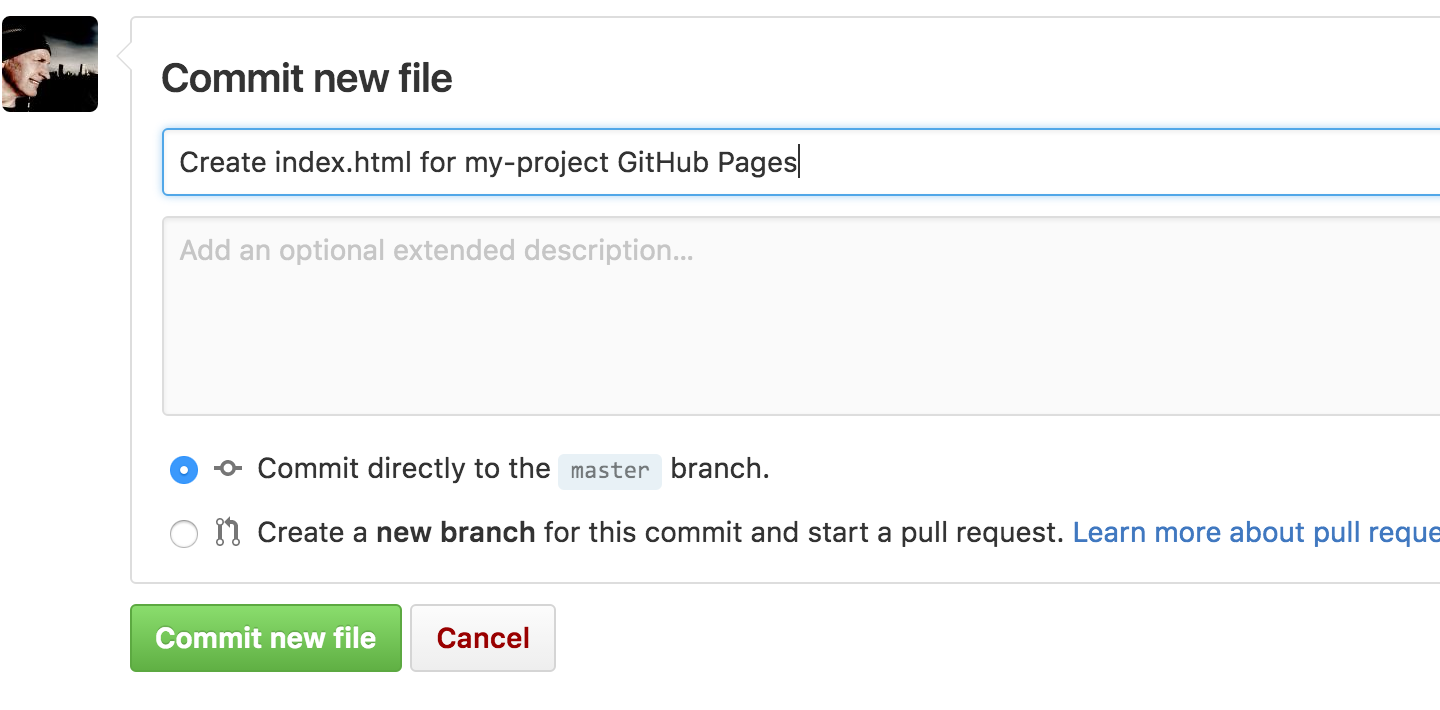
Scroll to the bottom of the page, write a commit message, and commit the new file.
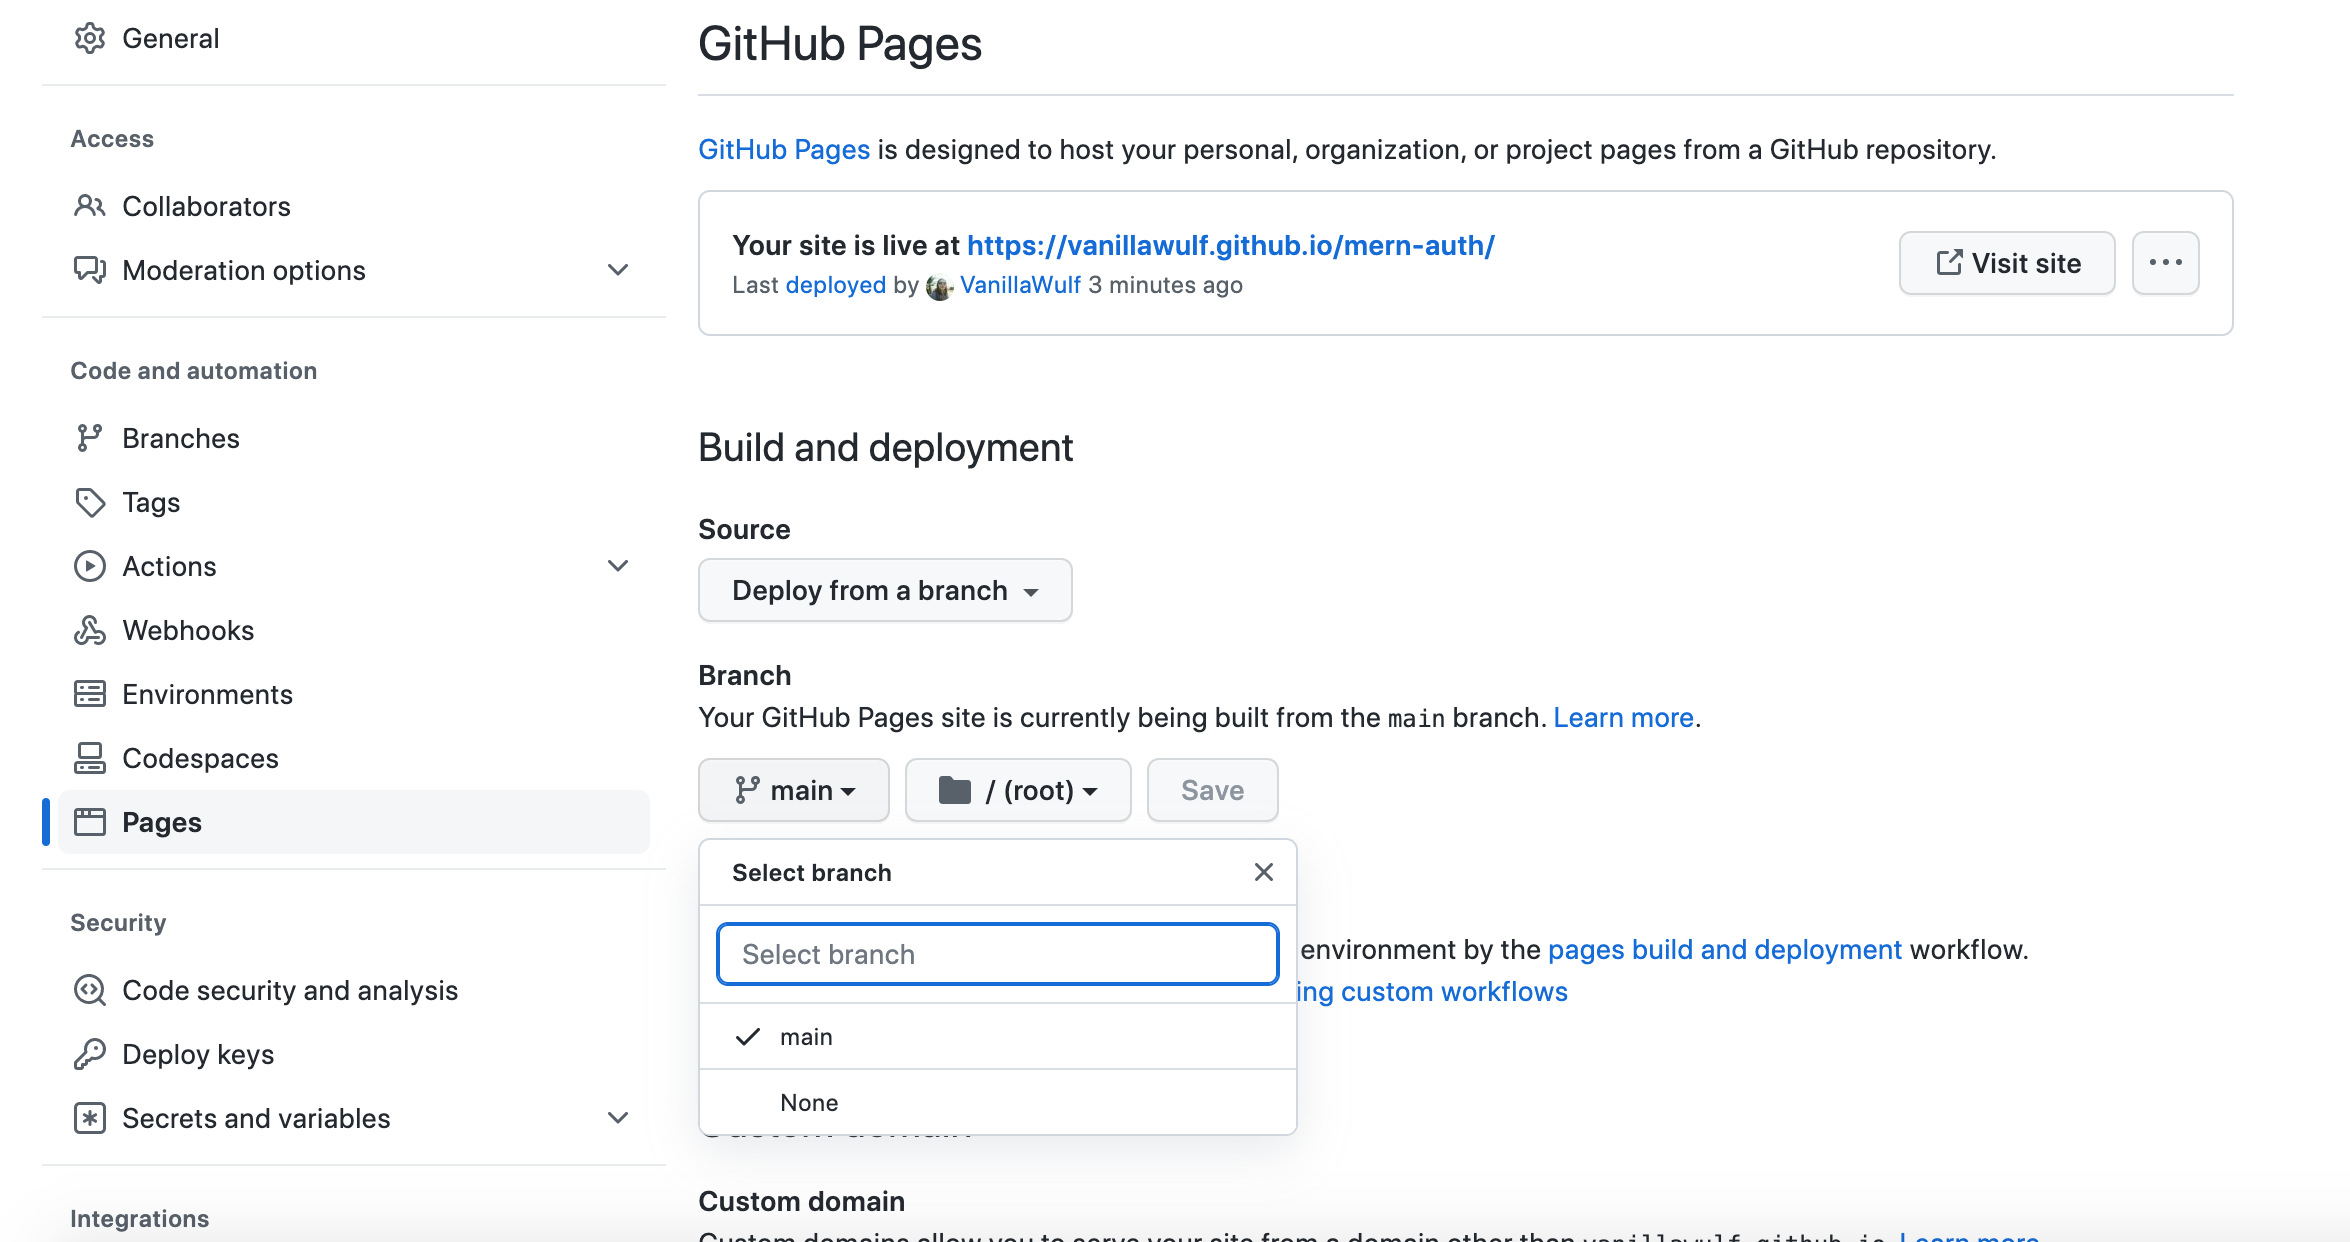
Repository Settings

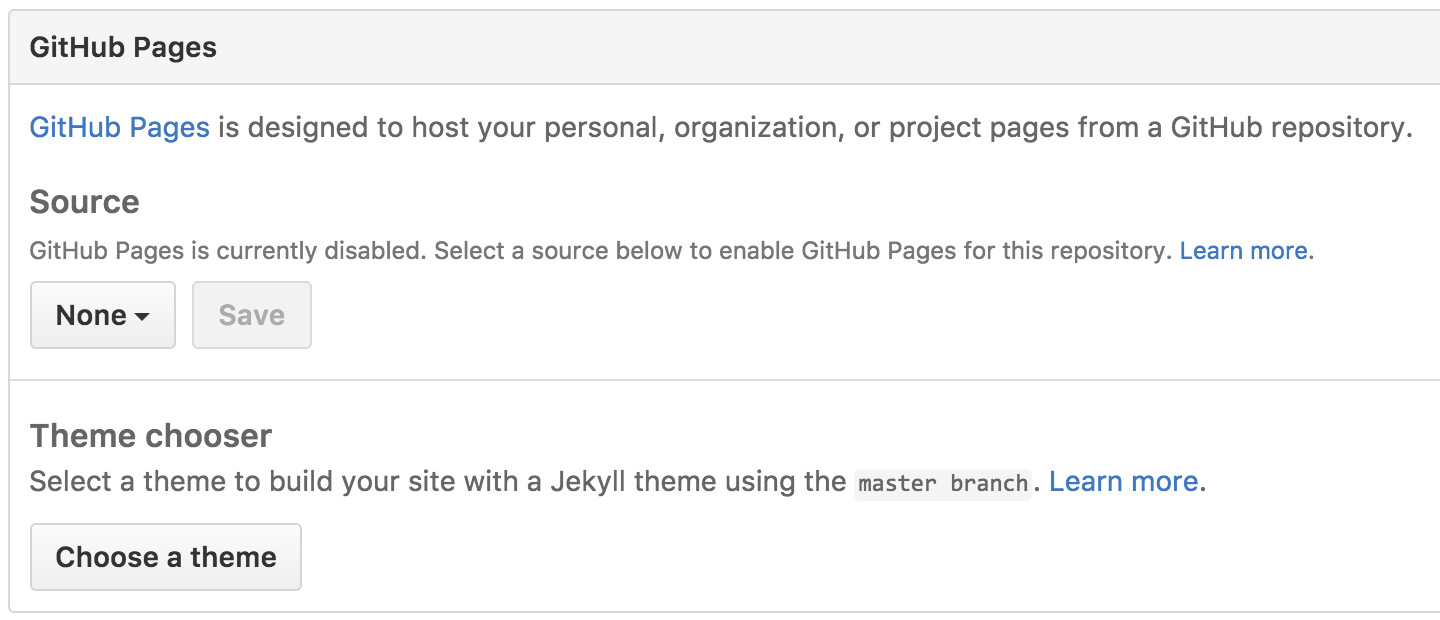
Click on the Settings tab and scroll down to the GitHub Pages section.
Then select the main branch source and click on the Save button.
…and you’re done!
Now that you’re up and running, here are a few things you should know.
Creating a GitHub Pages site
You can create a GitHub Pages site in a new or existing repository.
GitHub Pages is available in public repositories with GitHub Free and GitHub Free for organizations, and in public and private repositories with GitHub Pro, GitHub Team, GitHub Enterprise Cloud, and GitHub Enterprise Server. For more information, see «GitHub’s products.»
Note: Organization owners can restrict the publication of GitHub Pages sites from repositories owned by the organization. For more information, see «Managing the publication of GitHub Pages sites for your organization.»
Creating a repository for your site
You can either create a repository or choose an existing repository for your site.
If you want to create a GitHub Pages site for a repository where not all of the files in the repository are related to the site, you will be able to configure a publishing source for your site. For example, you can have a dedicated branch and folder to hold your site source files, or you can use a custom GitHub Actions workflow to build and deploy your site source files.
If the account that owns the repository uses GitHub Free or GitHub Free for organizations, the repository must be public.
If you want to create a site in an existing repository, skip to the «Creating your site» section.
- In the upper-right corner of any page, use the
drop-down menu, and select New repository.

Use the Owner dropdown menu to select the account you want to own the repository.
Type a name for your repository and an optional description. If you’re creating a user or organization site, your repository must be named .github.io or .github.io . If your user or organization name contains uppercase letters, you must lowercase the letters. For more information, see «About GitHub Pages.»
Creating your site
Before you can create your site, you must have a repository for your site on GitHub. If you’re not creating your site in an existing repository, see «Creating a repository for your site.»
Warning: GitHub Pages sites are publicly available on the internet, even if the repository for the site is private. If you have sensitive data in your site’s repository, you may want to remove the data before publishing. For more information, see «About repositories.»
- On GitHub, navigate to your site’s repository.
- Decide which publishing source you want to use. For more information, see «Configuring a publishing source for your GitHub Pages site.»
- Create the entry file for your site. GitHub Pages will look for an index.html , index.md , or README.md file as the entry file for your site. If your publishing source is a branch and folder, the entry file must be at the top level of the source folder on the source branch. For example, if your publishing source is the /docs folder on the main branch, your entry file must be located in the /docs folder on a branch called main . If your publishing source is a GitHub Actions workflow, the artifact that you deploy must include the entry file at the top level of the artifact. Instead of adding the entry file to your repository, you may choose to have your GitHub Actions workflow generate your entry file when the workflow runs.
- Configure your publishing source. For more information, see «Configuring a publishing source for your GitHub Pages site.»
- Under your repository name, click
Settings. If you cannot see the «Settings» tab, select the
dropdown menu, then click Settings.

Visit site.
Note: It can take up to 10 minutes for changes to your site to publish after you push the changes to GitHub. If you don’t see your GitHub Pages site changes reflected in your browser after an hour, see «About Jekyll build errors for GitHub Pages sites.»
Note: GitHub Actions is free for public repositories. Usage charges apply for private and internal repositories that go beyond the monthly allotment of free minutes. For more information, see «Usage limits, billing, and administration».
- If you are publishing from a branch and your site has not published automatically, make sure someone with admin permissions and a verified email address has pushed to the publishing source.
- Commits pushed by a GitHub Actions workflow that uses the GITHUB_TOKEN do not trigger a GitHub Pages build.
Next steps
You can add more pages to your site by creating more new files. Each file will be available on your site in the same directory structure as your publishing source. For example, if the publishing source for your project site is the gh-pages branch, and you create a new file called /about/contact-us.md on the gh-pages branch, the file will be available at https://.github.io//about/contact-us.html .
You can also add a theme to customize your site’s look and feel. For more information, see «Adding a theme to your GitHub Pages site using Jekyll».
To customize your site even more, you can use Jekyll, a static site generator with built-in support for GitHub Pages. For more information, see «About GitHub Pages and Jekyll».
Further reading
Инструкция по размещению сайта на GitHub Pages
Для размещения статического веб-сайта можно воспользоваться сервисом GitHub Pages. Статический сайт состоит из HTML-страниц с неизменным содержимым. Такие сайты могут использоваться как визитки, портфолио, презентационные страницы.
Особенности и ограничения
Сервис Github Pages предоставляет следующие возможности для статических сайтов:
- Использование HTML, CSS, языка разметки Markdown;
- Встраивание изображений и другого медиа;
- Использование JavaScript.
- Нельзя использовать на сайте PHP либо другие серверные языки;
- Серверный код и серверные скрипты выполняться не будут;
- Cookies не используются.
Как опубликовать сайт на GitHub Pages
- Создайте аккаунт на GitHub. Предположим, your-account-name — название вашего аккаунта.
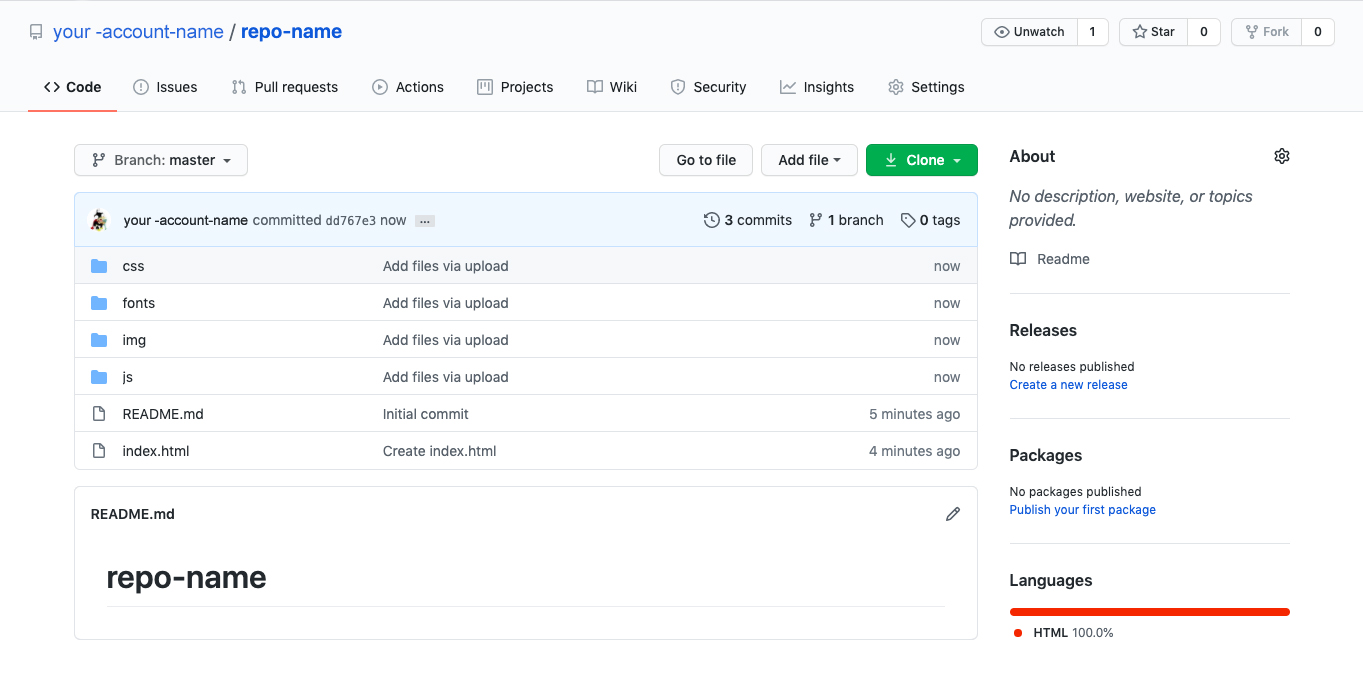
- Cоздайте новый репозиторий для вашего проекта. При создании введите название репозитория (например, repo-name), выберите тип репозитория Public и нажмите на кнопку Create repository:

- Загрузите все файлы вашего проекта в ветку master созданного репозитория repo-name. Загрузки нажмите add file =>upload files и перетащите папку с файлами в окно загрузки. Нажмите на Commit changes внизу страницы, чтобы загрузить файлы. Обратите внимание, что после загрузки проекта файл index.html должен находиться в корневой директории проекта:
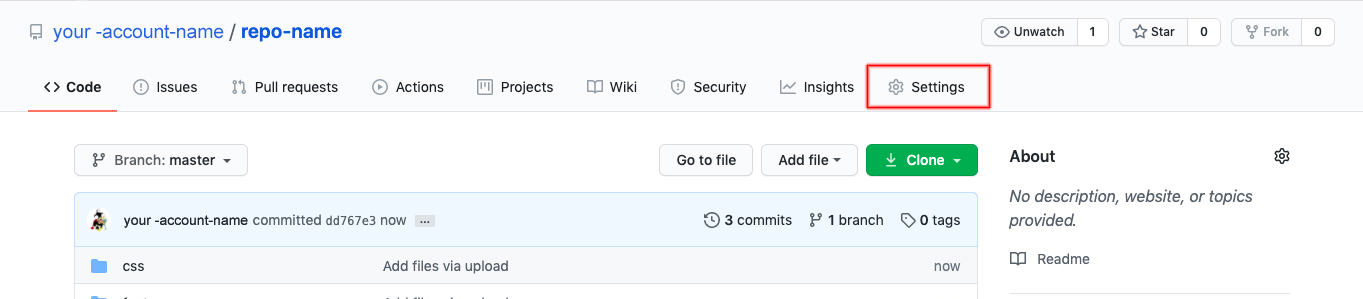
- Установите в качестве источника файлов вашей(branch) страницы ветку master созданного репозитория, а в качестве source — deploy form branch:
- Теперь ваш сайт опубликован по адресу вида your-account-name.github.io/repo-name: Примечание: иногда ссылка появляется не сразу, так как сервису нужно немного времени для деплоя, поэтому попробуйте обновить страницу через 2-5 минут.

- Для проверки работы сайта просто перейдите по адресу https://your-account-name.github.io/repo-name – и вы увидите свою страницу, загруженную на Github Pages: