- How to Make a Fill the Height of the Remaining Space
- Create HTML
- Create CSS
- Example of making a fill the remaining space with Flexbox:
- Here’s the result, same as before:
- Example of making a fill the remaining space with the position property:
- Example of making a fill the remaining space with the display set to «table»:
- Example of making a fill the remaining space with the calc() function:
- CSS Height Full Page CSS gotcha: How to fill page with a div?
- So let’s say you want a div that fills up entire page.
- Can we just use a more «absolute» value like px ?
- Relative units to the rescue!
- Old school height: 100%
- newer solution: viewport units vh and vw
- How about min-height: 100vh ?
- A very common practice is to apply height: 100vh and width: 100vw to directly.
- vh/vw versus %
- But why the scrollbar?
- and have default margins and paddings!
- Cool! Now we have our div filling up the page without scrollbars!
- box-sizing border-box
How to Make a Fill the Height of the Remaining Space
If you need the content to fill the height of the full screen, you’re in the right place.
In this snippet, we’ll demonstrate four methods of making a fill the height of the remaining space. So, let’s start!
1. The most usual solution to this problem is to use Flexbox. Let’s see how to use it. For this method, we’ll need the CSS flex property as a shorthand for the flex-grow, flex-shrink, and flex-basis properties.
Create HTML
- Use a and add three other ellements iinside.
- Add class attributes to the elements.
- Add elements inside the tag.
div class="box"> div class="row header"> p>header (sized to content) p> div> div class="row content"> p>content (fills remaining space) p> div> div class="row footer"> p>footer (fixed height) p> div> div>Create CSS
- Set the height and margin for the and elements.
- Set the display to “flex”, and add the flex-flow and height properties for the “box” class.
- Set the border for the “box.row”.
- Set the flex property for the “row header”, “row content”, and “row footer” classes, separately.
html, body < height: 100%; margin: 0; > .box < display: flex; flex-flow: column; height: 100%; > .box .row < border: 1px dotted #0313fc; > .box .row.header < flex: 0 1 auto; > .box .row.content < flex: 1 1 auto; > .box .row.footer < flex: 0 1 40px; >Example of making a fill the remaining space with Flexbox:
html> html> head> title>Title of the document title> style> html, body < height: 100%; margin: 0; > .box < display: flex; flex-flow: column; height: 100%; > .box .row < border: 1px dotted #0313fc; > .box .row.header < flex: 0 1 auto; > .box .row.content < flex: 1 1 auto; > .box .row.footer < flex: 0 1 40px; > style> head> body> div class="box"> div class="row header"> p>header (sized to content) p> div> div class="row content"> p>content (fills remaining space) p> div> div class="row footer"> p>footer (fixed height) p> div> div> body> html>Using flexbox, you can switch between rows and columns having either fixed dimensions, content-sized dimensions, or remaining space dimensions. In the example above, we demonstrated how to add an area with fixed height and set the content area for filling the remaining space.
Let’s extend our example and add a container div after the box div.
div class="box"> div class="box-container"> /* add this line */ div class="row header"> p>header (sized to content) p> div> div class="row content"> p>content (fills remaining space) p> div> div class="row footer"> p>footer (fixed height) p> div> div> /* end of box-container div */ div>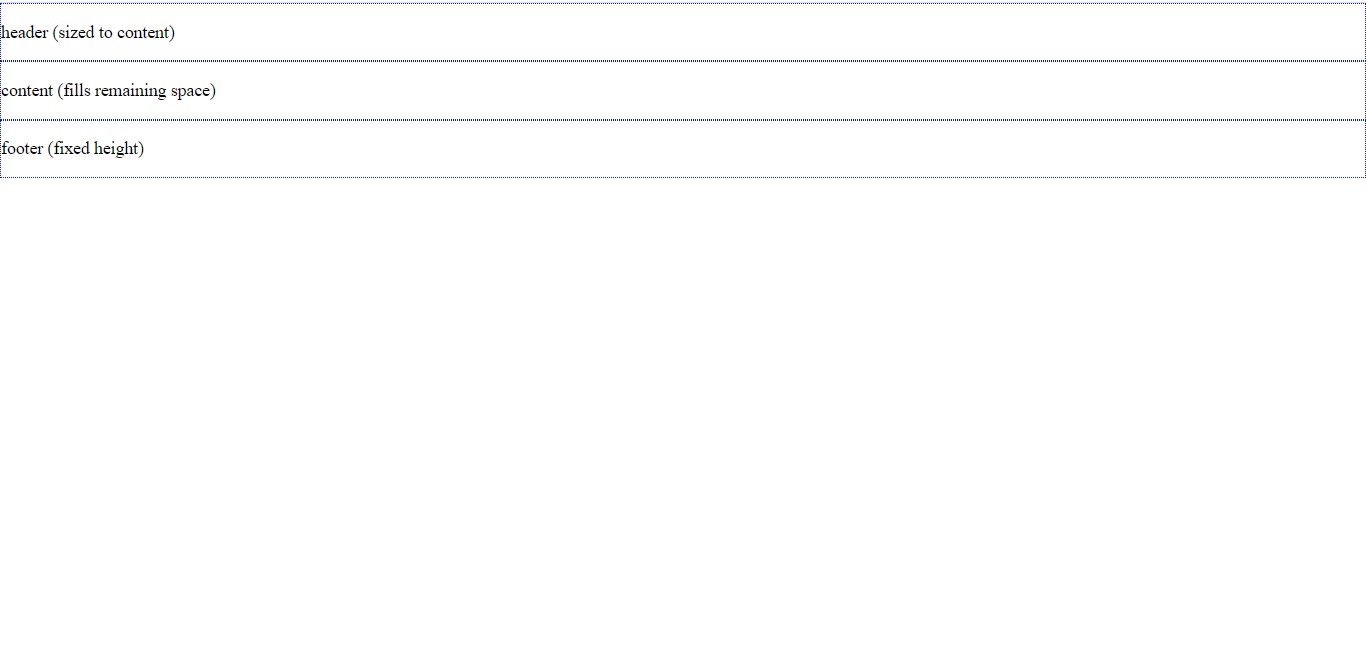
As we see, our layout’s broken!
The solution’s pretty simple. We should change the default behaviour of div tags, which is setting the display to be a block-level element. We will use the display: contents , so the contents will determine the size of the element.
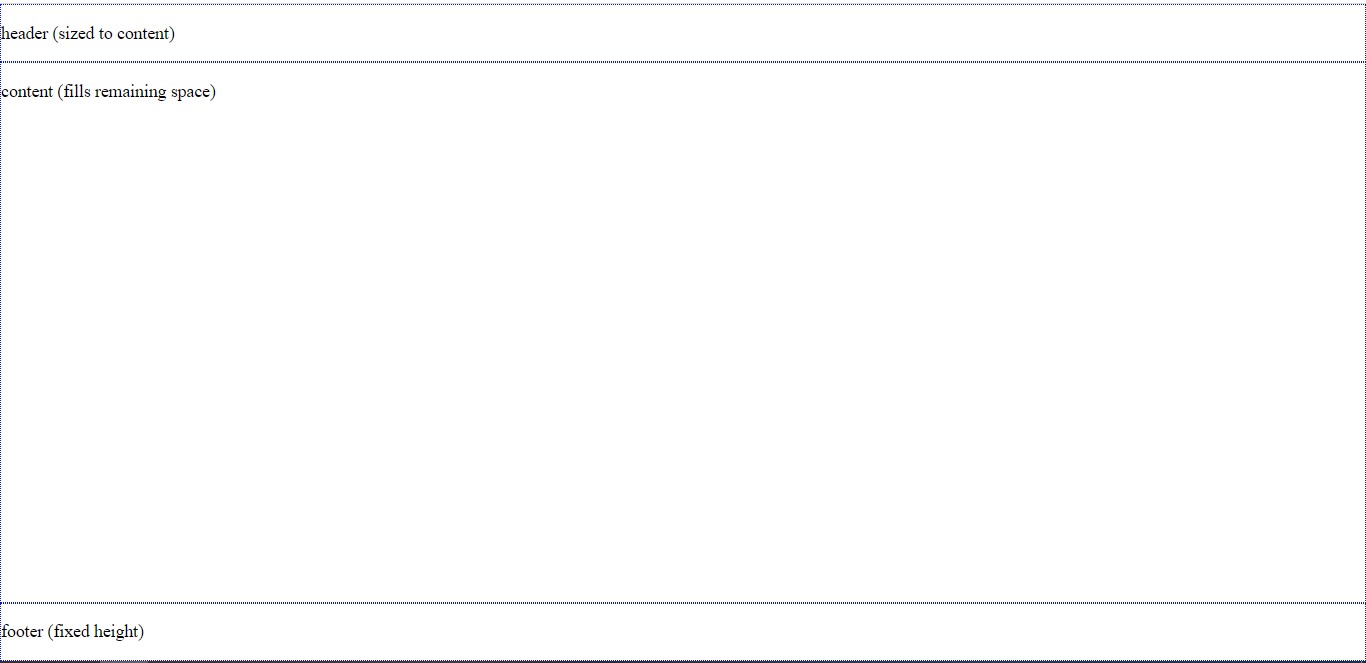
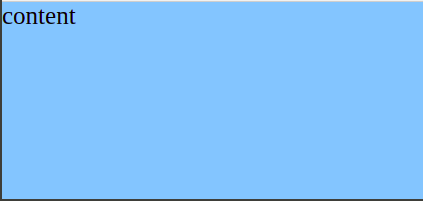
.box-container < display: contents; >Here’s the result, same as before:
Let’s take a step further by adding an image in our box-container and seeing what happens.
head> title>Title of the document title> style> html, body < height: 100%; margin: 0; > .box < display: flex; flex-flow: column; height: 100%; > .box .row < border: 1px dotted #0313fc; > .box .row.header < flex: 0 1 auto; > .box .row.content < flex: 1 1 auto; > .box .row.footer < flex: 0 1 40px; > .box-container < display: contents; > style> head> body> div class="box"> div class="box-container"> div class="row header"> p>header (sized to content) p> img src="https://img.freepik.com/free-photo/wide-angle-shot-single-tree-growing-clouded-sky-during-sunset-surrounded-by-grass_181624-22807.jpg" height="150px" width="150px" /> div> div class="row content"> p>content (fills remaining space) p> div> div class="row footer"> p>footer (fixed height) p> div> div> div> body>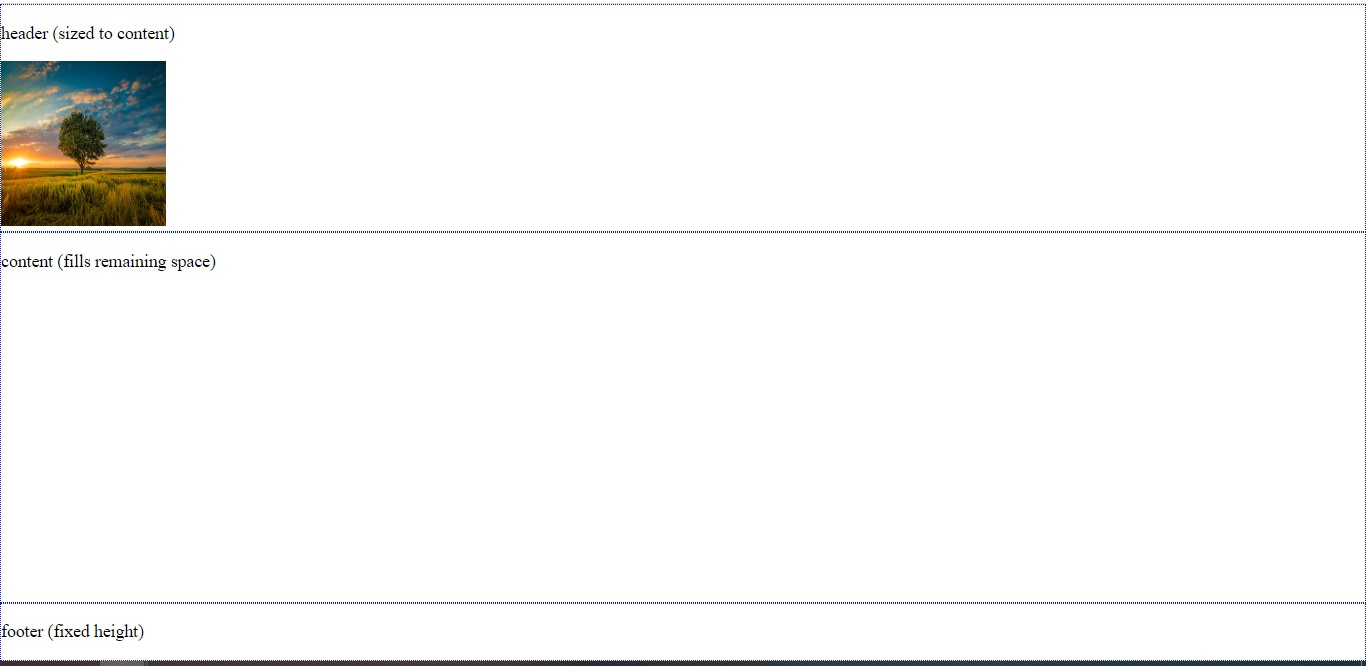
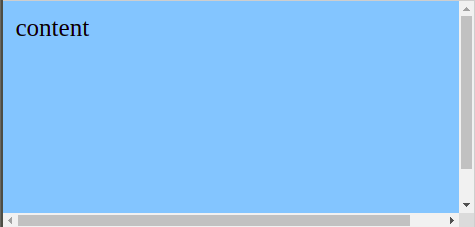
It seems like it’s still working, great! So all we had to do was to place display: contents to our box-container div .
2. Another way of making a fill the remaining space is to use the CSS position property. Just set the position to “absolute” to stretch the .
Example of making a fill the remaining space with the position property:
html> html> head> title>Title of the document title> style> html, body < height: 100%; width: 100%; margin: 0; > #fixed-height < height: 100px; background-color: #57c975; > #remaining-height < background-color: #d9deda; position: absolute; top: 100px; bottom: 0; width: 100%; > style> head> body> div id="fixed-height"> Fixed height div> div id="remaining-height"> Remaining height div> body> html>3. The next method of making a fill the remaining space is using tables. By setting the display property to “table”, we can distribute the given space. When we set a fixed height for one element, the other will use the remaining space.
html> html> head> title>Title of the document title> style> html, body < height: 100%; width: 100%; margin: 0; > #fixed-height < height: 100px; background-color: #57c975; > #remaining-height < background-color: #d9deda; position: absolute; top: 100px; bottom: 0; width: 100%; > style> head> body> div id="fixed-height"> Fixed height div> div id="remaining-height"> Remaining height div> body> html>Example of making a fill the remaining space with the display set to «table»:
html> html> head> title>Title of the document title> style> html, body, #outer < height: 100%; width: 100%; margin: 0; > #outer < display: table; > #fixed-height < height: 100px; background-color: #ebcaca; display: table-row; > #remaining-height < background-color: #ebe6e6; display: table-row; > style> head> body> div id="outer"> div id="fixed-height"> Fixed height div> div id="remaining-height"> Remaining height div> div> body> html>4. The last method is to use the CSS calc() function. In this way, we can assign a height calculated from the total height minus the height of the other element.
Example of making a fill the remaining space with the calc() function:
html> html> head> title>Title of the document title> style> html, body < height: 100%; width: 100%; margin: 0; > #fixed-height < height: 100px; background-color: #ebcaca; > #remaining-height < background-color: #ebe6e6; height: calc(100% - 100px); > style> head> body> div id="fixed-height"> Fixed height div> div id="remaining-height"> Remaining height div> body> html>CSS Height Full Page CSS gotcha: How to fill page with a div?
So let’s say you want a div that fills up entire page.
div height: 100%; width: 100%; font-size: 20px; background-color: lightskyblue; > 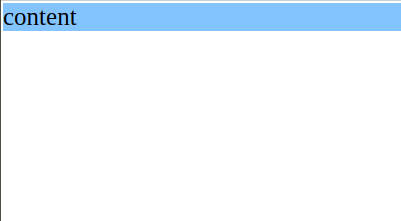
What?! It doesn’t work! The height still only takes up the content, but not the whole page.
The width is good since a div is by default a block element, which takes as much width as possible anyways.
Can we just use a more «absolute» value like px ?
div /* height: 100% */ height: 865px; /* current height of my browser */ /* . */ > It works. until the browser is resized It doesn’t adapt when the browser is resized. You can use JS for this, but that’s way overkill for what we wanted.
I mentioned px is «absolute», but only in the sense that they are not relative to anything else (like rem and vh). But the actual size still depends on the device. Here’s some details:
Relative units to the rescue!
Old school height: 100%
html, body height: 100%; width: 100%; > div height: 100%; /* . */ > 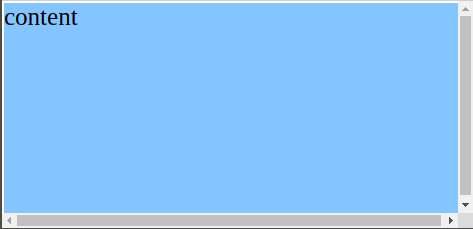
Works! (We’ll fix the scrollbars later) By setting both and its child to 100% height, we achieve the full size. Note that only setting either of them won’t work, since percentage is always relative to another value. In this case:
- div is 100% the height of the body
- body is 100% the height of the html
- html is 100% the height of the Viewport
Viewport is the visible area of the browser, which varies by device.
For example, an iPhone 6/7/8 has a 375×667 viewport. You can verify this on your browser dev tools mobile options.
For now, you can think about viewport as the device pixel size or resolution. But if you want to go deep:
newer solution: viewport units vh and vw
Viewport-percentage lengths aka Viewport units have been around for a while now, and is perfect for responding to browser resizes.
- 1 viewport height ( 1vh ) = 1% of viewport height
- 1 viewport width ( 1vw ) = 1% of viewport width
In other words, 100vh = 100% of the viewport height
100vw = 100% of the viewport width
So these effectively fills up the device viewport.
html, body /* height: 100%; */ /* width: 100% */ > div /* height: 100%; width: 100%; */ height: 100vh; width: 100vw; /* . */ >
Looks good too! (We’ll fix the scrollbars later)
As mentioned in the comments by @angelsixuk and @mpuckett , there is a known jumping behavior during scrolling when using 100vh on mobile browsers, which is an issue but considered intentional by webkit. See these links for details: Viewport height is taller than the visible part of the document in some mobile browsers and Stack Overflow: CSS3 100vh not constant in mobile browser
How about min-height: 100vh ?
While height fixes the length at 100vh , min-height starts at 100vh but allows content to extend the div beyond that length. If content is less than the length specified, min-height has no effect.
In other words, min-height makes sure the element is at least that length, and overrides height if height is defined and smaller than min-height .
For our goal of having a div child with full height and width, it doesn’t make any difference since the content is also at full size.
A good use case of min-height is for having a sticky footer that gets pushed when there is more content on the page. Check this out here and other good uses of vh
A very common practice is to apply height: 100vh and width: 100vw to directly.
In this case, we can even keep the container div relatively sized like in the beginning, in case we change our minds later.
And with this approach, we assure that our entire DOM body occupies full height and width regardless of our container div.
body height: 100vh; width: 100vw; > div height: 100%; width: 100%; /* height: 100vh; width: 100vw; */ /* . */ > vh/vw versus %
A good way of thinking about vh, vw vs % is that they are analogous to em and rem
% and em are both relative to the parent size, while vw/vh and rem are both relative to «the highest reference», root font size for rem and device viewport for vh/vw.
But why the scrollbar?

and have default margins and paddings!
Browsers feature a default margin, padding and borders to HTML elements. And the worst part is it’s different for each browser!
Chrome default for has a margin: 8px
And 100vh + 8px causes an overflow, since it’s more than the viewport
Luckily, it’s fairly easy to fix that:
html, body margin: 0; padding: 0; > body . This is a «blanket» solution that would cover all margin and padding variations for any browser you might have.
Cool! Now we have our div filling up the page without scrollbars!
Finally, let’s add a little padding, since it’s awkward that the content is right on the edges.
What?! The scrollbar is back! What happened?
box-sizing border-box
box-sizing allows you to define whether the padding and border is included in the div’s height and width.
The default content-box of box-sizing doesn’t include padding and border in the length, so div becomes
border-box includes padding and border, so div stays at our required sizes:
It’s quite common to set all elements to border-box for a consistent layout and sizing throughout pages, using * selector: