- background — color
- Кратко
- Пример
- Как понять
- Как пишется
- Подсказки
- На практике
- Алёна Батицкая советует
- Div Background Color – How to Change Background Color in CSS
- How to Set Background Color with Named Colors
- How to Set Background Color with Hexadecimal Colors
- How to Set Background Color with RGB Colors
- How to Set Background Color with HSL Colors
- Conclusion
background — color
Свойство, раскрашивающее фон элемента в яркие краски!
Время чтения: меньше 5 мин
Обновлено 20 декабря 2021
Кратко
Скопировать ссылку «Кратко» Скопировано
При помощи свойства background — color можно задать цвет фона элемента. Задать фоновый цвет можно любому элементу — строчному (inline), блочному (block) или строчно-блочному (inline-block).
Пример
Скопировать ссылку «Пример» Скопировано
Розовый — цвет, образующийся.
Жёлтый — самый лёгкий и яркий цвет.Зелёный цвет.div class="parent"> p class="block">Розовый — цвет, образующийся. p> span class="inline">Жёлтый — самый лёгкий и яркий цвет. span> div class="inline-block">Зелёный цвет. div> div>
.block background-color: pink;> .inline background-color: rgb(255 216 41);> .inline-block background-color: #49a16c;>.block background-color: pink; > .inline background-color: rgb(255 216 41); > .inline-block background-color: #49a16c; >
В примере выше показаны блоки всех трёх типов отображения. С фоном для блочных и строчно-блочных элементов проблем не возникает, а вот со строчными элементами всё не так просто.
Если высота строки ( line — height ) у строчного элемента будет больше 1, то между строками будут пробелы.
Но в заливке фона строчных элементов есть и преимущества! На последней строке фон заканчивается ровно там, где заканчивается текст.
Помимо этой особенности, в CSS-коде видно, что в качестве значения для background — color можно использовать любое доступное обозначение цвета в вебе.
Как понять
Скопировать ссылку «Как понять» Скопировано
Свойство background — color меняет цвет фона любого элемента.
Как пишется
Скопировать ссылку «Как пишется» Скопировано
Для нужного селектора указываем свойства background — color и после двоеточия указываем цвет фона в любом доступном для веба формате.
.element background-color: black;>.element background-color: black; >
.element background-color: #ffffff;>.element background-color: #ffffff; >
.element background-color: #ffffff80;>.element background-color: #ffffff80; >
.element background-color: rgb(255 255 0 / 0.5);>.element background-color: rgb(255 255 0 / 0.5); >
Помимо цвета можно задать прозрачный фон при помощи ключевого слова transparent .
Это бывает полезно для изменения цвета при наведении курсора.
Подсказки
Скопировать ссылку «Подсказки» Скопировано
💡 Свойство фона не наследуется.
💡 Значение по умолчанию — прозрачный фон: transparent .
💡 Фон нельзя задать частично. Блок заливается указанным цветом полностью.
💡 В качестве значения можно указать только один цвет.
💡 Изменение цвета фона можно анимировать при помощи свойства transition 🥳
На практике
Скопировать ссылку «На практике» Скопировано
Алёна Батицкая советует
Скопировать ссылку «Алёна Батицкая советует» Скопировано
🛠 Если нужна красивая кнопка ( ), то не забудьте сбросить фон: укажите для неё background — color : transparent . Или тот цвет фона, который нужен по дизайну. По умолчанию у всех кнопок серый фон с приветом из девяностых.
🛠 Аналогичным способом можно сделать красивые прозрачные поля ввода ( input ) в формах.
Email:form class="form"> label> Email: input class="input" type="text" placeholder="Введите ваш email"> label> button class="submit">Подписатьсяbutton> form>
.form /* Фон для всей формы */ background-color: #ffd829;> .input /* Прозрачное поле ввода */ background-color: transparent;> .submit /* Чёрный фон для кнопки */ background-color: black; /* Анимируем всё анимируемое */ transition: 0.3s ease-in-out;> .submit:hover /* Прозрачный фон при наведении курсора */ background-color: transparent;>.form /* Фон для всей формы */ background-color: #ffd829; > .input /* Прозрачное поле ввода */ background-color: transparent; > .submit /* Чёрный фон для кнопки */ background-color: black; /* Анимируем всё анимируемое */ transition: 0.3s ease-in-out; > .submit:hover /* Прозрачный фон при наведении курсора */ background-color: transparent; >
🛠 Если вам нужен градиент, то background — color вам не подойдёт. Градиенты можно задать только при помощи background — image .
🛠 Если нужен блок с «рваным» краем, но без пробела между строками, то для этого есть множество трюков. Один из них:
Чем отличается маркер от текстовыделителя? Текстовыделительные маркеры заправляются флуоресцентными полупрозрачными чернилами. Они не покрывают поверхность бумаги плотным слоем, не пропускающим свет, как это делают обычные маркеры на водной или спиртовой основе.div class="parent"> Чем отличается маркер от текстовыделителя? span class="bkg"> Текстовыделительные маркеры заправляются флуоресцентными полупрозрачными чернилами. Они не покрывают поверхность бумаги плотным слоем, не пропускающим свет, как это делают обычные маркеры на водной или спиртовой основе. span> div>
.parent padding: 25px;> .bkg font-size: 16px; line-height: 1.5; background-color: #ffd829; /* Тень для каждой строки, перекрывающая пробел */ box-shadow: 0 6px 0 #ffd829;>.parent padding: 25px; > .bkg font-size: 16px; line-height: 1.5; background-color: #ffd829; /* Тень для каждой строки, перекрывающая пробел */ box-shadow: 0 6px 0 #ffd829; >
🛠 С помощью полупрозрачного фонового цвета у псевдоэлемента можно создать красивый оверлей поверх фотографий или фоновых изображений. Это круто, потому что фоном можно будет ставить любую фотографию, и она в большинстве случаев не будет выбиваться из дизайна.
The best site all over the world!
header class="header"> h1 class="title">The best site all over the world!h1> header>
.header /* Чтобы псевдоэлемент считал своё положение от этого блока */ position: relative; z-index: 0; /* Фоновое изображение на всю ширину и высоту блока */ background: url("background.png") no-repeat center / cover;> .header:before content: ""; position: absolute; z-index: -1; display: block; top: 0; left: 0; width: 100%; height: 100%; /* Оверлей поверх картинки с прозрачностью 50% */ background-color: rgba(0, 79, 130, 0.5);>.header /* Чтобы псевдоэлемент считал своё положение от этого блока */ position: relative; z-index: 0; /* Фоновое изображение на всю ширину и высоту блока */ background: url("background.png") no-repeat center / cover; > .header:before content: ""; position: absolute; z-index: -1; display: block; top: 0; left: 0; width: 100%; height: 100%; /* Оверлей поверх картинки с прозрачностью 50% */ background-color: rgba(0, 79, 130, 0.5); >
Для .header можно задать любую картинку фоном, и поверх неё всегда будет голубой оверлей 💁♀️
Div Background Color – How to Change Background Color in CSS

Kolade Chris

If you’re working on a web development project, setting a nice background color can give the website a more enticing look.
To set a background color for a div or related element in CSS, you use the background-color property.
While setting this background color, your creativity is your limit as to how far you want to go.
So in this article, I’m going to show you how you can set this background color.
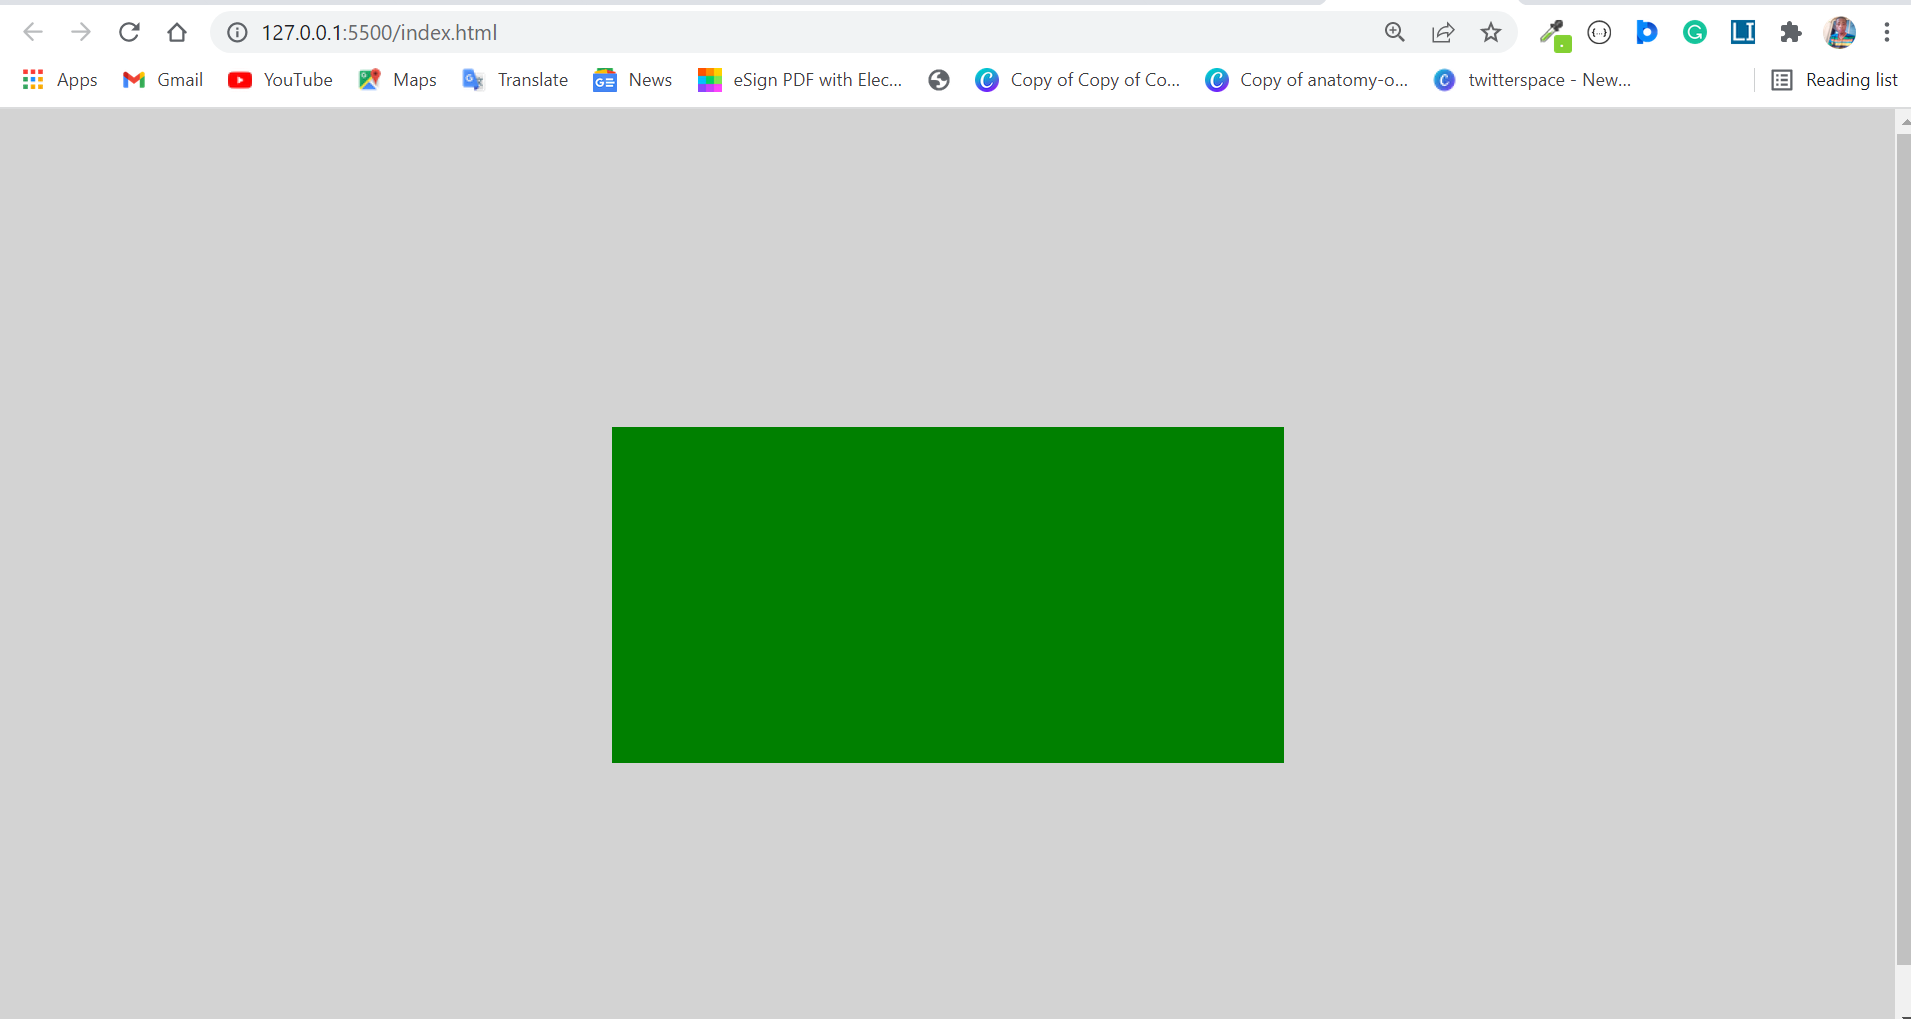
How to Set Background Color with Named Colors
With named colors, you can set the background color by bringing in the background-color property and assigning it a value expressed in a color name like red , green , blue , and so on.
You can use the following styles to make the web page look better. Just set a width and height for the div , so the background-color can take effect:
Modern browsers recognize around 147 colors, so you’re still limited a little.
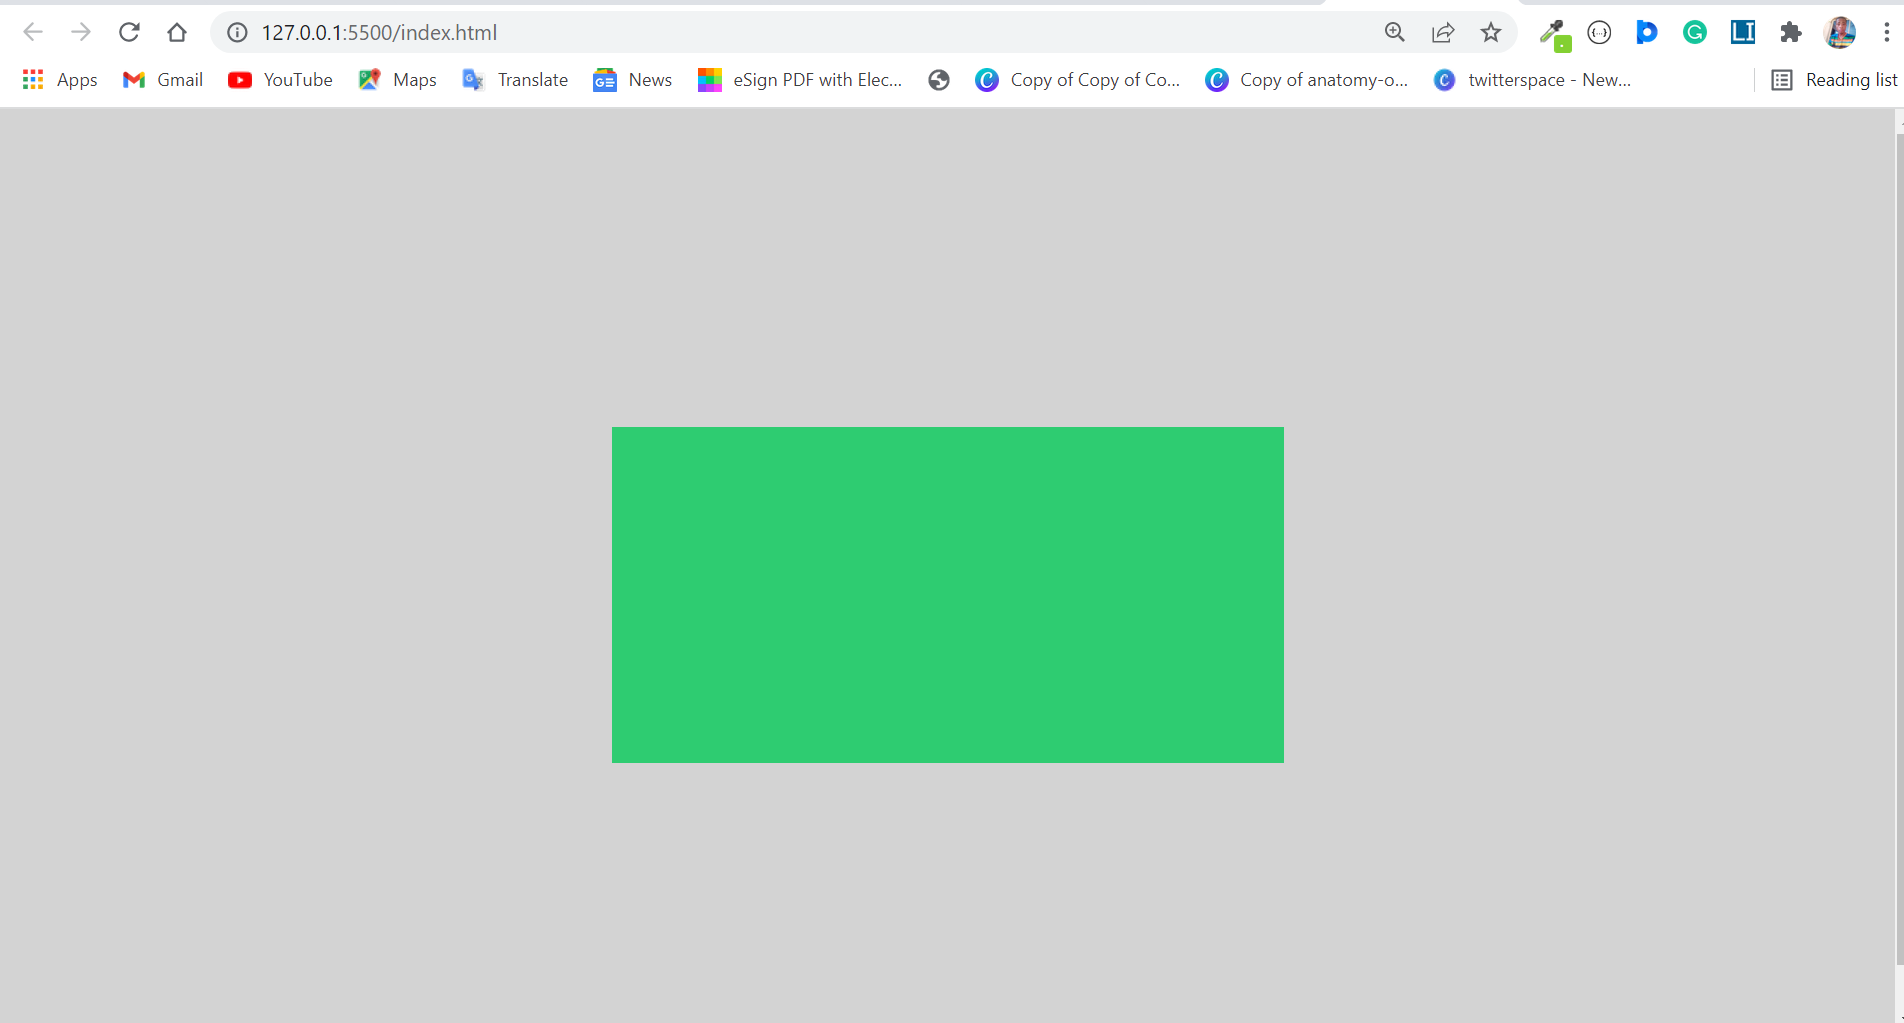
How to Set Background Color with Hexadecimal Colors
With Hexadecimal values, you can set a background color for a div or any other element with a total of 6 characters.
Hex colors start with the hash sign (#), any number from 0 to 9, and finally any letter from A to F.
The first 2 values stand for red, the next two stand for green, and the last 2 represent blue.
With hex values, you can dive deep into the color wheel and even use colors no one has ever used.
How to Set Background Color with RGB Colors
RGB stands for Red Green, and Blue.
To set the background color with RGB, you specify the amount of red, green, and blue you want with numbers between 0 and 255.
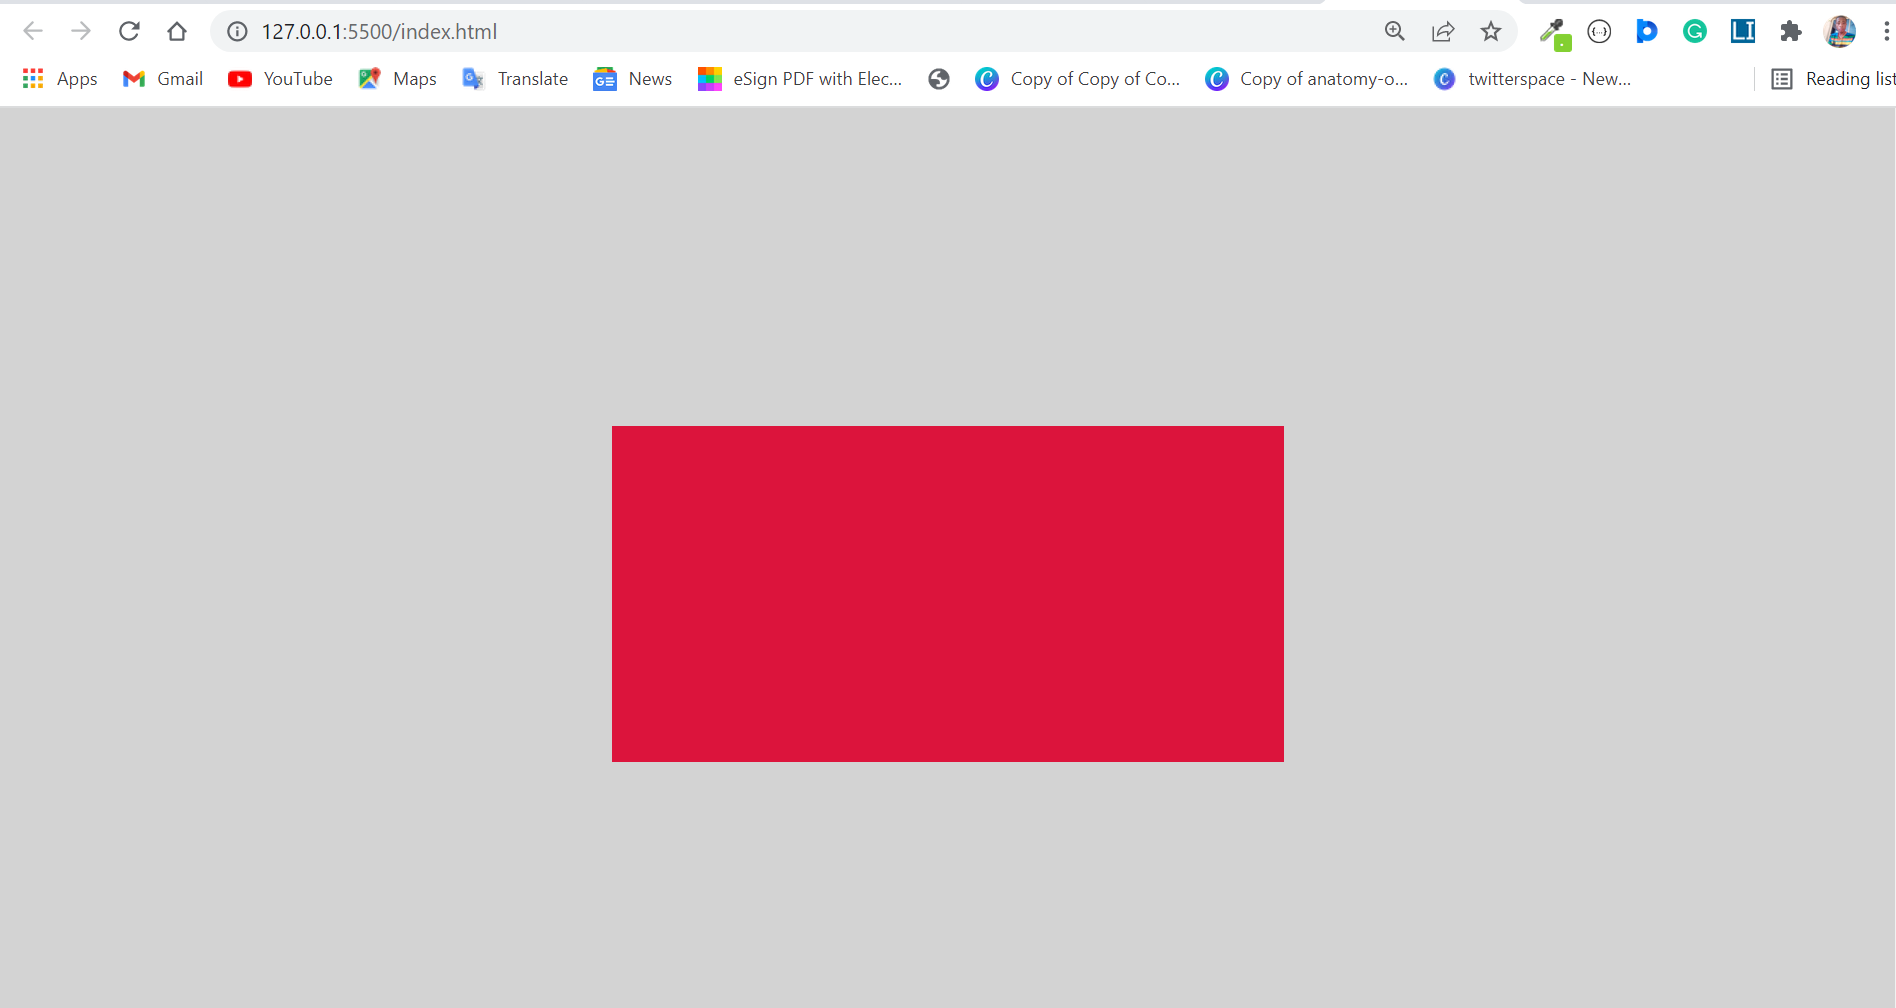
RGB also has a variation called RGBA. The last A means alpha and it lets you determine how opaque you want the color to be.
The alpha takes a value from 0.0 to 1.0. 0.0 means 0% opacity, 0.5 means 50% opacity, and 1.0 means 100% opacity.
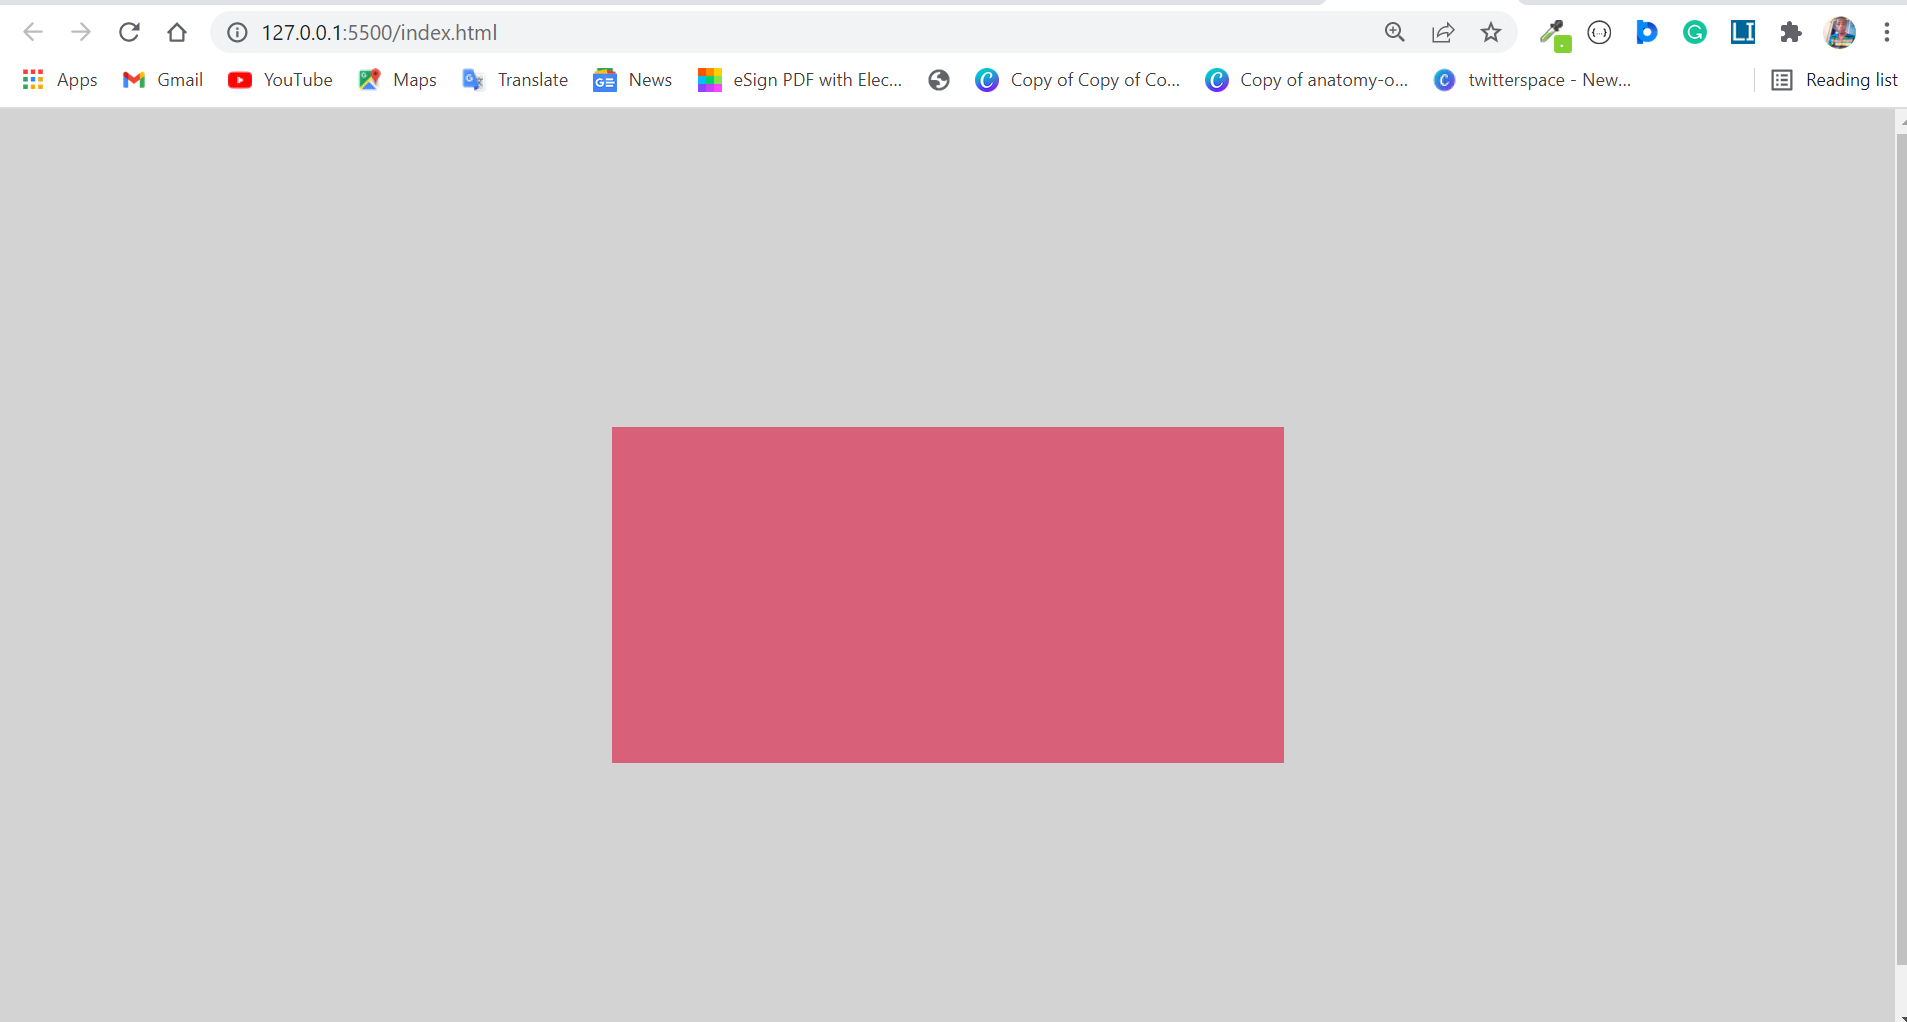
How to Set Background Color with HSL Colors
HSL stands for Hue, Saturation, and Lightness. It is the most dynamic within the ways you can specify a background color for a div or other elements.
- Hue represents the color wheel in 360°. 0° is red, 120° is green and 240° is blue
- Saturation is the amount of gray in the color expressed in percentages. 0% is the shade of gray and 100% is the color itself.
- As the name implies, lightness is the amount of darkness and lightness in the color expressed as a percentage. 0% is black and 100% is white.
Conclusion
Since you can apply colors in 4 different ways, you must be wondering which one you should use.
When you use named colors, you’re kind of limited in how far you can go in applying different shades of colors.
Each color like red, green, blue, yellow, or any other color has a lot of variations you won’t get access to with named colors.
You can only access about 147 predefined colors recognized by browsers.
Hexadecimal colors, on the other hand, are very dynamic. They are mostly used among developers, and creativity is the limit. These hex colors allow you to use different shades of the same color.
RGB colors are as dynamic as hexadecimal colors. You can specify the amount of red, green, and blue from 0 to 255, and you can also use the added alpha value to specify the transparency of the color.
HSL is the most dynamic of all of them. You can specify exactly the color from 0 to 360 degrees in the color wheel, set the saturation and darkness as a percentage, and set the opacity to any value between 0.0 and 1.0.
So deciding which to use between named, hex, RGB and HSL colors depends on you and how creative you want to be and what your project’s needs are.