- How to Style Input and Submit Button With CSS
- How to Style Input Fields With CSS?
- How to Style Submit Button With CSS?
- Conclusion
- About the author
- Sharqa Hameed
- Customizing the Submit Button
- Changing the Submit Button Text
- Styling the Submit Button
- Customizing Hover Styles
- Customizing Focus Styles
- Example CSS
- 25+ Cool CSS Submit Button Examples
- Best 25+ cool HTML & CSS submit button examples with full code
- 1. Submit Button Animation
- 2. CSS Submit button animation
- 3. Upload Progress Button Animation Micro interaction with GSAP
- 4. Send button animation
- 5. Simple Send Button Animation
- 6. HTML & CSS Send button animation effect
- 7. Hover Button Animation CSS (by Frontend Tips)
- 8. HTML Submit Button Animation
- 9. CSS Submit button style animation
- 10. Submit button animation
- 11. HTML Submit Button Animation
- 12. HTML & CSS Submit Button Animation
- 13. Submit Button Animation
- 14. Submit Button Animation | HTML, CSS & JavaScript
- 15. Submit button animation
- 16. Button Loading Animation
- 17. CSS Submit Button Style
- 18. send button transforms into birds
- 19. Paper plane button
- 20. Pure CSS Button with Ring Indicator
- 21. Flyaway Send Button
- 22. Submit button (arrow appears)
- 23. HTML Send Button
How to Style Input and Submit Button With CSS
![]()
CSS is a language for creating style sheets that describe how a document is presented in a markup language, such as HTML or XML. Along with HTML and JavaScript, CSS is a key component of the World Wide Web. Using CSS, users can style all HTML elements, including tables, buttons, input fields, forms, and many more.
How to Style Input Fields With CSS?
To style the input field with CSS, try out the mentioned procedure.
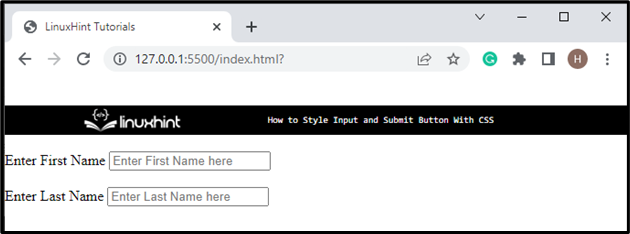
Step 1: Create Input Form
First of all, create a form in HTML. To do so, follow the instructions listed below:
- First, create a form with the help of the “ ” tag.
- Inside the form, the “ ” element is defined to specify captions for the “input” elements. The label’s “for” attribute is used to attach the label element with element through “id”.
- The “type” attribute determines the input type, such as text or number.
- The “class” attribute is assigned the “Input” name, “placeholder” attribute allocates the placeholder text in the input field:
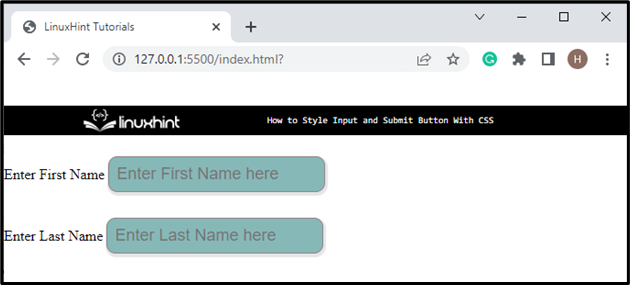
Step 2: Style Input Button in CSS
To style the input button in CSS, check out the given properties:
input {
padding: 8px;
border-radius: 10px;
margin: 5px auto;
border: 1px solid #918383;
background-color: #87b8b8;
box-shadow: 1px 2px 1px 2px rgb ( 230 , 229 , 229 ) ;
color: #c9c2c2;
outline: none;
font-size: 18px;
}
Access the “input” class and then apply below-mentioned properties:
- Set “padding” that specifies the space around the element’s content.
- “border-radius” property sets the element’s edges round.
- “margin” property with the value “5px auto” adds space “5px” on top and bottom, and “auto” is used to set equal space around the element on the left and right.
- “border” property specifies the border around the table.
- “background-color” property is utilized to specify the color of the background.
- “box-shadow” adds a shadow around the element. It is a shorthand property that specifies the x-offset, y-offset, blur effect, spread effect, and color for the shadow.
- “color” property refers to the element’s font color.
- “outline” adjusts the line around the elements to make it dominant.
- “font-size” property is utilized to set the element’s font size.
Next, access the “label” element for styling it:
After accessing the label element, apply the styling of your choice. For instance, we have applied “font-size”, “color”, and “margin” properties.
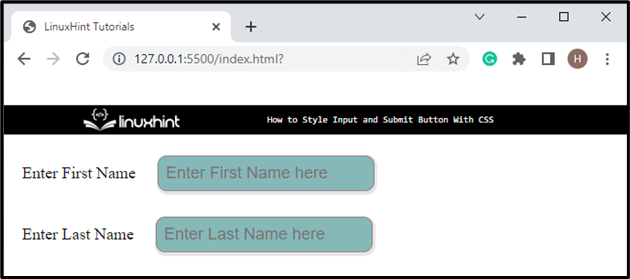
Let’s move toward the next section to style the submit button using CSS.
How to Style Submit Button With CSS?
To style the submit button with CSS, examine the example below, which demonstrates a step-wise guide on how to create and style the HTML button.
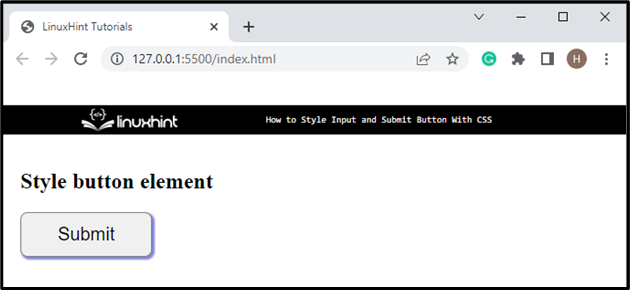
Step 1: Create Submit Button
Initially, add heading text inside the heading tag “ ”. Then, create a button by utilizing the “ ” element and set the button type as “submit”:

Step 2: Style “button” Element
To style the button in CSS, check out the properties described below:
button {
padding: 12px 40px;
border-radius: 8px;
box-shadow: 2px 2px 2px 1px rgb ( 131 , 131 , 219 ) ;
border: 1px solid gray;
font-size: 20px;
}
Access the button element by tag name and apply the properties on the button according to your preference. For instance, we have applied “padding”, “border-radius”, “box-shadow”, “border”, and “font-size” properties.
Let’s add the hover effect on the button element:
The “button:hover” selector is utilized to apply the effect of hover on the button. With the help of the “hover” selector, users can generate the CSS effect in real-time. For instance, we have set the “background-color” and “color” properties as described above:
We have discussed to style the input field and submit button with CSS.
Conclusion
To style the input element and submit button with CSS, different properties of CSS are used, including “padding”, “border-radius”, “box-shadow”, “margin”, “border”, “background-color”, “font-size” and many more. Users can apply the specified properties by accessing the elements through the tag name. This post has demonstrated the method for styling the input text fields and submit buttons with CSS.
About the author
Sharqa Hameed
I am a Linux enthusiast, I love to read Every Linux blog on the internet. I hold masters degree in computer science and am passionate about learning and teaching.
Customizing the Submit Button
Would you like to customize the submit button to better fit your site’s design or personality? Your form’s submit button can play an important role in submission rates.
This guide will cover how to customize the text and style of your form’s submit button.
Changing the Submit Button Text
To change the ‘Submit’ text of your form’s button, open the form builder to Settings » General. Here, you’ll see two fields for setting the text in the submit button:
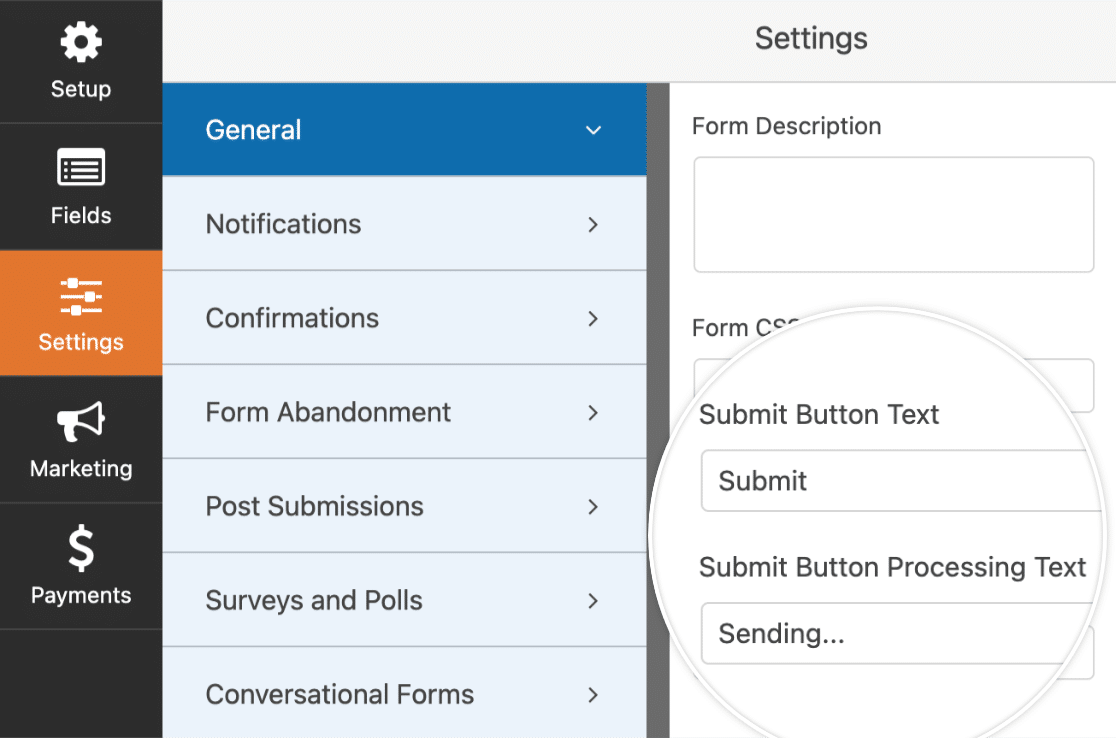
- Submit Button Text: The text shown when this button hasn’t been clicked yet
- Submit Button Processing Text: The text shown after the user clicks this button, but before the confirmation is shown to the user
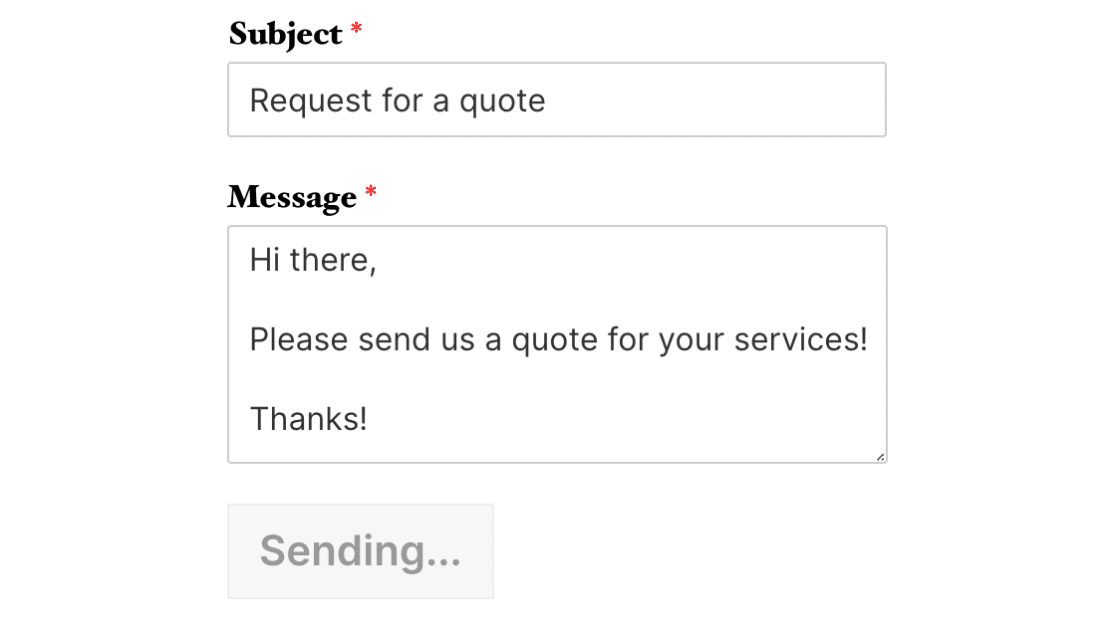
You can go ahead and change the text of the submit button according to your preference. Once you’re satisfied with the changes, go ahead and save the form.
Styling the Submit Button
CSS provides incredible flexibility to customize the submit button, as well as any other aspect of your form.
If you’re new to CSS or would like a refresher, the best place to start is with our introductory guide to CSS.
Note: If you’d prefer to style your form without writing code, check out our form styling tutorial to learn how to customize your form in the block editor.
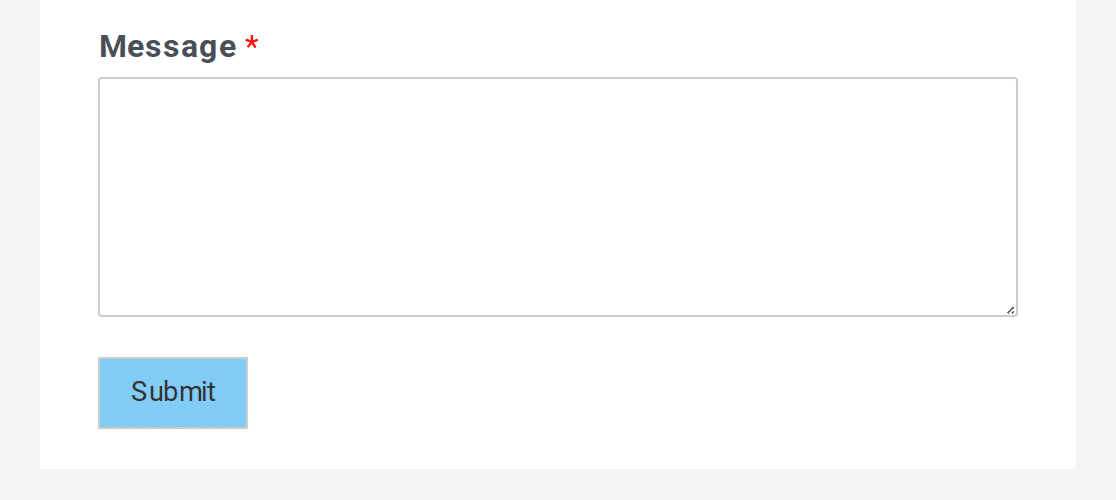
Here’s the default CSS for a WPForms submit button, as well as comments to note what each line of CSS does:
.wpforms-form input[type=submit], .wpforms-form button[type=submit] < background-color: #eee; /* Grey background */ border: 1px solid #ddd; /* Dark grey border */ color: #333; /* Black text color */ font-size: 1em; /* Size of text */ padding: 10px 15px; /* Distance between text and border */ >
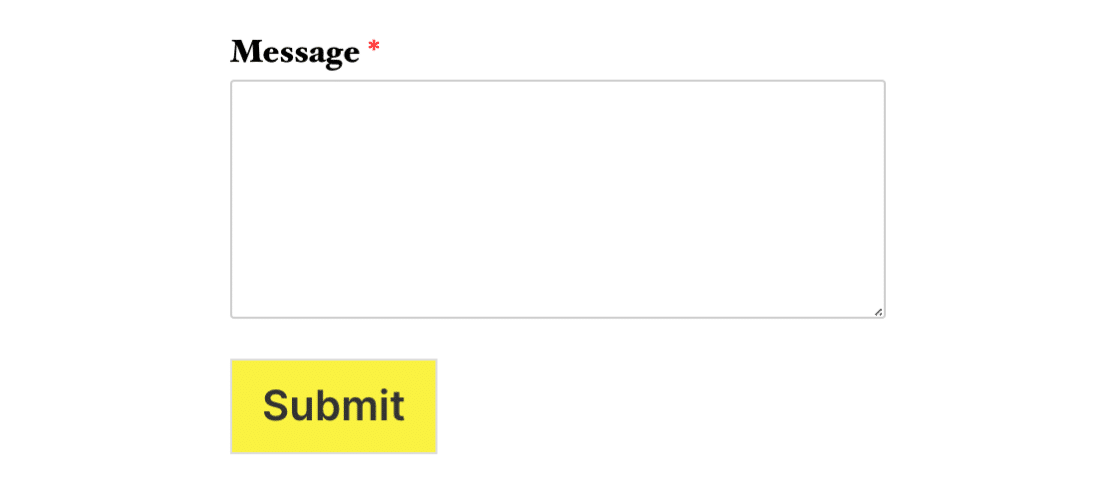
You can change any of these values to style the button differently. As an example, let’s start by giving our button a yellow background.
The first step is to find the hex code for the color we want – htmlcolorcodes.com or Adobe Color CC are handy free tools for this.
Once we have the hex code for the shade of yellow we want, we can create our CSS:
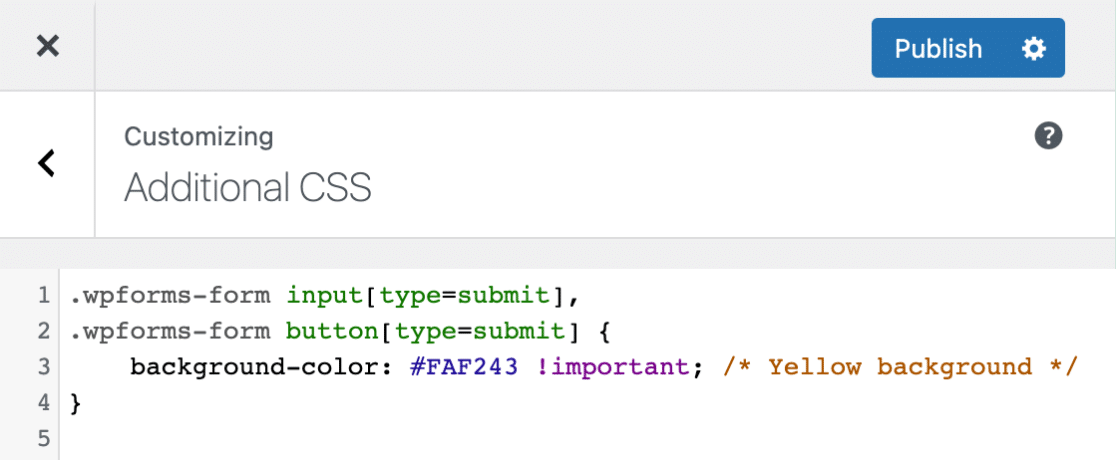
.wpforms-form input[type=submit], .wpforms-form button[type=submit] < background-color: #FAF243 !important; /* Yellow background */ >
Note: When adding CSS to your site, it might be necessary to include !important before the semicolon to make sure your custom styles are applied successfully. Check out our guide on troubleshooting CSS for more details.
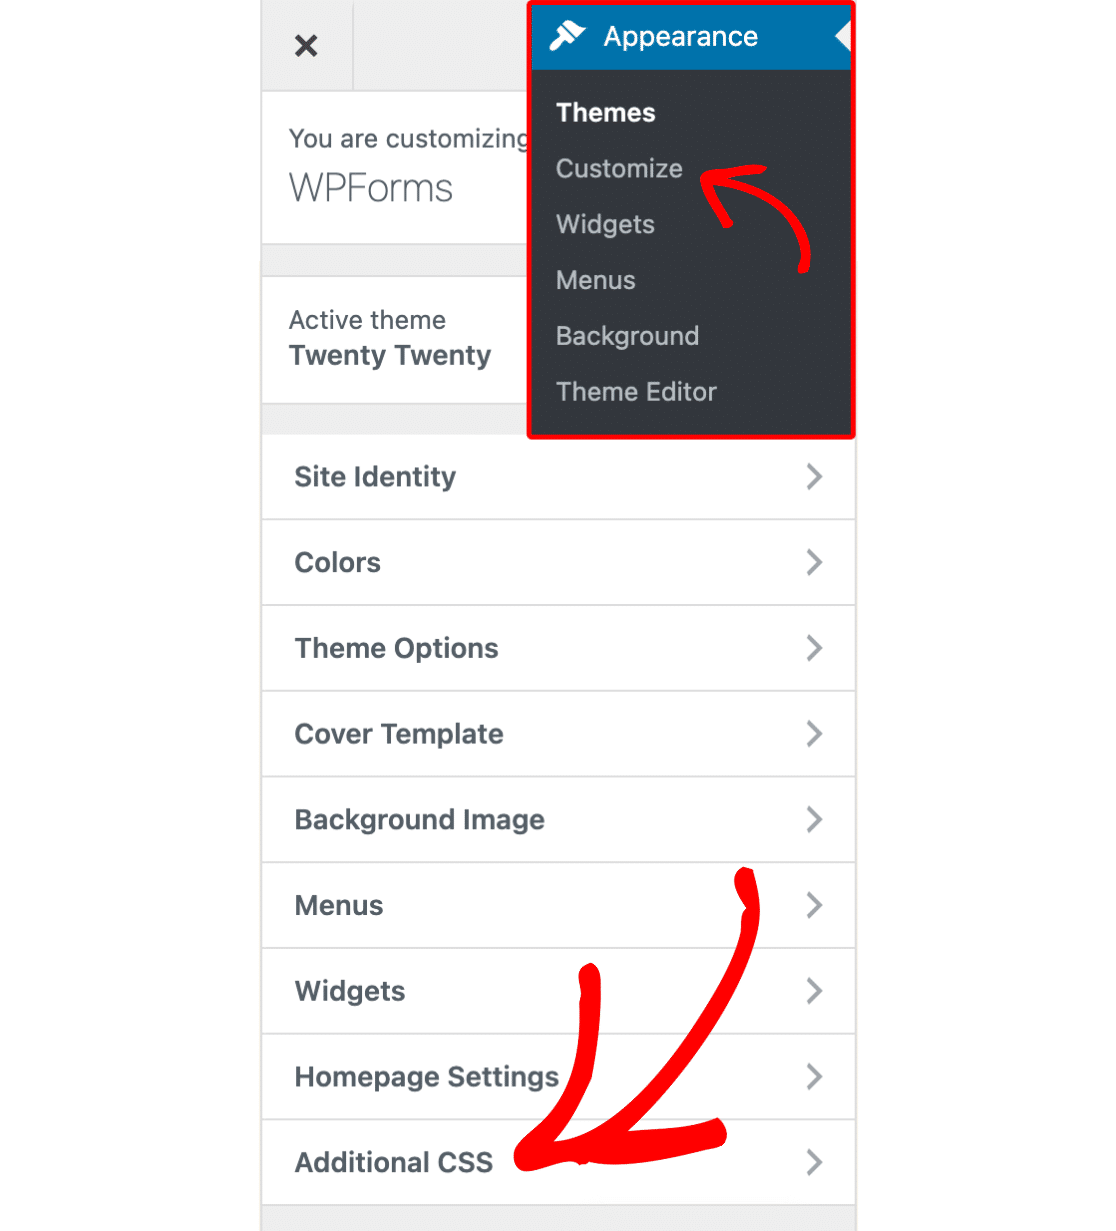
Next, we need to add this CSS to our site. The simplest way to do this is by using the WordPress CSS Editor. To open this, go to Appearance » Customize and select Additional CSS.
Once you’ve opened the Additional CSS section, you can paste in your new CSS, click the Save & Publish button, and you’re all set!
Below is what our button will look like now, with this CSS applied:
Is your new CSS not showing up on your site? Check out our tutorial on troubleshooting this issue.
Customizing Hover Styles
CSS allows you to apply completely different styles when a cursor hovers over a button. This change in style helps user experience because it lets the user know that this object is clickable.
Below is the default CSS in WPForms when a button is hovered over. As noted in the comments, the background color becomes a little darker and the border color becomes a little lighter:
.wpforms-form input[type=submit]:hover, .wpforms-form input[type=submit]:active, .wpforms-form button[type=submit]:hover, .wpforms-form button[type=submit]:active, .wpforms-form .wpforms-page-button:hover, .wpforms-form .wpforms-page-button:active < background-color: #ddd; /* Darker grey background */ border: 1px solid #ccc; /* Lighter grey border */ >
You might notice that this is a lot less CSS than we saw for the button when it’s not hovered over. This is because CSS will apply all of the earlier CSS to your hovered button unless told otherwise.
If you leave the default styles, for example, the text color will remain black when the button is hovered over. This is because the button’s text color would normally be black, and we haven’t told it to change upon hover.
As with the previous custom CSS example, you can change any of these values to style the button’s hover styles differently. For our example, we’ll give the button a darker yellow background when hovered over.
.wpforms-form input[type=submit]:hover, .wpforms-form input[type=submit]:active, .wpforms-form button[type=submit]:hover, .wpforms-form button[type=submit]:active, .wpforms-form .wpforms-page-button:hover, .wpforms-form .wpforms-page-button:active < background-color: #e5da00 !important; /* Darker yellow background */ >
Here’s what the button will look like with the CSS applied:
Customizing Focus Styles
Just as you can set a hover style for your button with CSS, you can also set a focus style. The focus style is applied when the button is the focal point of any in-page events. For example, if you use the tab key to navigate the page.
Using a focus style improves user experience, especially useful for users who rely on keyboard navigation to browse the web.
Here is the default CSS in WPForms when a button is in focus:
.wpforms-form input[type=submit]:focus, .wpforms-form button[type=submit]:focus, .wpforms-form .wpforms-page-button:focus
In this case, the background-color is a slightly darker shade than the default, and the border is also subtly changed. This lets the user know that the button is now in focus and will receive any relevant keypresses.
For this example, we’re going to use a color other than yellow, to make the focus style distinct from the hover style.
.wpforms-form input[type=submit]:focus, .wpforms-form button[type=submit]:focus, .wpforms-form .wpforms-page-button:focus
With this custom CSS applied, here’s what the button will look like when in focus:
Example CSS
Now that we’ve covered the basics, let’s go through a complete example of custom CSS for a submit button.
Note: The code below will change the submit button for all the forms on your site that were created with WPForms. If you want to style the submit button only on a single form, you’ll need to find the unique ID for that form. For more details, see our complete guide to styling contact forms with CSS.
Here’s the CSS we’ll add for this example, which includes style changes for both hovering, and focusing:
/* New button styles */ .wpforms-form input[type=submit], .wpforms-form button[type=submit] < padding: 15px !important; /* Increase distance between text and border */ width: 100% !important; /* Make the button full-width */ font-size: 1.5em !important; /* Increase text size */ background-color: #af0000 !important; /* Red background */ color: #fff !important; /* White text */ border: 8px double #860b0b !important; /* Dark red, double-line border */ >/* New button hover styles */ .wpforms-form input[type=submit]:hover, .wpforms-form input[type=submit]:active, .wpforms-form button[type=submit]:hover, .wpforms-form button[type=submit]:active, .wpforms-form .wpforms-page-button:hover, .wpforms-form .wpforms-page-button:active < background-color: #860b0b !important; /* Dark red background */ border: 8px double #af0000 !important; /* Red, double-line border */ >/* New button focus styles */ .wpforms-form input[type=submit]:focus, .wpforms-form button[type=submit]:focus, .wpforms-form .wpforms-page-button:focus < background-color: red !important; /* Dark red background */ border: 8px double #860b0b !important; /* Red, double-line border */ >
Below is what our button will look like now, with this CSS applied:


And when focused. Remember, the only changes are the background and border colors:

That’s it! You can now customize your submit button using custom CSS.
Want more examples? Check out our tutorial with even more submit button CSS that you can copy and paste right into your site.
25+ Cool CSS Submit Button Examples
A CSS submit button or send button is a button that allows you to submit your content on a web page. It looks just like a normal button and has the same functionality as the standard buttons.
This article is 25+ submit button examples with beautiful styles & animations. It will make your websites or projects more impressive.
Best 25+ cool HTML & CSS submit button examples with full code
1. Submit Button Animation
- Author: Gavin Dinubilo
- Code with: HTML/CSS(SCSS), Javascript
2. CSS Submit button animation
3. Upload Progress Button Animation Micro interaction with GSAP
4. Send button animation
5. Simple Send Button Animation
6. HTML & CSS Send button animation effect
7. Hover Button Animation CSS (by Frontend Tips)
- Author: Andres
- Code with: HTML(Pug)/CSS(Sass), Javascript(Babel)
8. HTML Submit Button Animation
9. CSS Submit button style animation
10. Submit button animation
11. HTML Submit Button Animation
12. HTML & CSS Submit Button Animation
- Author: Raymond Smith
- Code with: HTML/CSS(SCSS), Javascript
13. Submit Button Animation
14. Submit Button Animation | HTML, CSS & JavaScript
15. Submit button animation
16. Button Loading Animation
17. CSS Submit Button Style
18. send button transforms into birds
19. Paper plane button
20. Pure CSS Button with Ring Indicator
21. Flyaway Send Button
- Author: Adrian Del Balso
- Code with: HTML/CSS(Stylus), Javascript
22. Submit button (arrow appears)
23. HTML Send Button
- Author: Adebisi Ahmed
- Code with: HTML/CSS(SCSS), Javascript