- CSS Buttons
- Example
- Button Sizes
- Example
- Example
- Rounded Buttons
- Example
- Colored Button Borders
- Example
- Hoverable Buttons
- Example
- Shadow Buttons
- Example
- Disabled Buttons
- Example
- Button Width
- Example
- Button Groups
- Example
- Bordered Button Group
- Example
- Vertical Button Group
- Example
- Button on Image
- Animated Buttons
- Example
- Example
- Example
- Example
- How to Disable a Button with CSS?
- Pre-requisites
- Implementation of Disable Button
- How to Disable a Button with CSS?
- How to Style Disabled Button with CSS?
- How to Disable Hover Effect When Button is Disabled?
- Complete Code Example
- Conclusion
- :disabled , :enabled
- Кратко
- Пример
- Как пишется
- Как понять
- Подсказки
- На практике
- Алёна Батицкая советует
CSS Buttons
Use the background-color property to change the background color of a button:
Example
Button Sizes
Use the font-size property to change the font size of a button:
Example
Use the padding property to change the padding of a button:
10px 24px 12px 28px 14px 40px 32px 16px 16px
Example
.button1
.button2
.button3
.button4
.button5
Rounded Buttons
Use the border-radius property to add rounded corners to a button:
Example
Colored Button Borders
Use the border property to add a colored border to a button:
Example
Hoverable Buttons
Use the :hover selector to change the style of a button when you move the mouse over it.
Tip: Use the transition-duration property to determine the speed of the «hover» effect:
Example
.button <
transition-duration: 0.4s;
>
.button:hover background-color: #4CAF50; /* Green */
color: white;
>
.
Shadow Buttons
Use the box-shadow property to add shadows to a button:
Example
.button1 <
box-shadow: 0 8px 16px 0 rgba(0,0,0,0.2), 0 6px 20px 0 rgba(0,0,0,0.19);
>
.button2:hover box-shadow: 0 12px 16px 0 rgba(0,0,0,0.24), 0 17px 50px 0 rgba(0,0,0,0.19);
>
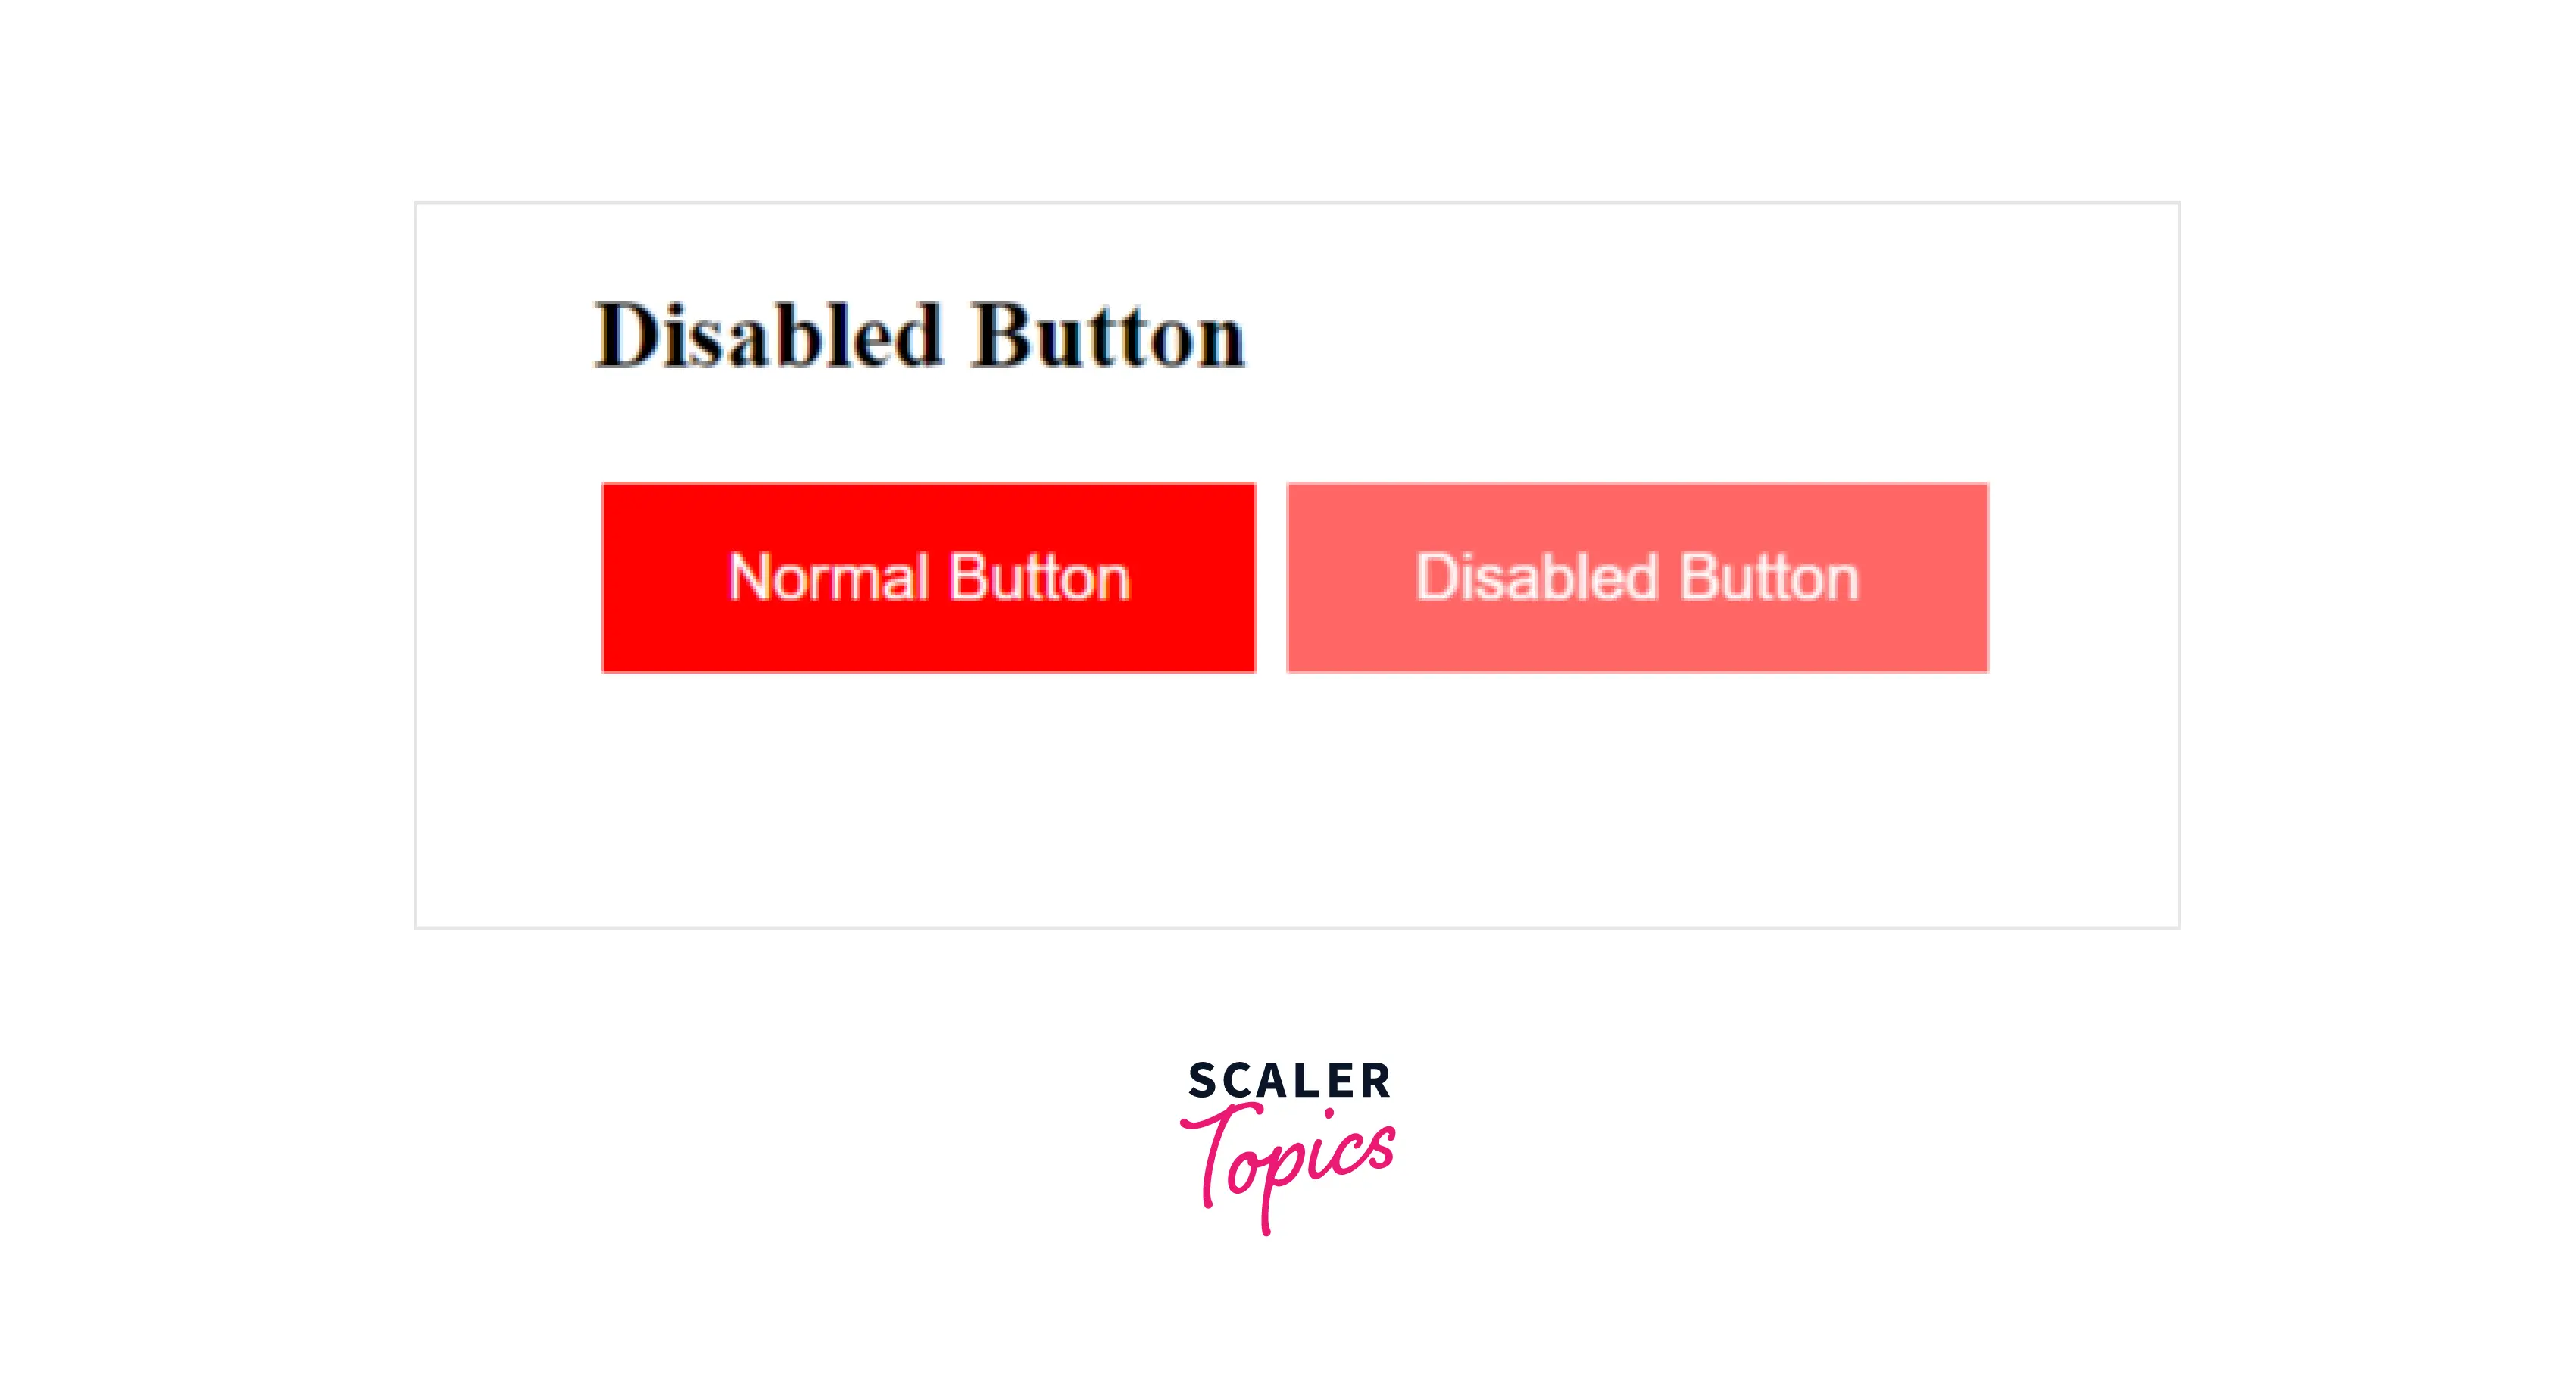
Disabled Buttons
Use the opacity property to add transparency to a button (creates a «disabled» look).
Tip: You can also add the cursor property with a value of «not-allowed», which will display a «no parking sign» when you mouse over the button:
Example
Button Width
By default, the size of the button is determined by its text content (as wide as its content). Use the width property to change the width of a button:
Example
Button Groups
Remove margins and add float:left to each button to create a button group:
Example
Bordered Button Group
Use the border property to create a bordered button group:
Example
Vertical Button Group
Use display:block instead of float:left to group the buttons below each other, instead of side by side:
Example
Button on Image

Button
Animated Buttons
Example
Example
Add a «pressed» effect on click:
Example
Example
Add a «ripple» effect on click:
How to Disable a Button with CSS?

It is possible that while designing a page or a dynamic website, you may want to disable any features that the user is not able to access by restricting their access or disabling them altogether. Depending on what the requirement is, for example, you may disable certain text fields or buttons. Front-end languages are used to accomplish this task. In creating and designing the objects, both HTML and CSS tags are used.
Content that is created through HTML tags is enhanced with a Cascade Style Sheet. CSS is also written using tags and can be defined in three different ways. In our case, we use the internal style approach. It is easy to implement HTML tags along with CSS. The user must have a basic understanding of both languages.
An example of a CSS disable button is shown below:
Pre-requisites
Implementation of Disable Button
Our first step is to create buttons only using HTML tags. Understanding the HTML tags used in creating the button will make adding CSS to the button easier.
As a first step is to define the head section of the HTML code. The title of the page is declared in the head section of the page, which appears in the browser tab. Following that, we close the title and the head tags. In the next step, we declare the body tag. Within the body, the div tag is used. The term div container refers to a container used to contain and align its content in a particular way.
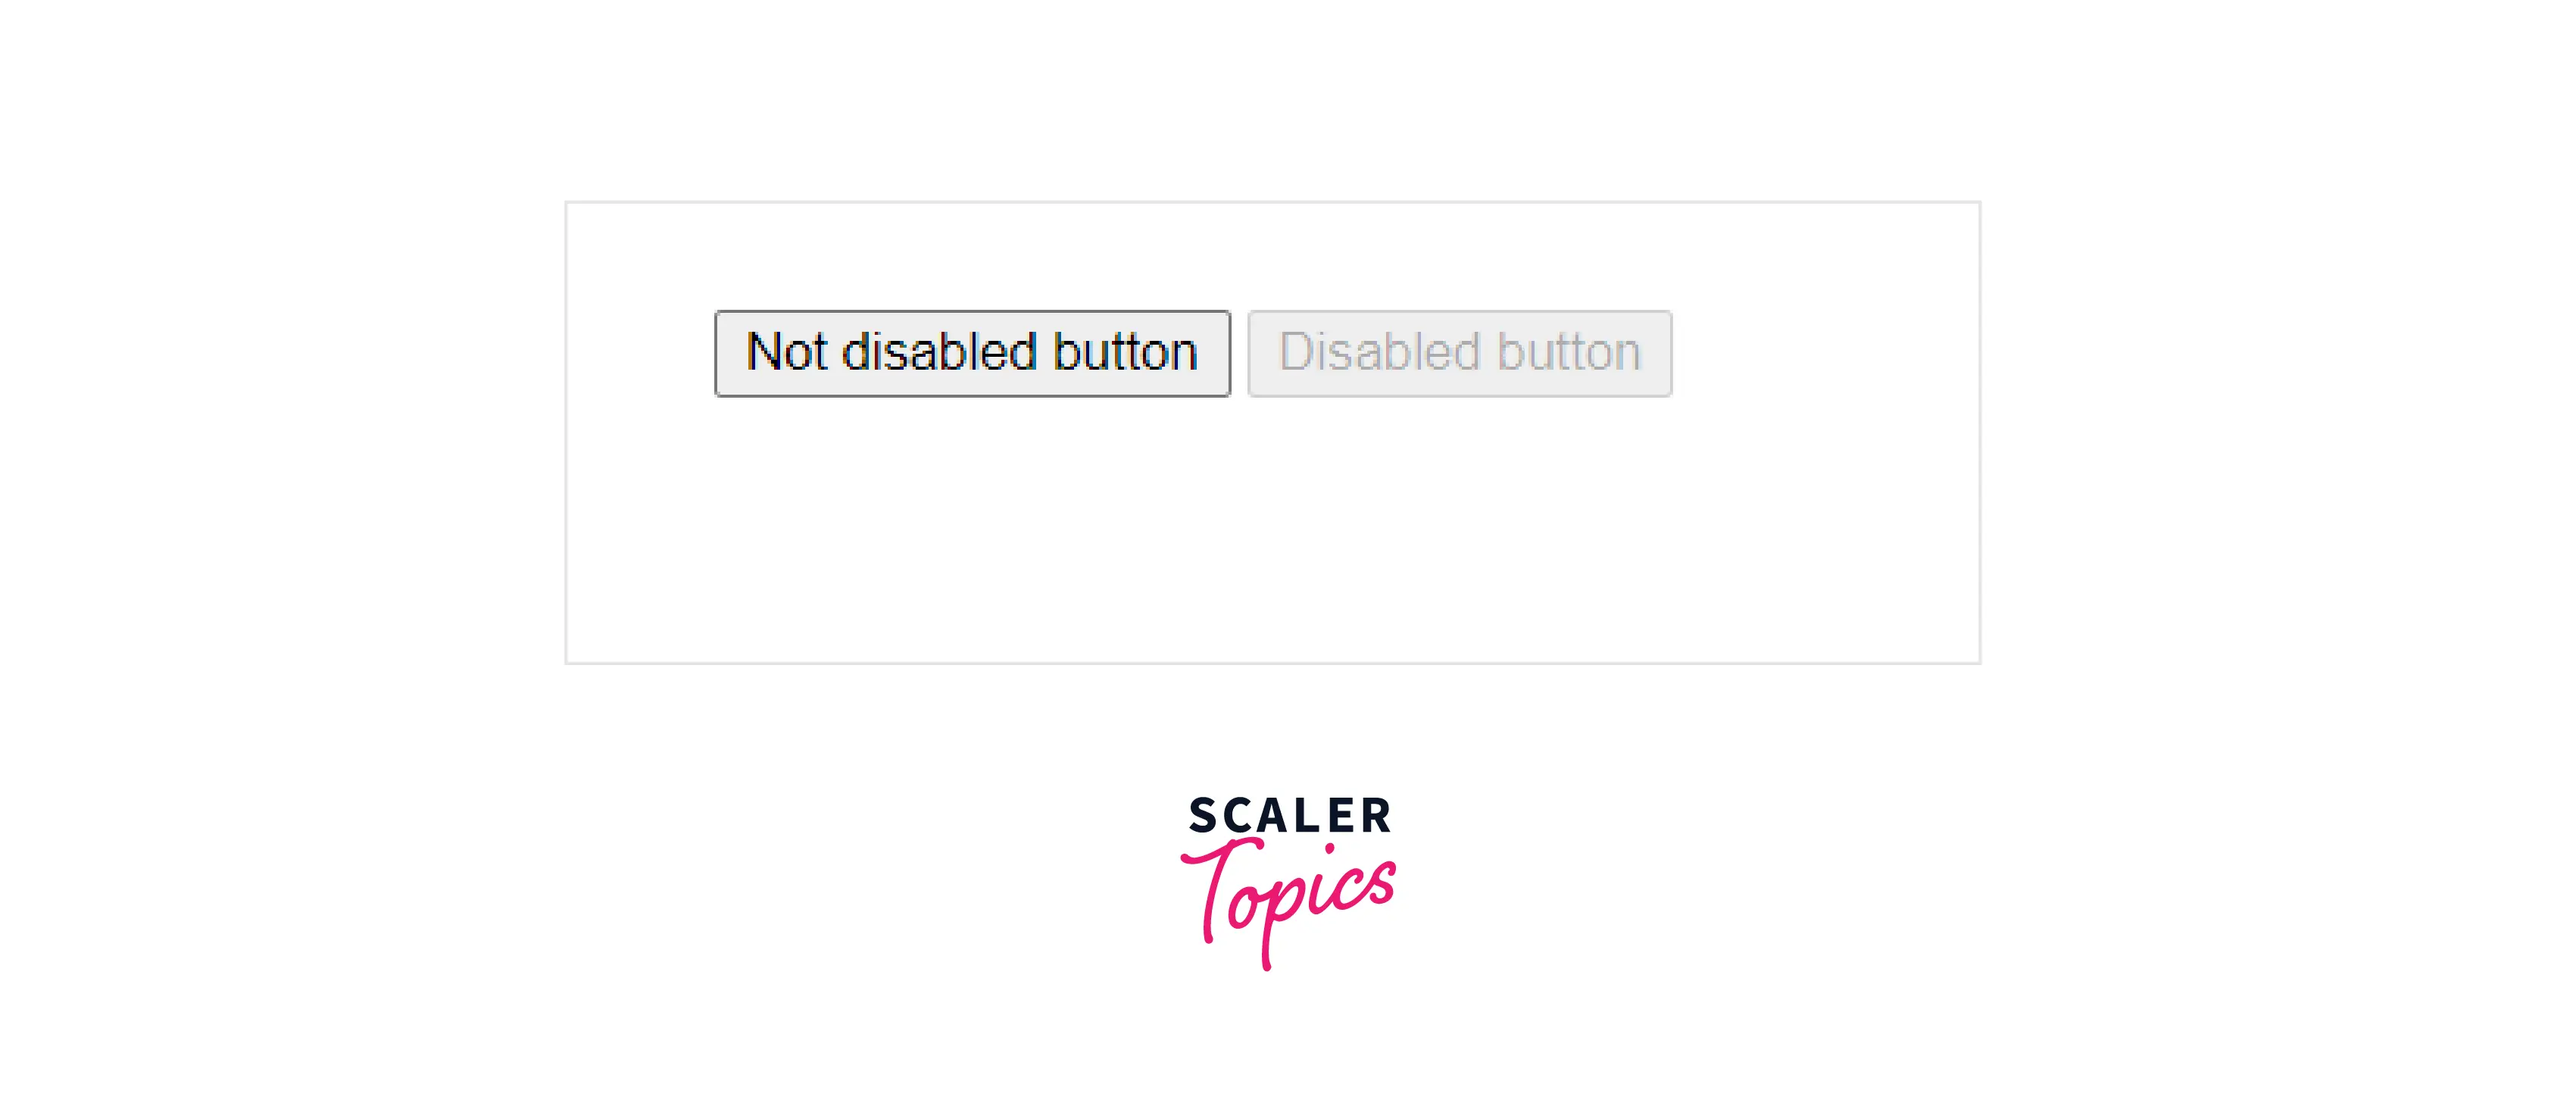
By utilizing their opening and closing tags, HTML has built-in tags for several features. Similarly, the button tag creates a button. In this step, we create two buttons. There is one button enabled and one button disabled. To do this, simply add the keyword «disabled» to the button. Using HTML tags, we can enable or disable the working of a button on a webpage. The file must be saved after we have created two buttons, closed all the tags, and saved. Open the file in your browser to run the webpage you created to see the CSS disable button.
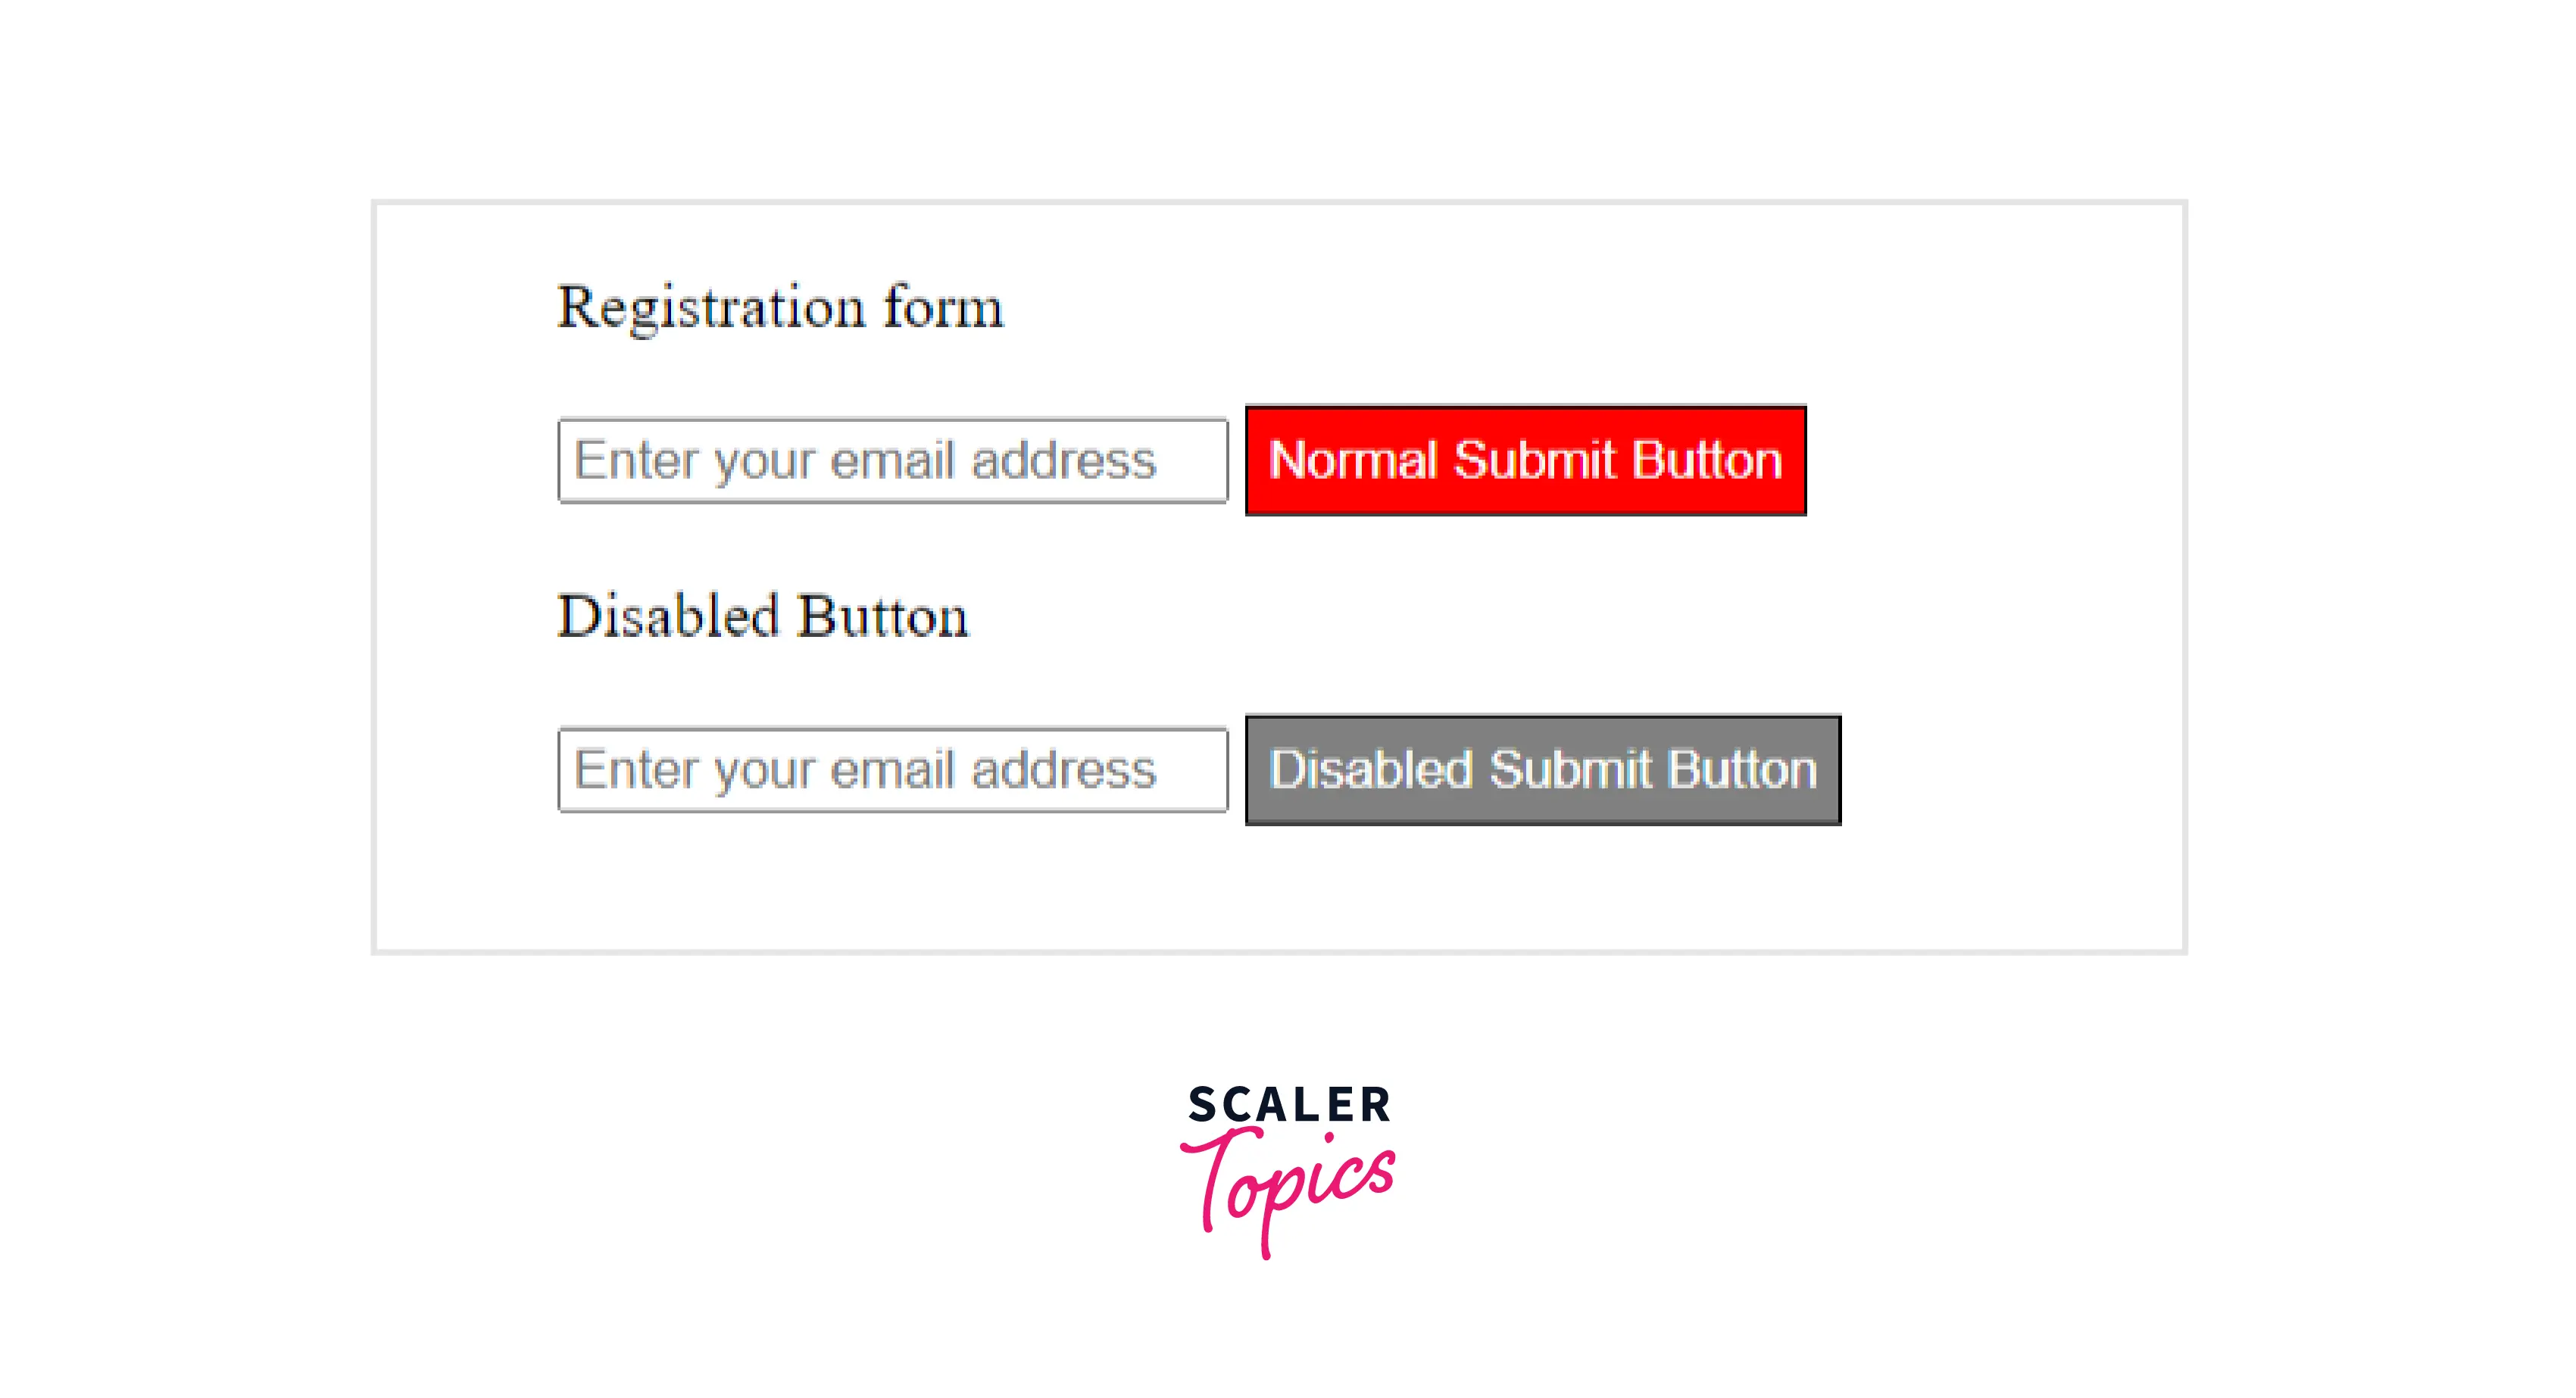
The code will create two buttons when executed. It’s enabled on one side and disabled on the other. CSS disabled buttons have lighter colors and blurred text, making them look like text blocks. As a result, the css disabled button will not work.
Code Explanation :
In the above code we are displaying two buttons and disabled one of the buttons using the disabled attribute
Output :
How to Disable a Button with CSS?
The purpose of buttons is to perform some action on a webpage. Depending on the coded action programmed by the programmer, something happens on the page when the user clicks it. Sometimes, we want the button to be visible but only clickable after a certain condition has been met. For instance, in the case of a registration page, the user would be asked to enter their username, password, and some details about themselves, and then they would be asked to click the register button so that they will be taken into the application to register. The button can be disabled when the user has not yet entered the details, as clicking the button has no purpose when the user has not yet entered the details.
When you disable the button, it will no longer perform any action & it will be grayed out by default as a result as it will not be performing any action. It will not perform the main event when the user clicks it. CSS styles can be used to style disabled buttons as well. When the user hovers over a disabled button, the cursor can also be changed so that the user knows it is disabled.
The code to implement CSS disable button is shown below :
Code Explanation :
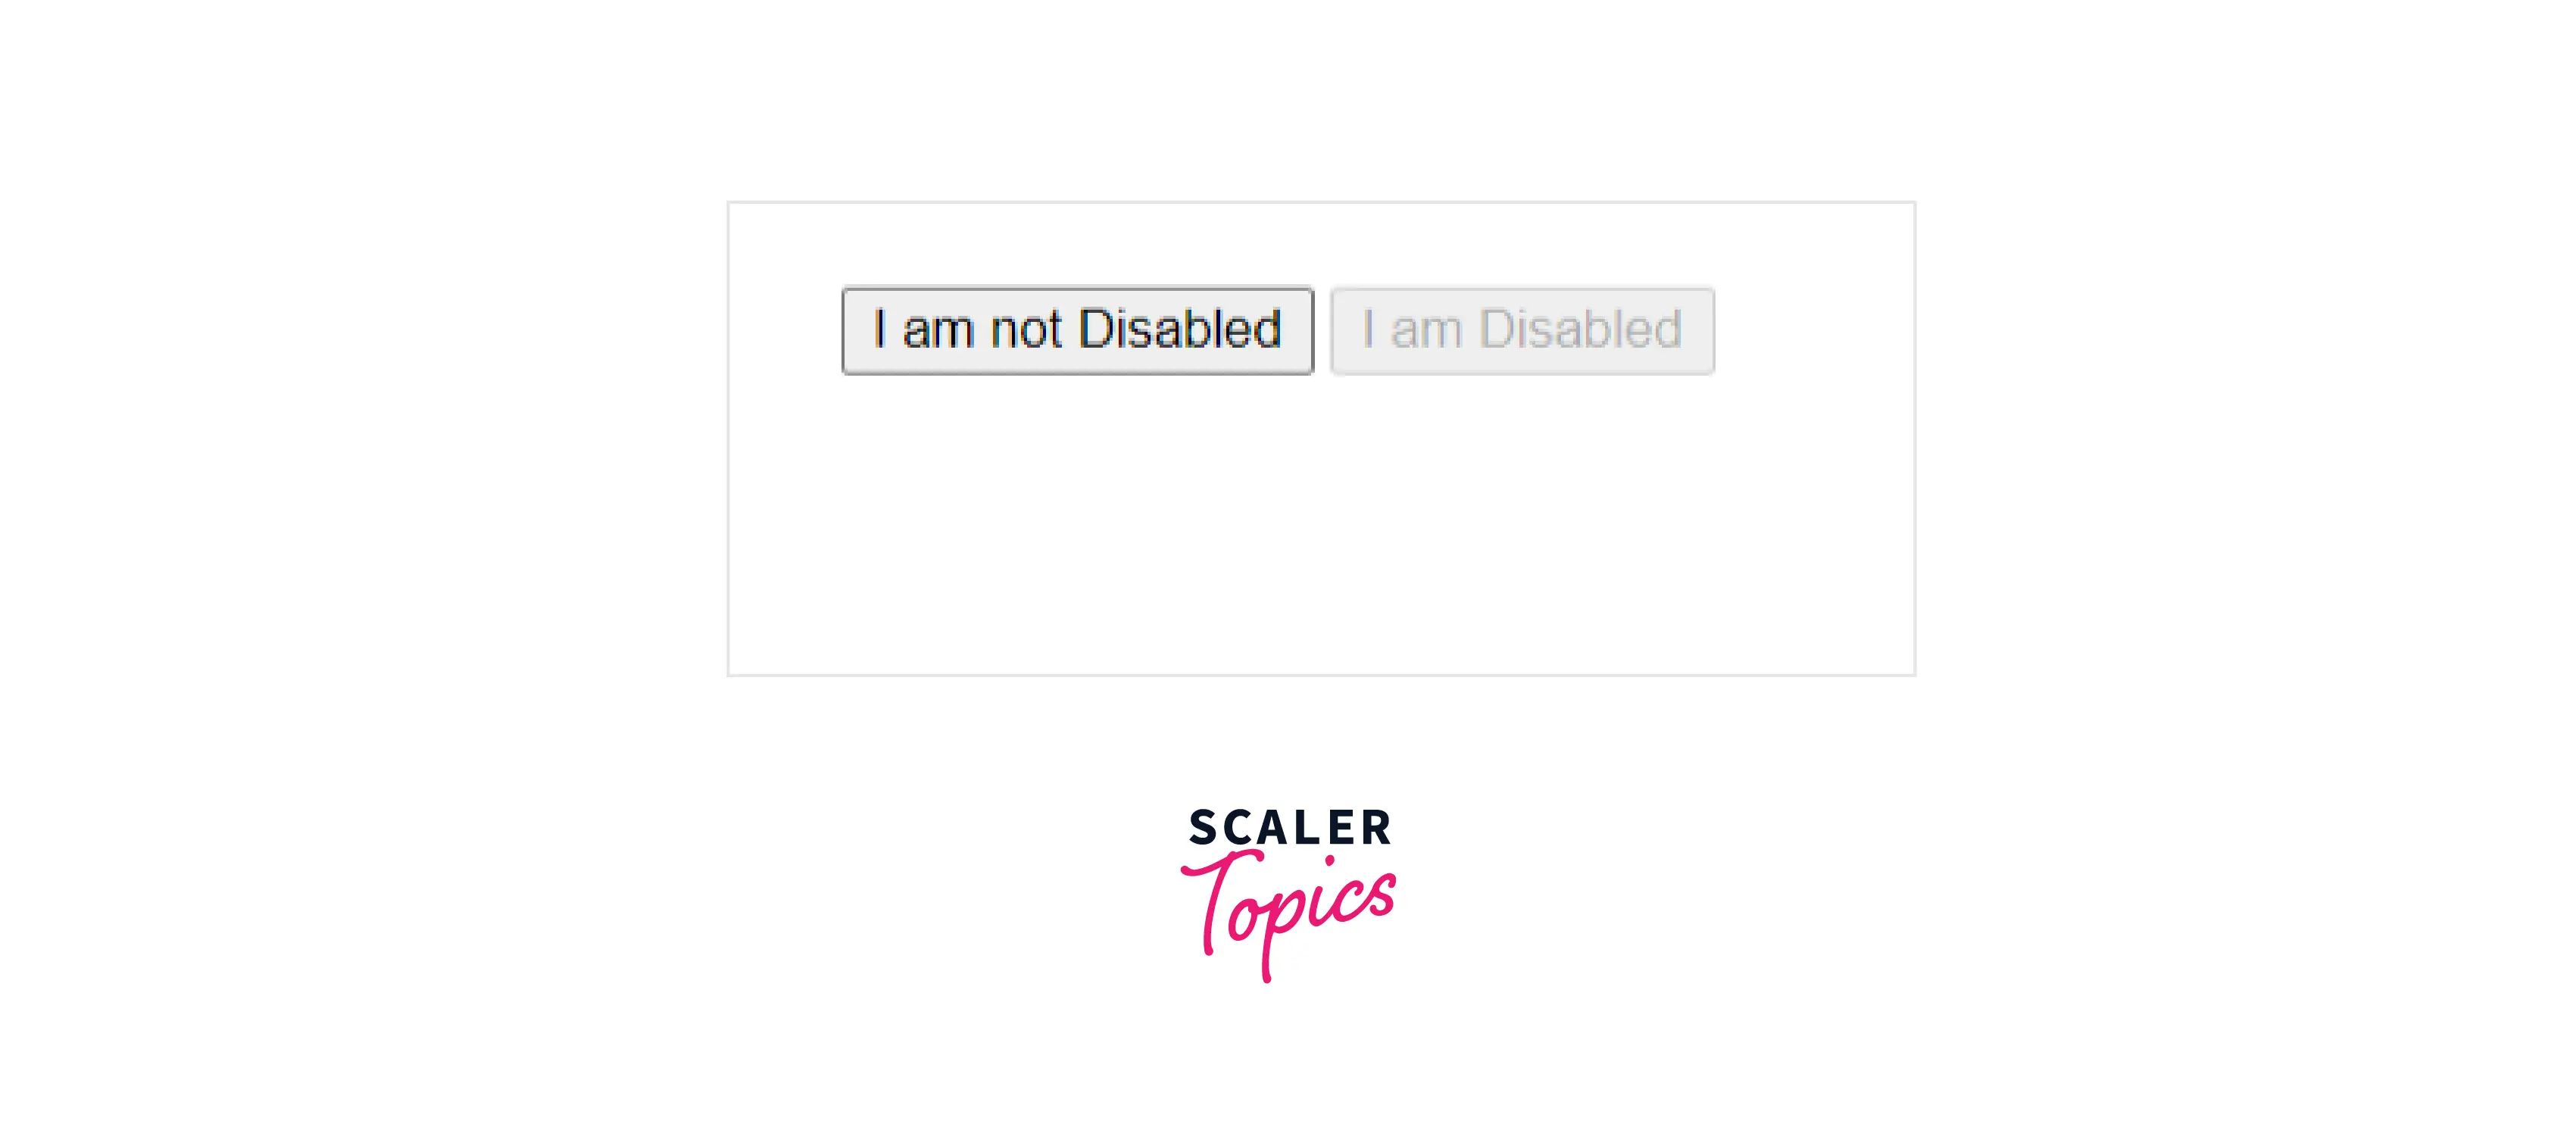
The above code below displays two buttons and disables one of them using the disabled attribute.
How to Style Disabled Button with CSS?
To make users understand that a button is disabled, it needs to be styled properly. User may keep clicking the button if he is unable to understand, thinking there is something wrong with the website. The opacity property allows you to make the button appear faded. Having a title text on the page is also a great way to give quick information to the user. Hovering over the button automatically displays the title text.
There should be a difference in the style of the disabled button from the normal button. It is possible, therefore, to define two sets of CSS styles for normal and disabled buttons.
The code to style the disabled buttons is shown below:
Code explanation :
In the above code, we are displaying two buttons and disabled one of the buttons using the disabled attribute and have styled them using CSS so we can make a difference between a normal and a disabled button

How to Disable Hover Effect When Button is Disabled?
The «hover effect» is applied to all buttons when it is defined in styles. Either way, the same style applies regardless of whether the button is enabled or disabled. This default behavior can be altered if you wish by setting the style only to apply to buttons on pages that have been enabled or if you want to alter the default behavior of the site in general. Hover effects will not be displayed for disabled-buttons.
Because disabled buttons are hovered before being clicked, a change in the hover effect is necessary for disabled-buttons. If the disabled button hovers effect is unchanged from the enabled button hover effect, then the disabled button might appear as an enabled button. disabled buttons usually have a faint style. It is therefore possible to style the hover effect to follow the same pattern to maintain consistency.
The code to disable the hover effect when the button is disabled is shown below :
Code explanation :
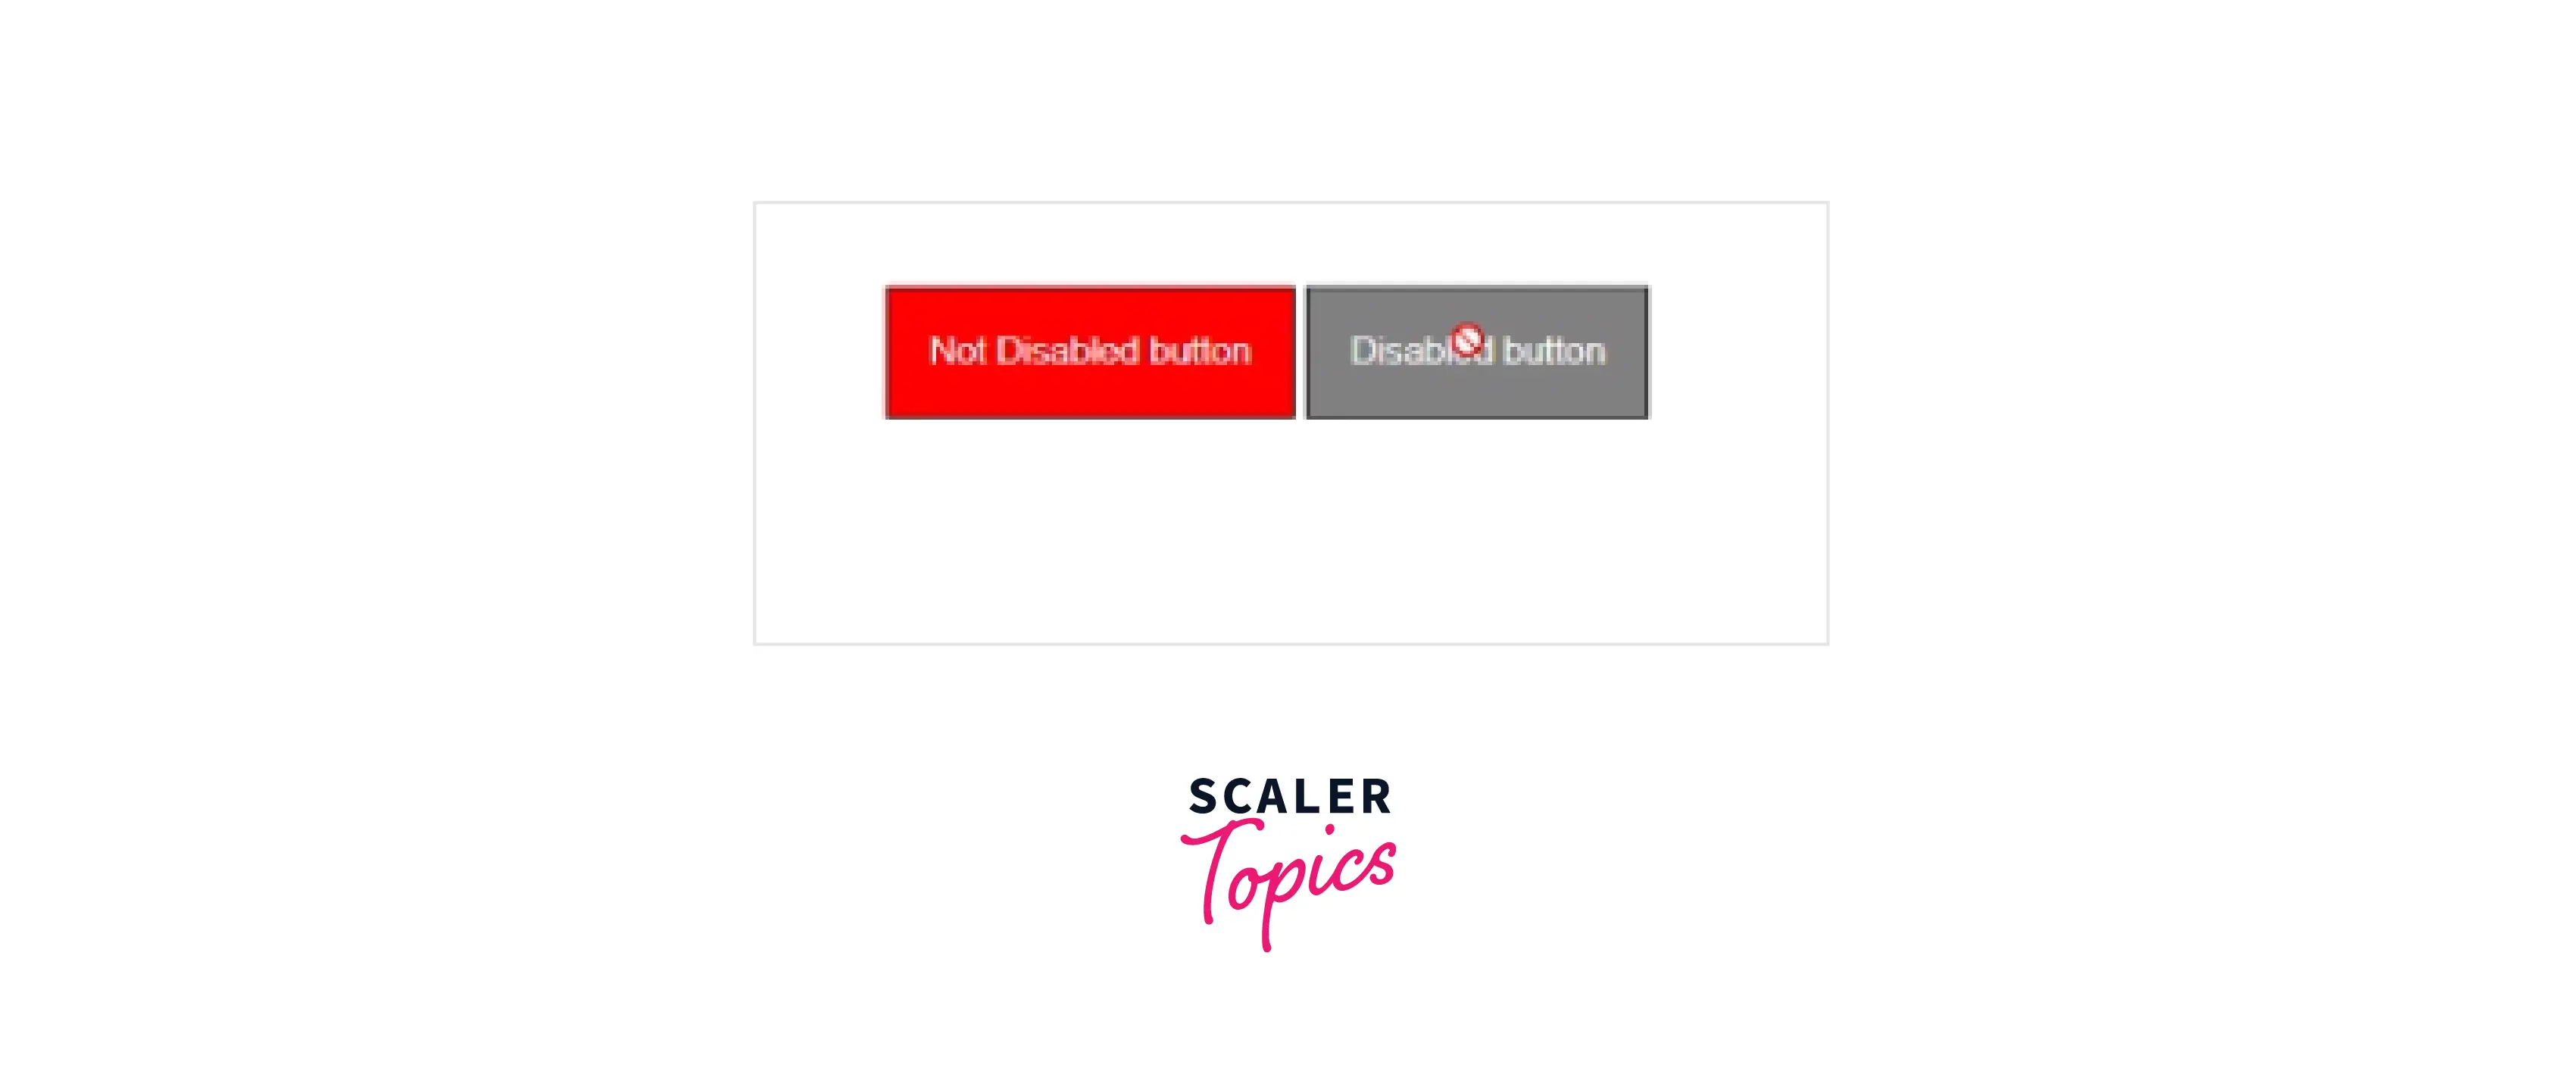
In the above code we are displaying two buttons and disable one of the buttons using the disabled attribute and have styled them using CSS. We have also disabled the hover attribute on the disabled button as it is not needed for a disabled button
Complete Code Example
The disabled attribute can be added to the button in HTML to disable it. disabled buttons cannot be clicked or used. If you do not want to disable the attribute, you can remove it manually or you can use Javascript to do so. The disabled attribute can be added to the button in HTML to disable it. disabled buttons cannot be clicked or used. If you do not want to disable the attribute, you can remove it manually or you can use Javascript to do so. Let us look at an example to understand it
Code explanation :
With the above code, we’re displaying two buttons with one disabled, and we’ve styled them with CSS. On disabled buttons, we have also disabled the hover attribute since it is not required for a disabled button
Conclusion
- The disabled attribute can be added to a button in HTML to make it disabled.
- disabled buttons cannot be clicked, so they cannot be used.
- A boolean value is assigned to the disabled attribute. In other words, there are only two possible values for it: true and false .
- Its value is true when the button has it, and the button is disabled. By removing it, it becomes false and the button becomes enabled.
:disabled , :enabled
Эта кнопка серая. Она не доступна для клика. Как написать селектор на основе состояния элемента?
Время чтения: меньше 5 мин
Кратко
Скопировать ссылку «Кратко» Скопировано
Псевдоклассы :disabled и :enabled помогают стилизовать интерактивные элементы — на которые можно и нельзя нажать.
Легко применяются к любым элементам, которым можно задать атрибут disabled : , , , , , , , и .
Пример
Скопировать ссылку «Пример» Скопировано
Часто требуется, чтобы на кнопку отправки формы нельзя было нажать, пока не заполнены все поля этой формы. Проще всего заблокировать кнопку атрибутом disabled . Но недостаточно просто указать его в HTML, нужно ещё и при помощи оформления показать пользователю, что кнопка не активна. Как раз для этого нам пригодится псевдокласс :disabled .
Кнопка будет полупрозрачной:
button:disabled opacity: 0.5;>button:disabled opacity: 0.5; >
Псевдокласс :enabled , наоборот, поможет стилизовать все доступные для взаимодействия элементы. По факту его чаще всего не указывают, потому что записи с ним и без него, как правило, равноценны: .input = .input : enabled .
Как пишется
Скопировать ссылку «Как пишется» Скопировано
Любому селектору, указывающему на интерактивный элемент, дописываем двоеточие и указываем одно из ключевых слов: enabled или disabled .
Как понять
Скопировать ссылку «Как понять» Скопировано
Браузер ориентируется на атрибут disabled и, в зависимости от его наличия или отсутствия, добавляет элементу состояние enabled — доступен, или disabled — недоступен.
Подсказки
Скопировать ссылку «Подсказки» Скопировано
💡 Даже если дизайнер забыл про неактивное состояние, обязательно прописывайте его в стилях, чуть приглушая фоновый цвет или делая элемент полупрозрачным — чтобы пользователь точно знал, что с этим элементом взаимодействовать нельзя.
💡 enabled чаще всего не используется, потому что все интерактивные элементы по умолчанию доступны (включены). Это значит, что прописав стили для селектора .input , вы закрываете сценарий с активным элементом.
На практике
Скопировать ссылку «На практике» Скопировано
Алёна Батицкая советует
Скопировать ссылку «Алёна Батицкая советует» Скопировано
🛠 «Выключать» взаимодействие с кнопками или другими элементами формы удобнее именно атрибутом disabled , потому что он сразу же отключает возможность нажать на этот элемент без дополнительных стилей. И, ориентируясь на него, гораздо удобнее прописывать стили для неактивных элементов, используя псевдокласс disabled .
Код для кнопки из моего последнего проекта:
Стили для активной кнопки в обычном состоянии:
.additional-btn padding: 2rem 3rem; border: 1px solid currentColor; font-family: inherit; font-size: 1.6rem; color: #FF6650; text-decoration: none; background-color: transparent; transition: border 0.3s, color 0.3s; cursor: pointer; user-select: none;>.additional-btn padding: 2rem 3rem; border: 1px solid currentColor; font-family: inherit; font-size: 1.6rem; color: #FF6650; text-decoration: none; background-color: transparent; transition: border 0.3s, color 0.3s; cursor: pointer; user-select: none; >
Стили для кнопки при наведении курсора или клике:
.additional-btn:active,.additional-btn:hover color: #FF5050; transition: none;>.additional-btn:active, .additional-btn:hover color: #FF5050; transition: none; >
Стили для кнопки, когда она неактивна:
.additional-btn:disabled cursor: default; color: #A44234;>.additional-btn:disabled cursor: default; color: #A44234; >