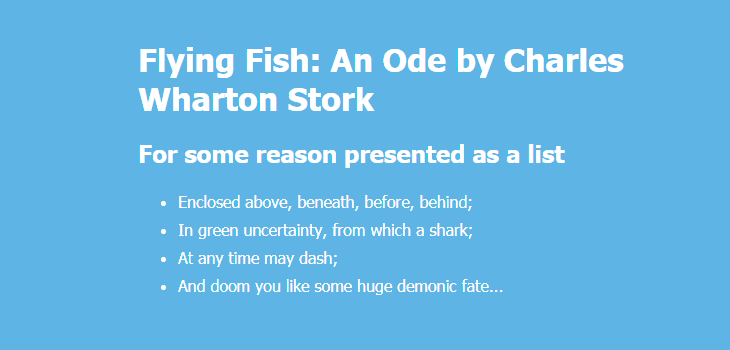
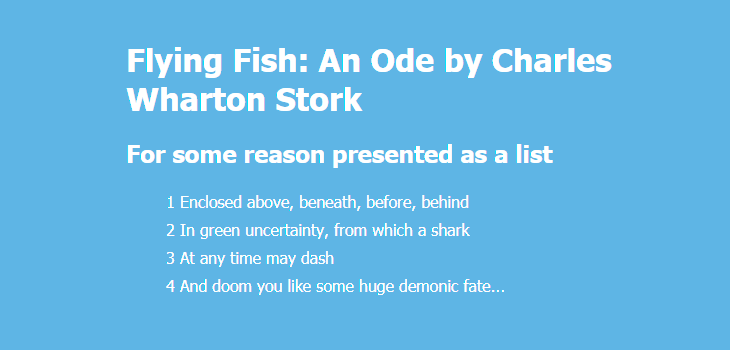
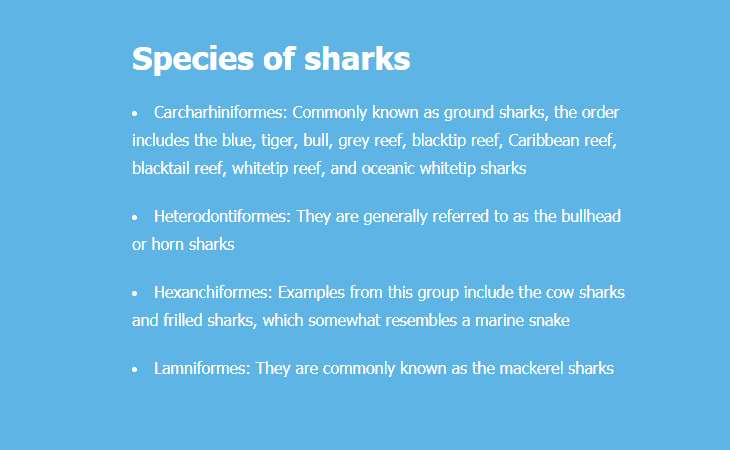
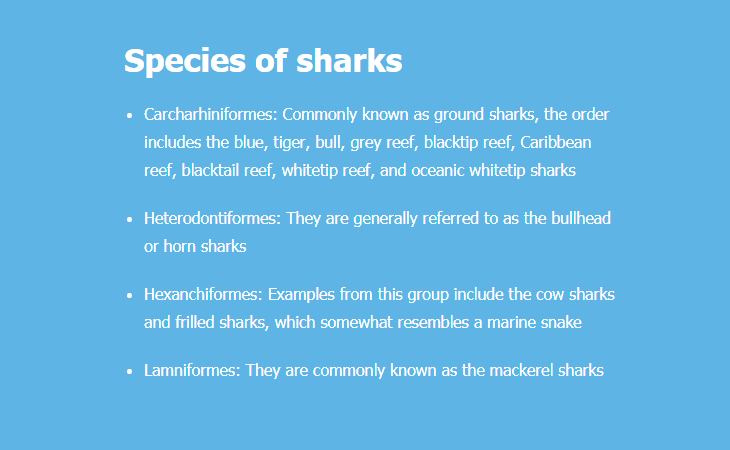
- list-style
- Синтаксис
- Значения
- Объектная модель
- Браузеры
- Выравнивание списков
- Горизонтальный список
- Плавающий список
- Решение
- Особенности применения
- CSS list-style Property
- Browser Support
- CSS Syntax
- Property Values
- Related Pages
- COLOR PICKER
- Report Error
- Thank You For Helping Us!
- CSS List Style: 20+ examples
- Contents
- Unordered List
- Set List Item Markers
- Custom Bullets
- Set an Image as List Item Marker
- Ordered List
- Changing Punctuation in List Items
- Position the List Item Markers
- Colored Markers
- Colored Markers with Background
- Examples of More Advanced Use
- Example #1
- Example #2
- Example #3
list-style
Универсальное свойство, позволяющее одновременно задать стиль маркера, его положение, а также изображение, которое будет использоваться в качестве маркера. Для подробного ознакомления смотрите информацию о каждом свойстве list-style-type, list-style-position и list-style-image отдельно.
Синтаксис
list-style: list-style-type || list-style-position || list-style-image | inherit
Значения
Любые комбинации трех значений определяющих стиль маркеров, они разделяются между собой пробелом. Комбинации значений должны следовать в указанном порядке: вначале идет тип маркера, затем положение и картинка. Ни одно значение не является обязательным, поэтому неиспользуемые можно опустить.
inherit Наследует значение родителя.
HTML5 CSS2.1 IE Cr Op Sa Fx
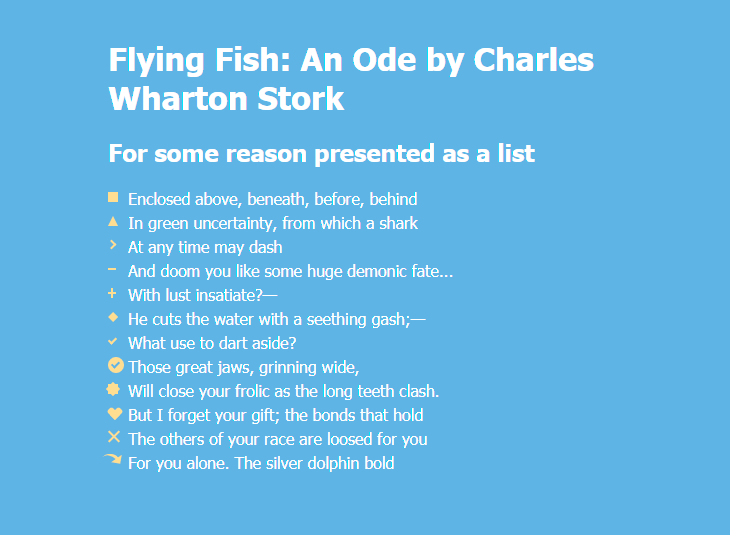
- Lorem ipsum dolor sit amet
- Consectetuer adipiscing elit
- Sed diem nonummy nibh euismod
- Tincidunt ut lacreet dolore magna aliguam erat volutpat. Ut wisis enim ad minim veniam, quis nostrud exerci tution ullamcorper suscipit lobortis nisl ut aliquip ex ea commodo consequat.
Результат данного примера показан на рис. 1.
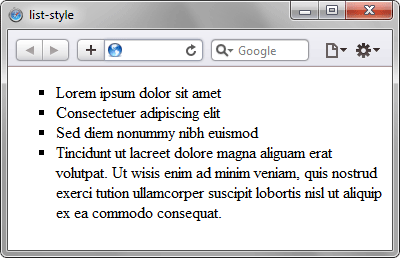
Рис. 1. Применение свойства list-style
Объектная модель
[window.]document.getElementById(» elementID «).style.listStyleБраузеры
Internet Explorer до версии 7.0 включительно не поддерживает значение inherit .
Выравнивание списков
Минус данного способа в необходимости дополнительной разметки — список должен быть заключен в содержащий контейнер, которому присвоен класс div.center_list .
Горизонтальный список
Иногда, например при использовании списка в качестве меню, нужно расположить элементы списка в строку.
Вариант 1. Сделать элементы списка строчными
/*-- CSS. Строчный вариант --*/ li { display:inline; padding:0 10px; }
Получаем список такого вида:
Вариант 2. Сделать элементы списка плавающими
/*-- CSS. Плавающий вариант --*/ ul { list-style: none; /* убираем маркеры, если нужно */ } li { float: left; /* для выравнивания по правому краю - right */ padding: 0 10px; }
На практике, в частности при создании меню на основе списка, чаще используется второй вариант.
Плавающий список
Заголовок не совсем точен; речь идет о списке, обтекающем плавающий элемент.
И опять возвращаемся к плавающим элементам. Два понятия — «плавающий элемент» и «обтекание». Необходимо четко представлять что это такое, что где плавает и что обтекает:
И плавает у соответствующей кромки содержащего блока или прижимается соответствующей кромкой к другому плавающему элементу.
Следующие за ним, обычные блоки никого не обтекают! Они «тупо» не видят плавающий блок.
Подлость происходящего в том и состоит, что обтекает только текст (строчные элементы и элементы с установленным свойством display: inline или display: inline-block !
Когда-то изначально свойство float именно для этого и было придумано!
Все неприятности — от маркеров, которые не являются строчными элементами, и часто происходит следующее:
Наверняка, многие тщетно пытались вытащить маркер из под плавающего блока, увеличивая margin и padding .
Попытка увеличить правый отступ плавающего элемента выглядела бы более успешно, если бы не параграфы.
Вот как это может выглядеть:
Согласитесь, не очень красиво.
Решение
/*-- CSS --*/ /*-- Cтиль, установленный по умолчанию --*/ ul { margin: 0 0 10px 25px; } /*-- Переопределяем стили --*/ ul { margin: 0 0 10px 10px; padding-left: 15px; overflow: hidden; }
Особенности применения
Чтобы оставить отступ обычных, не обтекающих списков неизменным, мы уменьшили margin и увеличили padding на одинаковую величину. Отступ маркера от начала текста равен размеру шрифта (14px), и padding должен быть больше этой величины, иначе маркер обрежет.
Мы определили свойства для тега ul . Т.е. для всех списков на сайте. Это не очень хорошо, так-как overfow: hidden , в некоторых случаях, может оказаться не безобидным. Поэтому нужно выбрать один из способов использования данного метода:
1. Если обтекающий список — редкое исключение:
Добавляем конкретным тегам ul класс, например ul.folat_list , и прописываем свойства уже для класса.
2. Обратная ситуация, когда свойство необходимо присвоить только спискам без класса:
Используем следующую конструкцию (только для соврменных браузеров, поддерживающих CSS3)
/*-- CSS --*/ /*-- Для "деклассированных" списков --*/ ul:not([class]) { margin: 0 0 10px 10px; padding-left: 15px; overflow: hidden; }
Для всех остальных списков, с установленным значением атрибута class , будут применяться стили по умолчанию.
CSS list-style Property
The list-style property is a shorthand for the following properties:
If one of the values are missing, the default value for that property will be used.
| Default value: | disc outside none |
|---|---|
| Inherited: | yes |
| Animatable: | no. Read about animatable |
| Version: | CSS1 |
| JavaScript syntax: | object.style.listStyle=»decimal inside» Try it |
Browser Support
The numbers in the table specify the first browser version that fully supports the property.
CSS Syntax
Property Values
| Value | Description | Demo |
|---|---|---|
| list-style-type | Specifies the type of list-item marker. Default value is «disc» | Demo ❯ |
| list-style-position | Specifies where to place the list-item marker. Default value is «outside» | Demo ❯ |
| list-style-image | Specifies the type of list-item marker. Default value is «none» | Demo ❯ |
| initial | Sets this property to its default value. Read about initial | |
| inherit | Inherits this property from its parent element. Read about inherit |
Related Pages

COLOR PICKER


Report Error
If you want to report an error, or if you want to make a suggestion, do not hesitate to send us an e-mail:
Thank You For Helping Us!
Your message has been sent to W3Schools.
Top Tutorials
Top References
Top Examples
Get Certified
W3Schools is optimized for learning and training. Examples might be simplified to improve reading and learning. Tutorials, references, and examples are constantly reviewed to avoid errors, but we cannot warrant full correctness of all content. While using W3Schools, you agree to have read and accepted our terms of use, cookie and privacy policy.
CSS List Style: 20+ examples
This guide contains simple and practical CSS list styles you can copy and paste, including 20+ CSS list styles templates and examples.
Contents
Web browsers dictate how bulleted and numbered lists should look. Fortunately, you can style your lists by combining various CSS properties so that your lists look just the way you want them to. And this guide will help you achieve the maximum effect.
Unordered List
Set List Item Markers
- ). By way of illustration, we’ll apply this rule to the each individual
element inside their parent
- :
Custom Bullets
You can also specify your own markers, such as “—”, “+”, “*”, “→”, “🌈”, “😎”, etc.:
Here’s another solution if you want to use more options like positioning of the marker:
You can remove default settings by applying these rules:
Here are more examples of custom bullets in square, triangular, arrow, heart, diamond and other shapes:
li.diamond::before < content: ""; position: absolute; left: 0px; top: 0px; width: 0; height: 0; border: 5px solid transparent; border-bottom-color: #f9dd94; >li.diamond::after
li.circle-checkmark::before < content: ""; position: absolute; left: 0; top: 2px; border: solid 8px #f9dd94; border-radius: 8px; >li.circle-checkmark::after
li.heart::before, li.heart::after < content: ""; position: absolute; left: 7px; top: 5px; width: 7px; height: 12px; background: #f9dd94; border-radius: 50px 50px 0 0; transform: rotate(-45deg); transform-origin: 0 100%; >li.heart::after
li.cross::before < content: ""; position: absolute; height: 15px; border-left: 2px solid #f9dd94; transform: rotate(45deg); top: 2px; left: 5px; >li.cross::after
li.curved-arrow::before < content: ""; position: absolute; width: 0; height: 0; left: 4px; top: 3px; border-top: 9px solid transparent; border-right: 9px solid #f9dd94; transform: rotate(10deg); >li.curved-arrow::after
Find more examples of creating different shapes with CSS:
Set an Image as List Item Marker
You can also set an image as the list item marker using one of two ways.
- element and indicate a path to your image. In this case, you need to resize your image manually in advance so it would fit in the list (e. g. 30 px × 30 px).
Learn more about CSS backgrounds:
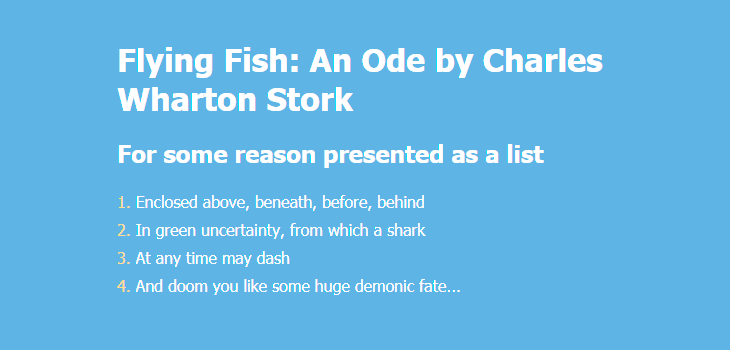
Ordered List
- ). By way of illustration, we’ll apply this rule to the each individual
element inside their parent
- :
.one < list-style-type: decimal; >.two < list-style-type: decimal-leading-zero; >.three < list-style-type: lower-roman; >.four < list-style-type: upper-roman; >.five < list-style-type: lower-greek; >.six < list-style-type: lower-latin; >.seven < list-style-type: upper-latin; >.eight < list-style-type: armenian; >.nine < list-style-type: georgian; >.ten < list-style-type: lower-alpha; >.eleven
Changing Punctuation in List Items
You can add a semicolon at the end of each list item or any other punctuation mark:
You can also remove a comma in an ordered list marker:
Position the List Item Markers
Web browsers also dictate how CSS list items are positioned. You might want to change the default look.
First, you might want to remove the margin to the left of your list (apply margin-left with any value that suits you).
Second, you can add the list-style-position: inside; so that the bullet points would be inside the list item and part of the text. The result will be a CSS list indent.
If you want the text to be aligned along one line vertically, simply remove list-style-position: inside; :
You can use a shorthand property to set all the list properties in one declaration: ul
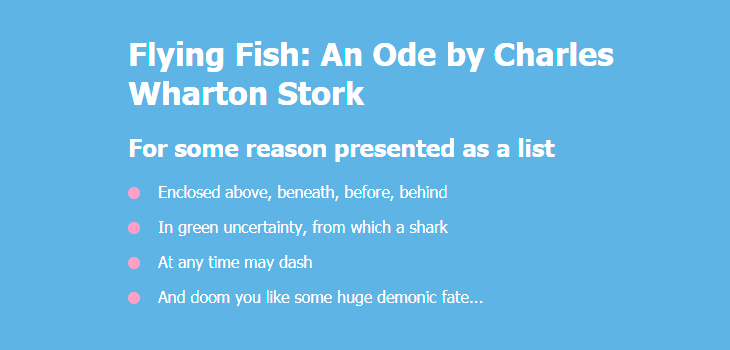
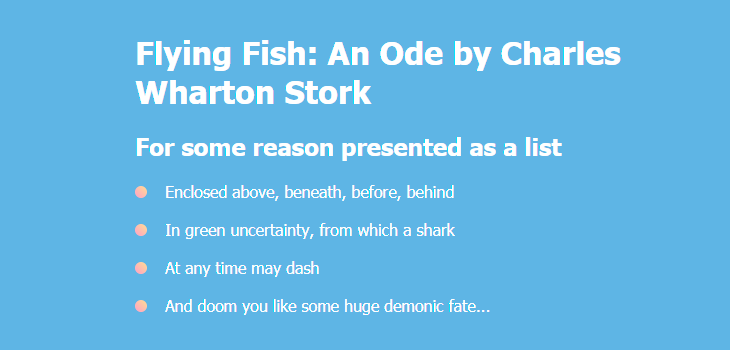
Colored Markers
By default, markers of unordered lists are round, small and have the same color as the text. You can set the color and size of markers the way you like. For example, let’s make them bigger and pink-colored:
ul < display: block; margin-left: -10px; >ul li < display: block; position: relative; >ul li:not(:last-child) < margin-bottom: 16px; >ul li:before
Apply linear-gradient() instead of simple color, and you will get gradient markers:
Find more examples of creating CSS gradients:
If you only want to change the color, apply these rules:
Likewise, you can change the color of markers in an ordered list:
The counter-increment property allows you to assign a name to your counter. This provides a way to identify the counter when using the ::before pseudo-element. When you name the counter-increment “item” (or whatever you like), you’re telling the browser to use a counter for each list item.
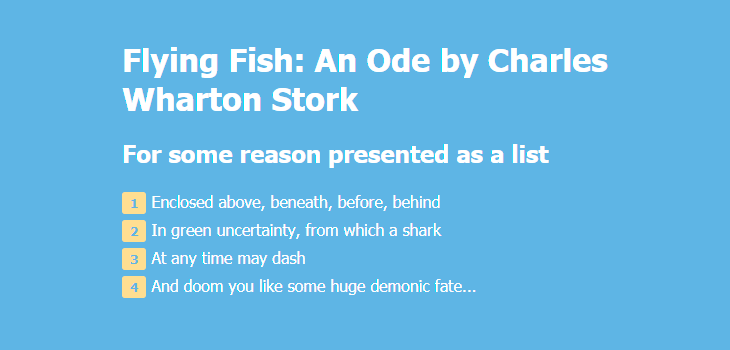
Colored Markers with Background
You can go further and add even more visual effects. For example, you can create markers with numbers in colored squares:
You can also use a different font family for numbers in list item markers:
It is also possible to make round colored markers with numbers.
ol < counter-reset: item; list-style-type: none; line-height: 2.2; margin-left: -40px; >ol li < display: block; position: relative; >ol li span < margin-left: 40px; >ol li:before
The result will look like this:
Apply linear-gradient() instead of simple color, and you will get gradient markers:
Find more examples of creating CSS gradients:
Examples of More Advanced Use
Below are three examples of more complicated CSS lists with fancy design and animation.
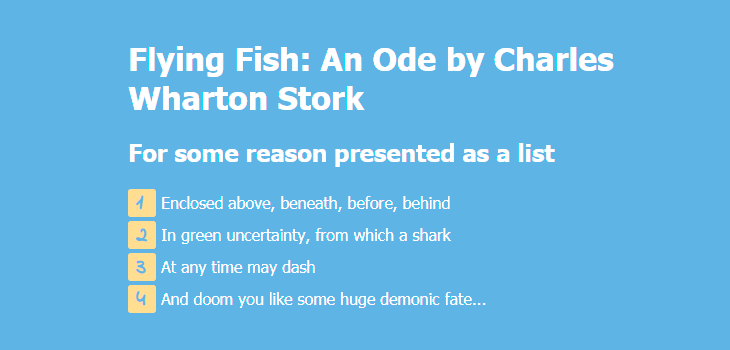
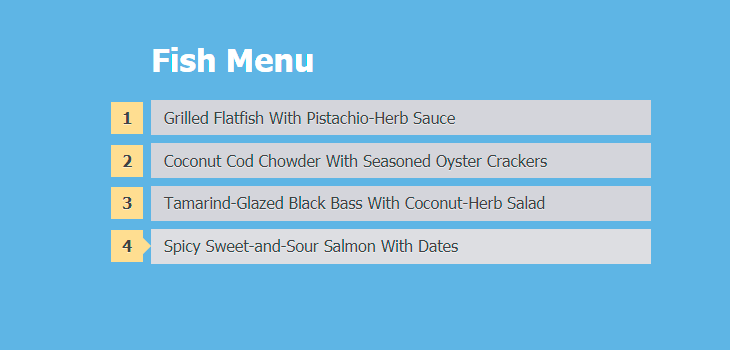
Example #1
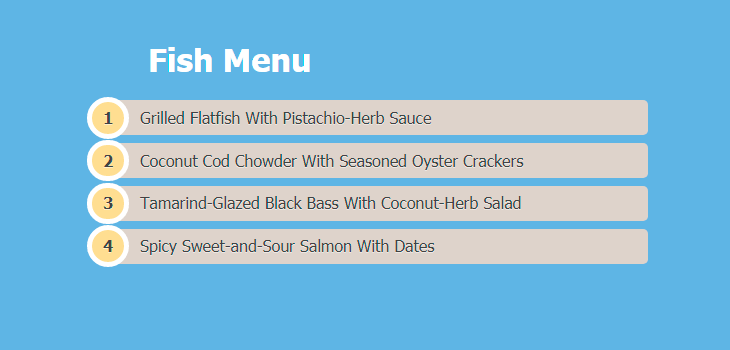
- Grilled Flatfish With Pistachio-Herb SauceCoconut Cod Chowder With Seasoned Oyster CrackersTamarind-Glazed Black Bass With Coconut-Herb SaladSpicy Sweet-and-Sour Salmon With Dates
ol < counter-reset: li; list-style: none; padding: 0; text-shadow: 0 1px 0 rgba(255,255,255,.5); >ol a < position: relative; display: block; padding: .4em .4em .4em 2em; margin: .5em 0; background: #DAD2CA; color: #444; text-decoration: none; border-radius: .3em; transition: .3s ease-out; >ol a:hover < background: #E9E4E0; >ol a:hover:before < transform: rotate(360deg); >ol a:before
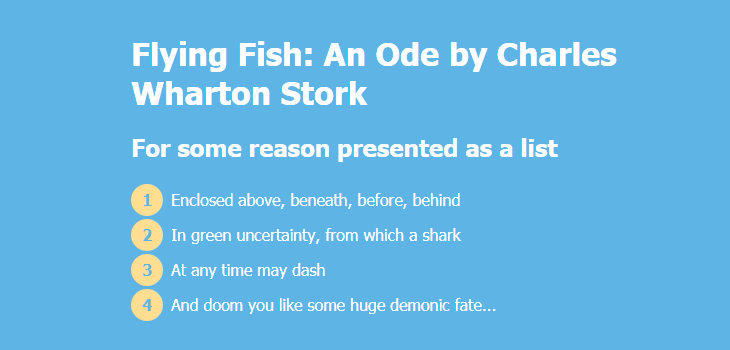
Example #2
- Grilled Flatfish With Pistachio-Herb SauceCoconut Cod Chowder With Seasoned Oyster CrackersTamarind-Glazed Black Bass With Coconut-Herb SaladSpicy Sweet-and-Sour Salmon With Dates
ol < counter-reset: li; list-style: none; padding: 0; text-shadow: 0 1px 0 rgba(255,255,255,.5); >ol a < position: relative; display: block; padding: .4em .4em .4em .8em; margin: .5em 0 .5em 2.5em; background: #D3D4DA; color: #444; text-decoration: none; transition: all .3s ease-out; >ol a:hover ol a:before < content: counter(li); counter-increment: li; position: absolute; left: -2.5em; top: 50%; margin-top: -1em; background: #f9dd94; height: 2em; width: 2em; line-height: 2em; text-align: center; font-weight: bold; >ol a:after < position: absolute; content: ""; border: .5em solid transparent; left: -1em; top: 50%; margin-top: -.5em; transition: all .3s ease-out; >ol a:hover:after
Example #3
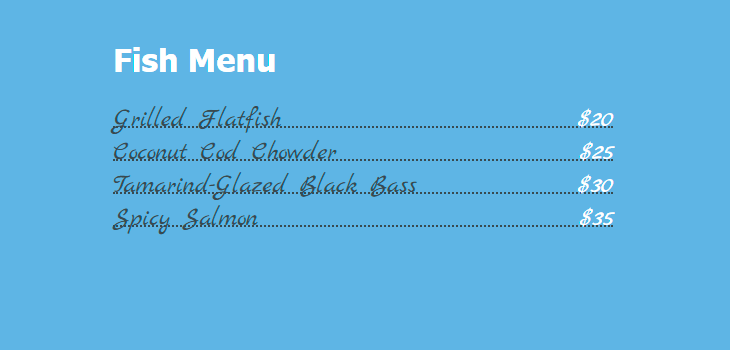
ul < list-style: none; font-family: 'Marck Script', cursive; >ul li < margin-bottom: 5px; border-bottom: 2px #404B51 dotted; font-size: 26px; line-height: 1; >ul li span:nth-child(odd) < padding-right: 6px; color: #404B51; >ul li span:nth-child(even) < float: right; padding-left: 6px; color: #fff; >ul span
These three examples above are inspired by html5book.ru.