- How To Create Responsive Data Tables with CSS Grid
- Samuele
- Introduction
- Create a simple table
- Keep the header visible
- Add a row for totals
- Sort the data
- Add some colors
- Add a chart
- Choose the data to show
- Add numbers to lines
- Animate the table
- Simple tables with CSS grid layout
- Comments
- About Mark Heath
- Search this site
- Keep Updated
- My Pluralsight Courses
- My Open Source Software
- Archives
- Tags
How To Create Responsive Data Tables with CSS Grid
Tables are quite a complicated thing. They have existed since the dawn of HTML and they bring with them some serious problems. They are great for showing little data but rather complicated when the data grows. I had to investigate this for a recent project of mine (related to how to use Medium stats. The solution I have chosen involves the use of CSS and the Grid Layout Module. Here are my passages and my arguments.
Samuele
‘I’m a hobby programmer, experimenting with Construct 3, Javascript and Electron.
Tables are quite a complicated thing. They have existed since the dawn of HTML and they bring with them some serious problems. They are great for showing little data but rather complicated when the data grows. I had to investigate this for a recent project of mine (related to how to use Medium stats. The solution I have chosen involves the use of CSS and the Grid Layout Module. Here are my passages and my arguments.
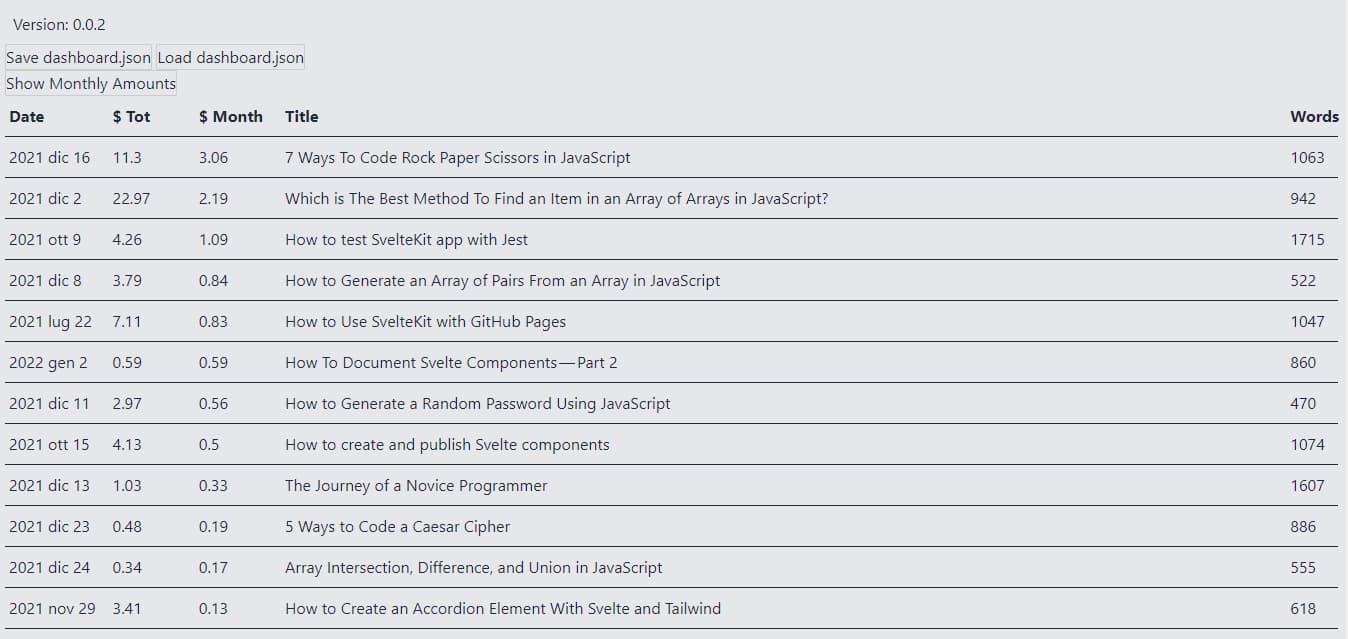
But before starting an image with the result I want to achieve:
Introduction
The first step is to look for what already exists. There are some interesting articles worth reading:
From this I started to think about how to create my table.
First, of course, I need the data. I decided not to use fictional data for this article simply because the best way to learn is by solving a real problem. My problem is: I have some stats regarding my earnings on Medium. How can I analyze them?
But I won’t talk about the data itself. For the moment I just need to know how they are organized. And I decided to organize them into an array, listStories . Each element of this array is an object composed of these properties:
I don’t care about showing every single property. And I’m interested in having an easy way to decide which ones to view and order. To do this I need another array, this time made up of objects composed like this:
- key , the property to show in the table
- title , the name of the column
- type , the type of data (numeric, date, string, boolean, …)
- width , the width of the column. If not present it is interpreted as auto
- align , the alignment of the column
Create a simple table
The table is in CSS. But to use it effectively I need something to automatically insert various data into the table. I decided to use Svelte: it allows me to keep the JavaScript code, the HTML5 part and the table styles in a single file. Also to speed up the writing of CSS I use the Tailwind CSS classes.
I start by creating the props to import the table data and labels:
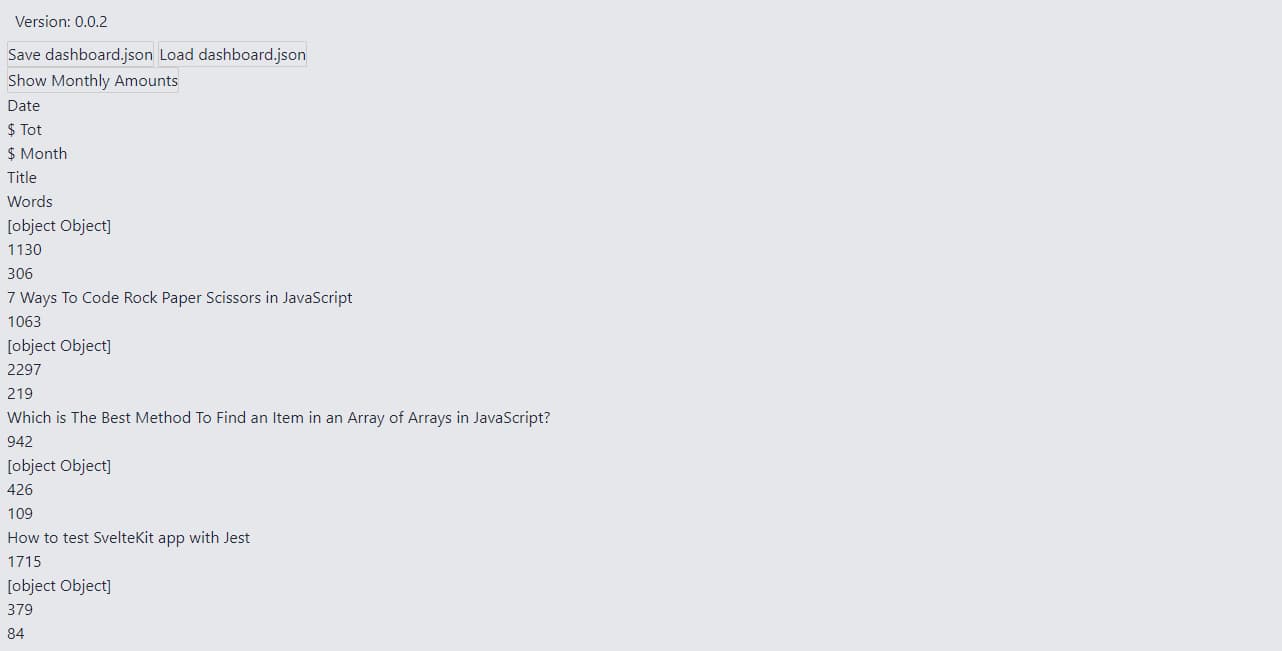
Obviously the result is very bad:
I need to add some styles to make it presentable. I start by defining everything as a CSS Grid:
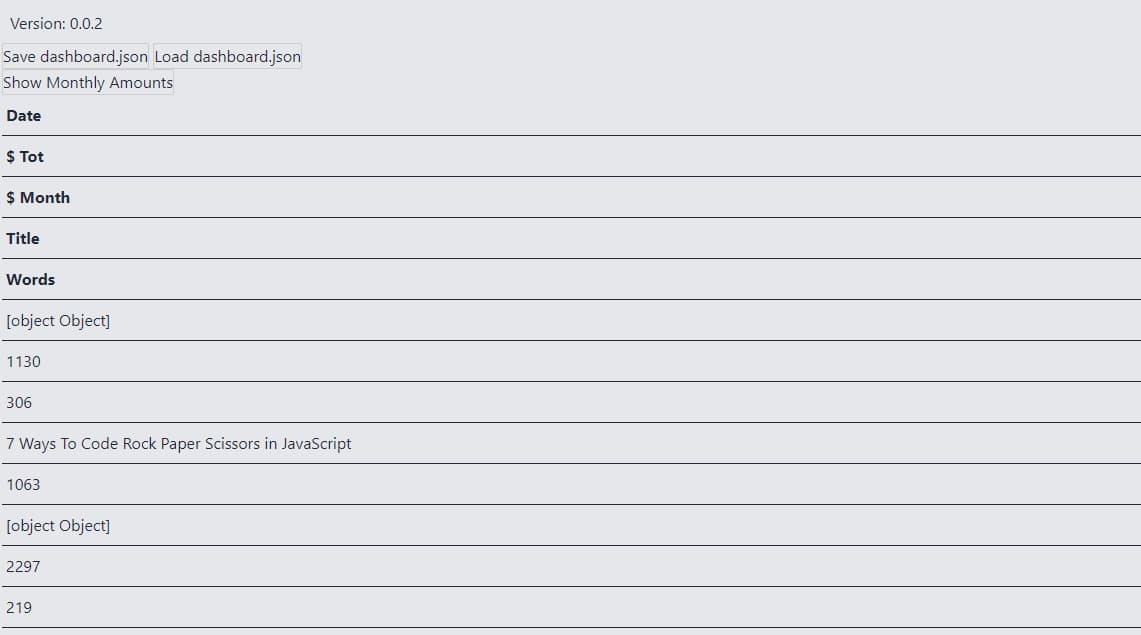
Then I bold the first row, the one with the names of the various columns:
Finally I add a line to divide each row of the table:
The result is a little more elegant but still not useful:
I need to use the grid-template-columns property to define how many columns there should be.
A little while ago I explained how to create the headers prop. Well, the number of columns is simply the number of elements in the array.
Finally something like a table appears:
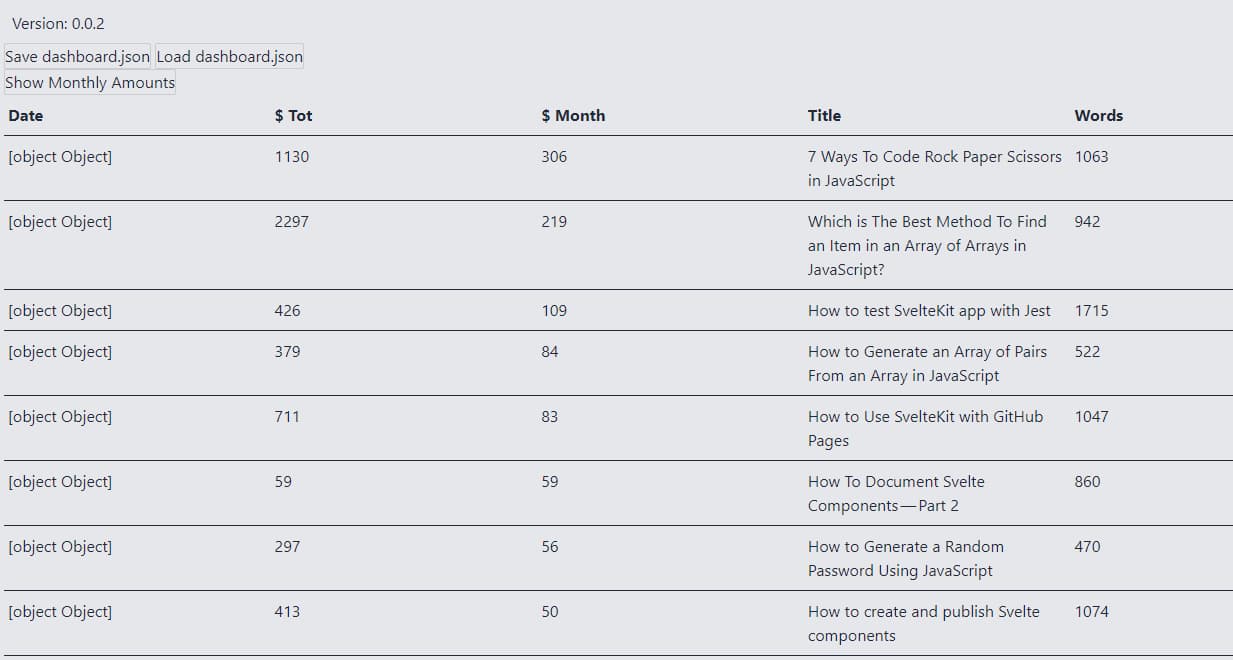
There’s a thing I don’t like: the columns are all the same size. It makes more sense to make some columns smaller and leave the one with the article title larger. To do this I use the width property of each label :
Now the table is a little prettier.
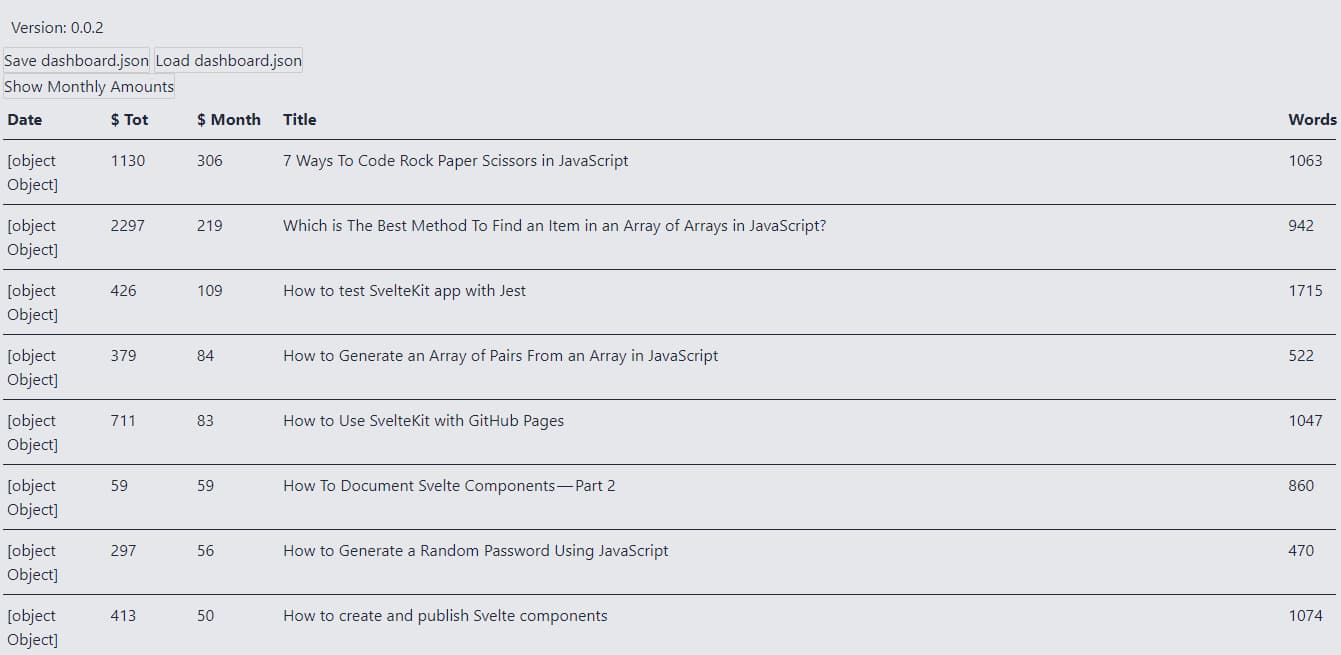
However, some critical issues remain. First, some values do not appear, others are in the wrong format. I add a function to solve them:
This fixes the wrong format:
In a similar way I can correct the alignment of the columns:
Keep the header visible
This is fine for tables with little data. But there is a problem when there are several rows of data. Scrolling down the header of the columns disappears, making it difficult to read. To keep the first line fixed I have to modify the structure of the HTML part and the CSS style. I start by adding a header tag and a section tag:
The idea is to set a maximum height for the section with the data lines and then add a side scrollbar to scroll through the data. To do this I first need to change the display property of article :
header and section instead become grid :
The section can have a vertical scrollbar.
To maintain the alignment of the last column, I should customize the scrollbar. For details I recommend reading CSS Almanac — Scrollbar:
I also shorten the width of the header :
The result of all this is a table with the first fixed row at the top:
Add a row for totals
Another thing I need is a line with the total. Because especially when I add a system of filters it is convenient to immediately see what the value of the selection is. To do this I add a footer to the table:
I know, I haven’t defined totals yet. But I have to decide where and how to calculate the totals. The simplest way is by adding a third props.
So I define a props of this type:
I correct the HTML code to format the values:
This allows me to get something like this:
Sort the data
A useful feature is the ability to sort the data.
There are various ways to achieve this. I can add buttons outside the table, or I can add a mouse-based control. I would like to order in ascending or descending order using a context menu.
Maybe I’ll talk about it in more depth in another post, but with Svelte it’s quite easy to create a context menu. For the moment I just recommend this repl:
For the moment I create a very simple component. First I need a couple of icons ( SortAscending and SortDescending ) to use as buttons.
Then a couple of props to manage the position on the screen:
It is also necessary to understand when the menu should be displayed and when it shouldn’t be:
I use createEventDispatcher to set the events I need:
Then I add events to hide the context menu when we click on some other element of the page:
Last, I add some CSS styles:
By combining everything I get:
Now all that remains is to insert it into the table. I decided to activate the context menu every time you click on a cell, not just in the column headings:
It’s a minimal context menu but it’s enough:
Nothing happens if I click on the icons. Because I haven’t linked any functions to the two commands. I need to go back to the table and add another prop:
I also need two functions to sort values in ascending and descending order:
Finally I update the HTML code
Now I can sort the various columns:
Add some colors
As far as it works, there remains a problem. It is not clearly visible which column we have selected, or on which row the mouse is positioned. To solve the problem I can use a few lines of CSS.
Let’s start with the lines. I think the quickest way is to add an element which contains all the elements of the row:
I adjust the styles to keep the same format:
And then, of course, I add a hover effect:
For columns I use the cellData variable to manage styles. First I make sure to avoid unwanted styles when the context menu is not visible:
This allows me to make the context menu effects visible:
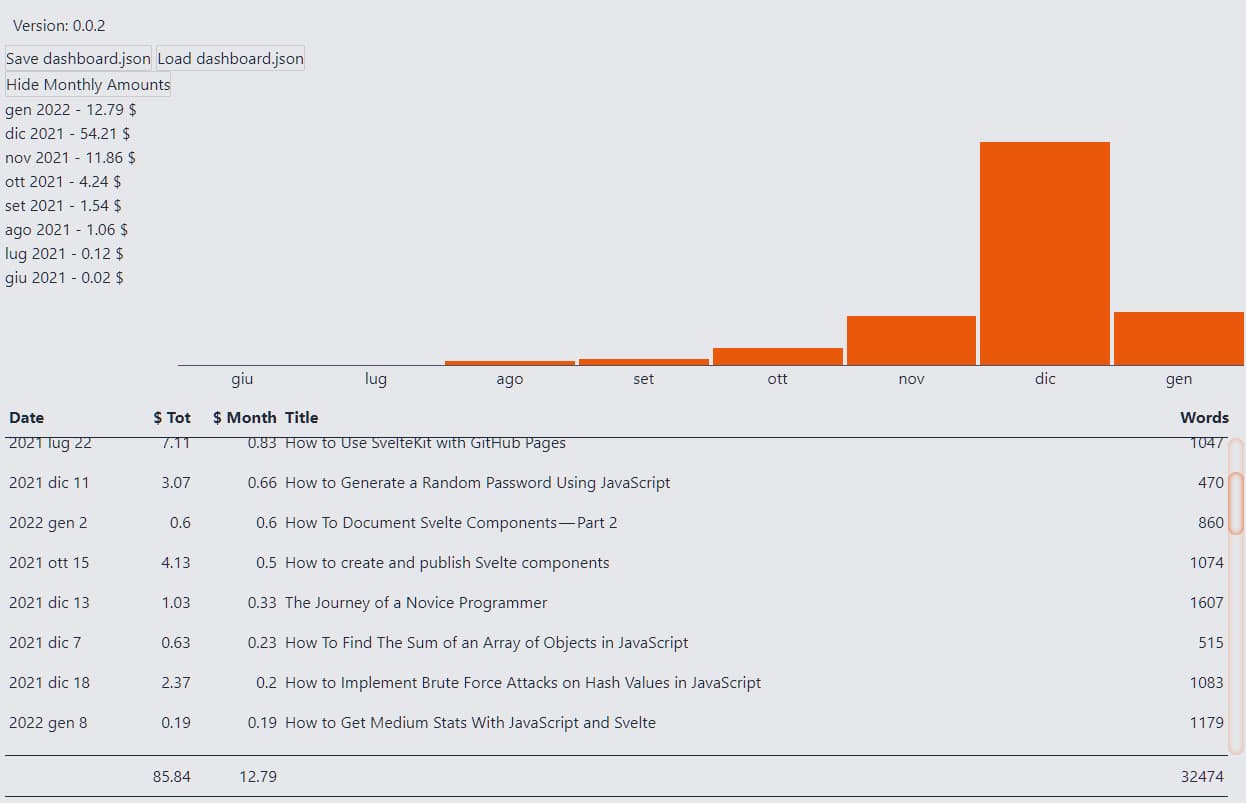
Add a chart
Numbers and words are fine but there is another aspect that interests me: the ability to graphically represent some values. It’s simple to add a bar chart. I use the space in the cell with the title.
I start by setting up a couple of props:
I want to color the lines proportionally to the indicated value. To do this, I need the maximum value:
Then I create a function to define the style:
Finally I modify the HTML code of the cells:
Choose the data to show
I want to customize the choice of the column to use in the chart. I modify the context menu by adding another button:
I have to use something to signal when to show the button because not all data can be represented graphically. For example the dates, or the texts. I add a chartsColumns variable with the list of columns
Then I add a function to select the data:
There is a problem: how do I know which data I am viewing? There can be various ways. For the moment I think it is enough to highlight the column, perhaps using a bold font.
Add numbers to lines
One last detail remains: the line numbers. Simply add an index to Svelte’s #each loop:
Then I modify the gridTemplate variable to create the corresponding column:
It only takes a few lines of code to achieve this:
Animate the table
Finally I can add an animation to make it evident when we sort the table. To do this I use the animate:fn directive:
In this way I make the order operation visible:
Well, that’s all for now. I still have to think about if and how to manage filters and groupings. Maybe I’ll talk about it in the future.
As for the code, however, the repository I’m working on is el3um4s/medium-stats. It is a work in progress and the code is quite dirty. However, it can be useful.
Finally, these are my other articles related to Svelte and SvelteKit:
Aggiornato: January 12, 2022
Simple tables with CSS grid layout
In this post, I want to show how simple the CSS grid makes it to create a basic table layout with control over the column sizes.
In this simple example, I want my table to have two fairly small columns, with a third column being given the bulk of the remaining space.
You can see the result here:
See the Pen Grid Table by Mark Heath (@markheath) on CodePen.
The great thing about this is that thanks to CSS grid (which is available in a healthy majority of browsers now), you can achieve this whole thing with just one simple CSS rule:
We need to set display to grid (and I’ve also specified a max-width for my table). Then grid-template-columns is where the intelligent sizing comes in. I’m setting the third column to take 80 percent of the space, and then using fractional units to say that the other two columns should be the same size as each other.
As you can see from the embedded example, this means that if one of the short columns has unexpectedly long content, it doesn’t cause the layout of the whole table to be reconfigured. You can also set column widths to auto and it’s also worth experimenting with this to see the different results you can achieve.
And that’s all there is to it. I added a couple of additional styling properties using the handy nth-child rule to give a different background colour to each column.
Of course, I should mention that CSS is certainly not my speciality, so feel free to let me know in the comments what the correct/better way to do table layouts in CSS is!
Comments

Joe Attardi
About Mark Heath

I’m a Microsoft MVP and software developer based in Southampton, England, currently working as a Software Architect for NICE Systems. I create courses for Pluralsight and am the author of several open source libraries. I currently specialize in architecting Azure based systems and audio programming. You can find me on:
Search this site
Keep Updated
My Pluralsight Courses
- Microservices Fundamentals
- LINQ Best Practices
- Microsoft Azure Developer: Deploying and Managing Containers
- Azure Functions Fundamentals
- Azure Durable Functions Fundamentals
- Microservices Architecture: Executive Briefing
- Building Microservices
- Dapr 1 Fundamentals
- Create Serverless Functions
- More Effective LINQ
- Versioning and Evolving Microservices in ASP.NET Core
- Microsoft Azure Developer: Implement Azure Functions (AZ-204)
- Azure Container Instances: Getting Started
- Building Serverless Applications in Azure
- Azure CLI: Getting Started
- Understanding and Eliminating Technical Debt
- Windows Forms Best Practices
- Digital Audio Fundamentals
- UWP Audio Fundamentals
- Audio Programming with NAudio
- Understanding Distributed Version Control Systems
- Creating Modern WPF Applications with MahApps.Metro
- Creating and Selling a Digital Product
- ClickOnce Deployment Fundamentals
My Open Source Software
- NAudio
- NLayer
- NAudio.Sharp Media Foundation
- WaveForm Renderer
- WPF WaveForm
- TypeScript Tetris
- Skype Voice Changer
- MIDI File Mapper
- MIDI File Splitter
- SilverNibbles
- Asterisk
- WPF Shapes
- .NET Voice Recorder
Archives
Tags
- Azure (150)
- NAudio (100)
- Advent of Code (81)
- LINQ (79)
- F# (70)
- Azure Functions (67)
- C# (63)
- Azure CLI (45)
- WPF (39)
- audio (38)
- XAML (38)
- JavaScript (36)
- Silverlight (34)
- Pluralsight (27)
- Docker (26)
- MoreLINQ (26)
- Durable Functions (25)
- Azure Blob Storage (20)
- Azure Service Bus (17)
- Azure Container Instances (15)