How to create GUI in C programming using GTK Toolkit
Many programming languages bolster GUI improvement as one of the centrepieces of its language highlights. C has no such library connected to it like the string library, IO library, etc, that we every now and again use. This weakness opened the skyline for engineers to pick from a wide assortment of GUI library toolbox accessible in C. GTK+ is one of them. It represents GIMP (GNU Image Manipulation Program) Toolkit and can be utilized to program current GUI interfaces.
The beneficial thing about GTK+ is that it is steady, developed, and its starting point can be followed back to the past times of X Windows that structure the centre GUI arrangement of Linux today. GTK is completely written in C and the GTK+ programming that we regularly use in Linux is additionally written in C. The work area administrators, for example, GNOME and XFCE, likewise are manufactured utilizing GTK.
A GTK+ application isn’t limited to the Linux stage no one but; it very well may be ported to non-UNIX/Linux stages also.
Here, we will cling to the fundamental type of GTK+, which is its C avatar on the Linux stage. The official webpage to download GTK+ is https://www.gtk.org. The site contains API documentation, instructional exercises, and other Gnome libraries that are frequently utilized alongside GTK. Truth be told, GTK is based over libraries, for example,
- ATK: This library provides help to create accessibility tools such as sticky keys, screen readers, etc.
- Glib: It is a universally useful utility library that offers help for threads, dynamic loading, event loops, low-level data structures, etc.
- GObject: This library gives full-featured object-oriented help in C, without utilizing C++. This library encourages the language binding made for different languages to give you simple access to C APIs.
- GdkPixBuf: This library gives picture control capacities.
- GDK (GIMP Drawing Toolkit): This is the designs library that gives low-level drawing capacities over Xlib.
- Pango: This library helps in content and design rendering
- Xlib: This library provides low-level graphics support for Linux system
When composing code with GTK, we regularly locate that a significant number of the primitive data types are prefixed with ‘g‘ as in
These data types guarantee that the code can be recompiled on any platform without rolling out any improvements. These data types are characterized in these libraries to help in making it platform-independent.
GUI programming inherent object-oriented in it which is the main issue. In this, a procedural worldview doesn’t fit consummately in this scheme. Thus, regardless of GTK being written in C, it gives object-oriented help through GObject. Note that this item arranged help has nothing to do with C++. C++ has its own GTK library, called gtkmm. GObject encourages a portion of the object-oriented principles, similar to polymorphism and inheritance with the assistance of macros. The following diagram illustrates the hierarchical relation.

GtkWindow inherits GtkBin, which itself is a child of GtkContainer; in this manner, an object of GtkWindow can call the function defined in GtkBin or GtkContainer. This is an example of object-oriented implementation in C by GTK.
GUI With GTK
Let us comprehend a couple of things from our first GTK code in C.
- To start with, we incorporate the header file. This incorporates all the file one needs to make a GUI, including the Glib library.
GtkWidget *window; GtkWidget *button;
window = gtk_window_new(GTK_WINDOW_TOPLEVEL); button = gtk_button_new_with_label ("Click Me!"); void my_callback_function(GtkWidget *widget, gpointer data);
void destroy( GtkWidget *widget, gpointer data )
g_signal_connect (window, "destroy", G_CALLBACK (destroy), NULL);
void greet( GtkWidget *widget, gpointer data ) < g_print ("Welcome to GTK\n"); g_print ("%s clicked %d times\n", (char*)data, ++counter); >g_signal_connect (GTK_OBJECT(button), "clicked", G_CALLBACK (greet), "button"); gtk_container_add (GTK_CONTAINER (window), button);
gtk_widget_show_all(window); gtk_main();
Below is the implementation of the above steps:
wxWidgets | C++
Сегодня я бы хотел разобрать такую библиотеку, которая лучше всего по моему мнению подходит для написания программ с графическим дизайном для любой операционки на Плюсах. Я не буду вдаваться в подробности этой библиотеки в этом посте, я лишь могу сказать, что wxWidgets имеет большие преимущества перед другими GUI библиотеками. Эта библиотека мощная, быстрая и кроссплатформенная. К тому же, эта библиотека есть под разные языки программирования (Python,Perl,Ruby)
И так, мы будем разбирать эту библиотеку на Linux.
Установка
sudo apt-get install libwxgtk3.0-gtk3-devСоздаем файл под любым названием и создаем в ней main.cpp. Сегодня буду билдить прогу через Cmake.
Мы включили в наш файл главный header, в котором содержатся все нужные Headers. Далее нам нужно создать главный Init класс.
Так же нужно создать класс Frame, для того, что бы мы могли размещать элеметы в нашем окне:
Реализация функции bool OnInit();
bool App::OnInit() < Frame *frame = new Frame(); frame->Show(true); return true; >Frame::Frame() : wxFrame(nullptr,wxID_ANY, "Application 3.0.5") < // Для дефолта можно оставить пустым. // ЗДЕСЬ ДОБАВЛЯЮТСЯ ВСЕ ВИДЖЕТЫ wxPanel* panel = wxPanel(this); wxButton* button = new wxButton(panel, -1, "Button"); >Так же не могу не сказать о том, что мы Динамически выделяем память для всех наших виджетов, и что бы не выскочили умники, скажу что их освобождать вручную не надо. Этим займется WX.
Ну и добавим одну маааааленькую вещь, для того , что бы приложение заработало:
Ну и можно запускать. Хотя.
Что бы забилдить проект, нам нужен либо IDE, где мы вручную будем указывать флаги библиотеки, либо CMake. Как я раньше обозначился, для проекта я буду использовать именно CMake.
В нашем файле, рядом с главным main.cpp, мы создадим CMakeLists.txt.
cmake_minimum_required(VERSION 3.0.5) #Минимальная версия cmake project(main) #Название проекта find_package(wxWidgets 3.0.5 REQUIRED) # Укажите свою версию библиотеки include($) #если нашли пакет, инклюдим его link_libraries($ $) # ничего особенного, настройки стандарта c++ set(CMAKE_CXX_STANDARD 11) set(CMAKE_CXX_STANDARD_REQUIRED ON) # add_executable($ WIN32 MACOSX_BUNDLE main.cpp) Для того, что бы забилдить проект, в рабочем файле создаем директорию build В ней открываем терминал и пишем: cmake .. После удачного билдинга, запускаем команду make Ну и на выходе получаем готовый Makefile, а также скомпилированный проект.В следующем посту будем писать более интересную прогу !
Martin Helmut Fieber
Looking at all those tools, libraries, and many ways of developing GUI s in C++, it can become easily overwhelming. This at least happened to me; every time I set out to «finally solve how I will create GUI s in C++» I got blasted by all the possibilities. From very simplistic to huge monster like frameworks with own language extensions. In the end I never just created.
Here it goes, a basic setup I started using for end-user applications. Of course, as many frameworks there are opinions, and this one is only mine.
Basic setup
For the setup of the application I use my C++ starter template I showed in the last post, Basic C++ setup with dependency management in CMake . The template for this can be found on GitHub: github.com/MartinHelmut/cpp-base-template or as a step-by-step explanation in the blog post.
The first thing I did was to rename src/some_library to src/core . This then contains the logging and debugging helper, also this is where I will create the Window and Application classes.
SDL2 and Dear ImGui
SDL2 will be added as dependency through FetchContent_Declare , same as the other dependencies in vendor/CMakeLists.txt .
Rendering a widget
Let’s get something rendering inside that window. For this I add a private variable to Application holding the information if the new widget should be visible.
Handling high DPI displays
For high DPI displays, like Apples Retina display, I need to change the renderer scaling. For this I created a new public method get_scale in Window .
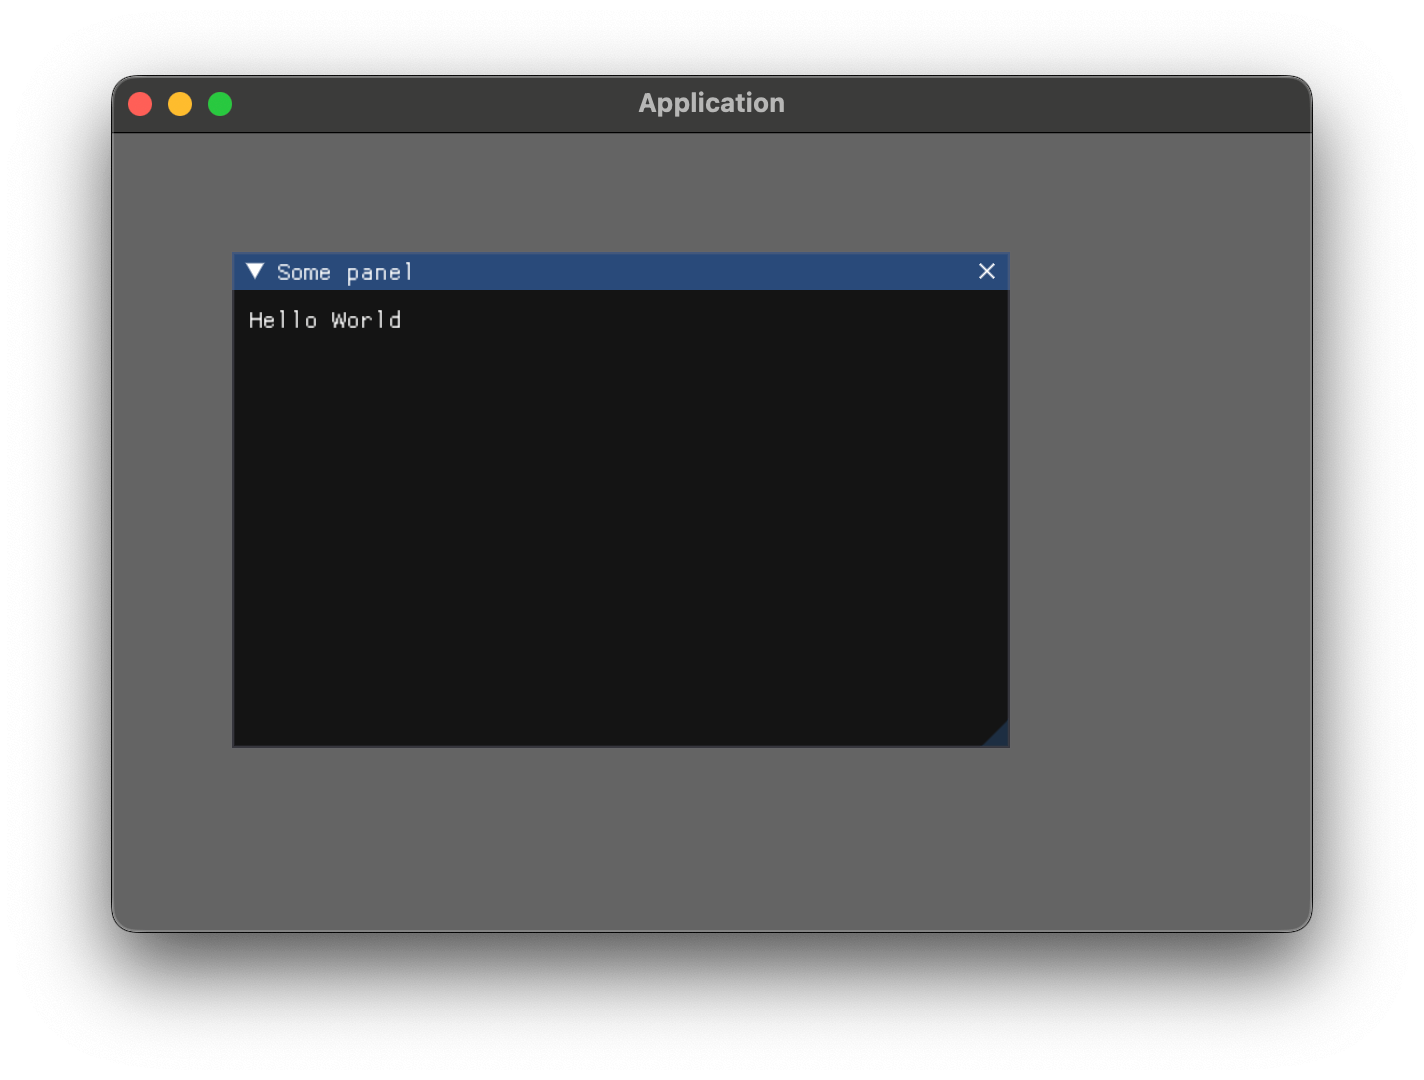
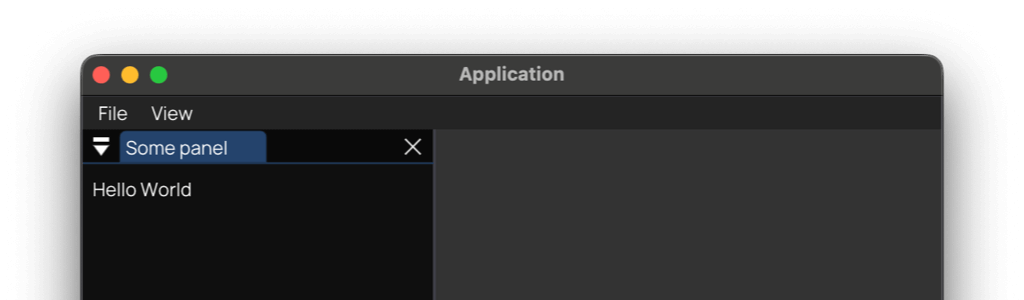
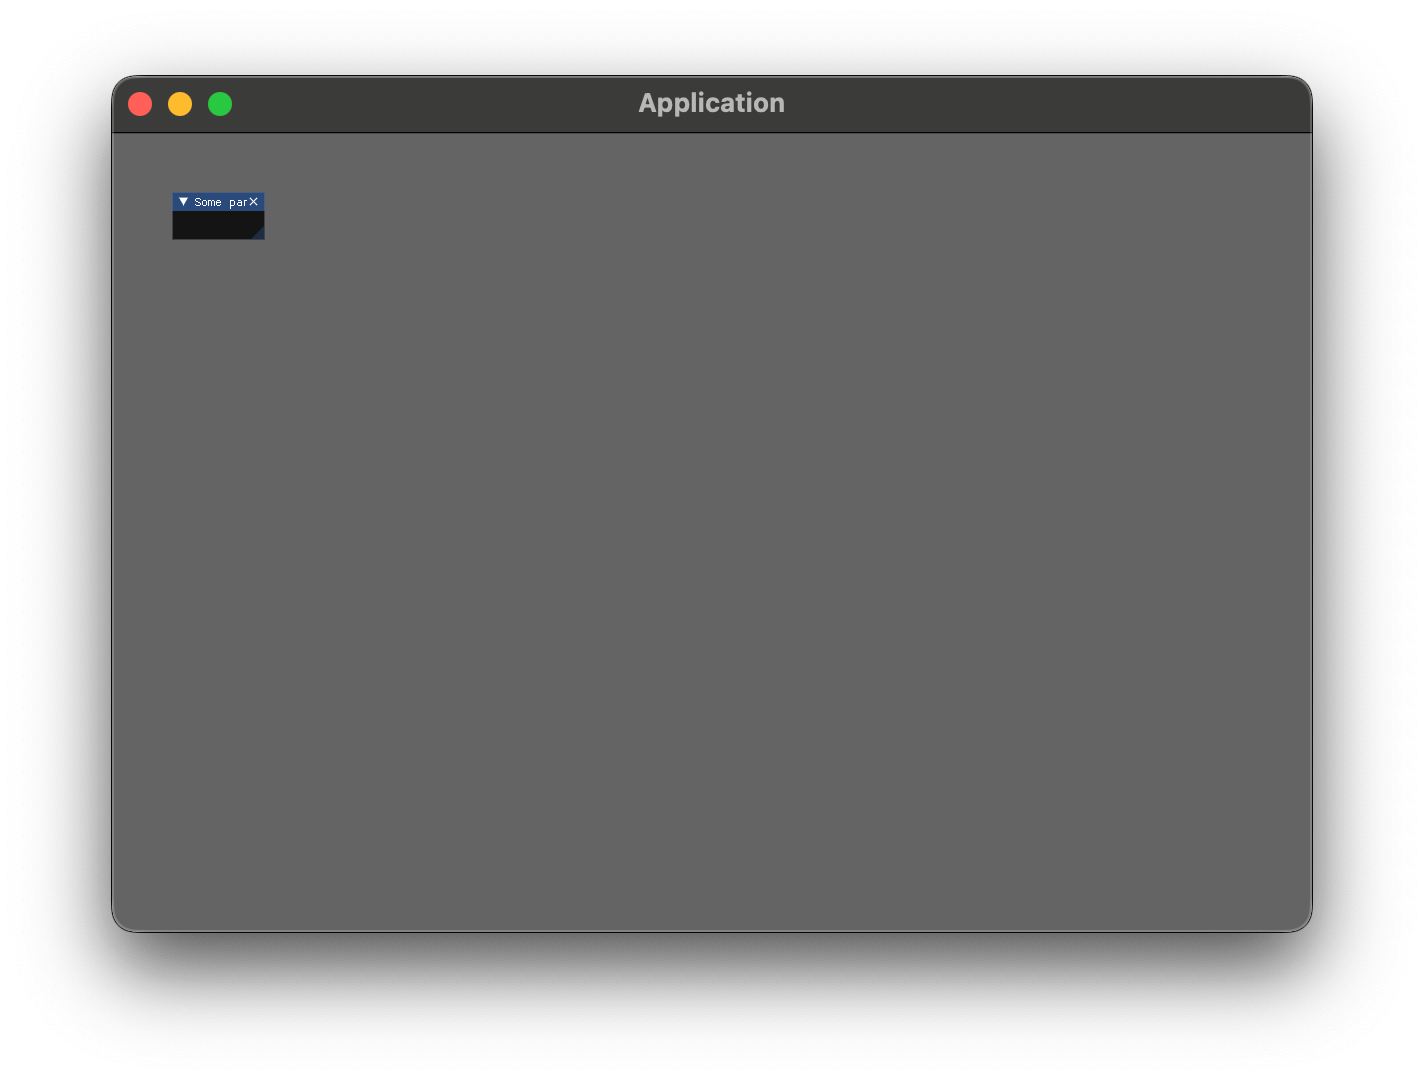
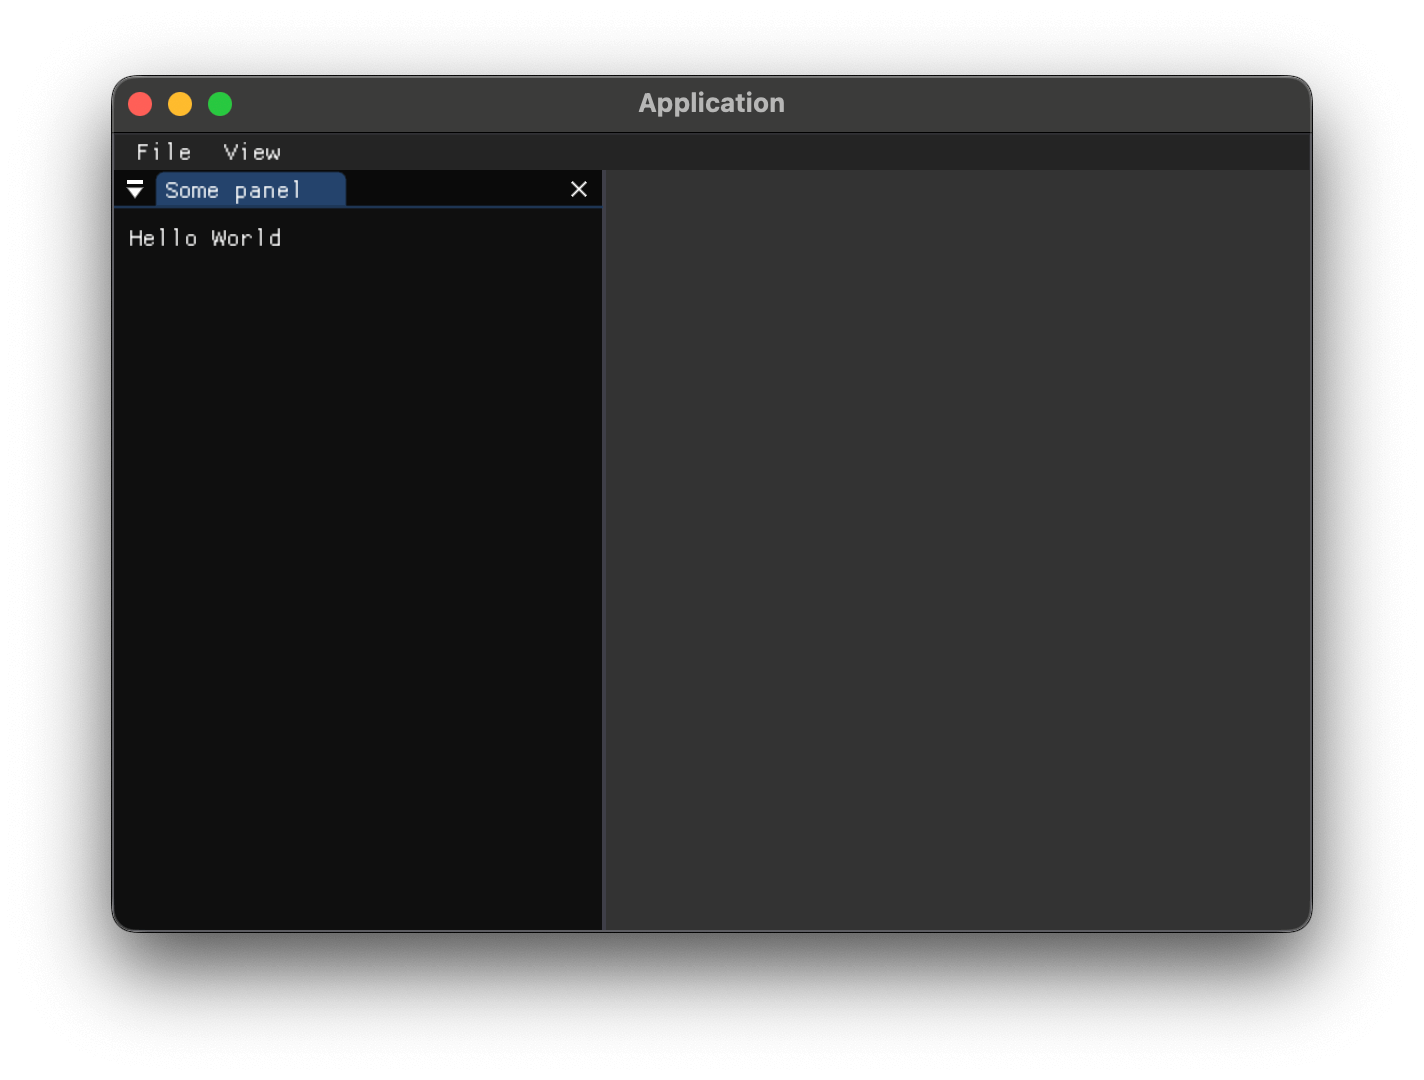
Dockspace
The basics are up and running, dock spaces will now enable rearranging widgets and docking those to the window and each other, giving a user the option to freely define the application layout.
For this to work the ImGui flag DockingEnable needs to be set in run .
Custom font
Making things look a little less «Debugger UI» like, adding a custom font can go a long way. I will use the amazing Open Source font Manrope . After downloading it all fonts will be placed relative to src/app/App/Main.cpp file inside a fonts folder. The full path of the folder is src/app/App/fonts .
The code for the font is placed inside Application after the ConfigFlags , but before the renderer setup.
// src/core/Core/Application.cpp int App::Application::run() < // . io.ConfigFlags |= ImGuiConfigFlags_DockingEnable; // Get proper display scaling for high DPI displays const float font_scaling_factorget_scale()>; // Font size will be 18pt const float font_size; // Load font and set as default with proper scaling io.Fonts->AddFontFromFileTTF( "fonts/Manrope.ttf", font_size ); io.FontDefault = io.Fonts->AddFontFromFileTTF( "fonts/Manrope.ttf", font_size ); io.FontGlobalScale = 1.0F / font_scaling_factor; ImGui_ImplSDL2_InitForSDLRenderer( m_window->get_native_window(), m_window->get_native_renderer() ); // . >A final look at the application now shows the amazing new font, everything coming together and starting to look like an end-user application.
It appears your browser doesn’t support embedded videos. Video showing the final result.
Epilogue
And that is that! A base to continue when creating GUIs in C++ for me. And again, there is a more extended version of this on GitHub.
GitHub template: github.com/MartinHelmut/cpp-gui-template-sdl2
There is also an OpenGL version of the GitHub template with multi-viewport and detachable widgets: github.com/MartinHelmut/cpp-gui-template-sdl2-opengl