- Browser Support
- Syntax
- Attribute Values
- More Examples
- Example
- Header 1 A paragraph.
- Example
- Example
- Related Pages
- COLOR PICKER
- Report Error
- Thank You For Helping Us!
- JavaScript Classes
- JavaScript Class Syntax
- Syntax
- Example
- Using a Class
- Example
- The Constructor Method
- Class Methods
- Syntax
- Example
- Example
- Browser Support
- «use strict»
- Example
- 3 Ways JavaScript Add Class
- Add class javascript — 3 ways
- 1. Using classList property
- Adding class javascript on an event
- Add Multiple classes javascript
- 2. Using className property
- Adding multiple classes using className
- 3. Using setAttribute Method
- Adding multiple classes using setAttribute
- JavaScript add class to body
- JavaScript add class to div
- JavaScript add class to new element
- Add a class on hover javascript
- Conclusion
- HTML Class
- Multiple Class in HTML
- Same class name on HTML elements
- Class with Javascript in HTML
- Things to Note
- Id vs Class
- Table of Contents
A paragraph.
The class attribute specifies one or more class names for an element.
The class attribute is mostly used to point to a class in a style sheet. However, it can also be used by a JavaScript (via the HTML DOM) to make changes to HTML elements with a specified class.
Browser Support
Syntax
Attribute Values
| Value | Description |
|---|---|
| classname | Specifies one or more class names for an element. To specify multiple classes, separate the class names with a space, e.g. . This allows you to combine several CSS classes for one HTML element. |
- Must begin with a letter A-Z or a-z
- Can be followed by: letters (A-Za-z), digits (0-9), hyphens («-«), and underscores («_»)
More Examples
Example
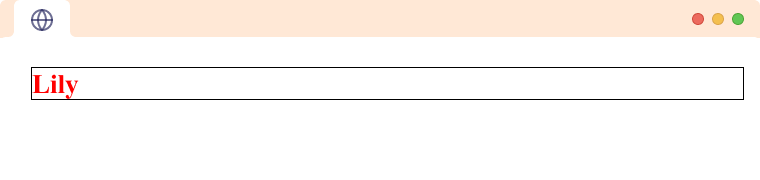
Add multiple classes to one HTML element:
Header 1
A paragraph.
Example
Using JavaScript to add a yellow background color to the first element with class=»example» (index 0).
Example
Using JavaScript to add the «mystyle» class to an element with >
Related Pages

COLOR PICKER


Report Error
If you want to report an error, or if you want to make a suggestion, do not hesitate to send us an e-mail:
Thank You For Helping Us!
Your message has been sent to W3Schools.
Top Tutorials
Top References
Top Examples
Get Certified
W3Schools is optimized for learning and training. Examples might be simplified to improve reading and learning. Tutorials, references, and examples are constantly reviewed to avoid errors, but we cannot warrant full correctness of all content. While using W3Schools, you agree to have read and accepted our terms of use, cookie and privacy policy.
JavaScript Classes
ECMAScript 2015, also known as ES6, introduced JavaScript Classes.
JavaScript Classes are templates for JavaScript Objects.
JavaScript Class Syntax
Use the keyword class to create a class.
Always add a method named constructor() :
Syntax
Example
The example above creates a class named «Car».
The class has two initial properties: «name» and «year».
A JavaScript class is not an object.
It is a template for JavaScript objects.
Using a Class
When you have a class, you can use the class to create objects:
Example
The example above uses the Car class to create two Car objects.
The constructor method is called automatically when a new object is created.
The Constructor Method
The constructor method is a special method:
- It has to have the exact name «constructor»
- It is executed automatically when a new object is created
- It is used to initialize object properties
If you do not define a constructor method, JavaScript will add an empty constructor method.
Class Methods
Class methods are created with the same syntax as object methods.
Use the keyword class to create a class.
Always add a constructor() method.
Then add any number of methods.
Syntax
Create a Class method named «age», that returns the Car age:
Example
class Car <
constructor(name, year) <
this.name = name;
this.year = year;
>
age() <
const date = new Date();
return date.getFullYear() — this.year;
>
>
const myCar = new Car(«Ford», 2014);
document.getElementById(«demo»).innerHTML =
«My car is » + myCar.age() + » years old.»;
You can send parameters to Class methods:
Example
class Car <
constructor(name, year) <
this.name = name;
this.year = year;
>
age(x) <
return x — this.year;
>
>
const date = new Date();
let year = date.getFullYear();
const myCar = new Car(«Ford», 2014);
document.getElementById(«demo»).innerHTML=
«My car is » + myCar.age(year) + » years old.»;
Browser Support
The following table defines the first browser version with full support for Classes in JavaScript:
«use strict»
The syntax in classes must be written in «strict mode».
You will get an error if you do not follow the «strict mode» rules.
Example
In «strict mode» you will get an error if you use a variable without declaring it:
class Car <
constructor(name, year) <
this.name = name;
this.year = year;
>
age() <
// date = new Date(); // This will not work
const date = new Date(); // This will work
return date.getFullYear() — this.year;
>
>
Learn more about «strict mode» in: JS Strict Mode.
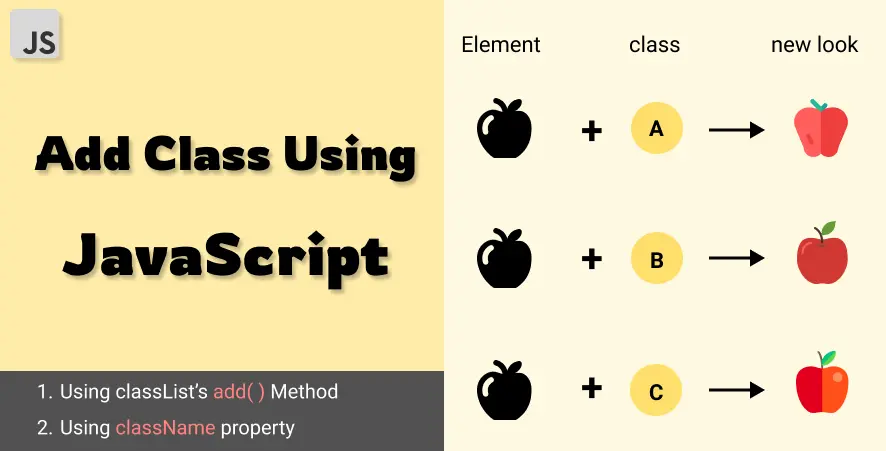
3 Ways JavaScript Add Class
In this article, you will learn 3 different ways JavaScript add class to HTML elements. You will see different variations like adding multiple classes to the element, adding class to the body, creating a new element, etc.
You can either directly add a class to the element as an HTML attribute (Ex:
) or use JavaScript to add a class to the element (which we will see in this section).
Here is an example of adding a class to an HTML element using javascript.
// selecting the element let button = document.querySelector('#button'); // Add class to the element button.addEventListener('click', function() < button.classList.add('.main-btn'); >);.main-btn < border: none; color: white; background: blue; padding: 10px 30px; border-radius: 5px; >@keyframes shake < 0% < transform: translateX(0) >25% < transform: translateX(-5px) >50% < transform: translateX(0) >75% < transform: translateX(5px) >100% < transform: translateX(0) >> .main-btn:hover
Output : Click the button below and javascript will add a class to the button.
This is a dynamic way of adding a class to an HTML element. Let’s see how javascript adds class dynamically to an HTML element.
Add class javascript — 3 ways
While working on the front end, we often need to add CSS dynamically to an HTML element. To add dynamic CSS to an element add a class to the element.
There are 3 ways to add CSS class using javascript.
1. Using classList property
Every HTML element has a classList property. This property has many different methods. One of the methods is add() method. This method is used to add a class to the element.
element.classList.add('class_name')To add a CSS class using javascript follow the steps below:
- Select the HTML element.
- Apply the classList property to it.
- Use the add() method to add the class and pass the class name as an argument.
Adding class javascript on an event
In general, we add classes using javascript when an event occurs. For example, when a user clicks on a button, when a user scrolls down the page, etc.
Let’s see how to add a class to an HTML element when a user clicks on a button .
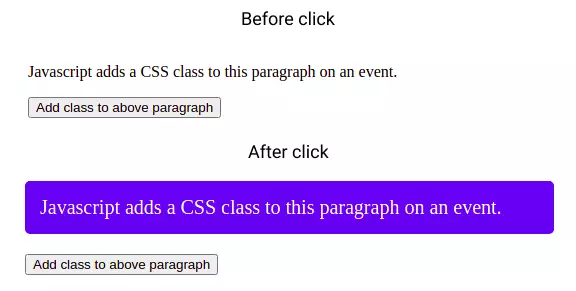
In the above code in the event of a button click a function is executed that adds a class to the paragraph element.
Add Multiple classes javascript
You can also add multiple classes at once using the add() method.
To add multiple classes at once, pass multiple classes separated by a comma.
2. Using className property
The className property of an element can be used to get and set classes attached to the element.
The className property returns the classes of the element in form of a string. If the element has a class named class1 then it returns «class1», if the element has 2 classes class1 and class2 then it returns «class1 class2», and so on.
const element1 = document.getElementById("id1"); const element2 = document.getElementById("id2"); console.log(element1.className); // "box" console.log(element2.className); // "big red box"
The className property can read as well as write the classes of the element.
To add a new class to the element assign the new class to the element’s className property as a string.
Note : Assigning a class name directly to the className property will overwrite the existing classes.
Here is an example to show this.
const element = document.getElementById("id1"); element.className = "box"; // all older classes will be replaced by box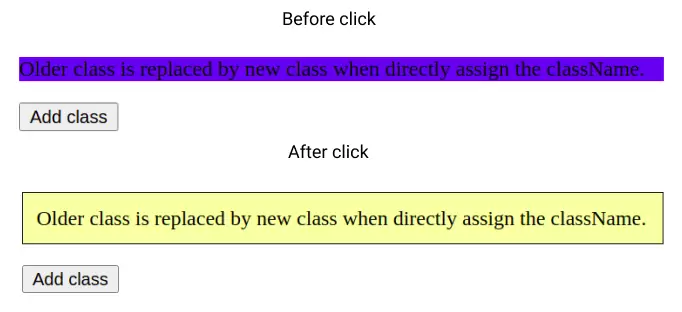
To add new classes without replacing older classes use the += operator to assign the new class. It will keep older classes and adds new ones.
const element = document.getElementById("id1"); element.className += " box"; // must add space before class name // new class added, old one remainedPossible mistake : Add a space before the name of the class when using className to add a class. Because if the element has an old class «class1» and you add the new class «class2» it becomes «class1class2» which is meaningless to the browser.
Adding multiple classes using className
To add multiple classes assign new class names separated by spaces to the className property of the element.
3. Using setAttribute Method
setAttribute is a method that can be used to add a new attribute to an element.
A class is also an element attribute. So we can use the setAttribute method to add a class.
The setAttribute method can be used to add a new attribute to an element. The method takes two parameters, the name of the attribute and the value of the attribute.
// select the button var btn = document.getElementById('btn'); btn.addEventListener('click', function() < // add class btn.setAttribute('class', 'btn'); >);Adding multiple classes using setAttribute
To add multiple classes to the element pass the multiple class names separated by spaces to the setAttribute method.
// select the button var btn = document.getElementById('btn'); btn.addEventListener('click', function() < // add class btn.setAttribute('class', 'btn danger'); >);JavaScript add class to body
To add a class to the body of the webpage select the body by document.body and use either of the 2 mentioned methods to add CSS classes.
function addClass() JavaScript add class to div
As mentioned above you can use any of the above 2 methods to add a class to a div element using javascript.
const div = document.getElementById("id1"); function addClass() JavaScript add class to new element
Imagine a scenario where you want to add a new element to the webpage like creating a list item in a To Do list app. You can use the classList property to add a class to the new element.
To add multiple classes pass the class names separated by spaces to the classList.add() method.
Add a class on hover javascript
To add a class to an element when mouse hover use onmouseover event. Attach an onmouseover event to the element trigger event handler to add the class.
This is inside a div element const div = document.getElementById("id1"); function addClass()
Conclusion
Summarising the above methods to add a class to an element in JavaScript.
- Method 1 : Use classList.add() Method
- Method 2 : Use className property
- Method 3 : Use setAttribute() method
You can add single or multiple classes to an element using any of the above methods.
If you need assistance with your JavaScript project, feel free to contact experts for getting JavaScript assignment help online.
HTML Class
The class attribute allows CSS and javascript to access the HTML code. In the above example, element with class name logo is styled with .logo selector.
Note: We use . before classname in CSS.
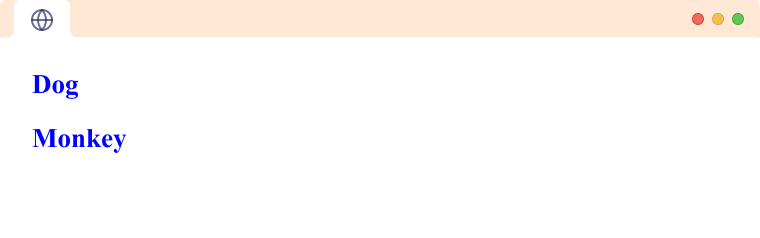
Multiple Class in HTML
An element can have more than one class. For example,
Browser Output

In the above example, element has two classname animal and dog . We can add more than one class to an HTML element and separate it with a space.
Same class name on HTML elements
We can also provide the same class name on multiple HTML elements. It makes it easier to apply the same style to multiple elements. Let’s us see an example,
Browser output

Here, we’ve used same class name animal on two elements.
Class with Javascript in HTML
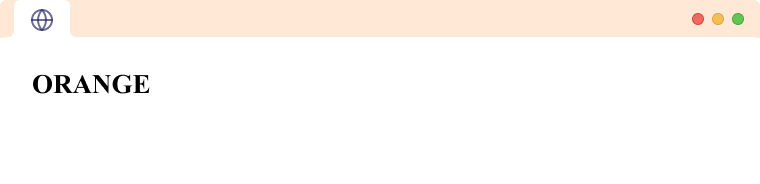
The class attribute allows javascript to access the element via class selectors or getElementByClassName API. For example,
APPLE
Browser output

In the above example, we have used document.getElementsByClassName(«fruits») to access the HTML element where the fruit is the name of the class in element. Then, the innerHTML property changes the content (the text inside the tag) from APPLE to ORANGE .
Things to Note
- Class names are case-sensitive. Therefore, animal and Animal are two different class names.
- You cannot use a space in a class name. If you use a space in a class name, it will be treated as two separate class names. For example, if you have the following CSS:
This will not apply styles to elements with the class my class . Instead, it will apply styles to elements with the class my and the class class (which are treated as two separate class names because of the space between them).
To avoid this issue, you should use a different character (such as a hyphen or underscore) instead of a space in your class names. For example, change the name my class to my-class .
Id vs Class
An HTML id and a class are both attributes that can be added to an HTML element to give it an identifier. The main difference between an id and a class is that an id is unique within an HTML document, while a class can be used multiple times on a page.
Moreover, we can only use one id in an HTML element while we can use multiple classes in an HTML element.
Table of Contents