- Button color animation css
- Glowing Buttons
- Building an embossed 3D Button
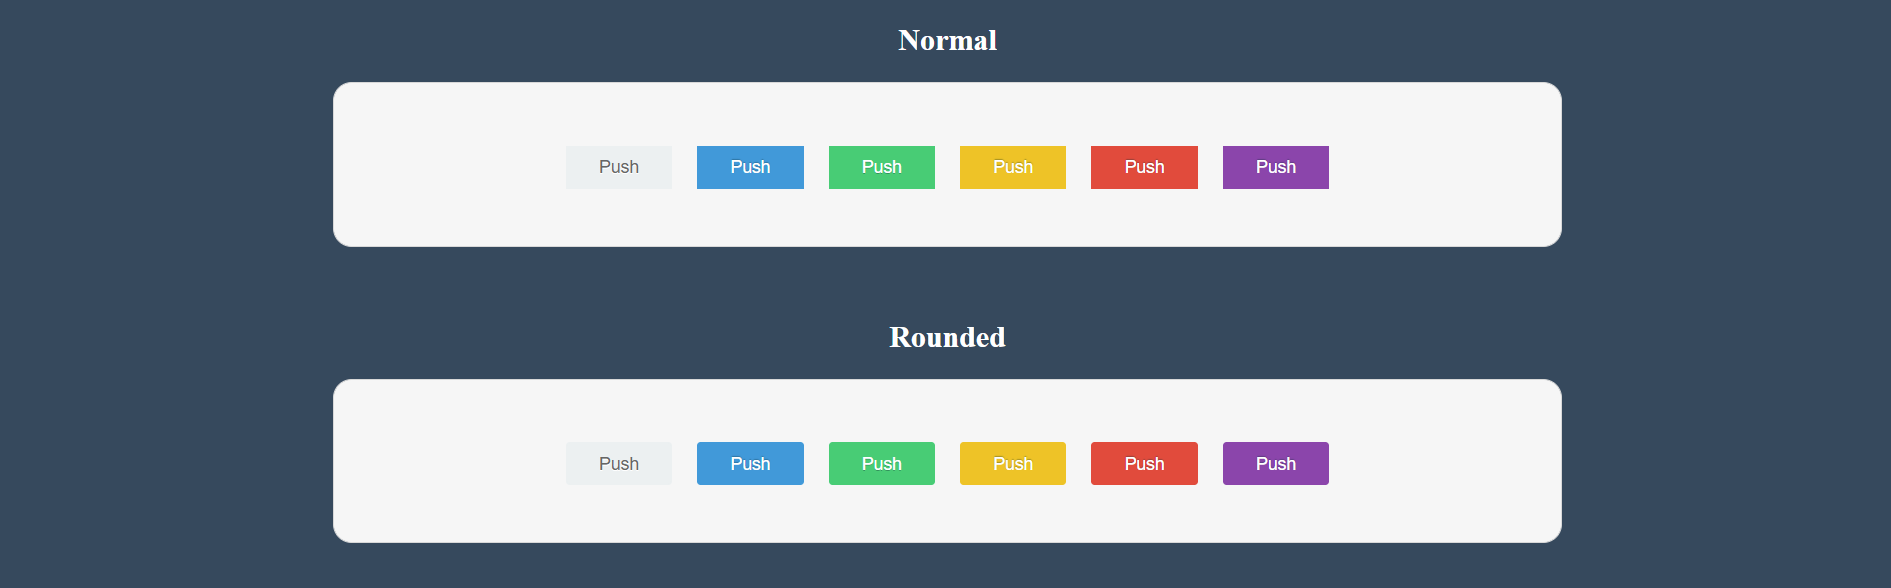
- Pushable Animated Buttons
- 3-in-1 Animated Buttons
- Frequently Asked Questions
- Conclusion
- Other Examples
- Author
- Links
- About Project
- Hover Buttons
- Author
- Links
- About Project
- Colored CSS Buttons
- Author
- Links
- About Project
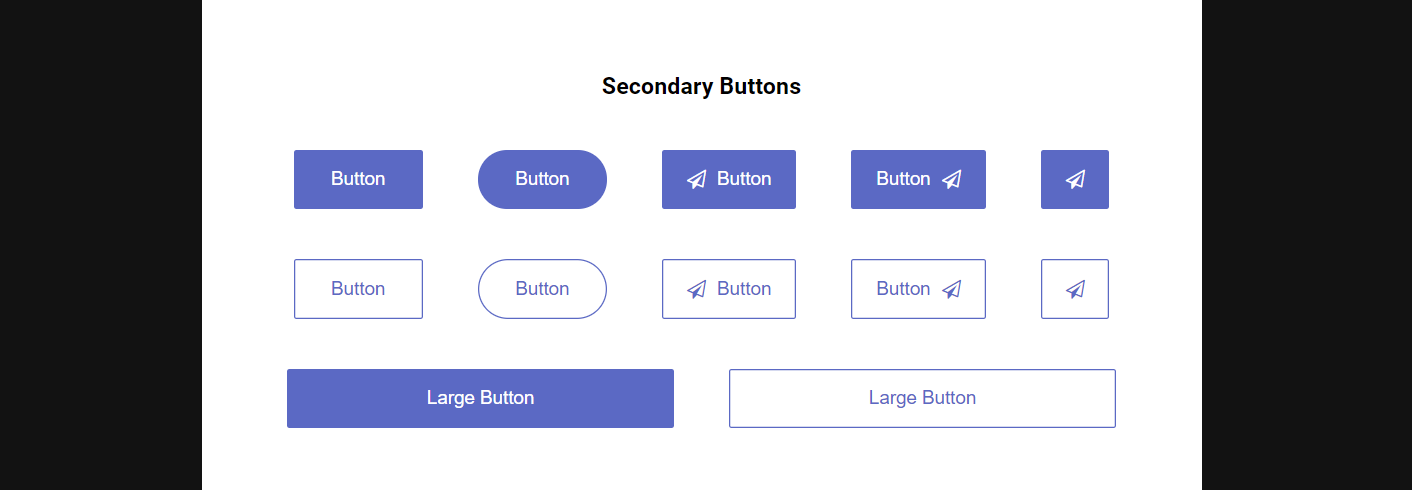
- Colorful CSS Buttons
- Author
- Links
- About Project
- Animated CSS3 Buttons
- Author
- Links
- About Project
- CSS Buttons
- Author
- Links
- About Project
- Pressable CSS Buttons
- Author
- Links
- About Project
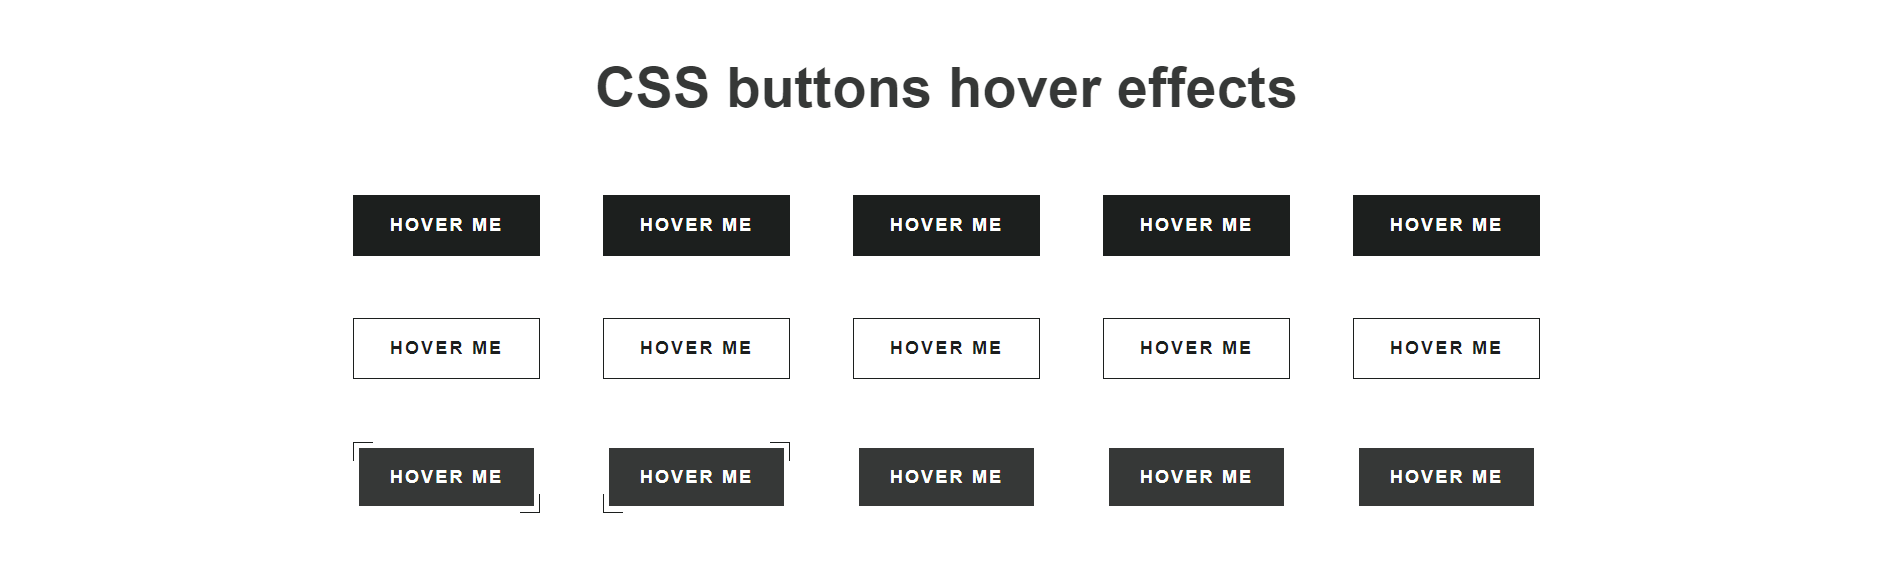
- CSS Button Hover Effects
- Author
- Links
- About Project
- Pure CSS Button Effects
- Author
- Links
- About Project
- CSS Button Hover Animations
- Author
- Links
- About Project
- Circular 3D CSS Buttons
- Author
- Links
- About Project
- CSS Only 3D Buttons
- Author
- Links
- About Project
- CSS Button Transitions and Transforms
- Author
- Links
- About Project
- Simple CSS Buttons
- Author
- Links
- About Project
- Flat CSS Buttons
- Author
- Links
- About Project
- Clean and Simple CSS Buttons
- Author
- Links
- About Project
- Gradient Animated Buttons
- Author
- Links
- About Project
- Hover Animated Buttons
- Author
- Links
- About Project
- Android Jellybean CSS Buttons
- Author
- Links
- About Project
- CSS Button Animation Examples
- Author
- Links
- About Project
- CSS Animated Buttons with Icons
- Recommended Articles
- Pure CSS animated gradient colour button is easier than you think!
- A quick guide on how to add some life to your website
- Introduction
- Outline button — Easy, straight and boring
- Gradient button and text
- Final boss — animated gradient button
Button color animation css
Glowing Buttons
In this tutorial, we’ll show you how to make a flashing/glowing HTML button using only CSS. JavaScript is not required in this case. Simply follow the steps and run the examples! First, we’ll create a link and button using HTML. This is how you do that:
Make the button more appealing. CSS properties should be used to customize the appearance of the button:
.button < background-color: #1c87c9; -WebKit-border-radius: 1px; border-radius: 1px; border: none; color: #eeeeee; cursor: pointer; display: inline-block; font-family: sans-serif; margin-left: 30px; margin-top: 50px; font-size: 20px; padding: 5px 15px; text-align: center; text-decoration: none; >@keyframes glowing < 0% < background-color: #ff5465; box-shadow: 0 0 5px #ff5465; >50% < background-color: #ff5465; box-shadow: 0 0 20px #ff5465; >100% < background-color: #ff5465; box-shadow: 0 0 5px #ff5465; >> .button
The button will, after that, be animated. To add animation, we’ll need keyframes. We’ll utilize three keyframe points (beginning, middle, and finish) to define new values for the background color and box-shadow attributes.
Keyframes for animation styles:
⦁ With a blur distance of 6 pixels, 0% defines the color of the backdrop and the color of the shadow around it (the button).
⦁ 70% is the midpoint that defines the light green backdrop and the light green shadow surrounding the button with a blur distance of 12 pixels.
⦁ The finishing point is 100%, specified as keyframe 0%.
Building an embossed 3D Button
To create an embossed 3D button, we’ll apply one central approach multiple times throughout this lesson. When the user interacts with the button, it will automatically slide a layer up and down in front of a stationary background.
Why not use a box shadow or a border instead? Animating those attributes is extremely expensive. This technique will be far more effective if we want a smooth transition on the button.
Note:
When clicking a button, most browsers add an outline to show that the element has captured focus. Add an “outline-offset” statement to fix this problem. This attribute provides a buffer for our button.
This is a significant improvement, but it is still ugly. Furthermore, it does not work consistently: outline-offset does not work for the default “focus” outlines in Firefox.
We can’t just erase it because that outline is critical for people who use their keyboards to navigate. They rely on it to indicate which element is concentrated. Fortunately, we can use a cool CSS pseudo-class to assist us – focus-visible
.pushable < background: HSL(39, 100%, 20%); border-radius: 12px; border: none; padding: 0; cursor: pointer; outline-offset: 4px; margin-left: 40px; margin-top: 40px; >.front < display: block; padding: 12px 42px; border-radius: 12px; font-size: 1.25rem; background: HSL(39, 100%, 50%); color: white; transform: translateY(-6px); >.pushable: active .front
When an element is focused on, the “:focus” pseudo-class will apply its declarations. This applies whether the element is focused via tabbing to it on the keyboard or clicking on it with the mouse.
“:focus-visible” is similar. However, it only applies in a scenario where the element is focused. Also, the user would benefit immensely from seeing a visual focus indicator.
Finally, “:not” allows us to incorporate some logic. The styles will be applied when the element matches the “:focus” selector but not the “:focus-visible” selector. In practice, this implies that we will hide the outline when the button is focused and the user is using a pointer device.
Pushable Animated Buttons
To make an animated button, we must complete the tasks listed below. First, add the HTML
We’ve completed the styling, such as font size, border radius, background color, etc. Secondly, we built the styling for the button, which appears when the cursor is placed on the button. Finally, we also generated the button styling that occurs when it (the button) is pressed.
.pushable < background: HSL(39, 100%, 20%); border-radius: 12px; border: none; padding: 0; cursor: pointer; outline-offset: 4px; >.front < display: block; padding: 12px 42px; border-radius: 12px; font-size: 1.25rem; background: HSL(39, 100%, 50%); color: white; >.pushable:active .front < transform: translateY(-2px); >.front < will-change: transform; transition: transform 250ms; >.pushable:hover .front < transform: translateY(-6px); >.pushable:active .front < transform: translateY(-2px); >.front < transition: transform 600ms cubic-bezier(.3, .7, .4, 1); >.pushable:hover .front < transform: translateY(-6px); transition: transform 250ms cubic-bezier(.3, .7, .4, 1.5); >.pushable:active .front
3-in-1 Animated Buttons
This post will teach you how to create a primary three-in-one CSS animation button using CSS attributes. I’ll teach you several CSS techniques that you may utilize to easily construct a CSS animation button. So, let’s get started on how to make a CSS animation button with CSS.
We make three buttons with HTML and CSS. One is the main button, and the other are slightly smaller top and bottom buttons.
Smaller top and bottom buttons are buried beneath the primary button. When the hover effect happens, the top and bottom buttons slide up and down to reveal all three buttons. When you hover out, it will be concealed beneath the main button.
For the wrapper, we need to create a single div element. First, add the value “button” to the class property. Inside the div element, three span elements are added with the class attributes “pause”, “play”, and “stop” set.
span.main a < display: block; width: 190px; height: 50px; text-align: center; color: #FFF; background: #03a5fc; font: bold 17px/50px Arial; text-decoration: none; text-transform: uppercase; margin-top: 50px; >span.top a < display: block; position: absolute; z-index: -1; width: 170px; height: 40px; background: #000; color: #FFF; margin: -40px 0 0 10px; font: bold 13px/35px Arial; text-decoration: none; text-transform: uppercase; text-align: center; >span.bottom a < display: block; position: absolute; z-index: -1; width: 170px; height: 40px; background: #000; color: #FFF; margin: -45px 0 0 10px; font: bold 13px/45px Arial; text-decoration: none; text-transform: uppercase; text-align: center; >span.top a < display: block; position: absolute; z-index: -1; width: 170px; height: 40px; background: #000; color: #FFF; margin: -40px 0 0 10px; font: bold 13px/35px Arial; text-decoration: none; text-transform: uppercase; text-align: center; >span.bottom a < display: block; position: absolute; z-index: -1; width: 170px; height: 40px; background: #000; color: #FFF; margin: -45px 0 0 10px; font: bold 13px/45px Arial; text-decoration: none; text-transform: uppercase; text-align: center; transition: margin 0.5s ease; -WebKit-transition: margin 0.5s ease; -Moz-transition: margin 0.5s ease; -o-transition: margin 0.5s ease; -ms-transition: margin 0.5s ease; >div.button span a
Buttons correctly slip up and down, but when the mouse hovers over this top or bottom button. Both buttons will return to their former positions automatically.
As a result, we must provide a margin in addition to the hover effect. We don’t know if all three buttons are active or not, hence we need to add a backdrop color.
/* HOVER */ .button:hover span.top a < margin: -82px 0 0 10px; >.button:hover span.bottom a < margin: -7px 0 0 10px; >/* active */ .button a:active < background: #03a5fc; >.button:active span.top a < margin: -82px 0 0 10px; >.button:active span.bottom a
Using CSS3 attributes, we created an animated button above. It is simple to use and may be found across the website. As a result, there is no need to make a flash button.
Frequently Asked Questions
Conclusion
Buttons are not only useful for a site’s usability, but they are also an essential design element for any website. As a result, here’s a list of the best CSS buttons!
Buttons are a vital design feature for the user flow on your website, whether they are thick and prominent on your homepage or small and hidden in the footer. A more discrete design is generally utilized for a commercial website, whereas creative industries prefer more eye-catching and “strange” CSS buttons.
Because many web developers/designers – place a high value on animations for Hover or Focus, all of the buttons used in this article have great animations.
Other Examples
CSS buttons are an important way to add style and attraction to your app, website, or page. Below you’ll find great examples of CSS buttons with code so you can add that cool CSS button!
Author
Links
About Project
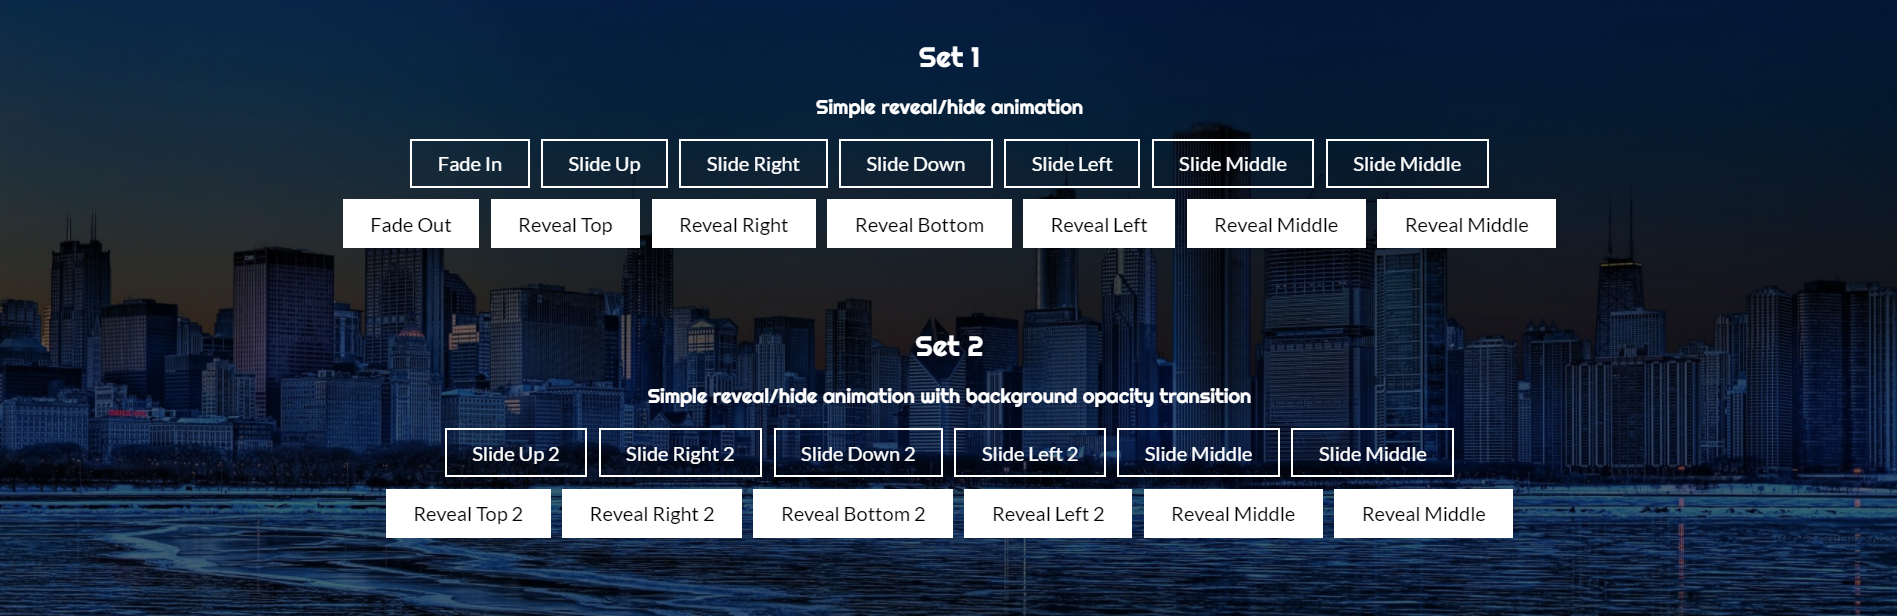
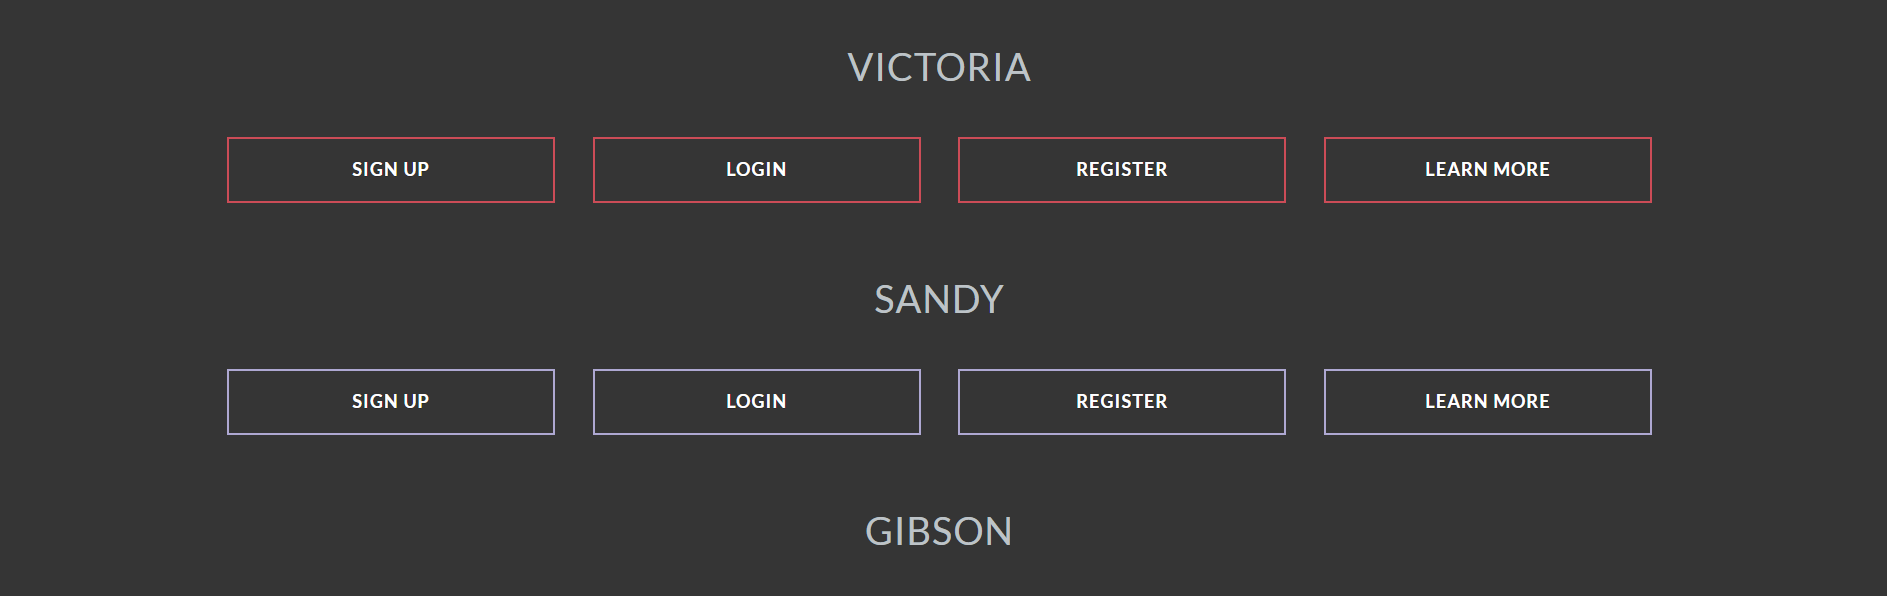
Hover Buttons
Hover Buttons is a project from GitHub displaying examples of CSS hover transition CSS Buttons and SCSS Buttons
Author
Links
About Project
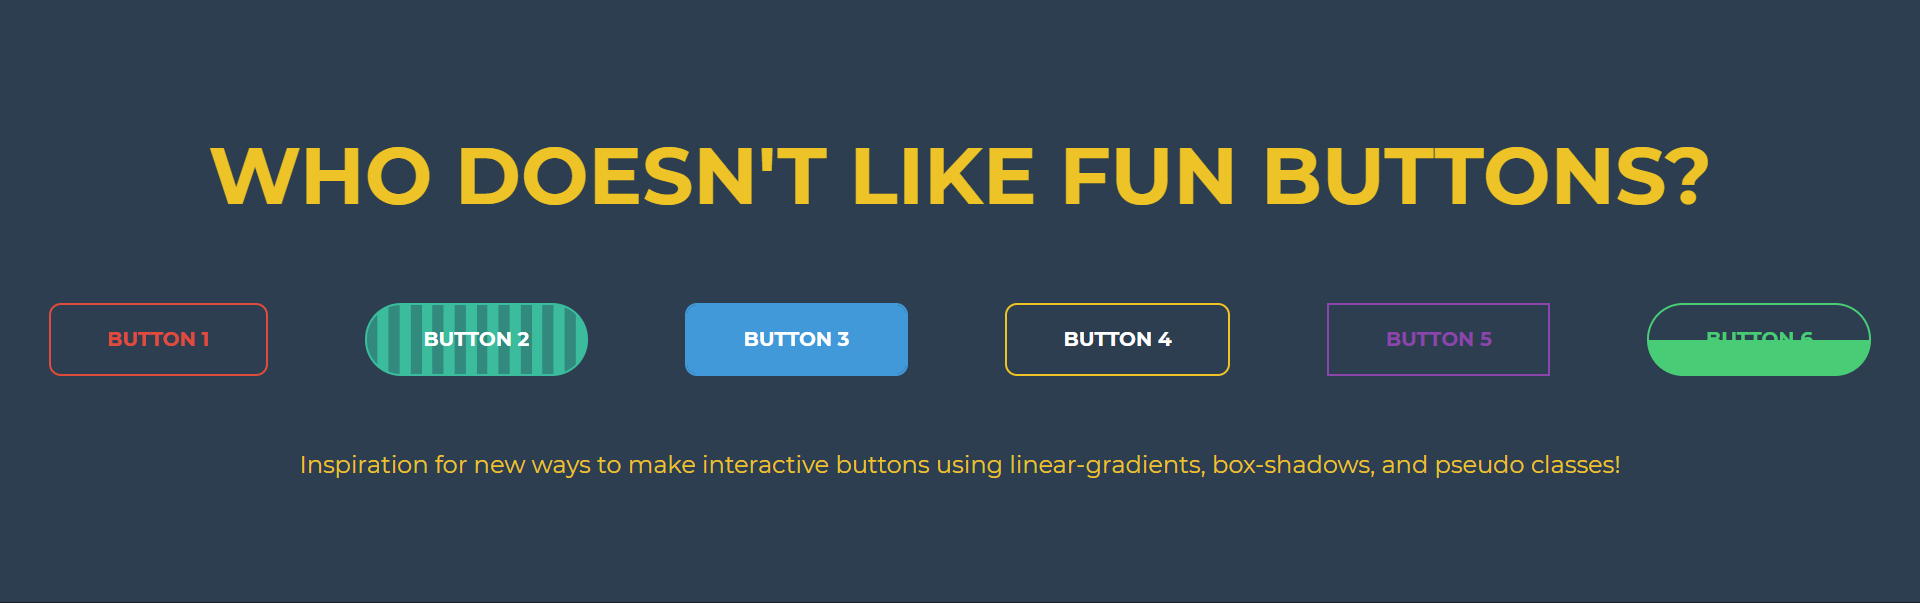
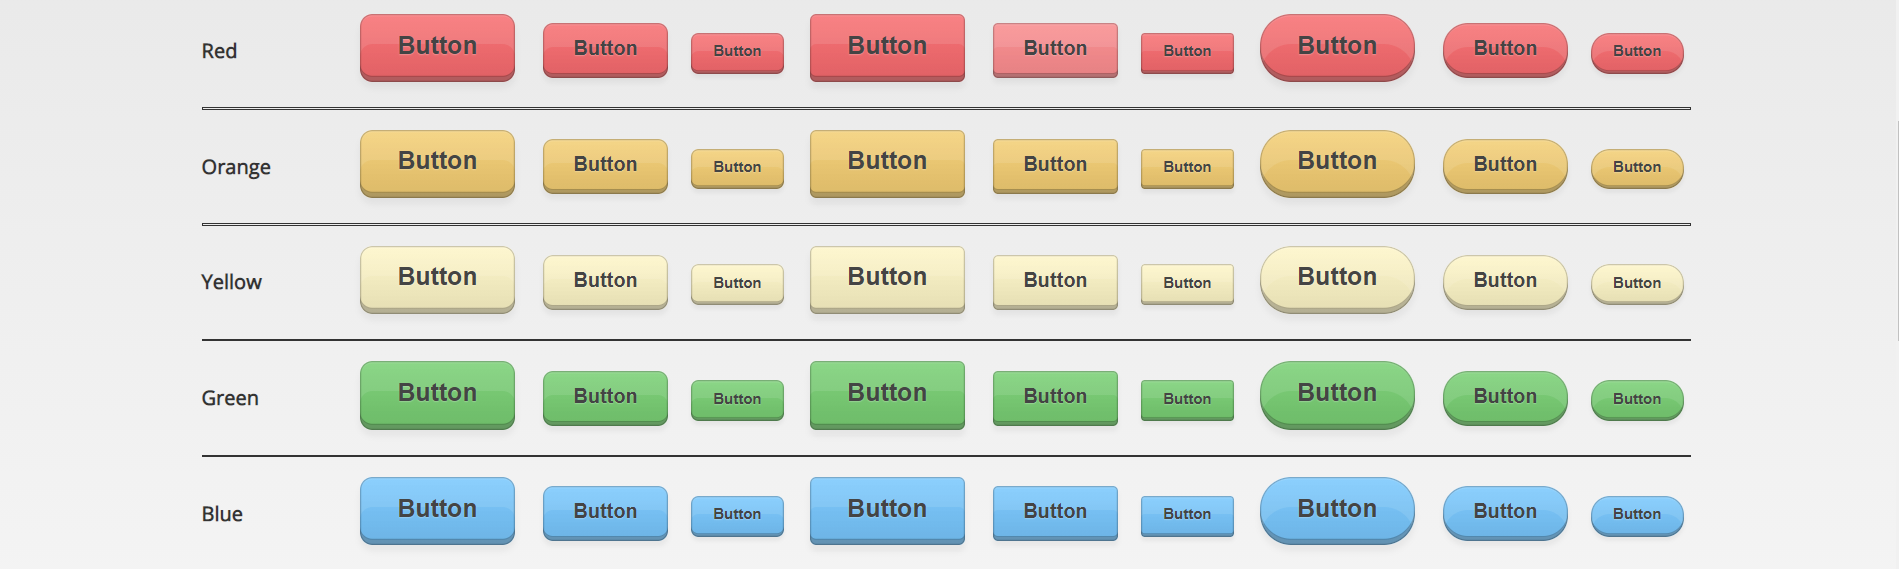
Colored CSS Buttons
Colored CSS Buttons is a project on codepen.io using linear-gradients, box-shadows, and pseudo classes in multiple colors.
Author
Links
About Project
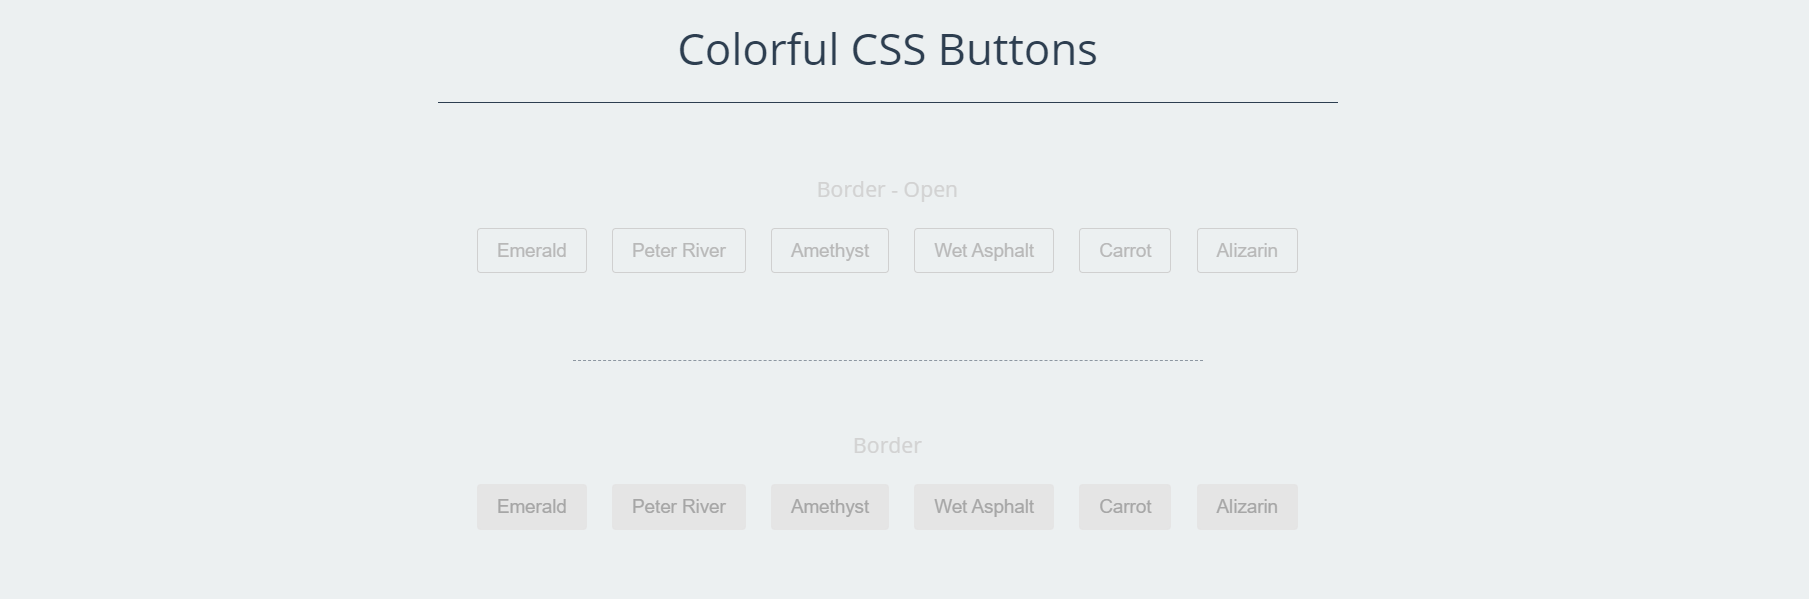
Colorful CSS Buttons
Colorful CSS Buttons is a project on codepen.io displaying examples of multiple border buttons with a changing border effect in many different colors.
Author
Links
About Project
Animated CSS3 Buttons
Animated CSS3 buttons is another project on codepen.io that is a collection of CSS buttons to spice up your site.
Author
Links
About Project
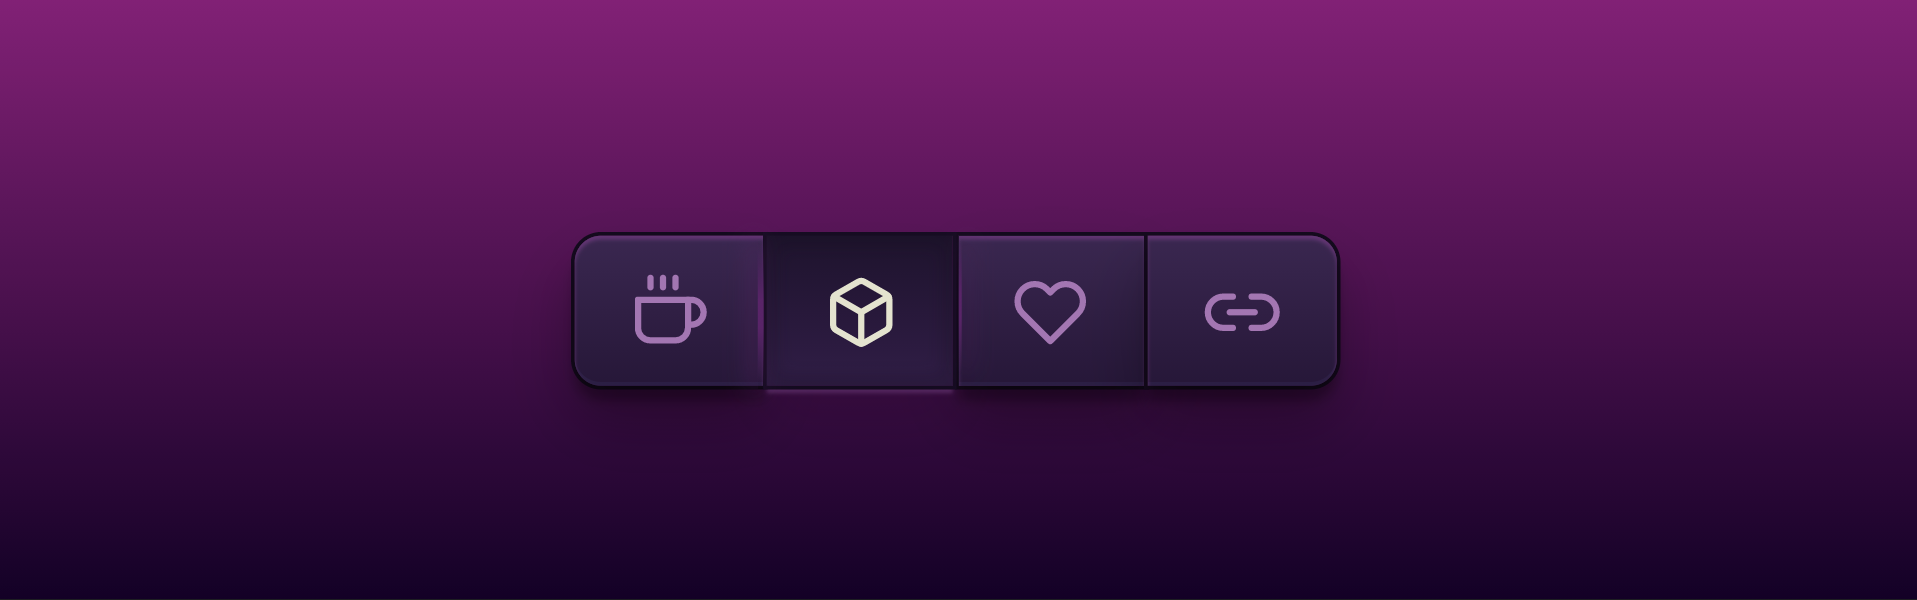
CSS Buttons
CSS Buttons is a customizable HTML bar with CSS buttons, you can add more or remove buttons to change the bar size. The project uses feather icons, but you can add your own!
Author
Links
About Project
Pressable CSS Buttons
Pressable CSS Buttons is a project from codepen.io that includes a collection of multi-colored CSS buttons with a pressable effect when clicked. They come in multiple sizes that fits all your needs!
Author
Links
About Project
CSS Button Hover Effects
CSS Button Hover Effects is a project on codepen.io showing five different types of hover effects in multiple colors.
Author
Links
About Project
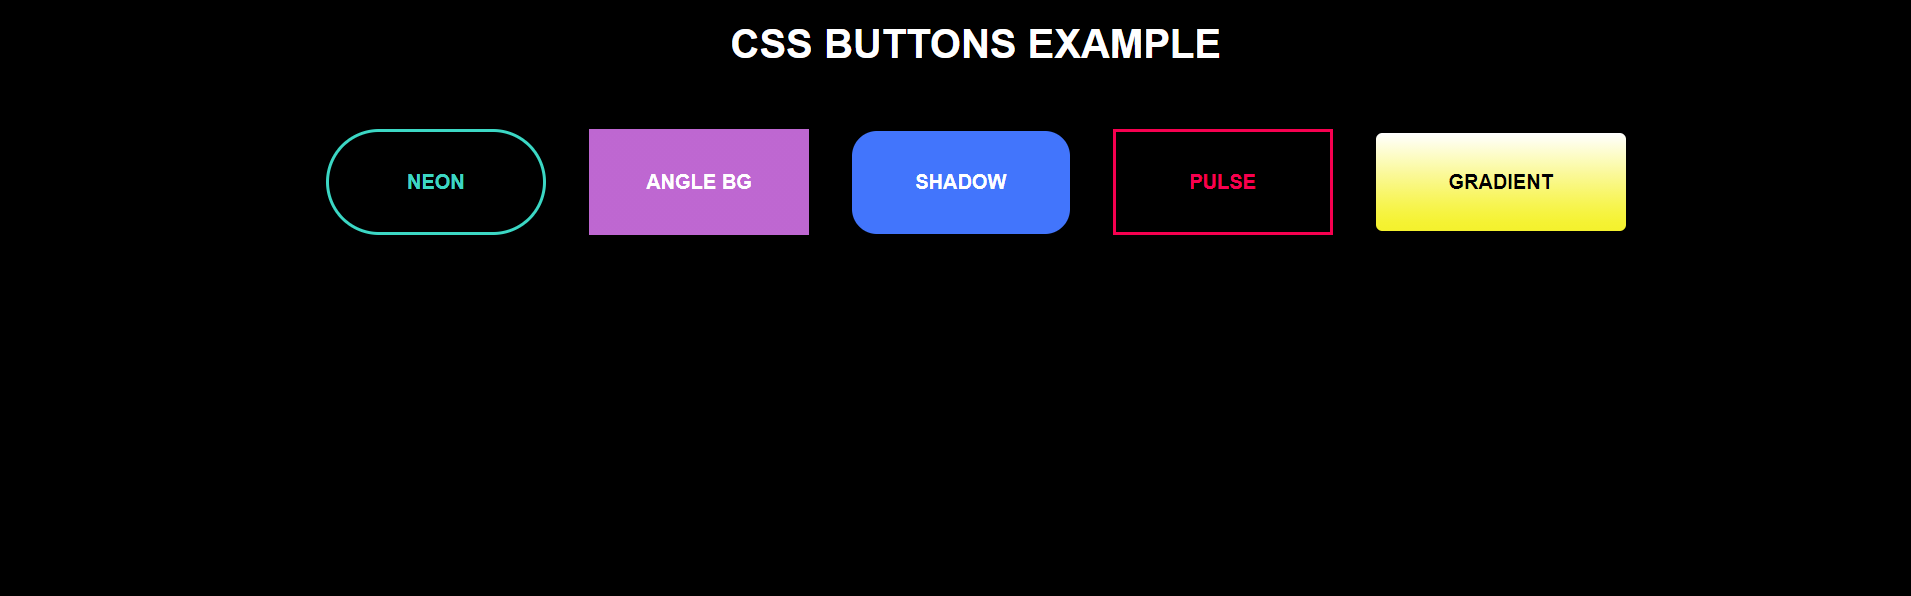
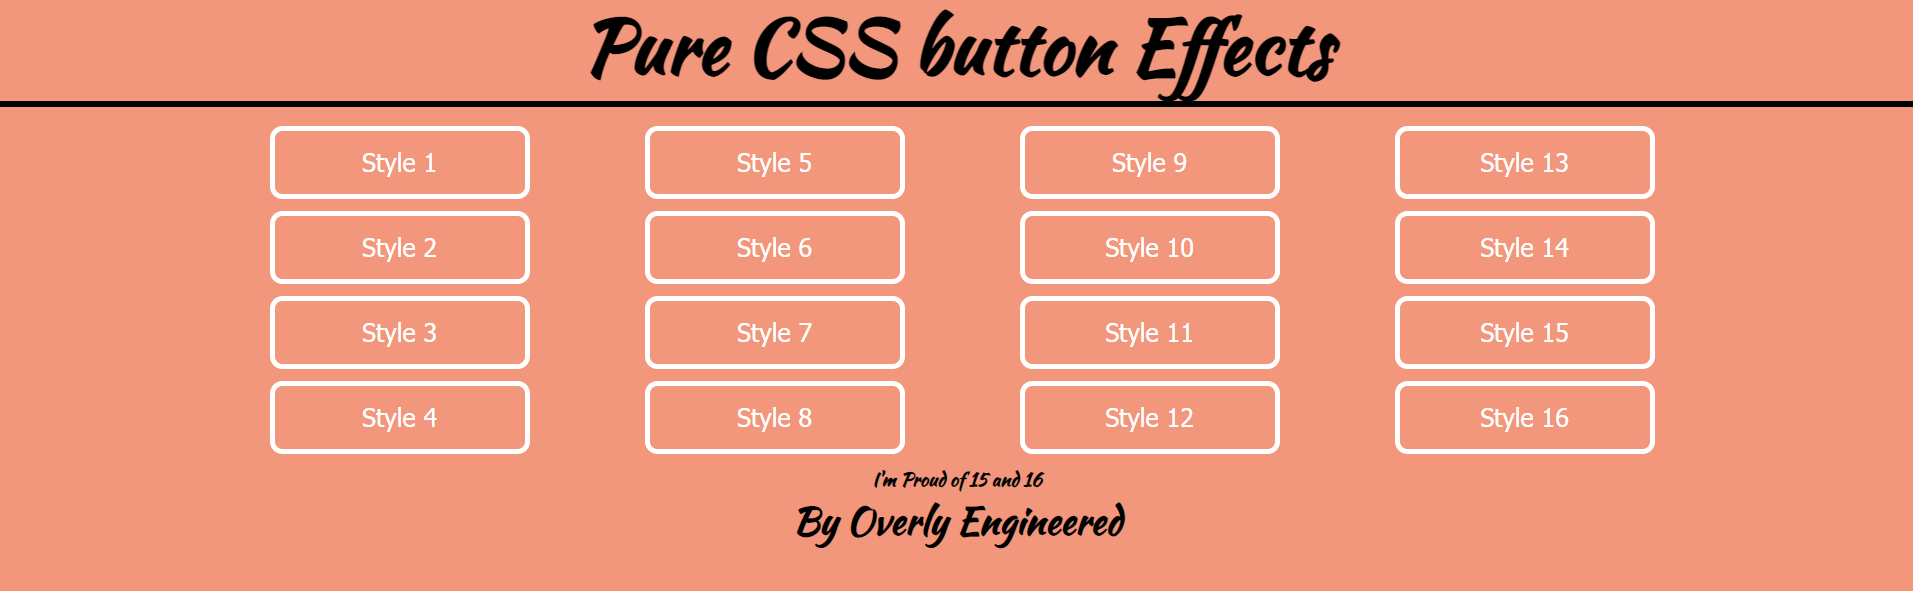
Pure CSS Button Effects
Pure CSS Button Effects is a project on codepen.io is a collection of buttons showing sliding, border changing, and other hover effects.
Author
Links
About Project
CSS Button Hover Animations
CSS Button Hover Animations is a collection of buttons showing CSS animations.
Author
Links
About Project
Circular 3D CSS Buttons
Circular 3D CSS Buttons is a project on codepen.io that includes a collection of gamelike circular 3D CSS buttons.

Author
Links
About Project
CSS Only 3D Buttons
CSS Only 3D Buttons is a project on codepen.io displaying CSS transforms when you hover over the buttons!
Author
Links
About Project
CSS Button Transitions and Transforms
CSS Button Transitions and Transforms is a large library of different transition and transform button effects!
Author
Links
About Project
Simple CSS Buttons
Simple CSS Buttons is a collecton of simple CSS buttons for your website.
Author
Links
About Project
Flat CSS Buttons
Flat CSS Buttons is a codepen.io simple collection of flat CSS buttons.
Author
Links
About Project
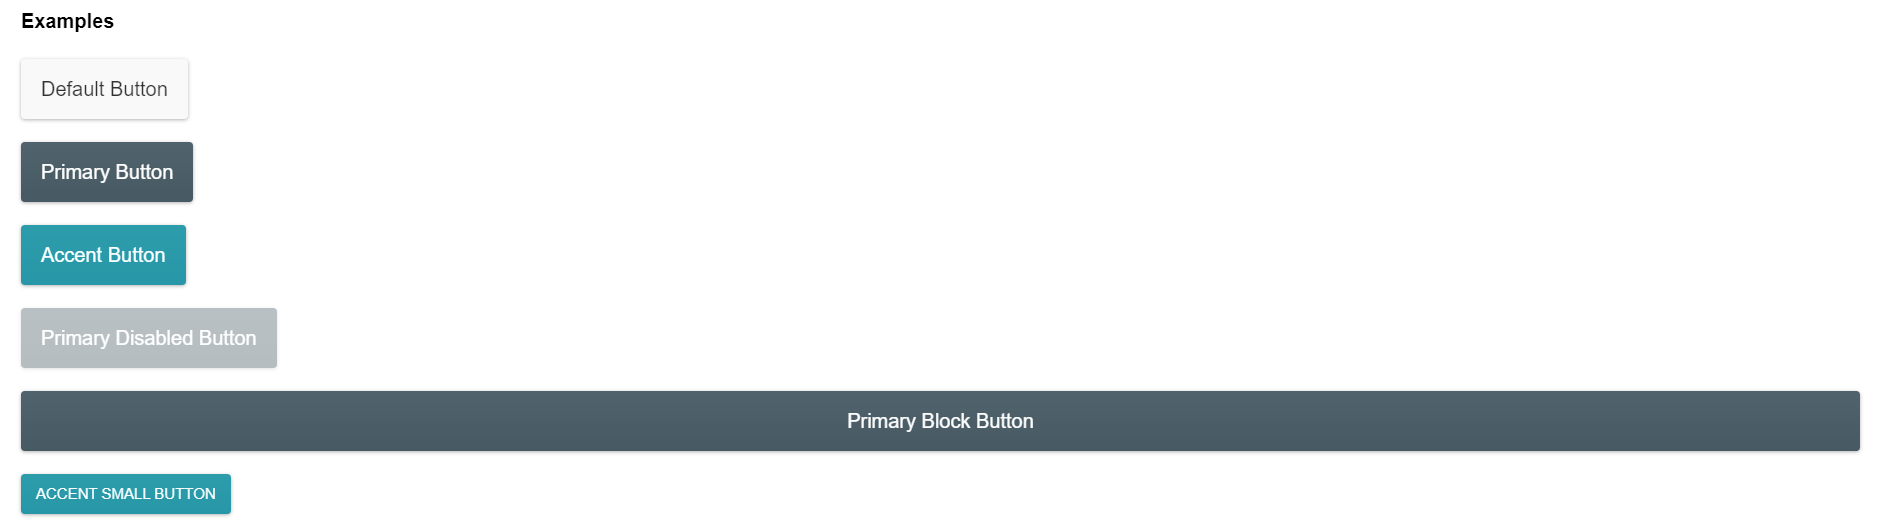
Clean and Simple CSS Buttons
Clean and Simple CSS Buttons is a collection of primary, accent, and default button colors to give your web project a clean modern look!
Author
Links
About Project
Gradient Animated Buttons
Gradient Animated Buttons is a project on codepen.io that uses highly animated buttons with gradients to achives a wow facter when clicked.
Author
Links
About Project
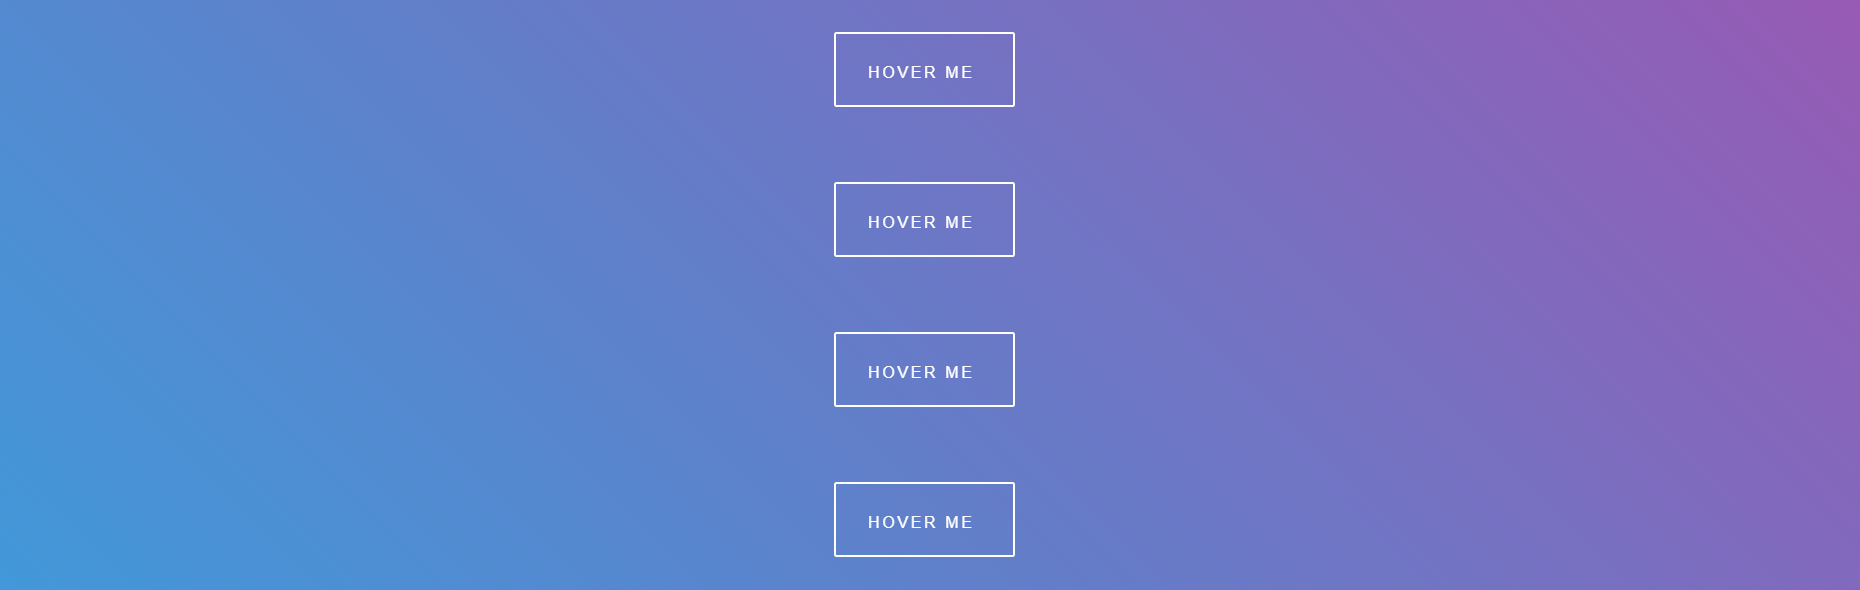
Hover Animated Buttons
Hover Animated Buttons is a collection of white border buttons that are animated when hovered over.

Author
Links
About Project
Android Jellybean CSS Buttons
Android Jellybean CSS Buttons is a showcase of android themed buttons in CSS.
Author
Links
About Project
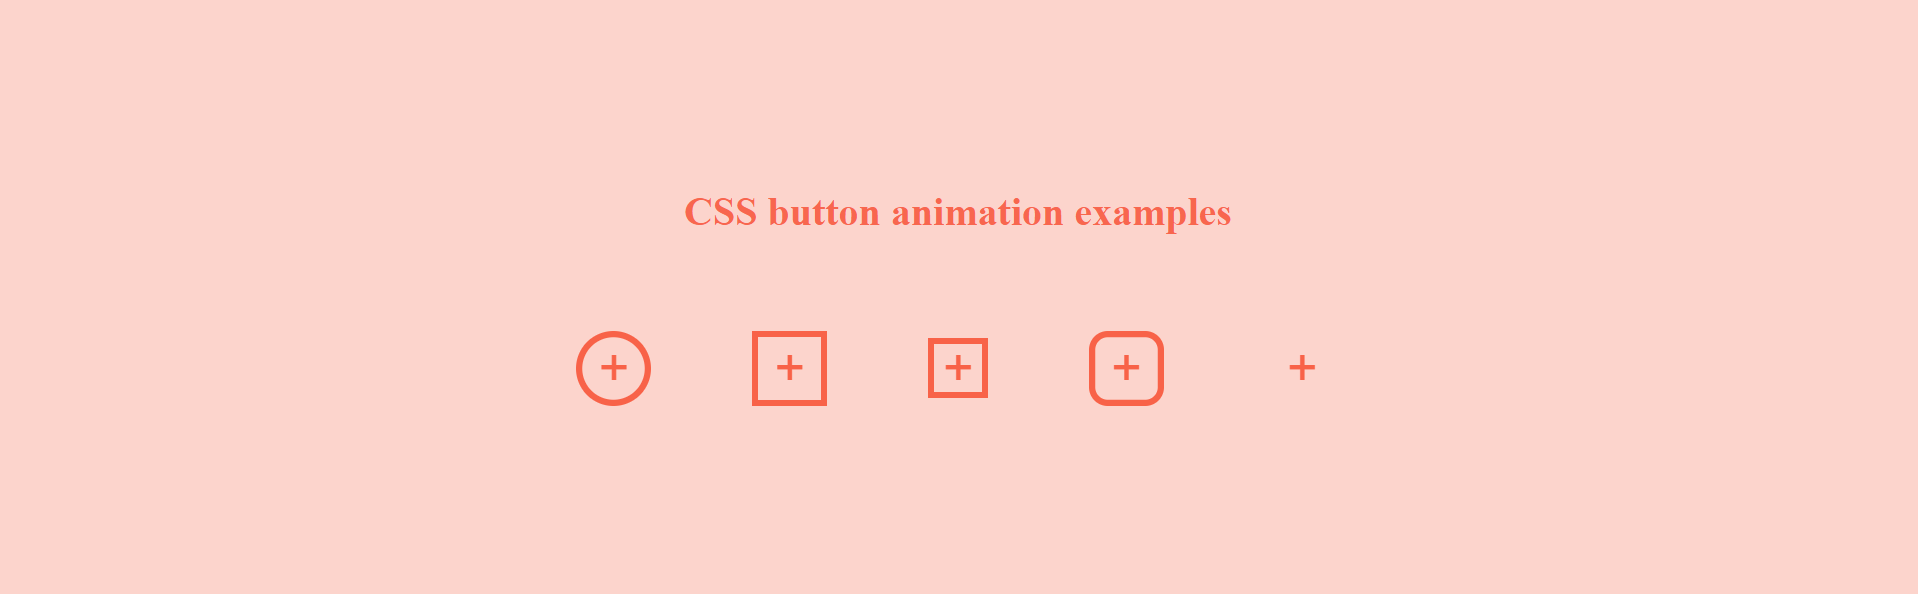
CSS Button Animation Examples
CSS Button Animation Examples is a small prject showing plus buttons with animations when hovered over.
![]()
Author
Links
About Project
CSS Animated Buttons with Icons
CSS Animated Buttons with Icons is a set of green button with icons.
Recommended Articles
Pure CSS animated gradient colour button is easier than you think!
A quick guide on how to add some life to your website

Introduction
Most buttons are boring. Solid, standard borders, most of them are not aligned correctly. In this case, let’s learn how to create a gradient colour button with animated borders and text! One single CSS property will handle all animations.
Outline button — Easy, straight and boring
In the first place, let’s start with a basic outline button with hover can be created like this:
a href="/" title="Hello button" class="btn">Helloa>.btn border: 2px solid #4CAF50; background-color: transparent; color: #4CAF50; padding: 10px 28px; font-size: var(--f-m); cursor: pointer; transition: 256ms all; border-radius: 20px; > .btn:hover background-color: #4CAF50; color: #fff; >Gradient button and text
One step further — adding gradient borders and text.
To achieve that, we need to do a few things:
- Wrap our button with div and set the background as our body colour
- Add pseudoelements to create borders
- Lastly, we need to add three CSS properties:
- background-clip: text;-webkit-background-clip: text;
- -webkit-text-fill-color: rgba(255,255,255,0.001);
a class="btn" href="/" title="Hello">Helloa>.btn display: block; width: 150px; background: linear-gradient(90deg, #FFFF00 6%, #FFA500 25%, #F14444 45%, #D53567 55%, #9A109A 94%); text-align: center; padding: 13px 20px; color: #fff; background-clip: text; -webkit-background-clip: text; -webkit-text-fill-color: rgba(255,255,255,0.001); transition: 256ms all; position: relative; cursor: pointer; > .btn:before background: rgb(24,24,24); content: ''; position: absolute; top: 0px; bottom: 0px; left: 0px; right: 0px; z-index: -1; > .btn:after content: ''; position: absolute; top: -1px; bottom: -1px; left: -1px; right: -1px; background: linear-gradient(90deg, #FFFF00 6%, #FFA500 25%, #F14444 45%, #D53567 55%, #9A109A 94%); transition: 256ms all; z-index: -1; >Awesome! You have created a gradient border button with gradient text! Now we will bring it to life with extra CSS.
Final boss — animated gradient button
In CSS we can’t transition gradients. It would be awesome to see smooth animation with CSS like this:
.gradient background-image: linear-gradient(red, blue); transition: background-image 0.5s linear; > .gradient:hover background-image: linear-gradient(green, orange); >But it won’t work. It immediately changes to the other one without transition. There are a few hacks to do it, but my favourite is to animate background-position.
Firstly, we need to add two properties to our button:
In this case, I added a gradient starting with white colour. It enhances the impression of an animated border.
a class="btn" href="/" title="Hello">Helloa>.btn display: block; width: 150px; background: linear-gradient(90deg,#ffffff 3%,#ffffff 47%,#FFFF00 53%,#FFA500 72%,#F14444 77%,#D53567 88%,#9A109A 97%); background-size: 200% 100%; background-position: left center; text-align: center; padding: 13px 20px; color: #fff; background-clip: text; -webkit-background-clip: text; -webkit-text-fill-color: rgba(255,255,255,0.001); transition: 256ms all; position: relative; cursor: pointer; > .btn:before content: ''; position: absolute; top: -1px; bottom: -1px; left: -1px; right: -1px; background: linear-gradient(90deg,#ffffff 3%,#ffffff 47%,#FFFF00 53%,#FFA500 72%,#F14444 77%,#D53567 88%,#9A109A 97%); transition: 256ms all; z-index: -1; background-size: 200% 100%; background-position: left center; > .btn:after background: rgb(24,24,24); content: ''; position: absolute; top: 0px; bottom: 0px; left: 0px; right: 0px; z-index: -1; > .btn, .btn:before background-position: right center; >You can play with the final button Here.