/* Create two columns that float next to eachother */ .column float: left; width: 50%; margin-top: 6px; padding: 20px; >
/* Clear floats after the columns */ .row:after content: «»; display: table; clear: both; >
/* Responsive layout — when the screen is less than 600px wide, make the two columns stack on top of each other instead of next to each other */ @media screen and (max-width: 600px) .column, input[type=submit] width: 100%; margin-top: 0; > >
Ever heard about W3Schools Spaces? Here you can create your website from scratch or use a template, and host it for free.
See the Pen Contact Form by Aina Requena (she/her) (@ainarela) on CodePen.
Dev: Aina Requena
Contact Form
Dev: Leena Lavanya
Responsive Contact Form
Dev: Lisa Wagner
Expanding Contact Form
Dev: Joe Harry
Responsive Contact Form
Dev: Bobby Korec
Elegant Contact Form
Dev: Grandvincent Marion
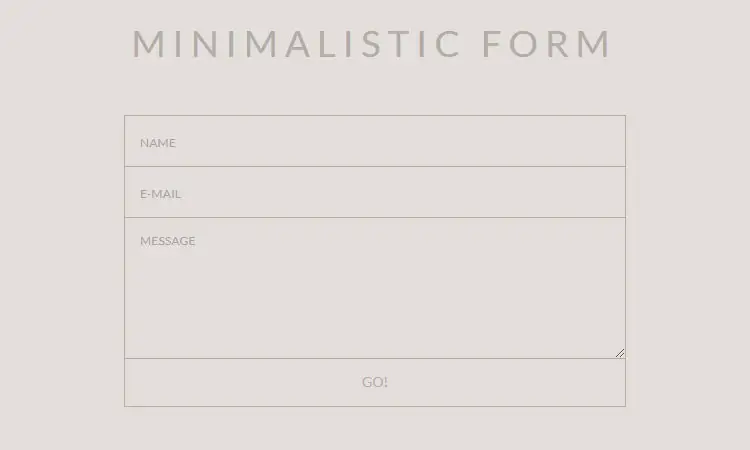
MINIMALISTIC FORM
Dev: Matheus Marsiglio
Contact Form Template
Dev: Chris Holder
RESPONSIVE MATERIAL DESIGN CONTACT FORM
Dev: Nikhil Krishnan
Elegant Contact Form
Dev: Mark Murray
HTML5 Contact Form
Dev: ssbalakumar
Latest Post
55 Cool CSS Calendars
19 Barcodes in CSS
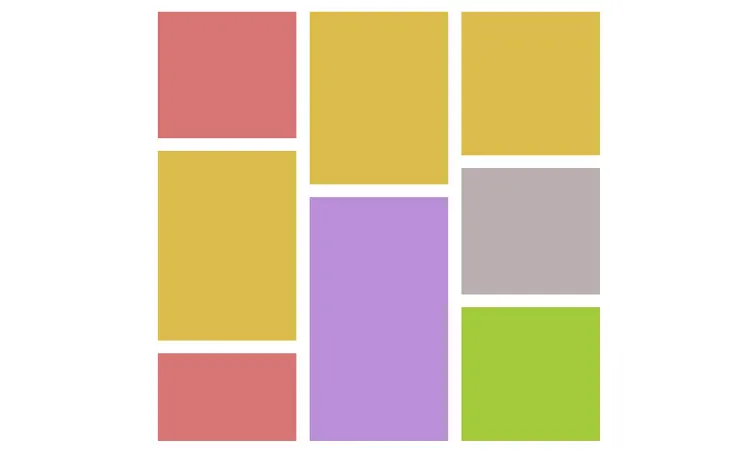
25 CSS Masonry Layout Examples
23 CSS Card Layouts
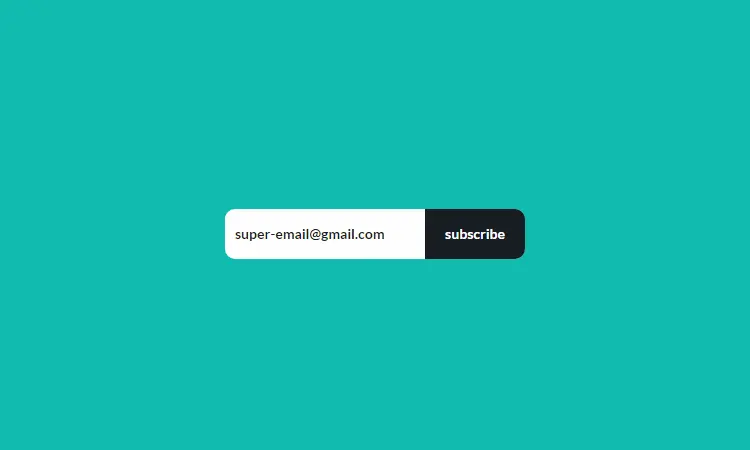
27 CSS Subscribe Forms
We use cookies to ensure that we give you the best experience on our website. If you continue to use this site we will assume that you are happy with it. Ok
How to create a contact us page in HTML & CSS? (source code)
In this post, you’ll see how to create a mobile responsive “Contact Us” page design using HTML & CSS. I will give you all the source code for the template.
Before you dive in, let’s see the demo of the finished page you will build.
In this template (live preview), I also have two optional parts such as the header navigation & footer. But you can ignore that if you already have them in your existing template.
I commented out both in HTML & CSS files so you can easily understand which code does what specific things.
Let’s start building the contact page together.
Contact page source code
I will give you the HTML & CSS for the contact page template in this section. However, to keep this post concise and short, I will ignore the header & footer parts. But don’t worry if you need them. Because I will also give the link to my GitHub repository so you can download the entire project as you saw in the live demo.
HTML
Contact us
Get in Touch and Let's Build Something Great Together
Welcome to the contact page! I'm excited to hear from you and explore the possibilities of working together. If you have any questions, comments, or ideas, please don't hesitate to reach out. I'm here to help and eager to start a conversation.
Instead of a boring contact form, let's contact directly & using any ways you prefer.
Contact options
Email me (hello@domain.com)
Call me: +1 (234) 567-8900
Contact me on WhatsApp
Lorem ipsum, dolor sit amet consectetur adipisicing elit. Neque fugit vel quae ab beatae blanditiis aspernatur corporis ex nesciunt. Distinctio deserunt consequuntur culpa ea quisquam quibusdam iure enim, dolorum quos.
John Doe, Fitness Instructor, California.
Dolor sit amet consectetur adipisicing elit. Neque fugit velquae abbeatae blanditiis aspernatur corporis exnesciunt. Distinctio deserunt consequuntur quibusdam iure enimculpa eaquisquam.
Jane Lave, Therapist, Vancouver, CA.
Consectetur dolor sit amet adipisicing elit. Neque fugit vel quae ab beatae blanditiis aspernatur corporis ex nesciunt. Distinctio deserunt consequuntur culpa ea quisquam quibusdam iure enim, dolorum quos ipsumorem aspernatur blanditiis.
Vladimir Putin, Doctor, California.
Lorem ipsum, dolor sit amet consectetur adipisicing elit. Neque fugit vel quae ab beatae blanditiis aspernatur corporis ex nesciunt. Distinctio deserunt consequuntur culpa ea quisquam quibusdam iure enim, dolorum quos.
Valeriya, Lawyer, California.
Take your technology to the next level with my expertise
Whether you're interested in hiring me for a project, seeking advice, or just want to connect, I'm always happy to hear from you. So go ahead, send me a message and let's build something great together. I look forward to hearing from you!
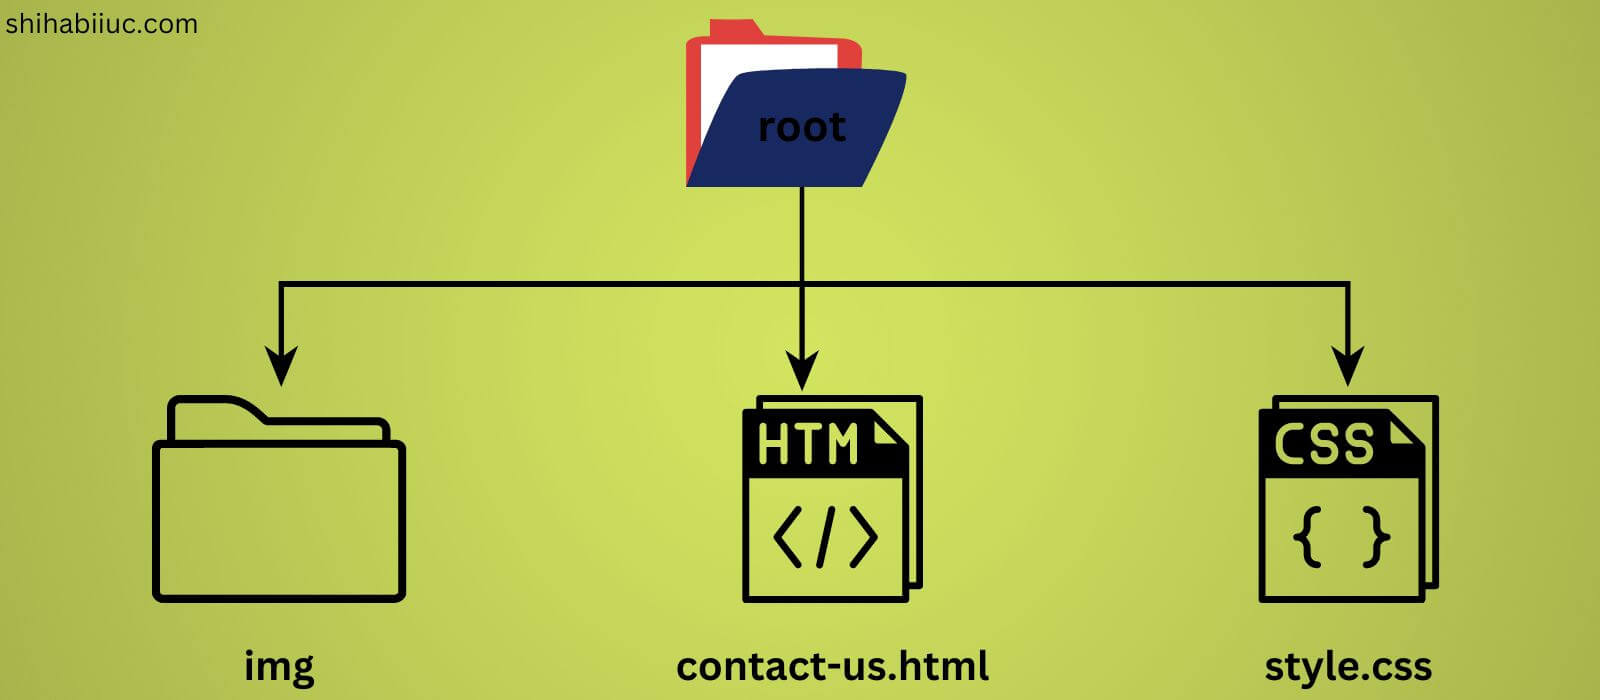
As you see in the above HTML, I have some images. If you look into the file paths, you’ll see that I have an “img” folder in the project root.
So make sure you also have this “img” folder in your project. Otherwise, update the file paths based on your existing setup.
In the CSS above, I have some media queries to make the page responsive. Mostly, I used Flexbox to create the layouts and align items. If you want to learn more about Flexbox, see this post after.
That’s all! After you save your files, you’ll have a nice & mobile responsive contact page like mine (except for the header & footer).
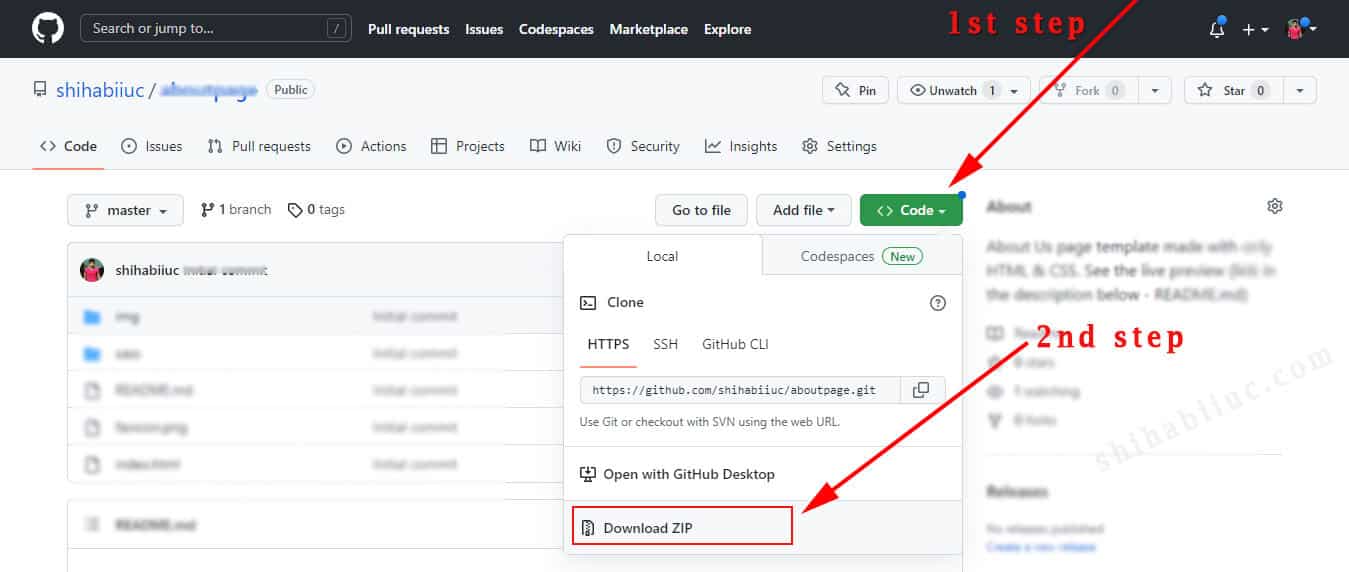
Download the entire project from GitHub
If you want to get the whole template including the header & footer and as you saw in the demo, please download my entire project from GitHub.
If you’re familiar with Git, you can download the entire project directly from your command line (without going to my GitHub account). To do that use the following command: git clone https://github.com/shihabiiuc/contact-page.git
A few words about this template
As you already know that I have created this template using only HTML & CSS. So there is no contact form. To make a working contact form, you need serverside programming such as PHP, Node, Ruby/Rails, etc.
However, the good news is you do not need a contact form on the contact page. The form is not mandatory to have.
Most importantly, contact form data also goes to an email. So why not use directly an email address instead of a boring contact form? A contact form also needs many different validation and it has security vulnerabilities. Moreover, there is a chance to receive a huge number of spam through the form. Although, there are fixes to those problems.
In a nutshell, having a contact page without a form is totally okay as long as you have an email address there.
Why testimonials are there in the contact page?
As you see in the demo, I have a couple of testimonials on the page. But why?
So the contact page is a kind of money-making page and has a great impact on your online business.
In this context, the testimonials play a vital role. You should put some genuine reviews from your past clients (if you have them). They inspire your future clients & visitors to contact you. And this is why I put the testimonials section on the contact page.
Call to action on the page
Finally, at the very bottom of the page, I also have a CTA (call to action). Some people need additional pushing and this CTA will do this job (if needed).
It’s not mandatory to have a button or link on every CTA since the visitors are already visiting a contact page. And they can go back to the top and find your email or other contact methods.
Build HTML CSS projects
Conclusion
I built this contact page from scratch and gave you all the code & images you need to build it properly. Additionally, I shared the GitHub repository URL with you. Therefore, if you still have any questions or feedback, please let me know.
If you’re familiar with SCSS(SASS), you can use this file instead of the plain CSS.
Popular posts
About Shihab
With over 20K monthly readers, my goal is to help small businesses to create a stunning online presence.
At the same time, I’ve been creating resources for web developers, designers & freelancers in general.
/* Адаптивный макет — когда экран меньше 600 пикселей в ширину, сделайте два столбца укладываются друг на друга, а не рядом друг с другом */ @media screen and (max-width: 600px) .column, input[type=submit] width: 100%; margin-top: 0; > >


 Lorem ipsum, dolor sit amet consectetur adipisicing elit. Neque fugit vel quae ab beatae blanditiis aspernatur corporis ex nesciunt. Distinctio deserunt consequuntur culpa ea quisquam quibusdam iure enim, dolorum quos.