- Произвольный фон в теме WordPress.
- Шаг 1. add_theme_support() — подключаем необходимый интерфейс в админке.
- Шаг 2. wp_head() и body_class() для добавления фона на страницы сайта.
- Смотрите также
- Миша
- How to Set the Featured Image as a Background Image in WordPress
- How to Set the Featured Image as a Background Image in WordPress
- 1. Edit Template Files Used to Display Individual Blog Posts
- 2. Retrieve the Featured Image
- 3. Add the Background Image
- 4. Use CSS to Adjust the Display
- Full Code Block to Set the Featured Image as a Background Image in WordPress
Произвольный фон в теме WordPress.
Произвольный фон — это стандартная возможность WordPress, которая позволяет устанавливать в админке цвет или изображение фона сайта .
С одной стороны может показаться — «Зачем это нужно, если я могу установить фон прямо в CSS? Даже если периодически придется менять фон сайта, мне не трудно каждый раз редактировать таблицу стилей».
Всё как всегда элементарно просто, ответ — если делаете сайт не для себя. Приведу пример. Вы только что сделали отличнейший сайт, единственная вещь, которая не нравится вашему клиенту — это фон, кроме того, он сам не знает чего хочет. Просит попробовать одно, потом другое, потом третье. И после того, когда ваше терпение уже на исходе, вы просто включаете этот функционал в теме, показываете клиенту, как с ним работать и больше не паритесь.
Шаг 1. add_theme_support() — подключаем необходимый интерфейс в админке.
Начиная с версии 3.4 в WordPress используется функция add_theme_support() для подключения произвольных фонов. В более старых версиях (от 3.0 до 3.4) использовалась другая функция, но сейчас она устарела и я её рассматривать не буду.
Вставляем следующий код в functions.php текущей темы:
add_theme_support( 'custom-background' );
Если же вы подключаете этот функционал в плагине, функция должна быть задействована через хук after_setup_theme , пример ниже:
function true_custom_background_support(){ add_theme_support( 'custom-background' ); } add_action('after_setup_theme', 'true_custom_background_support');
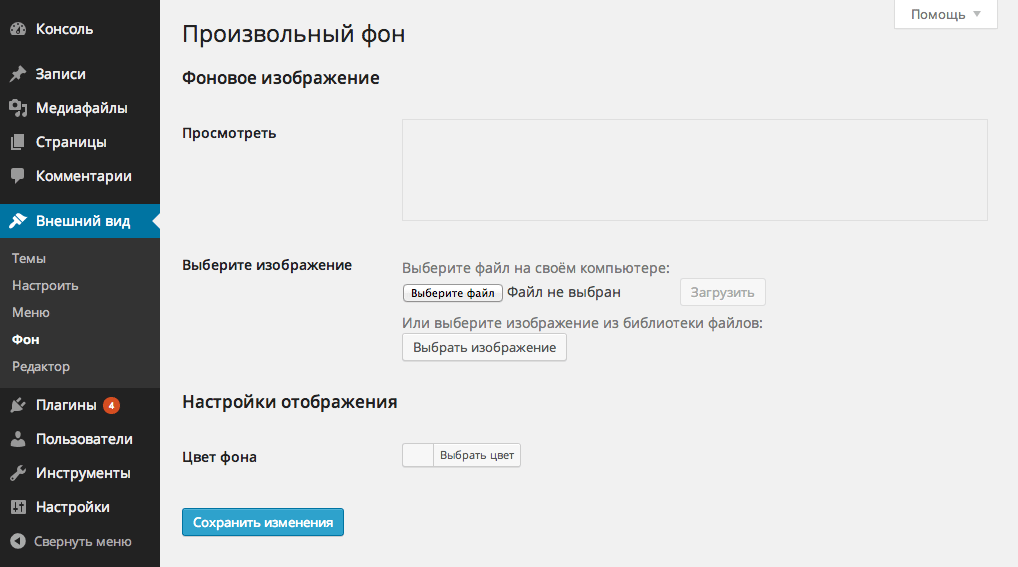
Прежде, чем продолжить, посмотрим, что у нас получилось:
Также функция имеет некоторые параметры, которые можно задать в качестве значений по умолчанию (то есть тех значений, которые будут использоваться, если в админке не было ничего настроено):
$defaults = array( 'default-image' => '', // без изображения 'default-repeat' => 'repeat', // повторять 'default-position-x' => 'left', // выровнять по левому краю 'default-attachment' => 'scroll', // фон прокручивается со страницей 'default-color' => '', // без цвета 'wp-head-callback' => '_custom_background_cb', 'admin-head-callback' => '', 'admin-preview-callback' => '', ); add_theme_support( 'custom-background', $defaults );
default-image URL изображения, которое следует установить в качестве изображения фона по умолчанию. Добавляется через CSS-свойство background-image . default-repeat Нужно ли повторять фон. То есть, если ширина или высота изображения меньше ширины или высоты страницы, то оно будет повторяться. CSS-свойство background-repeat . Может принимать значения:
- no-repeat — не повторять,
- repeat-x — повторять по горизонтали,
- repeat-y — повторять по вертикали,
- repeat — повторять во всех направлениях.
- scroll — изображение скроллится вместе со страницей,
- fixed — изображение зафиксировано и не смещается при прокрутке.
Хорошо, давайте попробуем, я например сделаю вот так:
$defaults = array( 'default-color' => '#eeeeee', 'default-image' => get_stylesheet_directory_uri() . '/grand_canyon.jpg', 'default-repeat' => 'no-repeat', 'default-position-x' => 'center', 'default-attachment' => 'fixed' ); add_theme_support( 'custom-background', $defaults );
Функция get_stylesheet_directory_uri() в данном примере возвращает абсолютный URL текущей темы.
Ого, в админке появились дополнительные настройки:
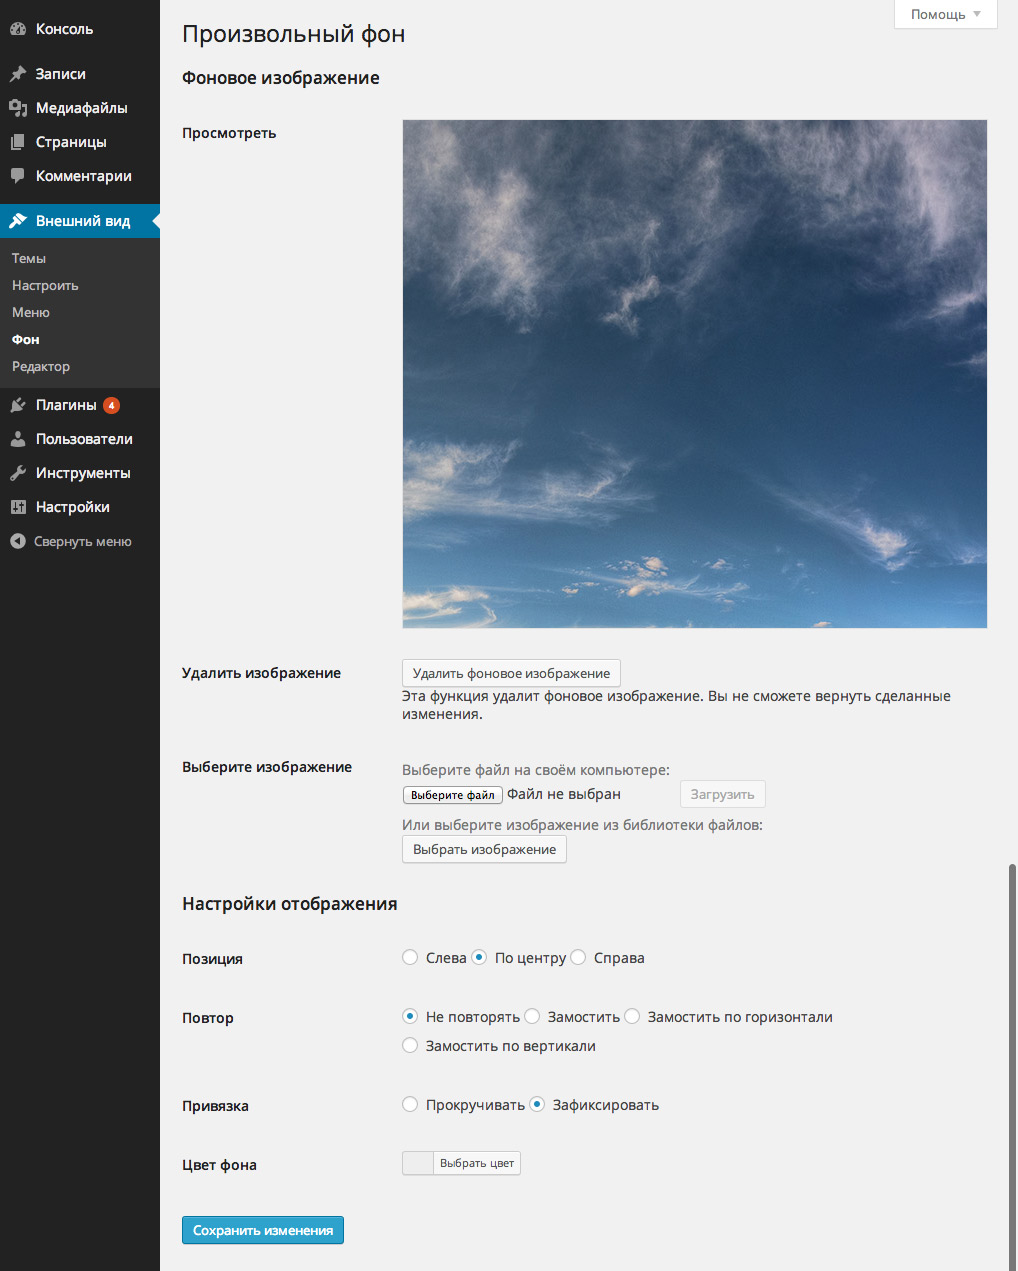
Эти настройки также появятся и в первом примере, после того, как вы загрузите изображение для фона. Кстати, если после загрузки изображения, в блоке просмотра оно отображается в уменьшенном варианте, не волнуйтесь, на фон сайта всё равно добавится в полном размере.
Шаг 2. wp_head() и body_class() для добавления фона на страницы сайта.
С админкой вроде разобрались, а что надо сделать в файлах шаблона темы, чтобы фон появился на сайте? Нужны всего две вещи:
- Убедитесь, что ваш header.php содержит функцию wp_head() — именно через эту функцию в тело документа будут вставляться CSS-стили. Например из предыдущего примера набор стилей будет следующий:
style type="text/css" style="color: #c1ef65;">"custom-background-css"> body.custom-background < background-color: #eeeeee; background-image: url('https://misha.agency/wp-content/themes/truemisha/grand_canyon.jpg'); background-repeat: no-repeat; background-position: top center; background-attachment: fixed; >style> body style="color: #c1ef65;">"custom-background">
Смотрите также
Миша
Впервые познакомился с WordPress в 2009 году. Организатор и спикер на конференциях WordCamp. Преподаватель в школе Нетология.
Пишите, если нужна помощь с сайтом или разработка с нуля.
How to Set the Featured Image as a Background Image in WordPress

May 10, 2016 By Andrew Gehman
Let’s say we’re building a site for a client who would like to have a background image behind the title of their blog posts. That’s easy enough. Just set a background image on the containing div with CSS.
How to Set the Featured Image as a Background Image in WordPress
What if the client wants the ability to select a custom background image for each blog post? Perhaps the client wants to use the Featured Image of the post as the background image behind the title of the blog post (much like the image below), and they would like to be able to do this on their own through the WordPress admin area. This is how we can go about meeting the needs of the client. Note: We’ll assume that featured images (or ‘post thumbnails’) are enabled in our theme, which is pretty standard functionality for WordPress themes. If we are building our own, we’ll want to include add_theme_support( ‘post-thumbnails’ ); in the functions.php file for our theme.
1. Edit Template Files Used to Display Individual Blog Posts
What we will do is edit our template file(s) so that the Featured Image is displayed as a background image with inline styles. In our case, we’ll edit the single.php file which is used to display individual blog posts. We have the post title being displayed in an h1 tag, which is wrapped by a header element and a div element. We’ll add our style to the wrapping div with the class of “header-wrap.”
2. Retrieve the Featured Image
First, we need to retrieve the featured image. We’ll do this by using the wp_get_attachment_image_src function. This function requires that you pass in the id of the image as a parameter, which we will get with by using the get_post_thumbnail_id function. We will include the id of the post as a parameter for get_post_thumbnail_id (which we retrieve using $post->id), even though in this case, we’d still get the desired result if we didn’t include it. The second parameter is the size of the image. The default is ‘thumbnail,’ but we want the full size of the original image, so we use the keyword of ‘full.’ For a custom size, pass in an array, something like array (600, 200), which would be 600 pixels by 200 pixels.
The wp_get_attachment_image_src function returns an array that includes the url of the image, the width in pixels, the height in pixels, and a boolean, true if the image has been re-sized, or false if the image is original size. We’ll use a variable named $backgroundImg to hold the returned results. All we really need for our purposes is the url of the image. It’s the first item in the array, so we’ll reference it like so:
3. Add the Background Image
Next, we’ll add our background image using inline CSS with a little PHP to echo out the background url. (You could also use the background-image CSS property instead of background). I’ve also added no-repeat to the inline style to prevent our image from displaying more than once.
4. Use CSS to Adjust the Display
.header-wrap < text-align: center; padding: 40px 50px; >.header-wrap h1.entry-title
Full Code Block to Set the Featured Image as a Background Image in WordPress
And here’s the full code block that you place in your template file. In our case, the template file is single.php because we want this effect on single blog post pages, and our theme has a single.php file. If you aren’t sure which file you need to edit for your particular needs, refer to the WordPress Template Hierarchy Chart.
Now, you should have the featured image of the post displayed as a background image. If you’re putting effort into your blog posts, then it makes sense to integrate them into other areas of your website. Depending on your customers and business, this could be on the homepage, specific product or service pages, or another area. If you want to show them on the homepage, this tutorial will tell you how to display recent blog posts on the homepage in WordPress.