- Install and Configure the Atom Editor for Python
- Edit a Python file and use Atom’s Autocomplete
- Linter for Atom
- Further customisation for Python to follow PEP8
- Keybindings customisation
- Other Useful Packages
- Leave a Reply Cancel reply
- Installing Atom
- The easy way: Pre-compiled packages
- Conda packages
- Wheels
- Compiling it yourself: The Hard Way
- Supported Platforms
- How to set up atom for python in 2022?
- What is Atom?
- How to install Atom?
- How to Set up Atom for Python?
- Conclusion
Install and Configure the Atom Editor for Python
In this post we’ll talk about the Atom editor which is, as they say, A hackable text editor for the 21st Century .
It’s a really nice, open source and modern editor, with a broad community that provides different and new packages and functionalities. Have you tried it yet?
Here, you’ll learn how to install it and how to configure it to write Python code. Let’s start! 🙂
First, download Atom from the official webpage.
Once installed, if you have a Mac or Windows, you’ll have two commands available: atom and apm . The first one is for opening the Atom editor, and the second one for installing Atom packages. We’ll see an example of both in the following.
Edit a Python file and use Atom’s Autocomplete
Let’s start by creating a Python file with:
This will open the file in Atom, and you’ll see the containing folder with all its contents on the left sidebar.
In the new file, if you type de , you’ll see that it suggests if you want to create a new function. This is because Atom has detected that the file extension is a Python extension.

If you type the Tab key, you’ll see a template for a new function:

Note that you have the fname highlighted. This is because you can now type the name of your function and it will replace fname . Let’s name our function product .
Next, if you hit the Tab key again, the arguments of the function, arg , will be now selected. Just write x, y , as we need two different arguments for our function.
Finally, hit the Tab key again to select the body of our function, pass , and replace it for our code. The end function should be something like:
def product(x,y): return x * y
Also notice the blue circle next to the file name . This means that there are unsaved changes in your current file. You can save it just typing the usual cmd+c (or ctrl+c in windows).
Linter for Atom
Linter is an Atom package that provides a top level API so that there is a unification among all the linter atom plugins. This means that all the extra packages that you install, that highlight your code (for example to detect errors) will use a unified method.
Next, we’re going to install a Python Linter package, to help us detect errors in our Python code.
This package is called linter-flake8 and it’s an interface to flake8. To install it, you need to run:
$ pip install flake8 $ pip install flake8-docstrings $ apm install linter-flake8
You must restart Atom to see the changes. For example, if we add the folling line of code in our file:
without specifying what a or b are, we’ll see the following in our Atom screen:

If you open Atom and you find an error that says
The linter binary flake8 cannot be found
You will need to open the Atom init script (Atom –> Open your Init Script) and write the following:
process.env.PATH = ['/usr/local/bin/', process.env.PATH].join(':') Restart Atom the apply these changes. It should work now 😉
Moreover, there are Linters for other languages like HTML, CSS or Javascript. You can find a list here.
Further customisation for Python to follow PEP8
Here I’ll show you how you can configure Atom to follow PEP8, the official Python styling guide.
First, open the Atom –> Preferences window.
1. Use spaces instead of tabs.
Scroll down the Settings panel until you see the Soft Tabs option. Make sure it’s checked. This setting will convert tabs into spaces automatically.

2. Set the tab length to 4 spaces
A little below the Soft Tab setting, you”ll see the Tab Length . Set it to 4 spaces.
3. Automatic PEP8 validation.
If you installed the linter-flake8 package discussed in the previous section, you already have automatic PEP8 validation 🙂
Keybindings customisation
In the same Preferences panel, you can see the Keybindings menu on the left. There, you’ll find a list of all the default keybindings active in your Atom editor.
However, by default, Atom confirms an autocomplete suggestion with both the Tab and Enter keys. But I only want to use the Tab key.
In order to disable Enter as an autocomplete confirm key, we need to go to the Keybindings menu where you’ll see a link that says your keymap file . Click on that link to open the keymap.cson file.
# Disable Enter key for confirming an autocomplete suggestion 'atom-text-editor:not(mini).autocomplete-active': 'enter': 'editor:newline'
Save the file and you’ll see the changes immediately. No need to restart Atom 🙂
Other Useful Packages
Project manager: a package for saving your projects.
Minimap: Displays a small map of the current file on the right side of your document (like Sublime Text by default).
Do you use other Packages? Write a comment below about them! 🙂
Leave a Reply Cancel reply
You must be logged in to post a comment.
Installing Atom
Atom is supported on Python 2.7, and 3.4+. Installing it is a straight-forward process. There are three approaches to choose from.
The easy way: Pre-compiled packages
The easiest way to install atom is through pre-compiled packages. Atom is distributed pre-compiled in two-forms.
Conda packages
If you use the Anaconda Python distribution platform (or Miniconda, its lighter-weight companion), the latest release of Atom can be installed using conda from the default channel or the conda-forge channel:
$ conda install atom $ conda install atom -c conda-forge
Wheels
If you don’t use Anaconda, you can install Atom pre-compiled, through PIP, for most common platforms:
Compiling it yourself: The Hard Way
Building atom from scratch requires Python and a C++ compiler. On Unix platform getting a C++ compiler properly configured is generally straighforward. On Windows, starting with Python 3.6 the free version of the Microsoft toolchain should work out of the box. Installing atom is then as simple as:
For MacOSX users on OSX Mojave, one needs to set MACOSX_DEPLOYMENT_TARGET to higher than 10.9 to force teh compiler to use the new C++ stdlib:
$ export MACOSX_DEPLOYMENT_TARGET=10.10
Supported Platforms
Atom is known to run on Windows, OSX, and Linux; and compiles cleanly with MSVC, Clang, GCC, and MinGW. If you encounter a bug, please report it on the Issue Tracker.
© Copyright 2013-2023, Nucleic Development Team. Revision 761a5282 .
How to set up atom for python in 2022?
In 2022, there’s no doubt that using a text editor like Atom is essential to improve the efficiency of your work. To set up atom for python, not a lot is required, but the essentials lie in the additional features with packages that can be installed using Atom. Text editors such as Sublime Text and PyCharm IDE are really good to write your code too. But if you work with python projects which go online and want to combine it with your work on Flask which may need you to use the out-of-the-box features of HTML that are offered by Atom, you’ve come to the right place.
In this article, we’ll go over the basic steps that will get you started right off the bat with Atom and you can write your code in Atom easily.
What is Atom?
Created with CoffeeScript, with most of its underlying code being changed to JavaScript, Atom is the one text editor that you must have in 2022 considering how cool it is. It is easy to set up Atom for python and any other language and the best part about it is that it is Open Source. Atom is said to be a hackable text editor which means that the developers are allowed to write their own code to change the features that are offered by Atom to suit their own needs. This is one of the main reasons for the extensive use of Atom by Developers. Use Atom for Python to find out how easy can it be.
These developers also offer these features as add-ons on GitHub which can directly be installed into Atom to use python from atom using the plugins from the application.
Python developers especially adore Atom because it is a text editor that comes with a dedicated pluggable Python compiler and can be set up to be used as a Python IDE, Atom for Python has a lot of plugins as you will see ahead. Community-driven python projects support the production workflow for Python projects.
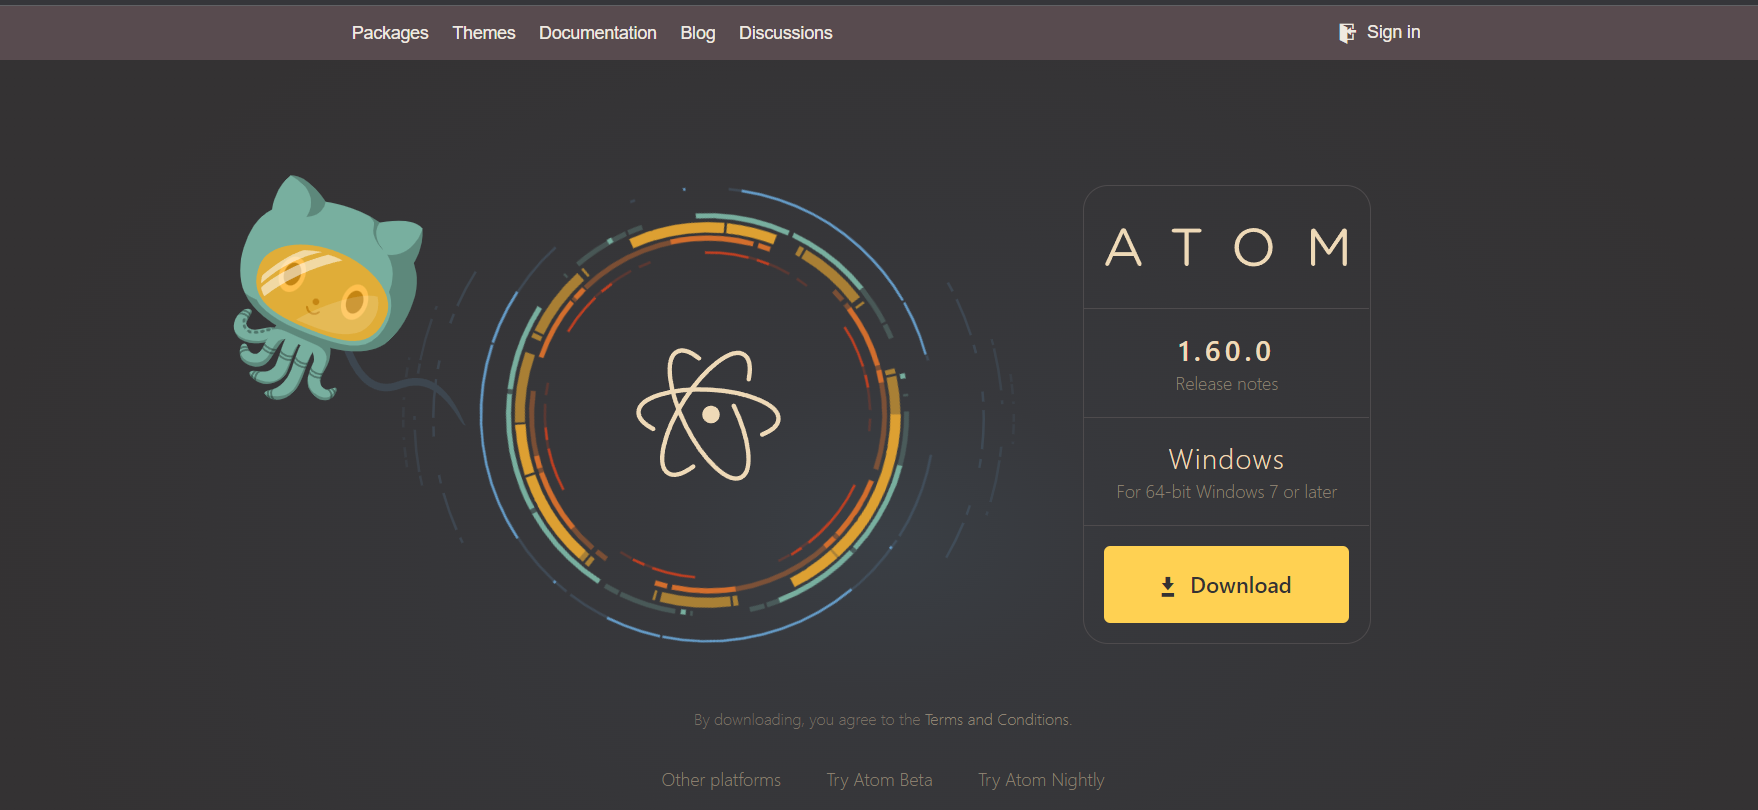
How to install Atom?
Installing Atom is fairly easy. You just need to go to atom.io and the website will auto recognize your system’s specifications to give you the best and latest version of Atom to suit your system as given below. You can also check out the different versions of Atom to take one that you want out of them from here: Atom Releases Page on GitHub. In subsequent sections, we’ll go over how to set up atom for python but first you need to install Atom.
How to Set up Atom for Python?
- Go to the official Python Website
- Choose python 3
- Download Python on your system
- Ensure you set up a virtual environment where necessary
After you download python and atom, start Atom.
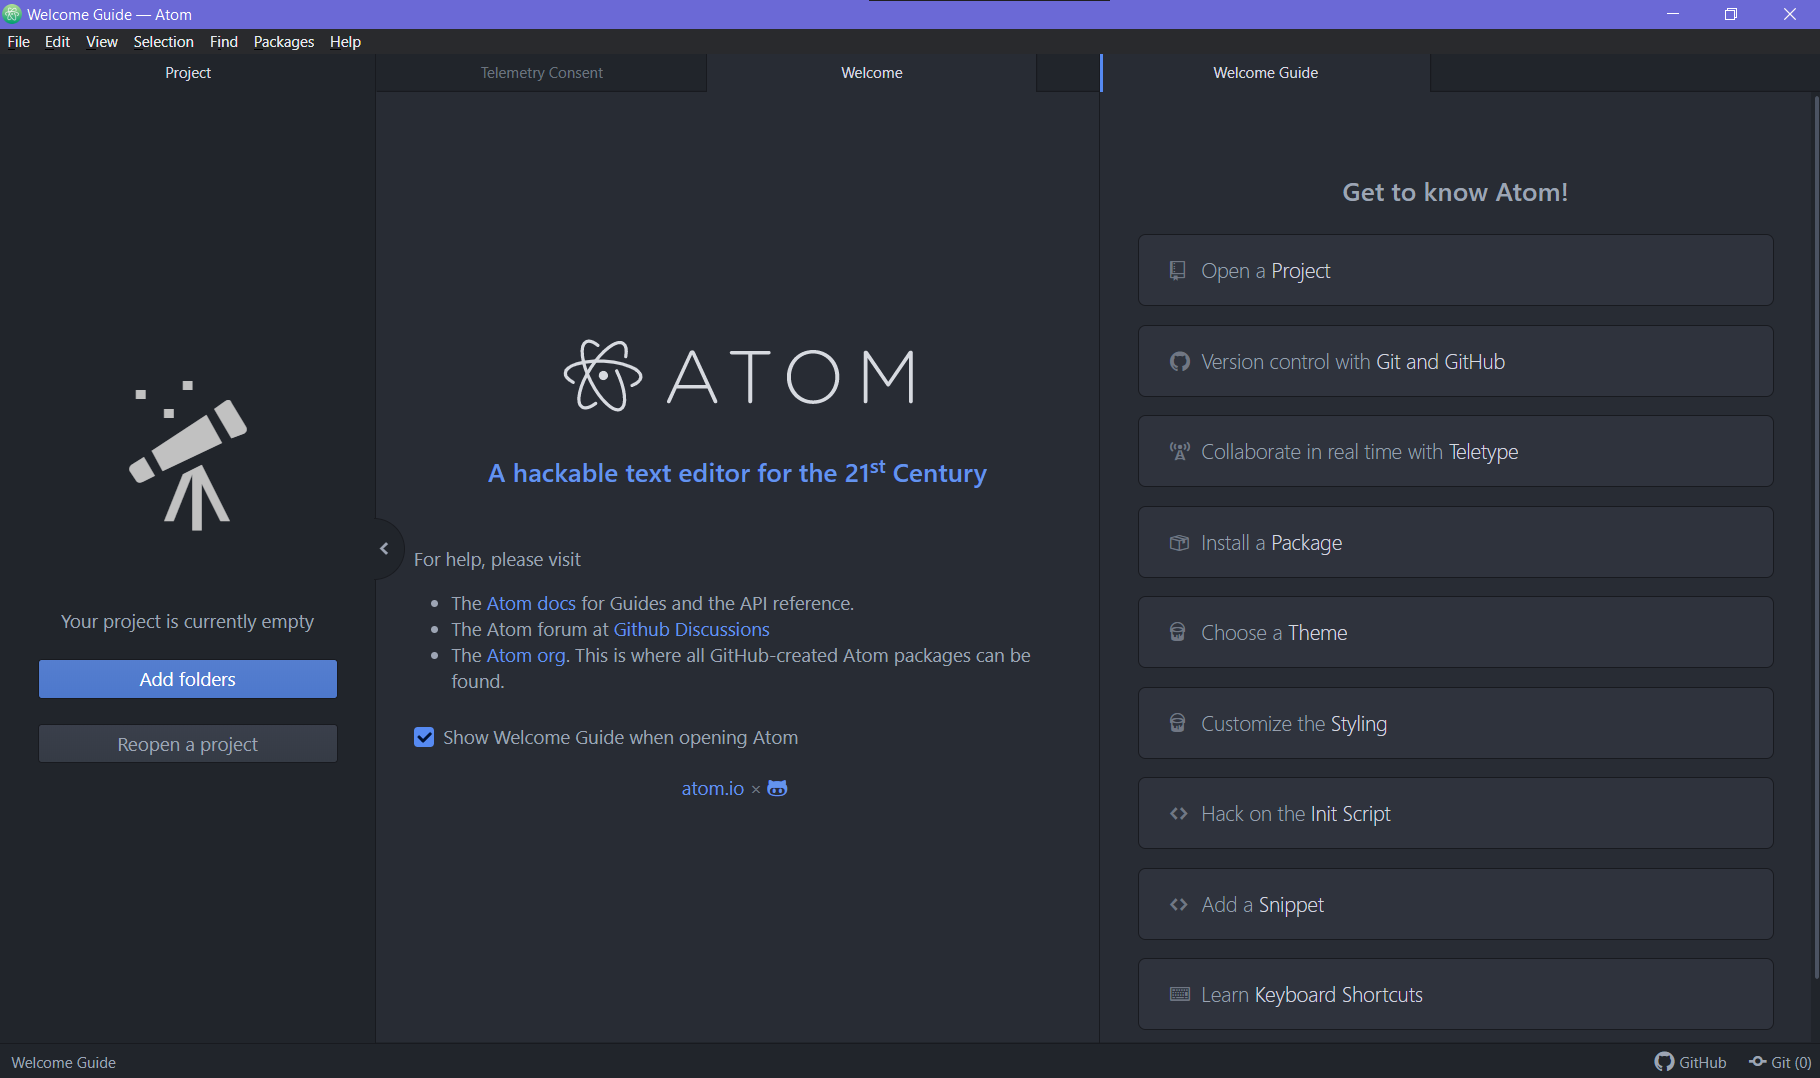
Note: Installation of Atom happens on its own and Atom should start right after installation for you to use.
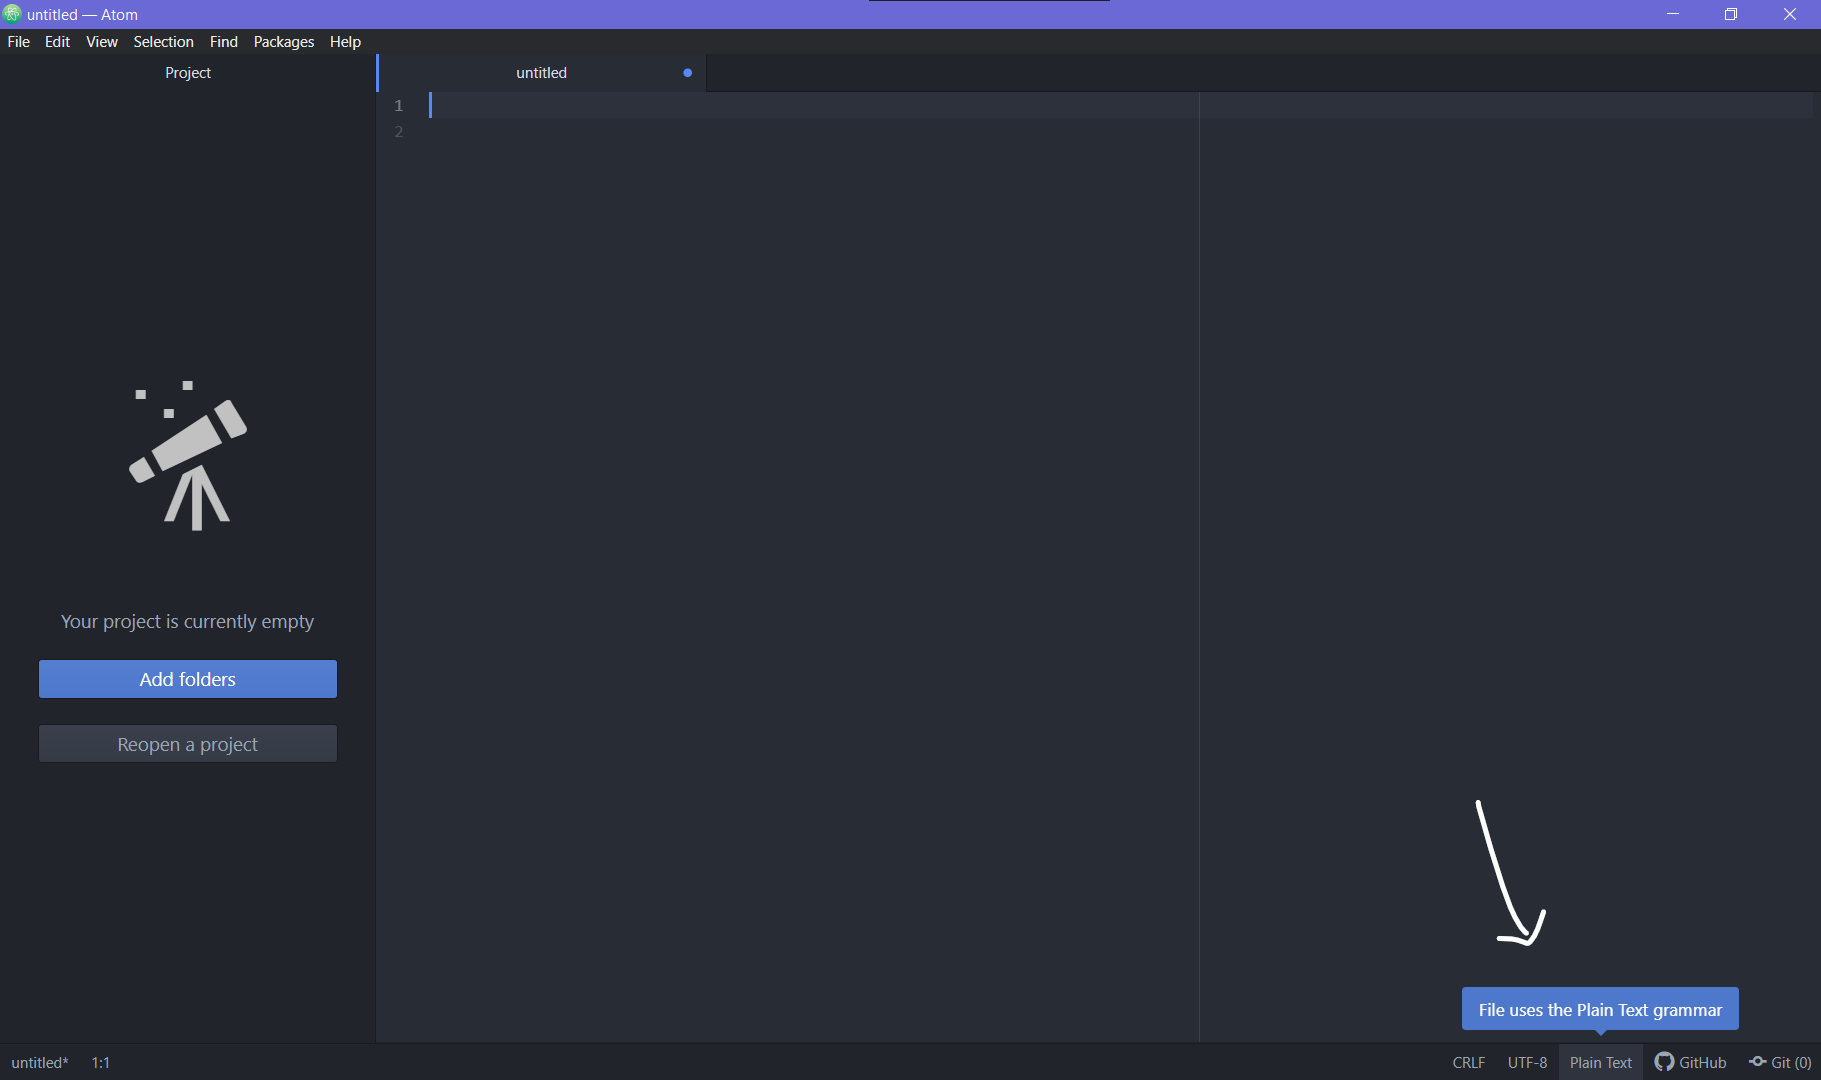
The first time you are introduced to Atom, you should be able to see this welcome page.
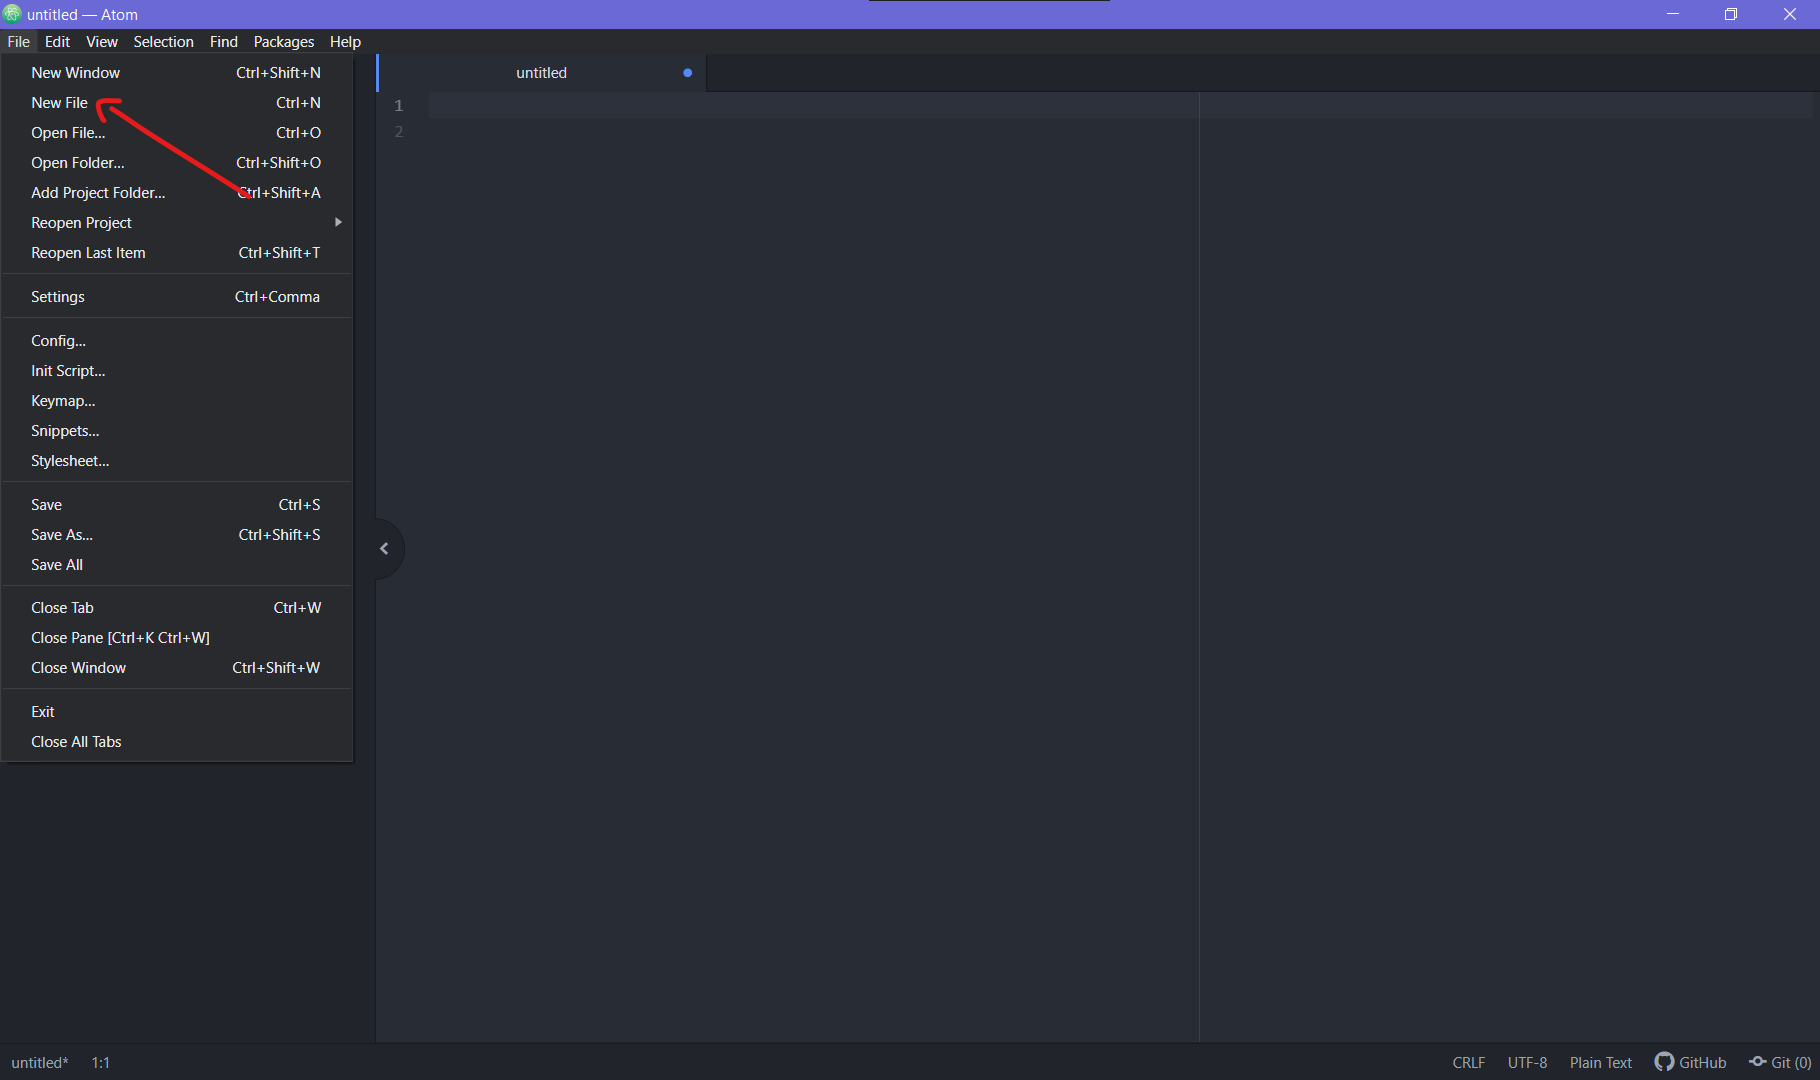
Step 1: Go to Settings and open a new file
Step 2: The language being used is Plain Text, so we’ll need to change that
Step 3: Hover over the language panel and click on it to change it.
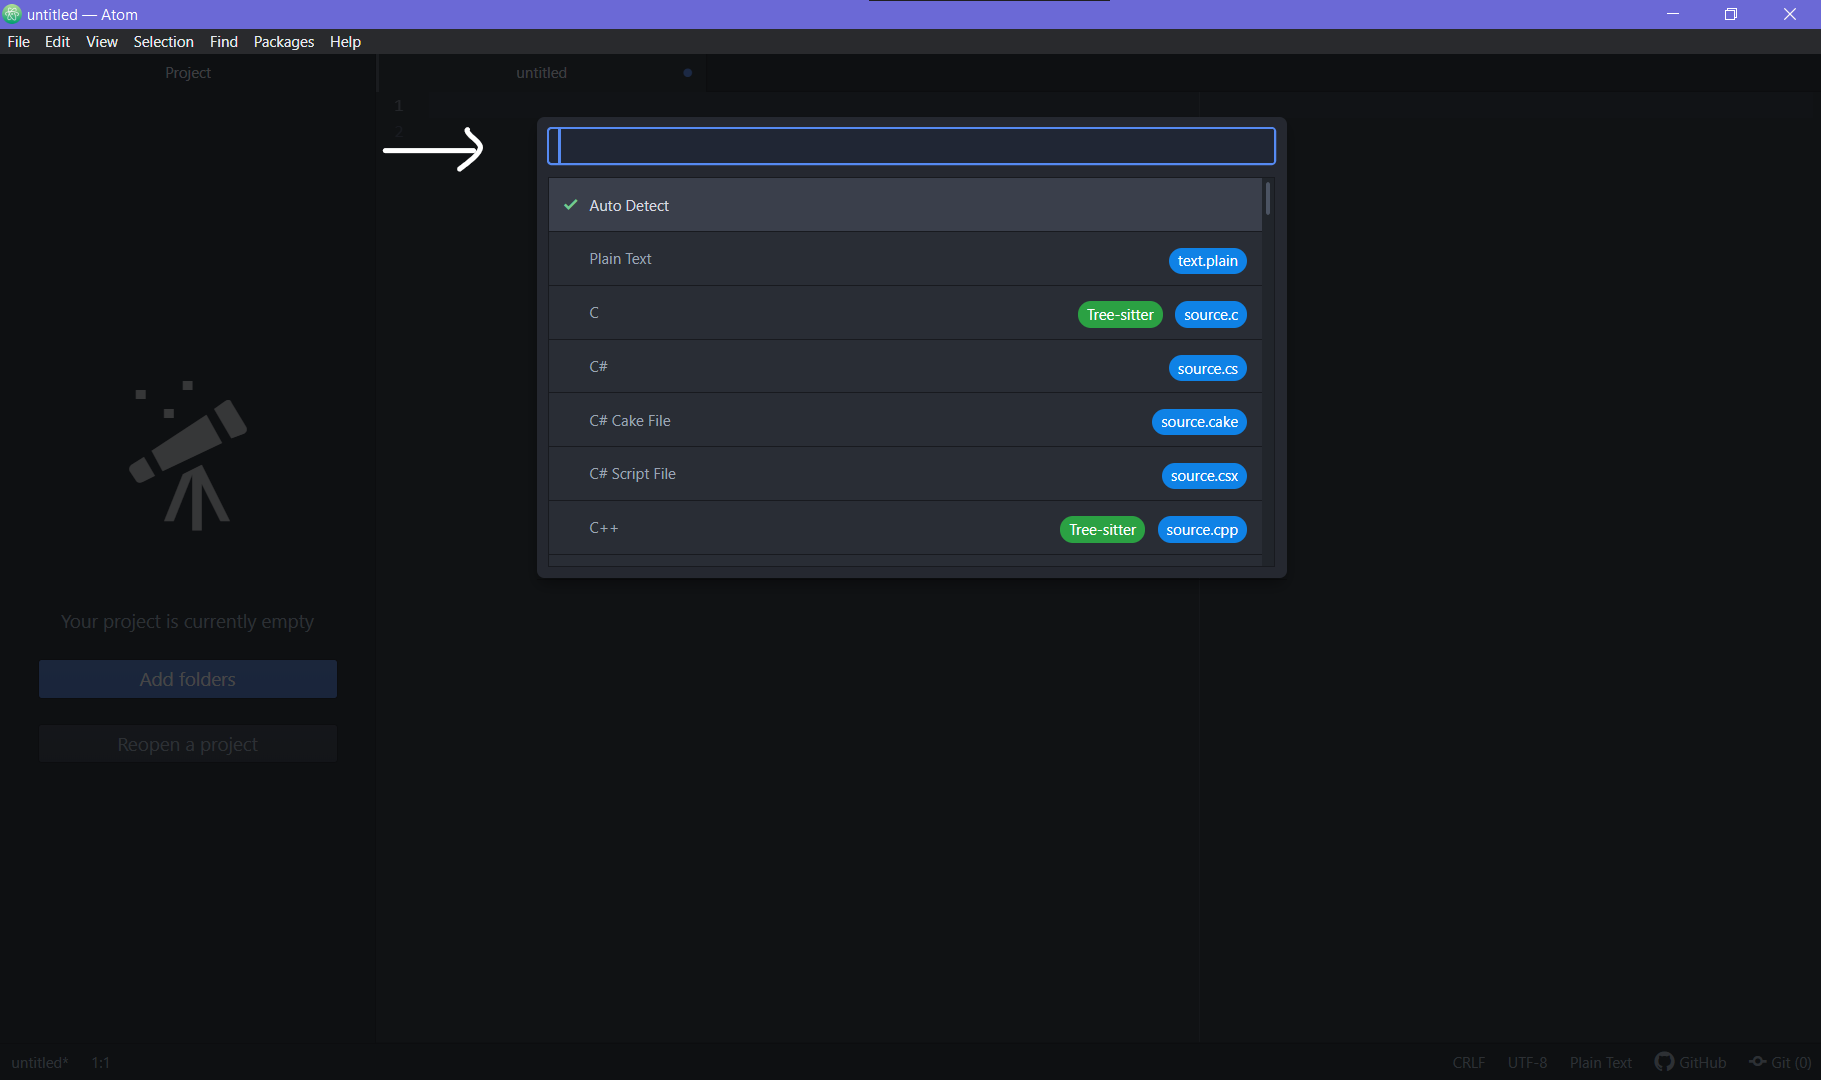
Step 4: Type ‘Python’ in the Search Bar
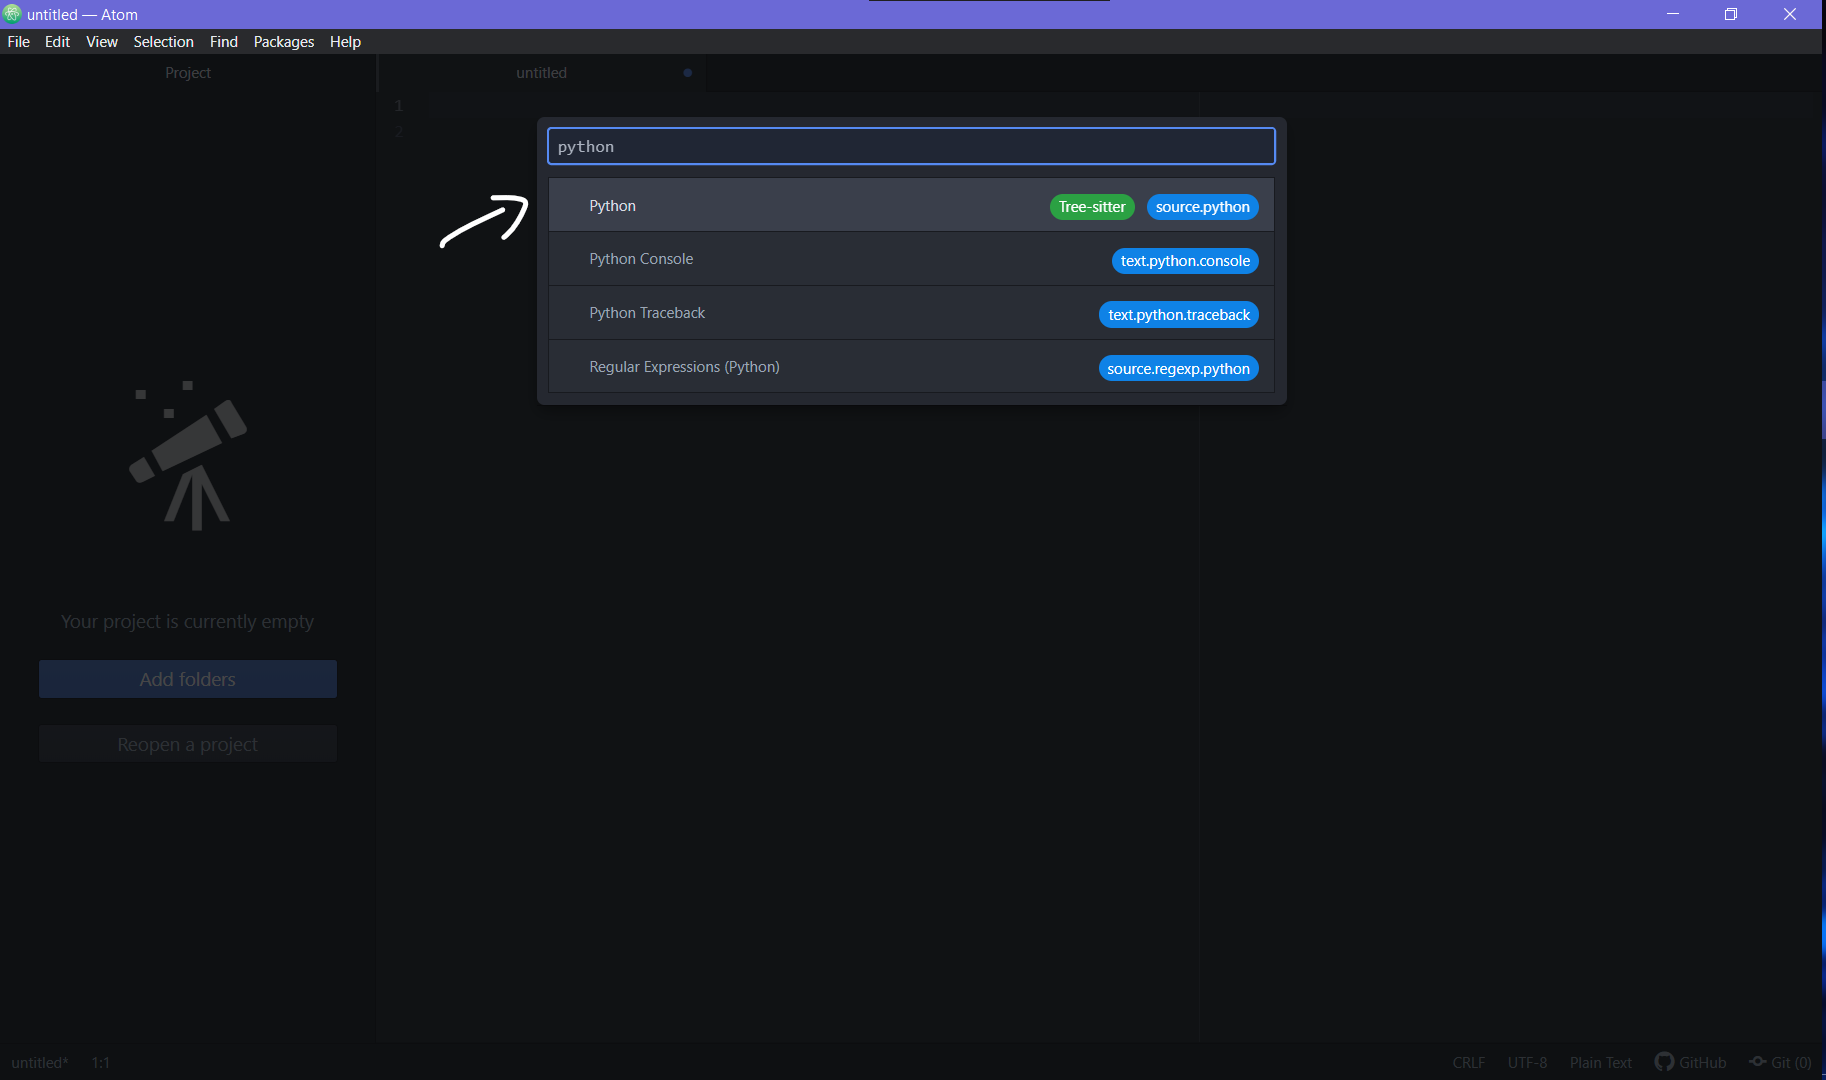
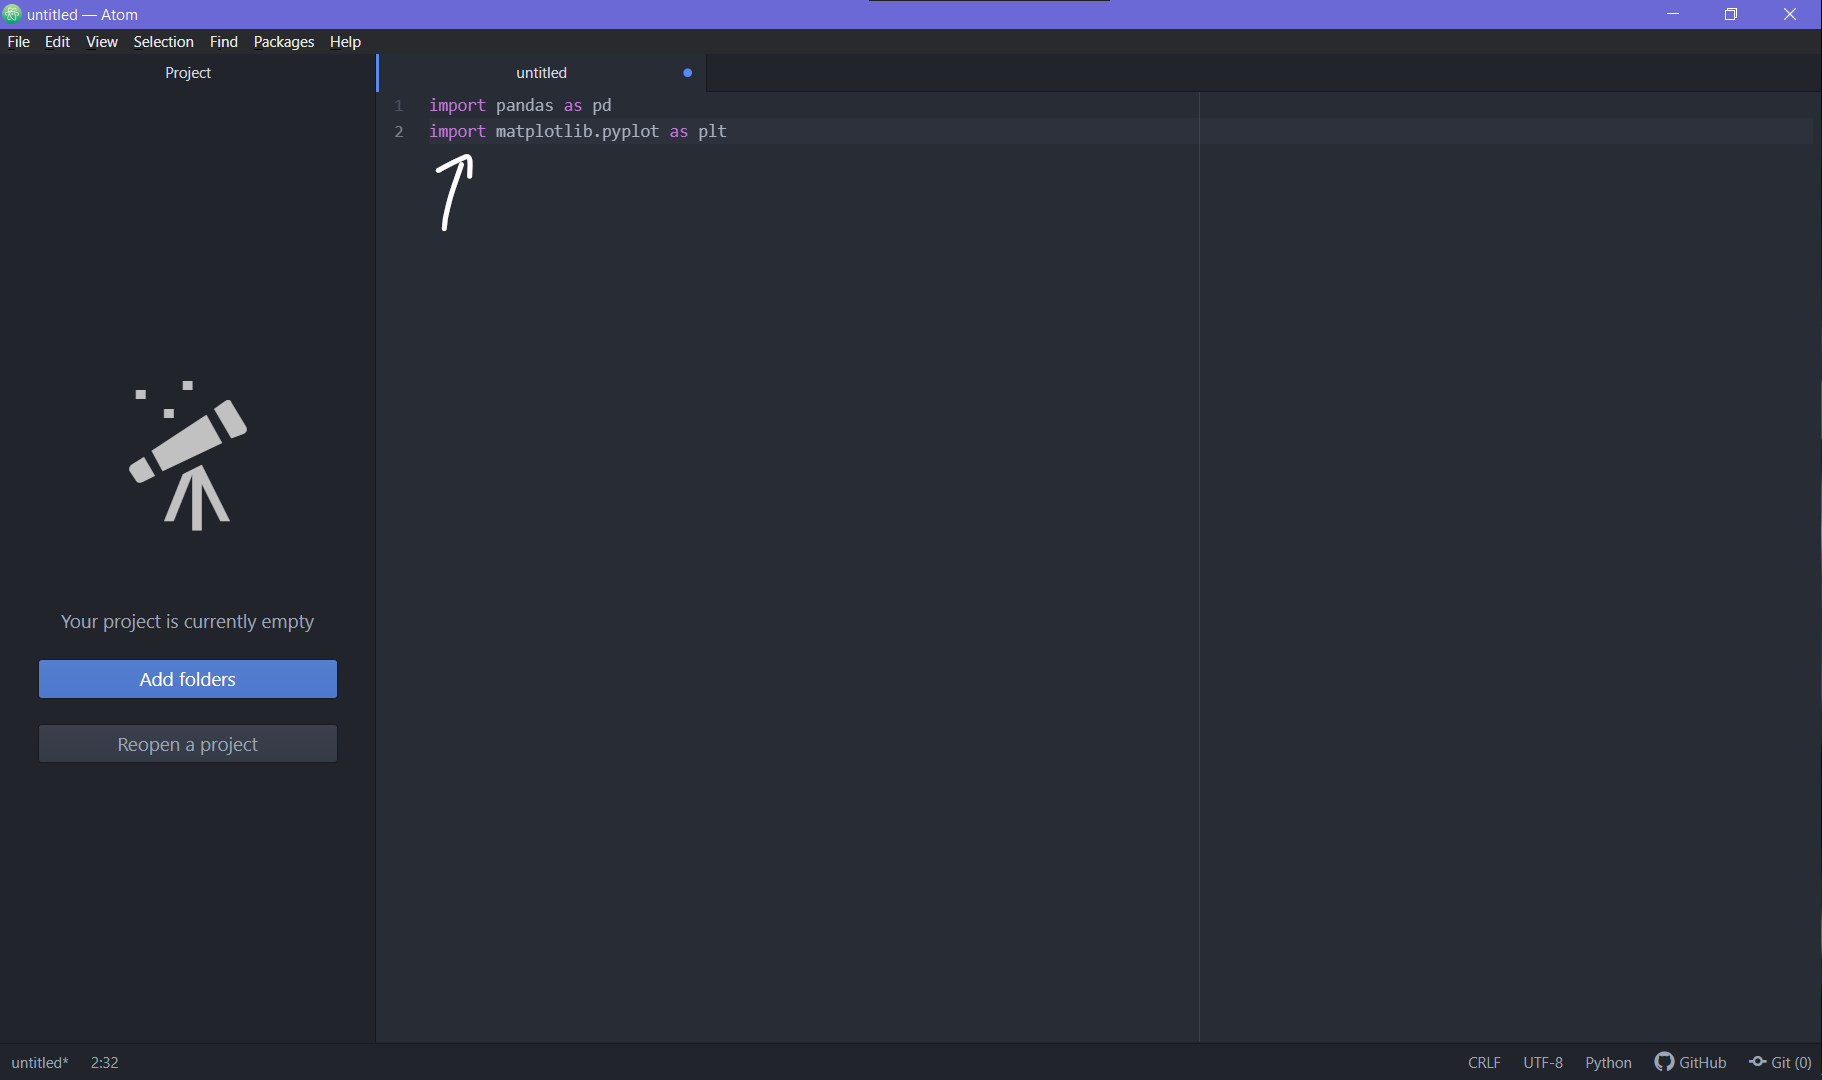
Step 5: Now all the code you write in the file will be recognized to be terms used in Python
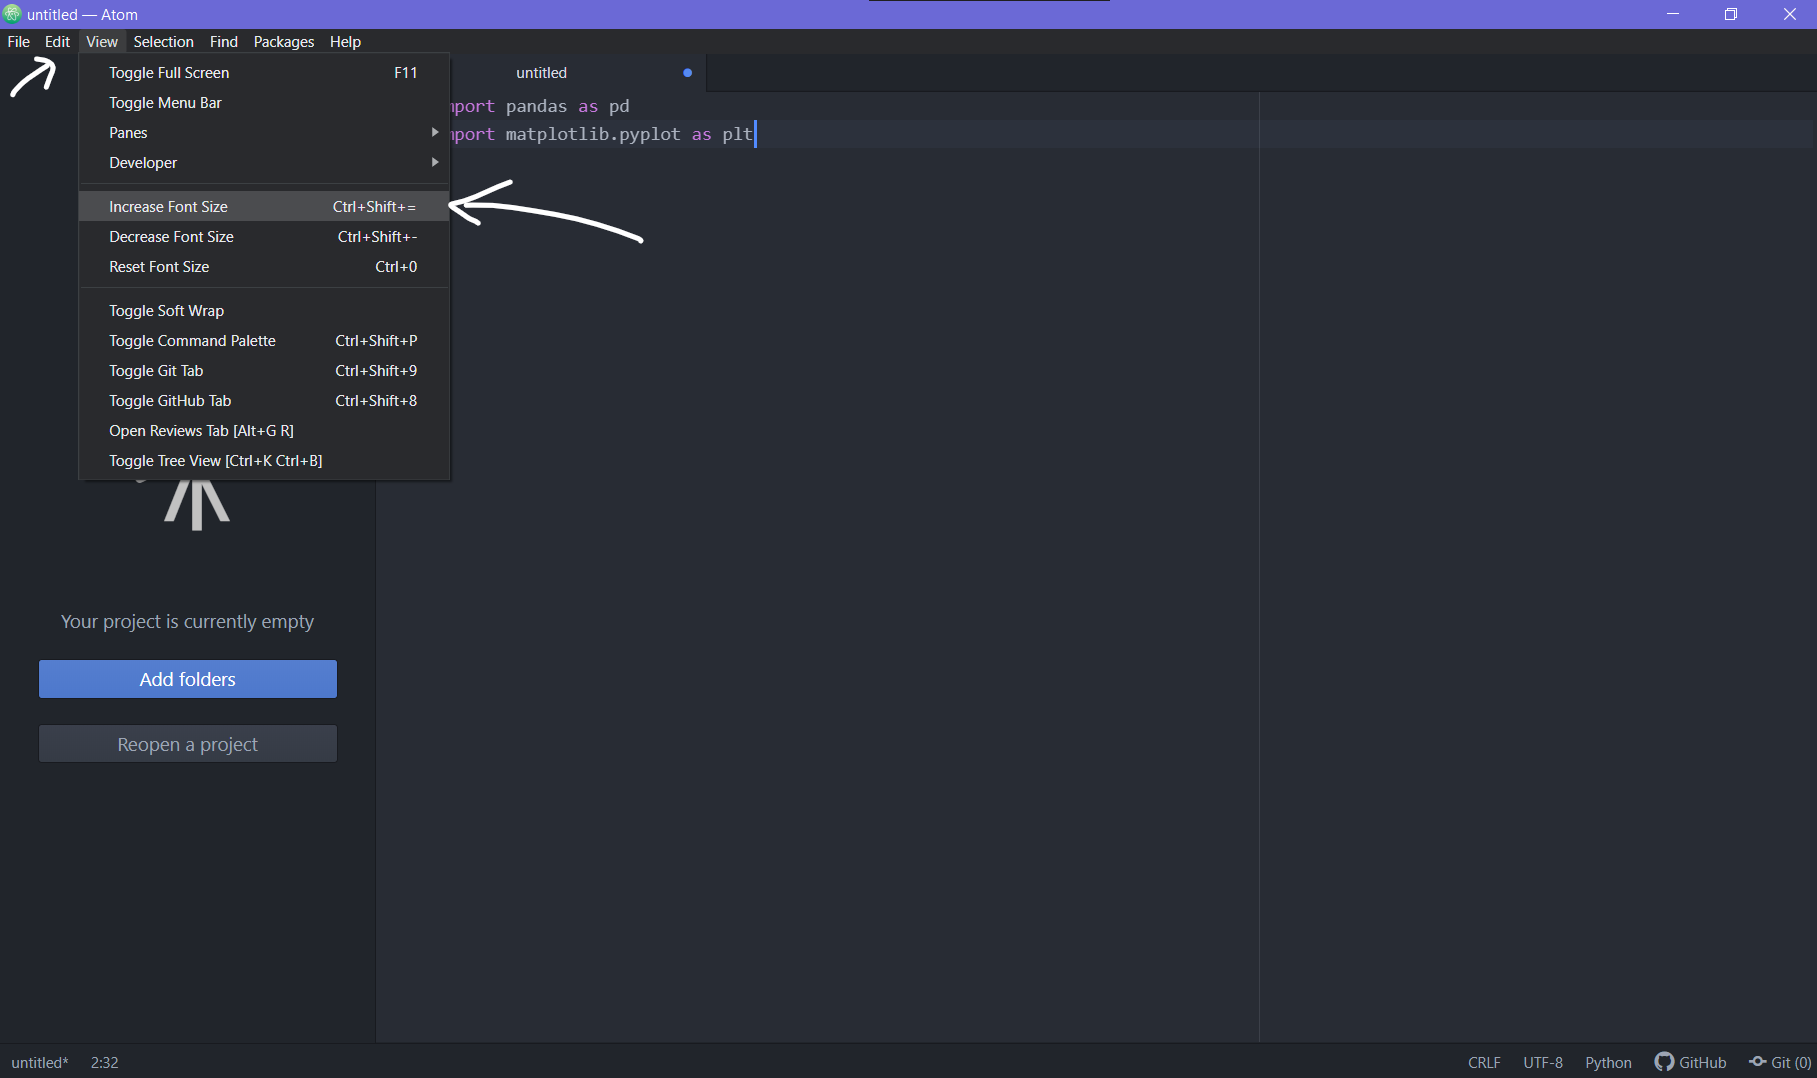
Step 6: For increasing the font size use Ctrl + Shift + = or click on the button in the view ribbon as shown.
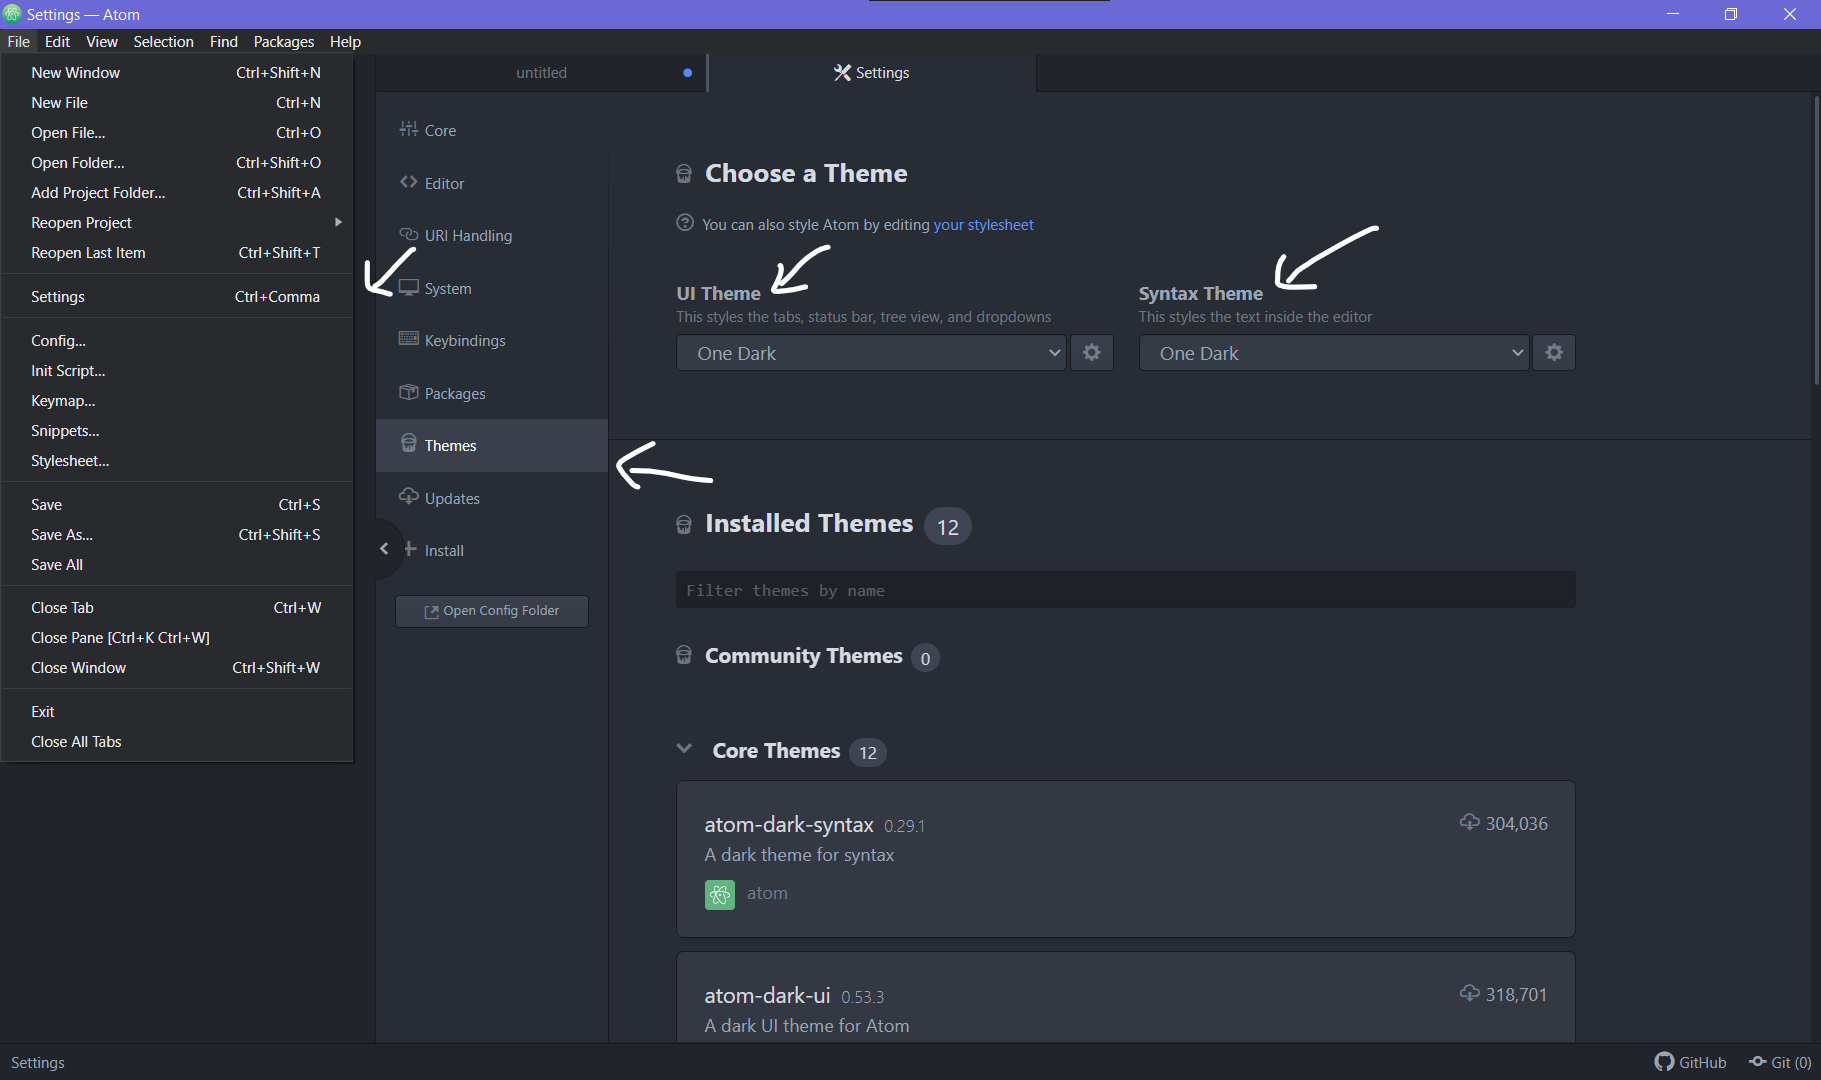
Step 7: To change the theme of the text being written, if you prefer a different syntax or UI Theme, go to settings, go to themes, change the Syntax and UI theme as deemed necessary.
And that’s all, in less than 10 steps, you have set up Atom to be used for your python projects. Packages such as IDE-Python and other plugins to install within Atom that are developed by developers all over the globe offer solutions such as Auto completion of code and autoformatter for indentations etc., and other amazing features that can make your code much more faster to write and execute. Find a list of 20 such plugins in the link given below!
Conclusion
Using an IDE like PyCharm, Sublime Text editor or even Atom comes down to what is considered comfortable by the data scientist or developer to use. If you find a jupyter notebook more comfortable than Atom, then don’t use Atom only because everyone else is doing it. At the end of the day, Atom is a highly efficient text editor and can be used by a developer as per his/her needs and to use an IDE is important only when you have longer codes to write which won’t really fit well in a cell based coding platform.
After learning how to set up Atom for Python, try it out yourself and let us know in the comments below if you find Python easier to execute using the multiple features offered by Atom.
For more such content, check out our website -> Buggy Programmer