- How to Create a Horizontal Line in HTML
- Using CSS
- Using In-Line HTML
- Community Q&A
- How to Add Horizontal Lines Before and After a Text in HTML
- 1. Create an HTML text tag.
- 2. Adding the Left Line
- 3. Set the hr-lines to relative
- 4. Adding the Right Line
- Final Output:
- The Complete Code
- Wrapping Up
- Did you find this article valuable?
How to Create a Horizontal Line in HTML
This article was co-authored by wikiHow staff writer, Travis Boylls. Travis Boylls is a Technology Writer and Editor for wikiHow. Travis has experience writing technology-related articles, providing software customer service, and in graphic design. He specializes in Windows, macOS, Android, iOS, and Linux platforms. He studied graphic design at Pikes Peak Community College.
The wikiHow Tech Team also followed the article’s instructions and verified that they work.
This article has been viewed 373,867 times.
Are you learning HTML? Do you want to add a horizontal line to your web page? A horizontal line—also known as a horizontal rule—can be used to separate blocks of text or other content on your website. Adding a horizontal line in HTML is really easy. You can also style the horizontal line using CSS or in-line HTML attributes. This allows you to change the line thickness, alignment, or color. This wikiHow teaches you how to add and style a horizontal line in HTML and CSS. [1] X Research source
Using CSS

- Open Notepad, or a text editor/code editor of your choice.
- Click the File menu.
- Click Open.
- Select an HTML file.
- Click Open.

- Type at the top of the document.
- Press the Enter key twice to add two new lines.
- Type to close the head section.


- Width: Type width: ##px; to set the line width. Replace «##» with the number of pixels wide the line is. You can also use a percentage (%) instead of pixels (px).
- Height: Type height: ##px; to set the line thickness. Replace «##» with the number of pixels thick the line is.
- Color: Type background-color: ##; to set the color of the line. Replace «##» with the name of a color or add a pound (#) followed by a hexadecimal color code.
- Right Margin: Type margin-right: ##px; to set the number of pixels from the right edge. Replace «##» with the number of pixels or «auto». Using «auto» will center the line within its specified width. The remaining space will be split evenly between the left and right margins.
- Left Margin: Type margin-left: ##px; to set the number of pixels from the left edge. Replace «##» with the number of pixels or «auto». Using «auto» will center the line within its specified width. The remaining space will be split evenly between the left and right margins. [2] X Research source
- Top Margin: Type margin-top: ##px; to set a top margin for the line. Replace «##» with the number of pixels thick the margin is.
- Bottom Margin: Type margin-bottom: ##px; to set a bottom margin for the line. Replace «##» with the number of pixels thick the margin is.
- Border: Type border-width: ##px; to create a border around the line (optional). Replace «##» with the number of pixels thick the border is.
- Border Color: Type border-color: ##; to set the border color (optional). Replace «##» with the name of a color, or add a pound sign (#) followed by a hexadecimal color code.


Press ↵ Enter and type
. This creates a new line and then adds the tag to close the style section of your HTML. The «
» goes after you have added all the style elements for your HTML document.

- If you have defined a style class for your horizontal line, type > instead. Replace «[class_name]» with the name of the class that you defined.

- Click the File menu.
- Click Save As if starting a new HTML file. Click Save to save an existing HTML file.
- Type a name for the file next to «File name».
- Delete the file extension at the end («.txt,» «.docx,» etc)
- Replace the file extension with «.html.»
- Click Save.

html> head> style> hr width: 50%; height: 20px; background-color: red; margin-right: auto; margin-left: auto; margin-top: 5px; margin-bottom: 5px; border-width: 2px; border-color: green; > style> head> body> h1>This is a headingh1> hr> p1>This is a paragraph text separated by a horizontal linep1> body> html> Using In-Line HTML
- Open Notepad, or a text editor/code editor of your choice.
- Click the File menu.
- Click Open.
- Select an HTML file.
- Click Open.

Select the point at which you want to insert the line. You can insert a horizontal line in the «» section of an HTML document. Scroll down until you find the space above which you want to insert the line, then click the far-left side of the line to place the cursor directly before the line start.

Press ↵ Enter twice to create a blank space. This moves down the text above which you want to enter the line.

Move the cursor back to where you want to add a line. Simply click, or use the arrow keys on the keyboard to move the cursor back to where you want the line to go.

Type
into the space before the line begins. The «
» tag is responsible for creating a horizontal line across the entire page. Using this tag by itself will create a basic horizontal line.

Press ↵ Enter to place the «
» on it’s own line. At this point, the tag should be on its own line with no other code to the left or right of it.

Type style= in the «
» tag (optional). If you want to style your horizontal line, you can do so using in-line HTML. To style your horizontal line, type «style=» after «hr» inside the «
» tag (i.e.
.

- Width: Type width: ##px to set the line width. Replace «##» with the number of pixels wide the line is. You can also use a percentage (%) instead of pixels (px).
- Height: Type height: ##px to set the line thickness. Replace «##» with the number of pixels thick the line is.
- Color: Type background-color: ## to set the color of the line. Replace «##» with the name of a color or a pound (#) followed by a hexadecimal color code.
- Alignment: Type text-align:## to set an alignment for your horizontal rule. Replace «##» with «left,» «right,» or «center.»
- Right Margin: Type margin-right: ##px to set the number of pixels from the right edge. Replace «##» with the number of pixels or «auto». Using «auto» will center the line within its specified width. The remaining space will be split evenly between the left and right margins.
- Left Margin: Type margin-left: ##px to set the number of pixels from the left edge. Replace «##» with the number of pixels or «auto». Using «auto» will center the line within its specified width. The remaining space will be split evenly between the left and right margins. [3] X Research source
- Top Margin: Type margin-top: ##px to set a top margin for the line. Replace «##» with the number of pixels thick the margin is.
- Bottom Margin: Type margin-bottom: ##px; to set a bottom margin for the line. Replace «##» with the number pixels thick the margin is.
- Type border-width: ##px to create a border around the line. Replace «##» with the number of pixels thick the border is.
- Type border-color: ## to set the border color. Replace «##» with the name of a color, or a pound sign (#) followed by a hexadecimal color code.

- Click the File menu.
- Click Save As if starting a new HTML file. Click Save to save an existing HTML file.
- Type a name for the file next to «File name.»
- Delete the file extension («.txt,» «.docx,» etct)
- Replace the file extension with «.html.»
- Click Save.

html> body> h1>This is a Headingh1> hr style="width:"50%;text-align:left;background-color:green"> p1>This is paragraph text that has been separated from the heading by a line.p1> body> html> Community Q&A
Thanks! We’re glad this was helpful.
Thank you for your feedback.
As a small thank you, we’d like to offer you a $30 gift card (valid at GoNift.com). Use it to try out great new products and services nationwide without paying full price—wine, food delivery, clothing and more. Enjoy! Claim Your Gift If wikiHow has helped you, please consider a small contribution to support us in helping more readers like you. We’re committed to providing the world with free how-to resources, and even $1 helps us in our mission. Support wikiHow
Using CSS, you can create a bunch of divs containing text. Using the canvas element and some JS, you can create a flowchart image on your page. There are lots of w3schools tutorials to try. After you get far enough, you can read all about things like this on the Mozilla Developer Network.
Thanks! We’re glad this was helpful.
Thank you for your feedback.
As a small thank you, we’d like to offer you a $30 gift card (valid at GoNift.com). Use it to try out great new products and services nationwide without paying full price—wine, food delivery, clothing and more. Enjoy! Claim Your Gift If wikiHow has helped you, please consider a small contribution to support us in helping more readers like you. We’re committed to providing the world with free how-to resources, and even $1 helps us in our mission. Support wikiHow
If you are using the method to draw the line, using the following CSS (enclosed in tags) should have the desired effect: hr
Thanks! We’re glad this was helpful.
Thank you for your feedback.
As a small thank you, we’d like to offer you a $30 gift card (valid at GoNift.com). Use it to try out great new products and services nationwide without paying full price—wine, food delivery, clothing and more. Enjoy! Claim Your Gift If wikiHow has helped you, please consider a small contribution to support us in helping more readers like you. We’re committed to providing the world with free how-to resources, and even $1 helps us in our mission. Support wikiHow
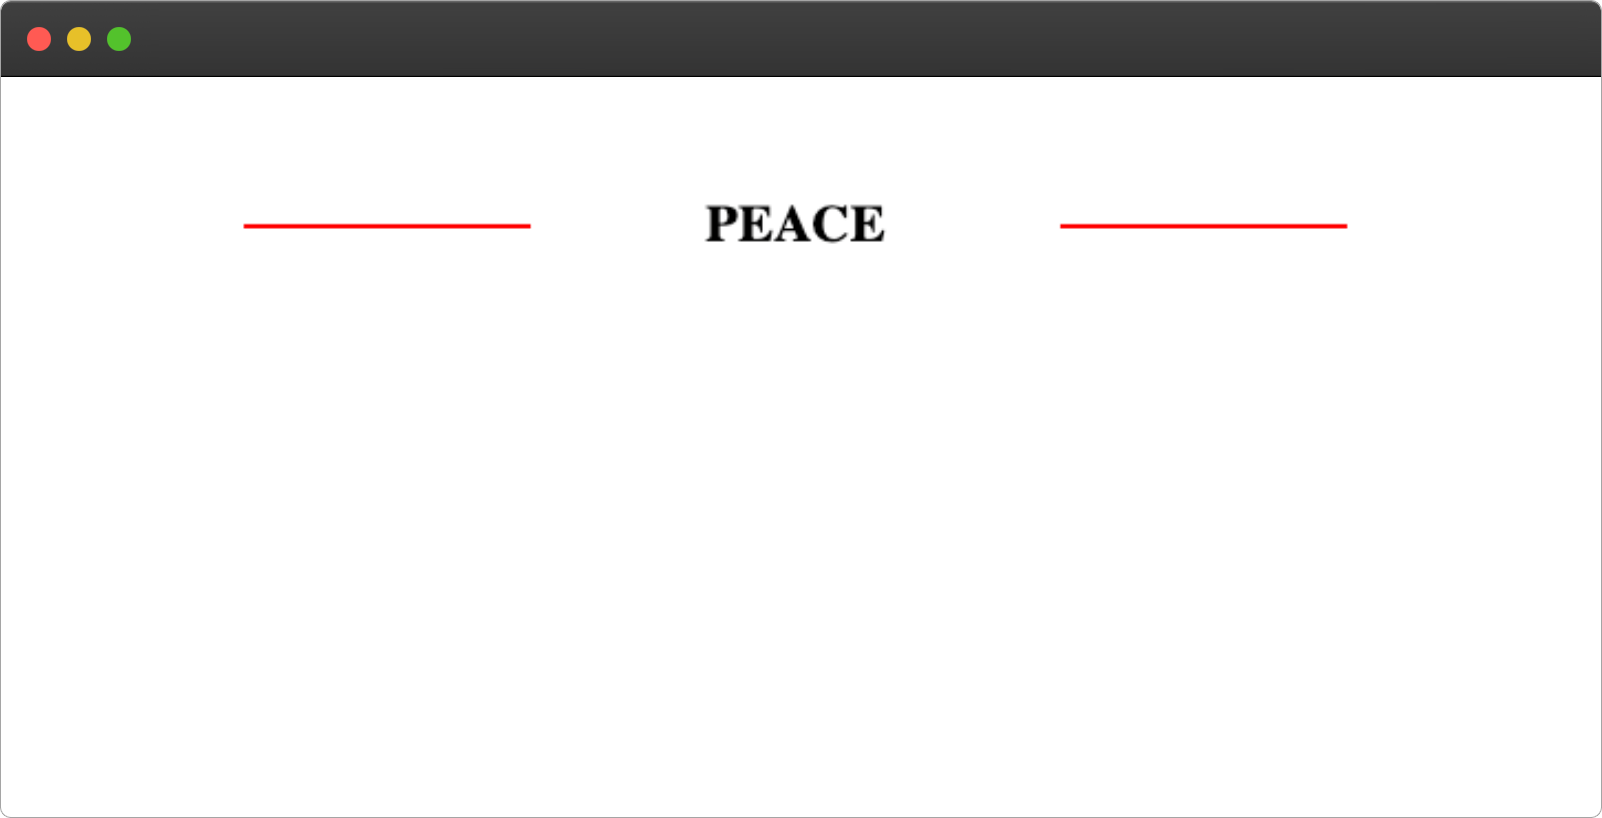
How to Add Horizontal Lines Before and After a Text in HTML
This article will guide you on how to add a horizontal line to the right and left side of a text as shown below:
1. Create an HTML text tag.
In your HTML file create an h2 tag and give it a class name of hr-lines
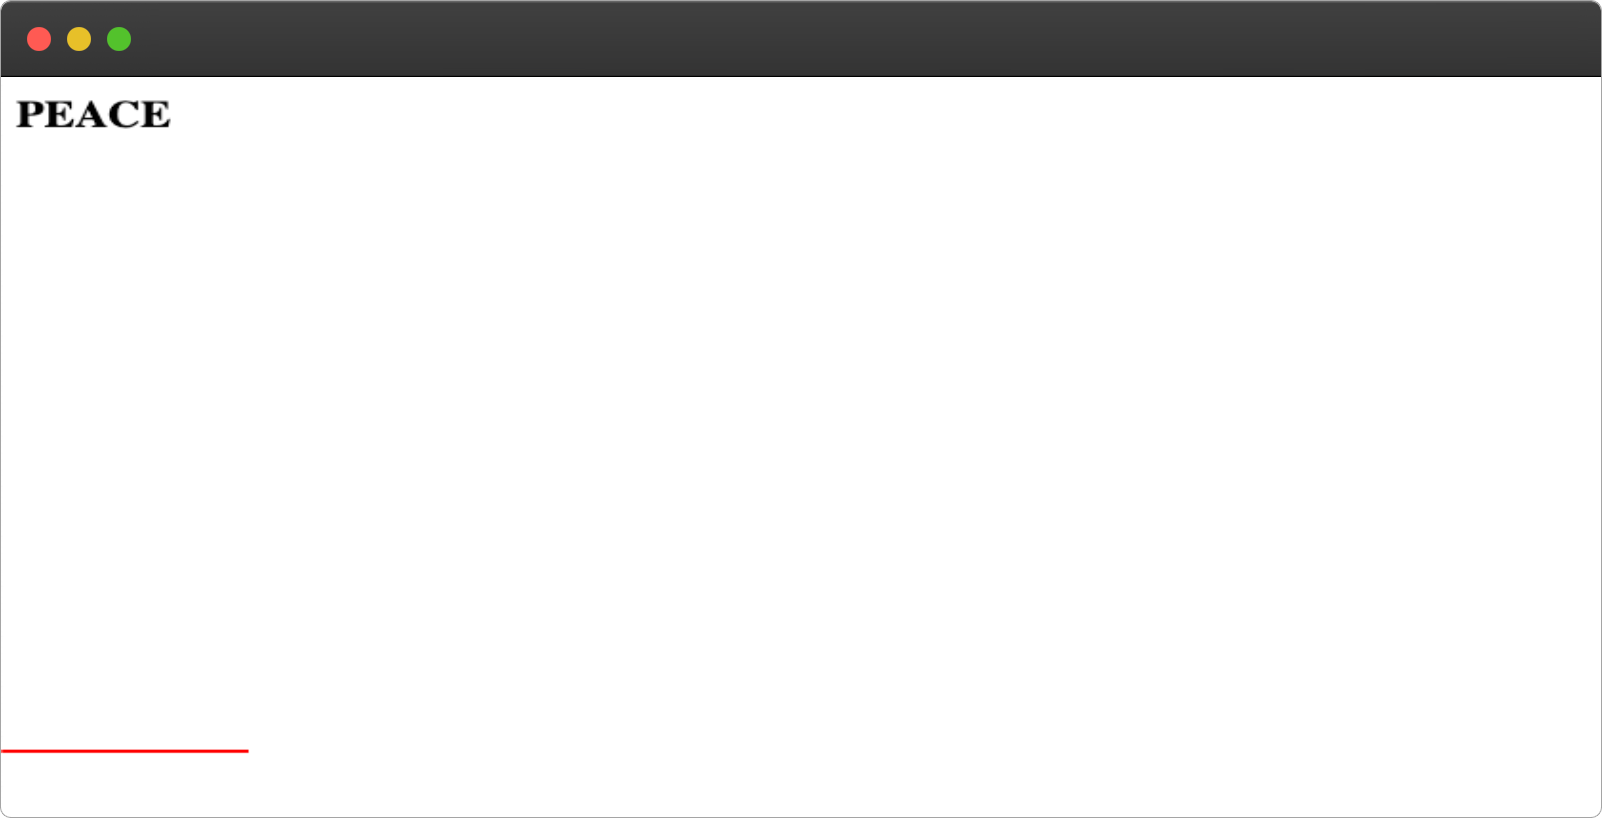
2. Adding the Left Line
We’ll make use of the CSS :before pseudo-element to add a line to the left side of the text. Apply the code below to your CSS file:
.hr-lines:before< content:" "; display: block; height: 2px; width: 130px; position: absolute; top: 50%; left: 0; background: red; > From the above code, we’re creating a new element with a height of 2px and width of 130px before the hr-lines element using the content property, then giving it an absolute position in order to move it around, we set the top to 50% to make it align with the text at the middle.
3. Set the hr-lines to relative
For the pseudo-elements to be applied to the target element, we must set the position of the element to a relative, this will make all the movement of the :before and :after be relative to the parent (text).
Add the following lines to your CSS files.

We can fix this by setting the max-width and adding margin to the element.
.hr-lines< position: relative; /* new lines */ max-width: 500px; margin: 100px auto; text-align: center; > 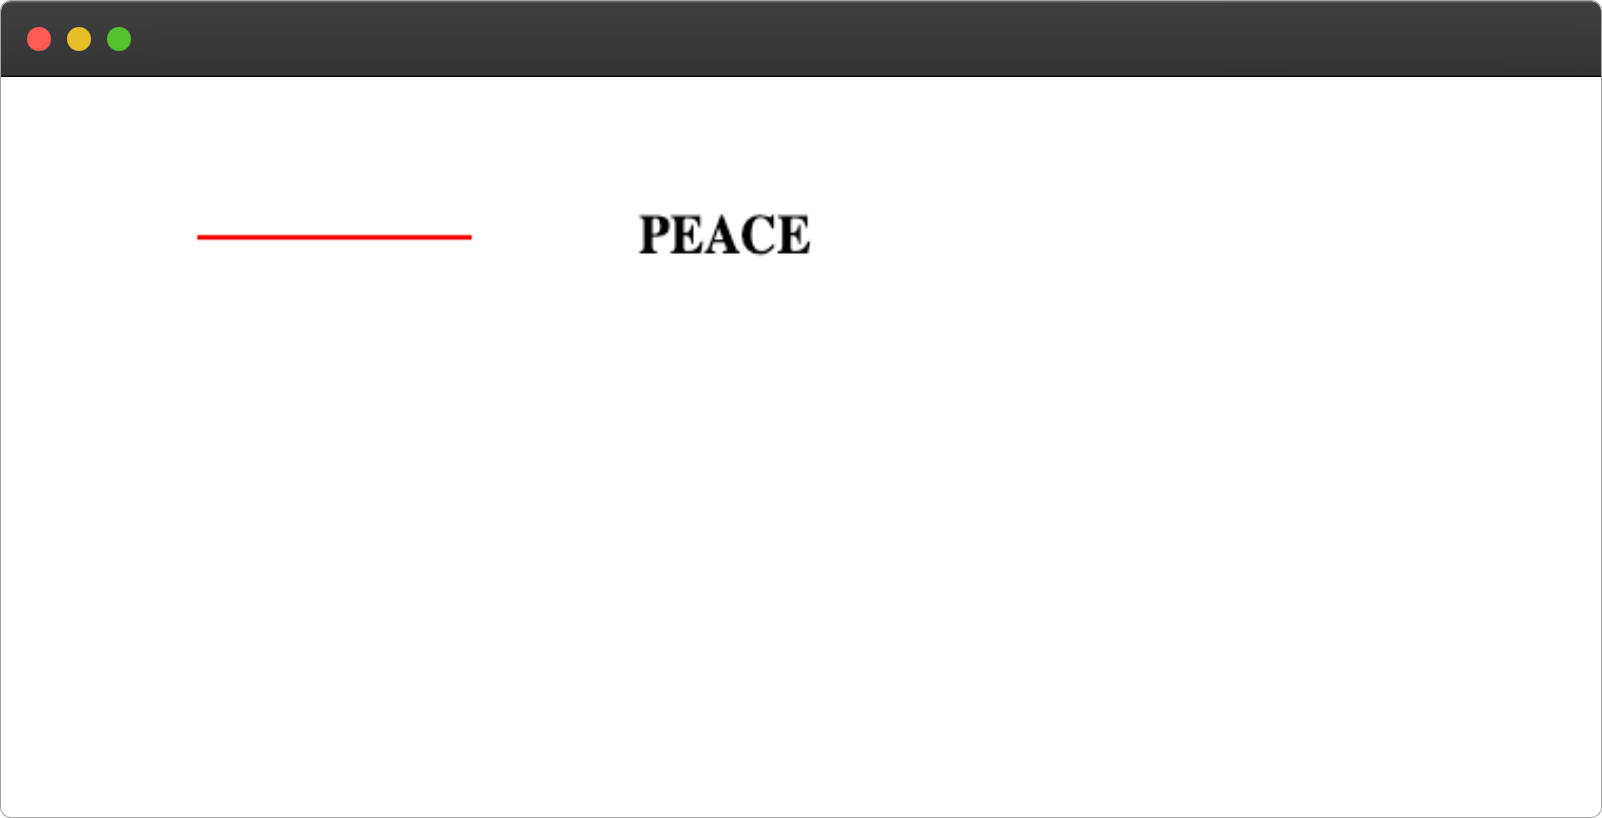
We’re setting the :before to the left side of the text by setting the left:0 .
4. Adding the Right Line
We’ll make use of the :after pseudo-element to add the right line.
Add the following lines of code to your CSS file to add the right line to the text.
.hr-lines:after< content:" "; height: 2px; width: 130px; background: red; display: block; position: absolute; top: 50%; right: 0; > We’re setting the :after to the right side of the text by setting the right:0 .
Final Output:
The Complete Code
h2 class="hr-lines"> PEACE /h2> section> div> p>I wish for peace in Russia & Ukraine/p> /div> section> .hr-lines< position: relative; max-width: 500px; margin: 100px auto; text-align: center; > .hr-lines:before< content:" "; height: 2px; width: 130px; background: red; display: block; position: absolute; top: 50%; left: 0; > .hr-lines:after< content:" "; height: 2px; width: 130px; background: red; display: block; position: absolute; top: 50%; right: 0; > p< text-transform: uppercase; color: red; > section< display: flex; justify-content: center; align-items:center; gap: 1rem; > div< width: 500px; border: 1px solid #ccc; padding: 10px; height: 100px; display: flex; justify-content: center; align-items: center; line-height: 1.4; > Wrapping Up
I hope that this article will assist you in creating a text with horizontal right and left lines at some point in the future.
Wow, what a journey, I am glad you made it to the end of this article, if you enjoyed and learned something new from this article, I will like to connect with you.
See you in the next article. Bye Bye 🙋♂️
If you found my content helpful and want to support my blog, you can also buy me a coffee below, my blog lives on coffee 🙏.
Did you find this article valuable?
Support Ayodele Samuel Adebayo by becoming a sponsor. Any amount is appreciated!