- Div HTML
- Hello World!!
- Difference between HTML tag and HTML tag:
- Tag specific Attributes:
- Global Attributes:
- Event Attributes:
- Supporting Browsers:
- : The Content Division element
- Try it
- Attributes
- Usage notes
- Accessibility concerns
- Examples
- A simple example
- Result
- A styled example
- HTML
- CSS
- Result
- Technical summary
- Specifications
- Browser compatibility
- See also
- Found a content problem with this page?
- MDN
- Support
- Our communities
- Developers
- HTML Div – What is a Div Tag and How to Style it with CSS
- When to Use the div Tag
- 1. Use div in Web Layouts
- 2. Use div in CSS Art
- How to Style the div Tag
- 1. How to Apply Font Properties with div
- 2. How to Apply Color with the Div Tag
- 3. How to Style Texts with the Div Tag
- 4. How to Create a Shadow Effect with the Div Tag
- How to Use Multiple Div Elements without Getting Confused
- Conclusion
Div HTML
To group together a section of HTML elements, the HTML tag is used. It acts as a container to encapsulate other elements. An HTML document is thus divided into sections, using the HTML tag. CSS styles can also be applied to many elements at once using the HTML tag.
DOCTYPE html> html> body> p>Hye!!p> div style="width:500px; background-color:crimson; color:white; border:5px solid yellow; text-align:center;"> h1>Hello World!!h1> p>HAVE A GREAT DAY.p> div> p>Bye Bye!!p> body> html>
Hye!!
Hello World!!
HAVE A GREAT DAY.
Bye Bye!!
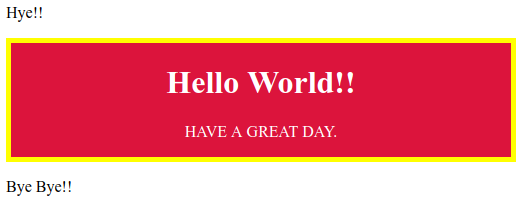
Explanation:
In the above example, we have used the HTML element to apply the CSS style properties only to a certain group of elements of an HTML document.
Example 2: Creating a layout of a website using the HTML tag.
DOCTYPE html> html> head> title>Exampletitle> style> .header{ padding: 20px; background-color:crimson; text-align: center; } .header h3{ color:white; font-size: 20px; } .nav{ background-color:gray; padding: 5px; } .nav li{ list-style: none; display: inline-block; padding: 8px; } .nav a{ color: white; } .nav ul li a:hover{ text-decoration: none; color: blue; } .lside{ float: left; width: 50%; min-height: 200px; background-color: pink; text-align: center; } .rside { text-align: center; float: right; width: 50%; min-height: 200px; background-color: white; } .footer{ background-color:#455e64; text-align: center; padding: 10px; } .footer p{ color: white; } style> head> body> div> div class="header"> h3>LAYOUT EXAMPLEh3> div> Nav --> div class="nav"> ul> li>a href="#">Homea>li> li>a href="#">Servicesa>li> li>a href="#">About Usa>li> li>a href="#">Contact Usa>li> li style="float: right;">a href="#">SIGN-INa>li> li style="float: right;">a href="#">SIGN-UPa>li> ul> div> main --> div style="height:200px"> div class="lside"> h2>HELLO WORLD!!h2> div> side --> div class="rside"> h3>How are you today?h3> div> div> footer --> div class="footer"> p>strong>©Copyright W3spoint.comstrong>p> div> div> body> html> 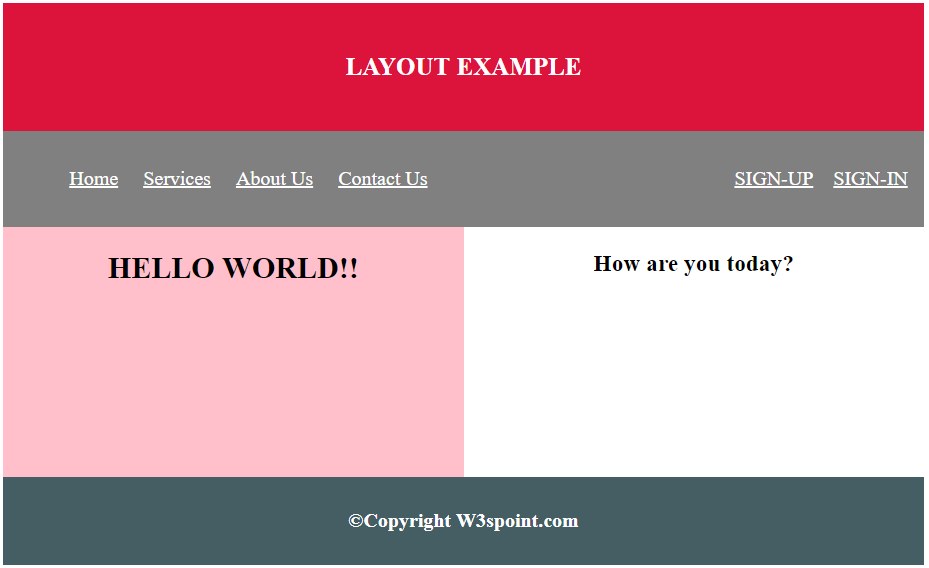
Explanation:
In the above example, we are creating a website layout using the HTML tag. Different CSS style properties are also applied to the elements of the different sections as per the specified “class” names for each section.
Difference between HTML tag and HTML tag:
| HTML Tag | HTML Tag |
| Block element. | Inline element. |
| Wraps large sections of elements. | Wraps small portion of texts, images, etc. |
Tag specific Attributes:
Global Attributes:
The HTML Global attributes are supported by the HTML tag.
Event Attributes:
The HTML Event attributes are supported by the HTML tag.
Supporting Browsers:
Chrome, IE, Firefox, Opera and Safari.
: The Content Division element
The HTML element is the generic container for flow content. It has no effect on the content or layout until styled in some way using CSS (e.g. styling is directly applied to it, or some kind of layout model like Flexbox is applied to its parent element).
Try it
As a «pure» container, the element does not inherently represent anything. Instead, it’s used to group content so it can be easily styled using the class or id attributes, marking a section of a document as being written in a different language (using the lang attribute), and so on.
Attributes
This element includes the global attributes.
Note: The align attribute is obsolete; do not use it anymore. Instead, you should use CSS properties or techniques such as CSS Grid or CSS Flexbox to align and position elements on the page.
Usage notes
Accessibility concerns
The element has an implicit role of generic , and not none. This may affect certain ARIA combination declarations that expect a direct descendant element with a certain role to function properly.
Examples
A simple example
div> p> Any kind of content here. Such as <p>, <table>. You name it! p> div>
Result
A styled example
This example creates a shadowed box by applying a style to the using CSS. Note the use of the class attribute on the to apply the style named «shadowbox» to the element.
HTML
div class="shadowbox"> p>Here's a very interesting note displayed in a lovely shadowed box.p> div>
CSS
.shadowbox width: 15em; border: 1px solid #333; box-shadow: 8px 8px 5px #444; padding: 8px 12px; background-image: linear-gradient(180deg, #fff, #ddd 40%, #ccc); > Result
Technical summary
| Content categories | Flow content, palpable content. |
|---|---|
| Permitted content | Flow content. Or (in WHATWG HTML): If the parent is a element: one or more elements followed by one or more elements, optionally intermixed with and elements. |
| Tag omission | None, both the starting and ending tag are mandatory. |
| Permitted parents | Any element that accepts flow content. Or (in WHATWG HTML): element. |
| Implicit ARIA role | No corresponding role |
| Permitted ARIA roles | Any |
| DOM interface | HTMLDivElement |
Specifications
Browser compatibility
BCD tables only load in the browser
See also
Found a content problem with this page?
This page was last modified on Jul 17, 2023 by MDN contributors.
Your blueprint for a better internet.
MDN
Support
Our communities
Developers
Visit Mozilla Corporation’s not-for-profit parent, the Mozilla Foundation.
Portions of this content are ©1998– 2023 by individual mozilla.org contributors. Content available under a Creative Commons license.
HTML Div – What is a Div Tag and How to Style it with CSS

Kolade Chris
The HTML division tag, called «div» for short, is a special element that lets you group similar sets of content together on a web page. You can use it as a generic container for associating similar content.
The div tag is one of the most used tags and doesn’t seem to be going anywhere despite the introduction of semantic elements (these elements let you use several tags as a container).
In this tutorial, I will show you the various things you can do with the div tag, how you can use multiple divs the same HTML file without getting confused, and how to style it.
When to Use the div Tag
The div tag is multi-purpose – you can use it to do several things on a web page. You’ll mostly use it in web layouts and CSS art, but it’s super flexible.
Ultimately, you’ll almost always to use it to style whatever it contains or manipulate such things with JavaScript.
1. Use div in Web Layouts
You’ll primarily use the div tag to group similar content together so you can style it easily. A great example of this is using div to group different sections of a webpage together. You can put together the header, nav, sections, and footer of a page in an individual div tag so they can be styled together.
Later in this tutorial, I will take you through how to make a web layout with multiple div tags without getting confused.
Div itself does not have a direct effect on the presentation of the content unless you style it.
2. Use div in CSS Art
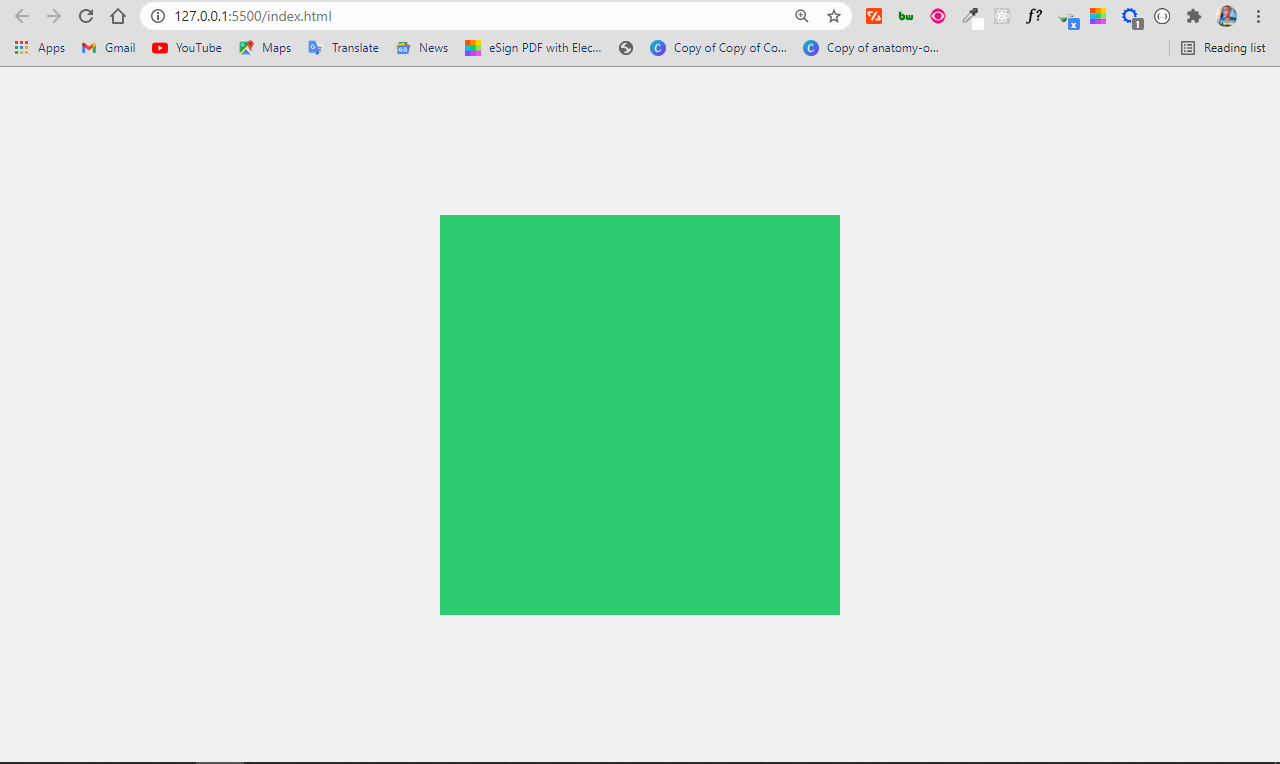
With the div tag, you can make various shapes and draw anything because it is easy to style.
To make a square with div tag, you first need to define an empty div tag and attach a class attribute to it in the HTML. In the CSS, select the div with the class attribute, then set an equal height and width for it.
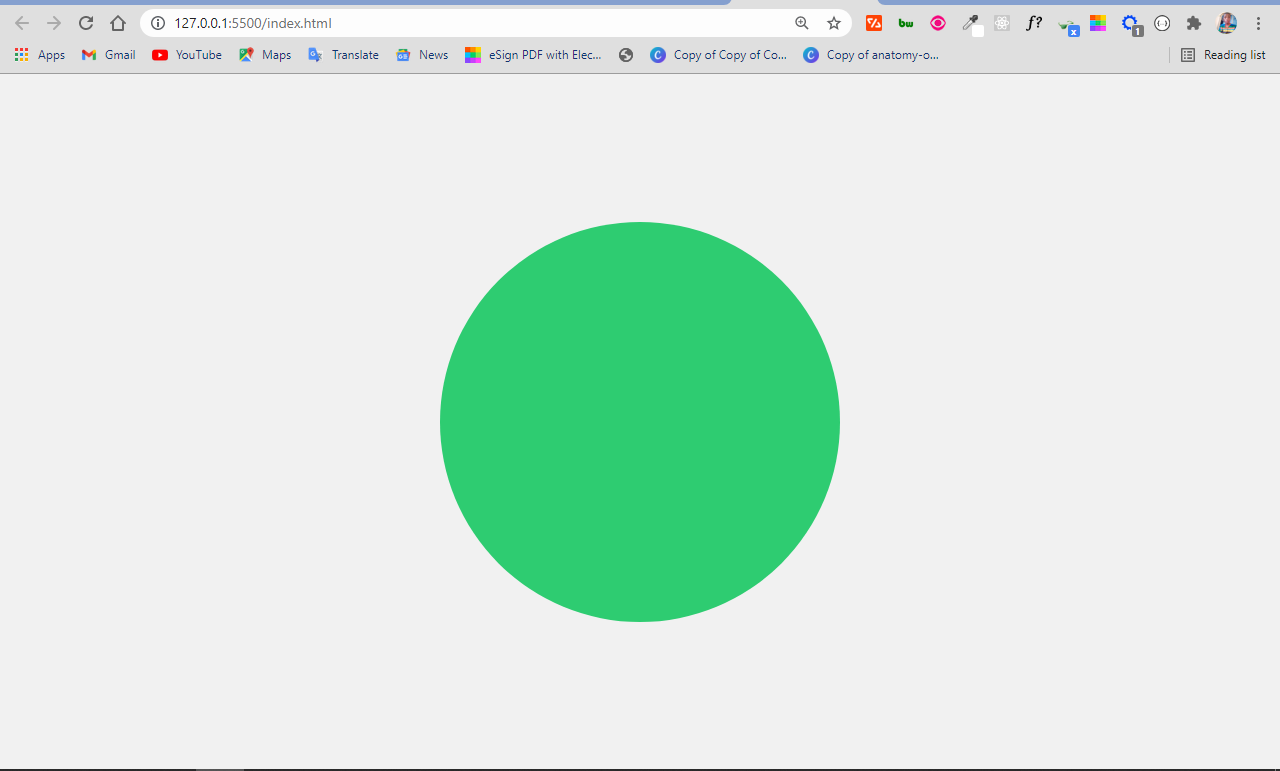
You can make a circle with the div tag by coding an empty div in the HTML, setting an equal height and width for it in the CSS, then a border-radius of 50%.
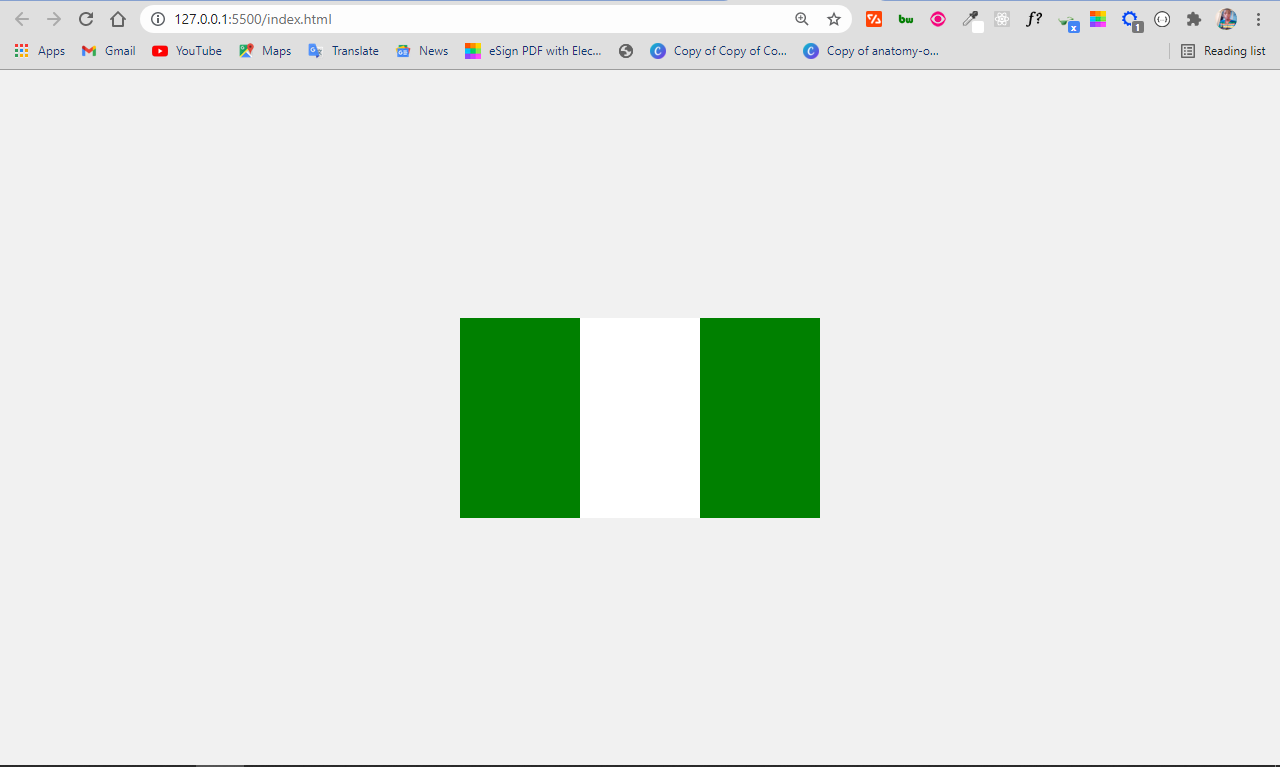
Making the Nigerian flag with the div tag is not that hard. The flag is a rectangular shape with the colors green, white, and green.
To make it, define 3 div tags and attach different classes, then style them appropriately in the CSS.
.naija-flag < display: flex; >.first-green < height: 100px; width: 60px; background-color: green; >.white < height: 100px; width: 60px; background-color: white; >.second-green
How to Style the div Tag
As we discussed above, the div tag is very easy to style. It’s one of the reasons why many developers use it to group similar content.
The div tag accepts almost all CSS properties without a problem. Let’s look at a few examples of that now.
1. How to Apply Font Properties with div
You can apply the CSS properties such as font-size , font-family , font-weight , and font-style on content grouped together with the div tag:
Lorem ipsum dolor sit amet consectetur adipisicing elit. Voluptate quo ullam modi alias assumenda, itaque libero? Quas quidem sint illo.
Lorem ipsum dolor sit, amet consectetur adipisicing elit. Necessitatibus ipsam eaque rem dicta, quos quas ipsum.

2. How to Apply Color with the Div Tag
You can apply the CSS color and background-color properties on content grouped together with the div tag:
Lorem ipsum dolor sit amet consectetur adipisicing elit. Voluptate quo ullam modi alias assumenda, itaque libero? Quas quidem sint illo.
Lorem ipsum dolor sit, amet consectetur adipisicing elit. Necessitatibus ipsam eaque rem dicta, quos quas ipsum.

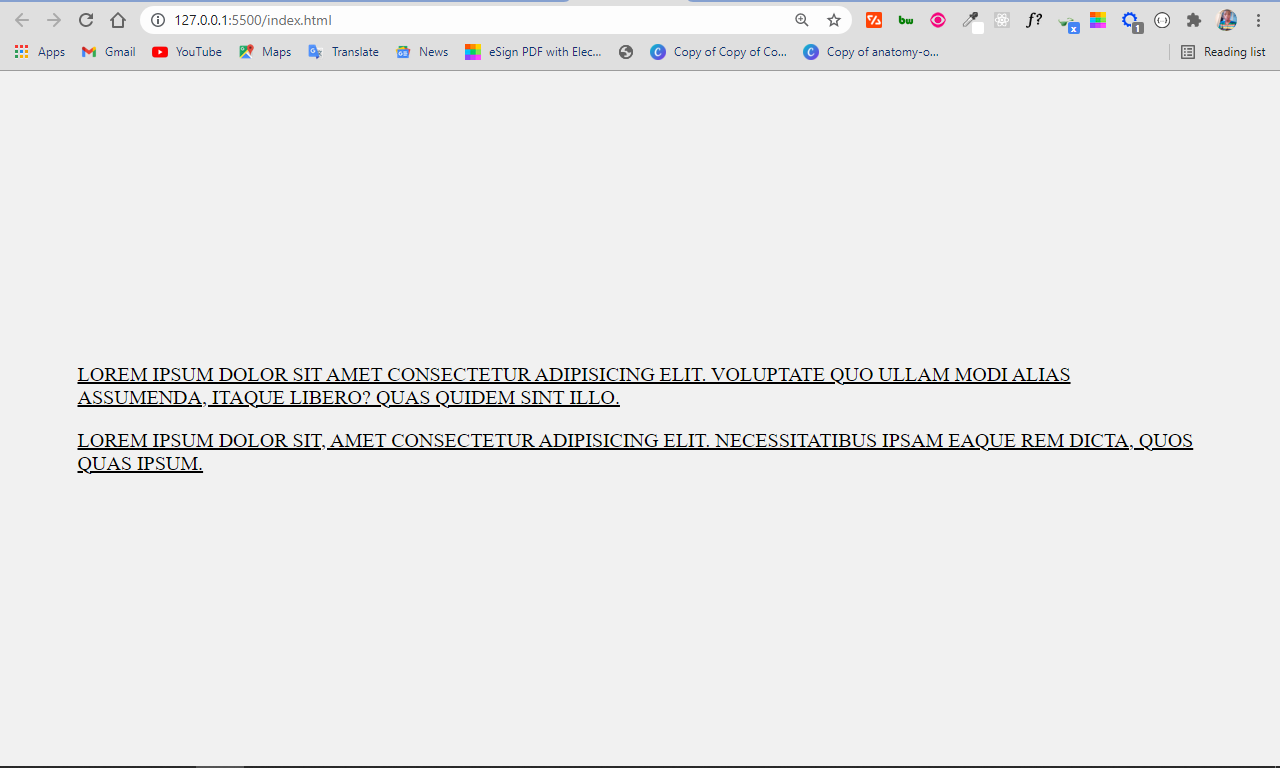
3. How to Style Texts with the Div Tag
You can apply the CSS text-transform and text-decoration properties on a div tag like this:
Lorem ipsum dolor sit amet consectetur adipisicing elit. Voluptate quo ullam modi alias assumenda, itaque libero? Quas quidem sint illo.
Lorem ipsum dolor sit, amet consectetur adipisicing elit. Necessitatibus ipsam eaque rem dicta, quos quas ipsum.
4. How to Create a Shadow Effect with the Div Tag
You can create a shadow effect with the div tag with the box-shadow property:
  Before paying to learn programming, checkout freeCodeCamp.org
The HTML, CSS, and JavaScript curricula would take you from zero to hero in web development. There is a Python curriculum that will get you a considerable knowledge in Python
And an upcoming Data Science curriculum.
What’s happening in the CSS above?
I was able to create the shadow effect with the CSS box-shadow property.
- The first value (2px) represents the offset on the x-axis (offset-x)
- The second (another 2px) represents the offset on the y-axis (offset-y)
- The next 20px is for the blur-radius, that is, how blurry you want the shadow to be.
- The 23px value is the spread radius (how far you want the shadow to spread)
- The last value is the shadow color – in this case, #7fecad.

The output looks like this:
How to Use Multiple Div Elements without Getting Confused
Div tags are commonly used to group similar content together. In older and even some newer web pages, you’ll find divs all around, despite the fact that semantic tags are recommended for accessibility and better SEO.
Since div tags are still very common, I recommend applying class and id attributes to them so you can manipulate individual div elements with those attributes.
I will walk you through how to put this into practice by making a basic web layout.
The first section you’ll want to make is the header, containing the logo and navbar:
Before styling the navbar, I made some CSS resets to make things align correctly and display nicely:
* < margin: 0; padding: 0; box-sizing: border-box; >.hero, .about, .services, .contact
In the code snippet above:
- I removed the default margin and padding
- I set a maximum width for the main sections so they don’t go all across for better UX
- I set a margin at the bottom of each section to give them some space
- I set a margin 0 at the top and bottom, auto on the left and right to center them.
To style the navbar appropriately, I will grab the container div tag with its class attribute, header . I’ll give it a display of flex , alongside some other properties to lay it out nicely. I will also grab the div wrapped around the navbar ( ul element) by its class and lay it out with Flexbox.
For the remaining sections apart from the footer, the HTML and stylings are generic:
Hero Section
About Us
Our Services
Contact Us
© 2021 All Rights Reserved
.hero < background-color: #eee; height: 200px; >.hero h1 < display: flex; align-items: center; justify-content: center; line-height: 6; >.about < background-color: #eee; height: 200px; >.about h1 < display: flex; align-items: center; justify-content: center; line-height: 6; >.services < background-color: #eee; height: 200px; >.services h1 < display: flex; align-items: center; justify-content: center; line-height: 6; >.contact < background-color: #eee; height: 200px; >.contact h1 < display: flex; align-items: center; justify-content: center; line-height: 6; >.footer < background-color: #777; height: 40px; >.footer p
I gave the individual sections a greyish background color and a height of 200px. I positioned the h1 tags inside in their centers with Flexbox and applied a line height of 1.5 to each of them.
Finally, I gave the footer a deeper grey background color to make it distinct, and centered the content in it with a line height of 1.7.
The resulting layout looks like this:
Conclusion
The HTML div tag is commonly used among web developers everywhere.
Just keep in mind that you should usually use semantic HTML in place of the div tag unless none of them (the semantic tags) really match the content to group together. This is because semantic tags are better for accessibility and SEO.
In short, the div tag remains useful and isn’t going anywhere anytime soon, so feel free to use it when necessary.
Thank you for reading and have a nice time.